
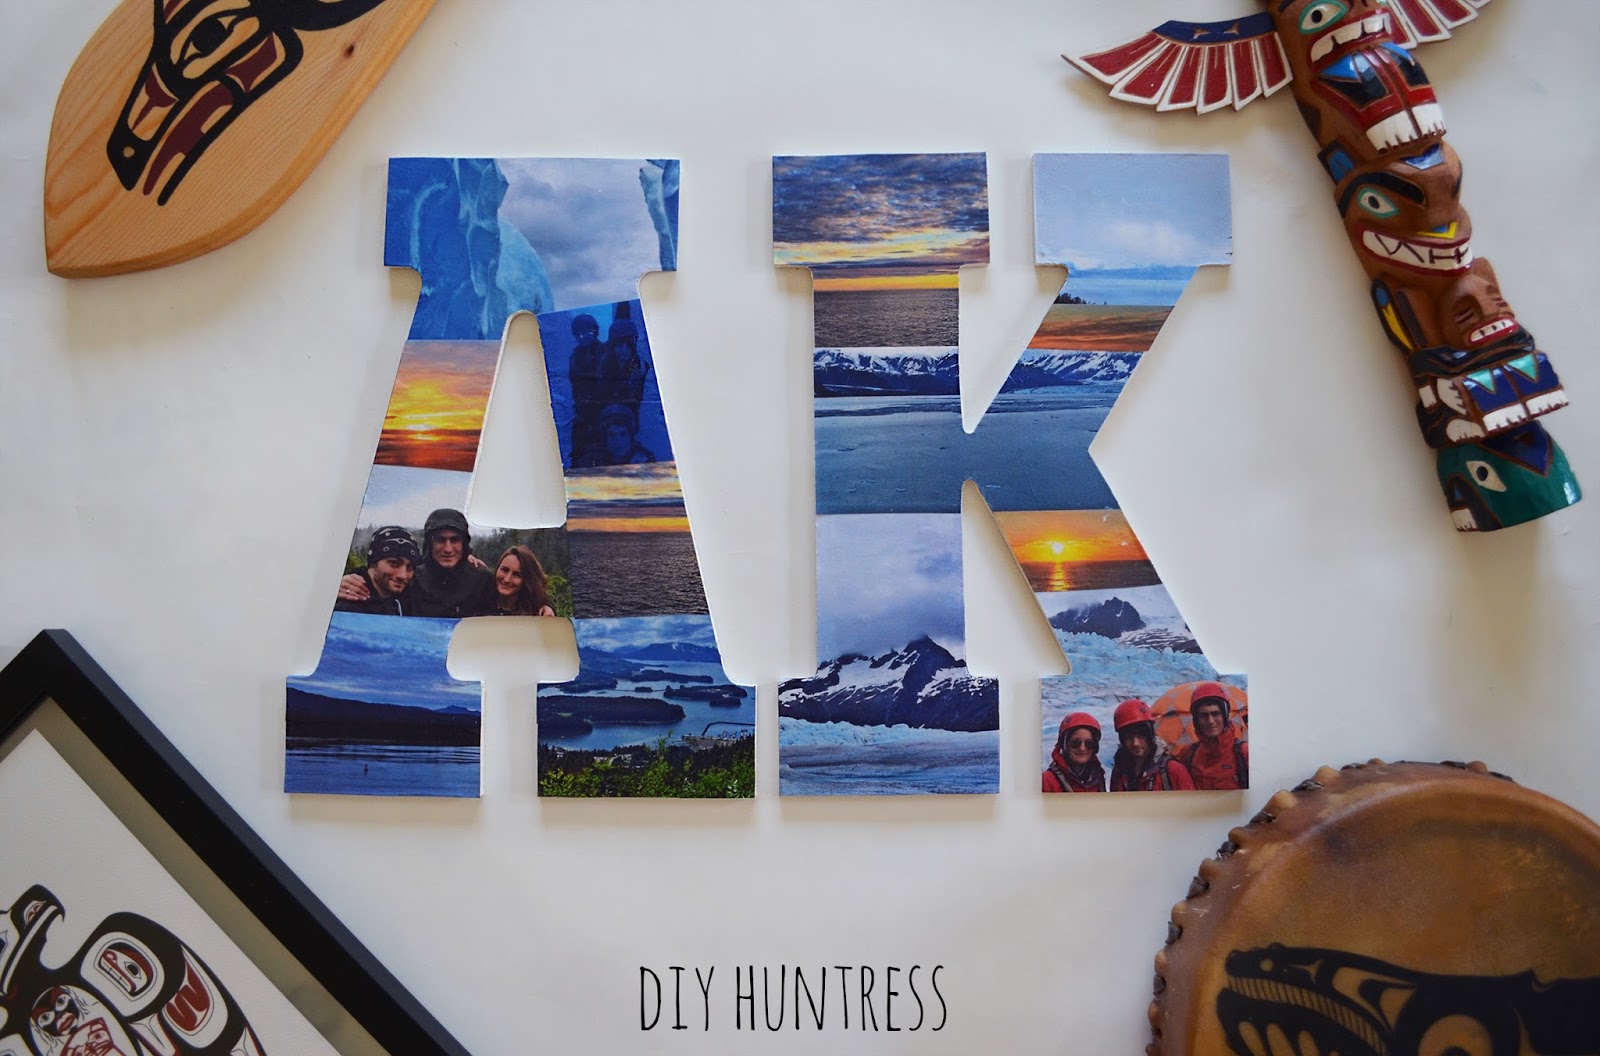
As many of you know, I recently went on a trip to Alaska! I had the most wonderful time there exploring and adventuring with my family. We hiked a glacier in Juneau, ATV’d and zip-lined thorough the mountains of Hoonah, snorkeled off the coast of Kechikan, and watched the sun go down at 11pm every night! I learned so much about the culture and lifestyle in Alaska during my 10 days on the other side of the country. I also took LOTS of photos! While photo books and Instagram are fun ways to remember cool trips, I wanted to create something that I could display with my many keepsakes from the “last frontier”. So, I grabbed myself some wooden letters and made a fun vacation collage for just a few bucks!
How To Create A Fun DIY Vacation Collage
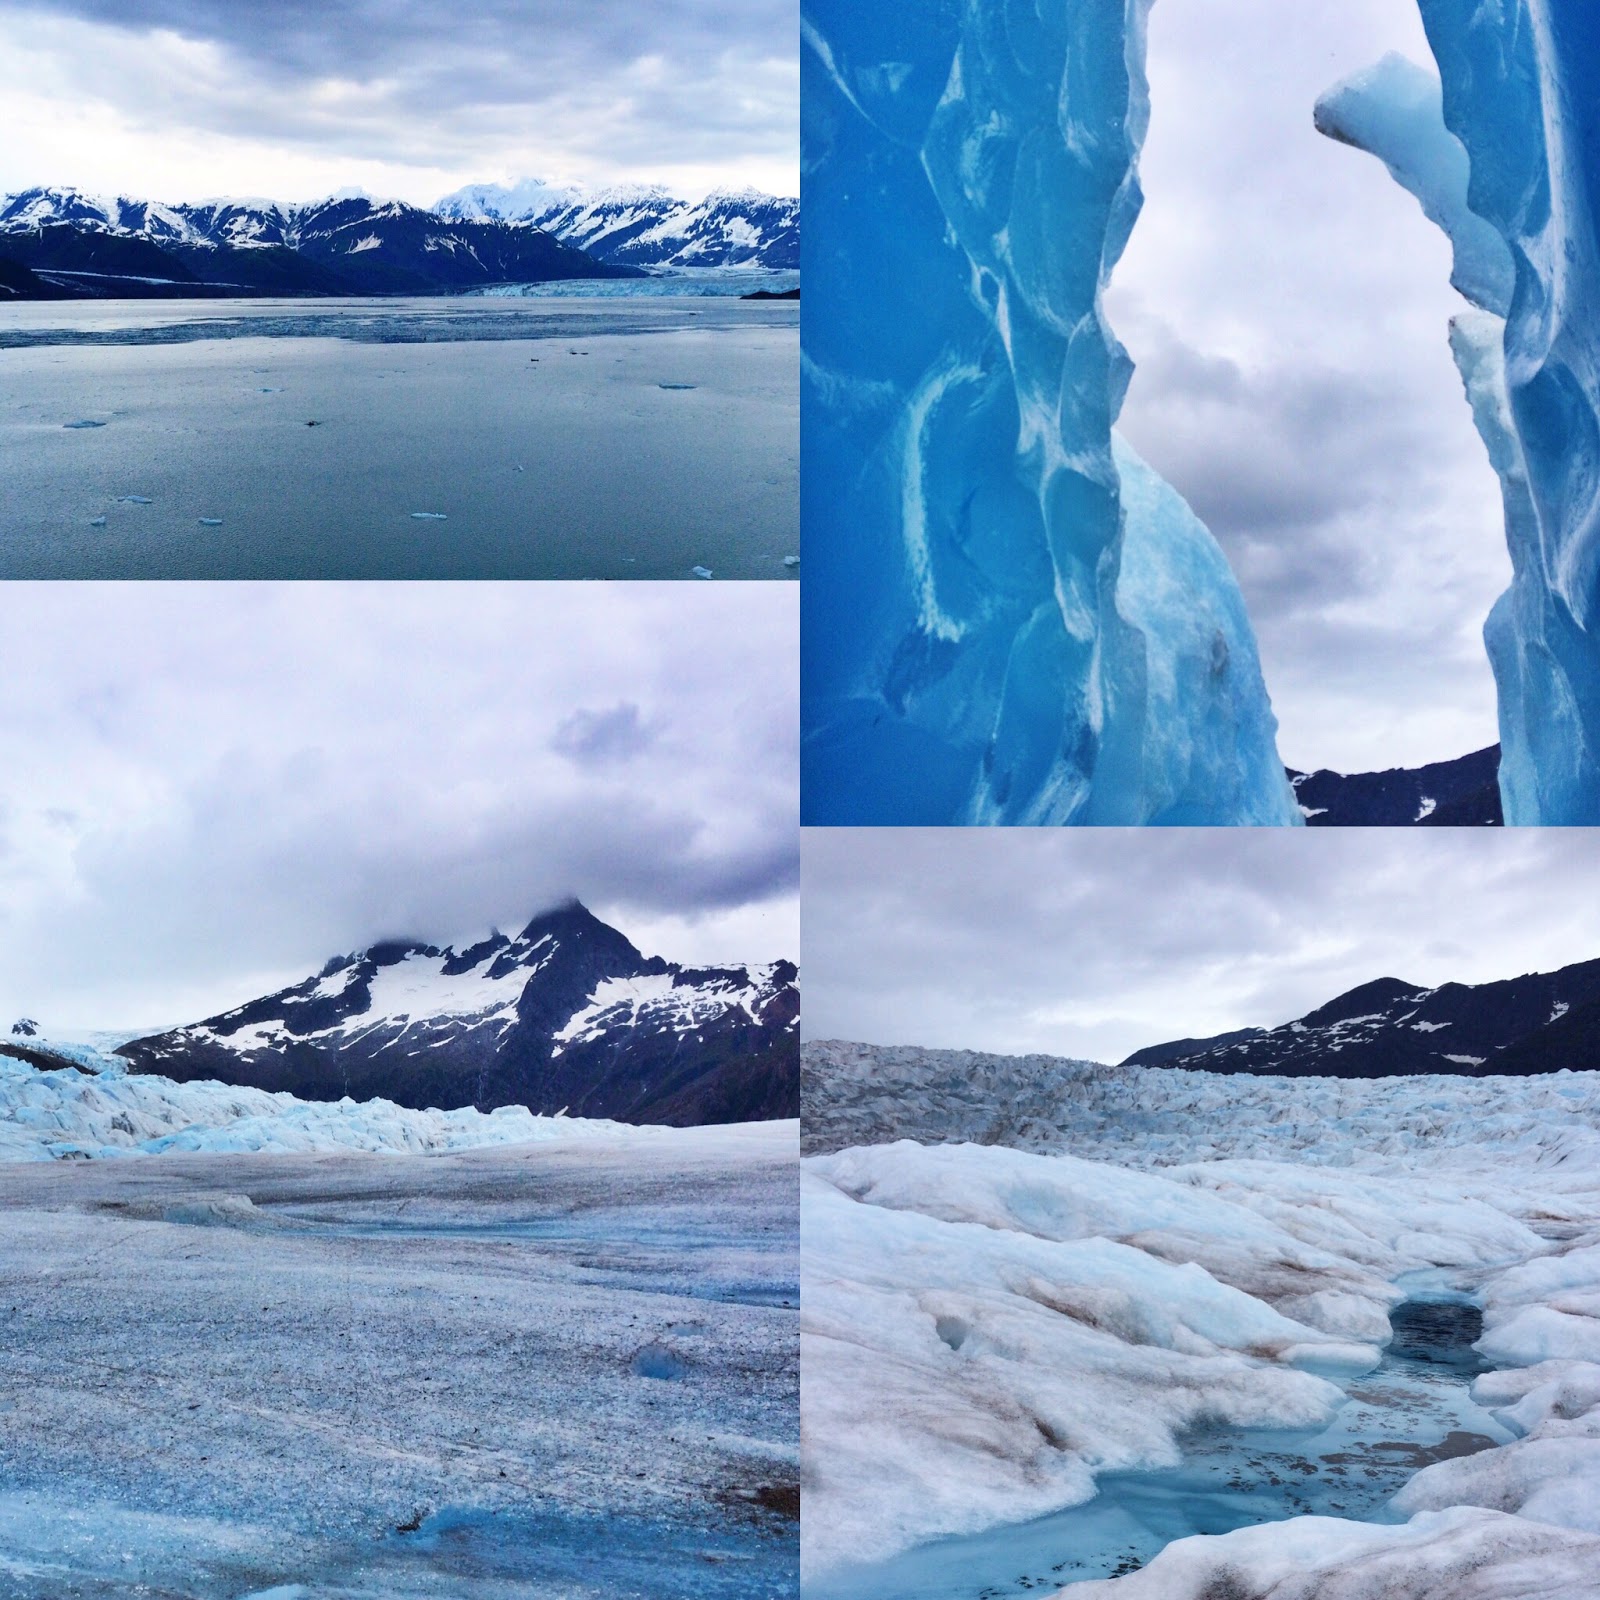
To start, I had lots of photos on my iPhone. Some places were too rainy or extreme for my camera, so my iPhone was the best bet. Here are some fun photos I had laying around! We visited five different cities in Alaska while we were there and learned so much about native Alaskan culture! The natural beauty of the state was paired with a beautiful culture in which Alaskan natives help their communities, feed their neighbors, and connect with the outdoors.

If I had to choose, I’d say that my most memorable photos were from our glacier hike in Juneau – my younger brothers and I hiked at 1,700 feet above sea level in spiked boots and weather gear. We even got to explore an ice cave that was formed in the glacier (our tour guides called this the “Happy Fun Time Cave”)!

If I had to choose, I’d say that my most memorable photos were from our glacier hike in Juneau – my younger brothers and I hiked at 1,700 feet above sea level in spiked boots and weather gear. We even got to explore an ice cave that was formed in the glacier (our tour guides called this the “Happy Fun Time Cave”)!
Throughout our adventure I made sure to purchase local art from native shops in each of the towns. It was the perfect way to remember everything I learned about the culture and lifestyle of Alaska. In fact, they also partnered so well with the photos I took on my trip! Now, let’s show you how I got creative with all of these photos!What You’ll Need:

Tools
Paintbrushes
Scissors
PrinterMaterials
Wooden Letters
Paintbrushes
Scissors
PrinterMaterials
Wooden Letters
Paint
Mod Podge
Pencil
The Steps:
1. If your wooden letters are bare, like mine, paint the edges to give them a cleaner look.

2. While they’re drying, print out some fun vacation photos on plain ol’ printer paper.

3. Once dry, pick your favorite photos and lay them under the letters for tracing. Try to match up where you’d like your photos to be.

4. Cut out your photos along the traced lines.
5. Use a paintbrush to apply Mod Podge to the letter. Once covered, place the picture on top and allow time to dry.
6. Once you’ve placed all of your photos onto your letters, apply a thin layer of Mod Podge to the tops of the photos for sealing.
7. Display your memories!

5. Use a paintbrush to apply Mod Podge to the letter. Once covered, place the picture on top and allow time to dry.

6. Once you’ve placed all of your photos onto your letters, apply a thin layer of Mod Podge to the tops of the photos for sealing.

7. Display your memories!
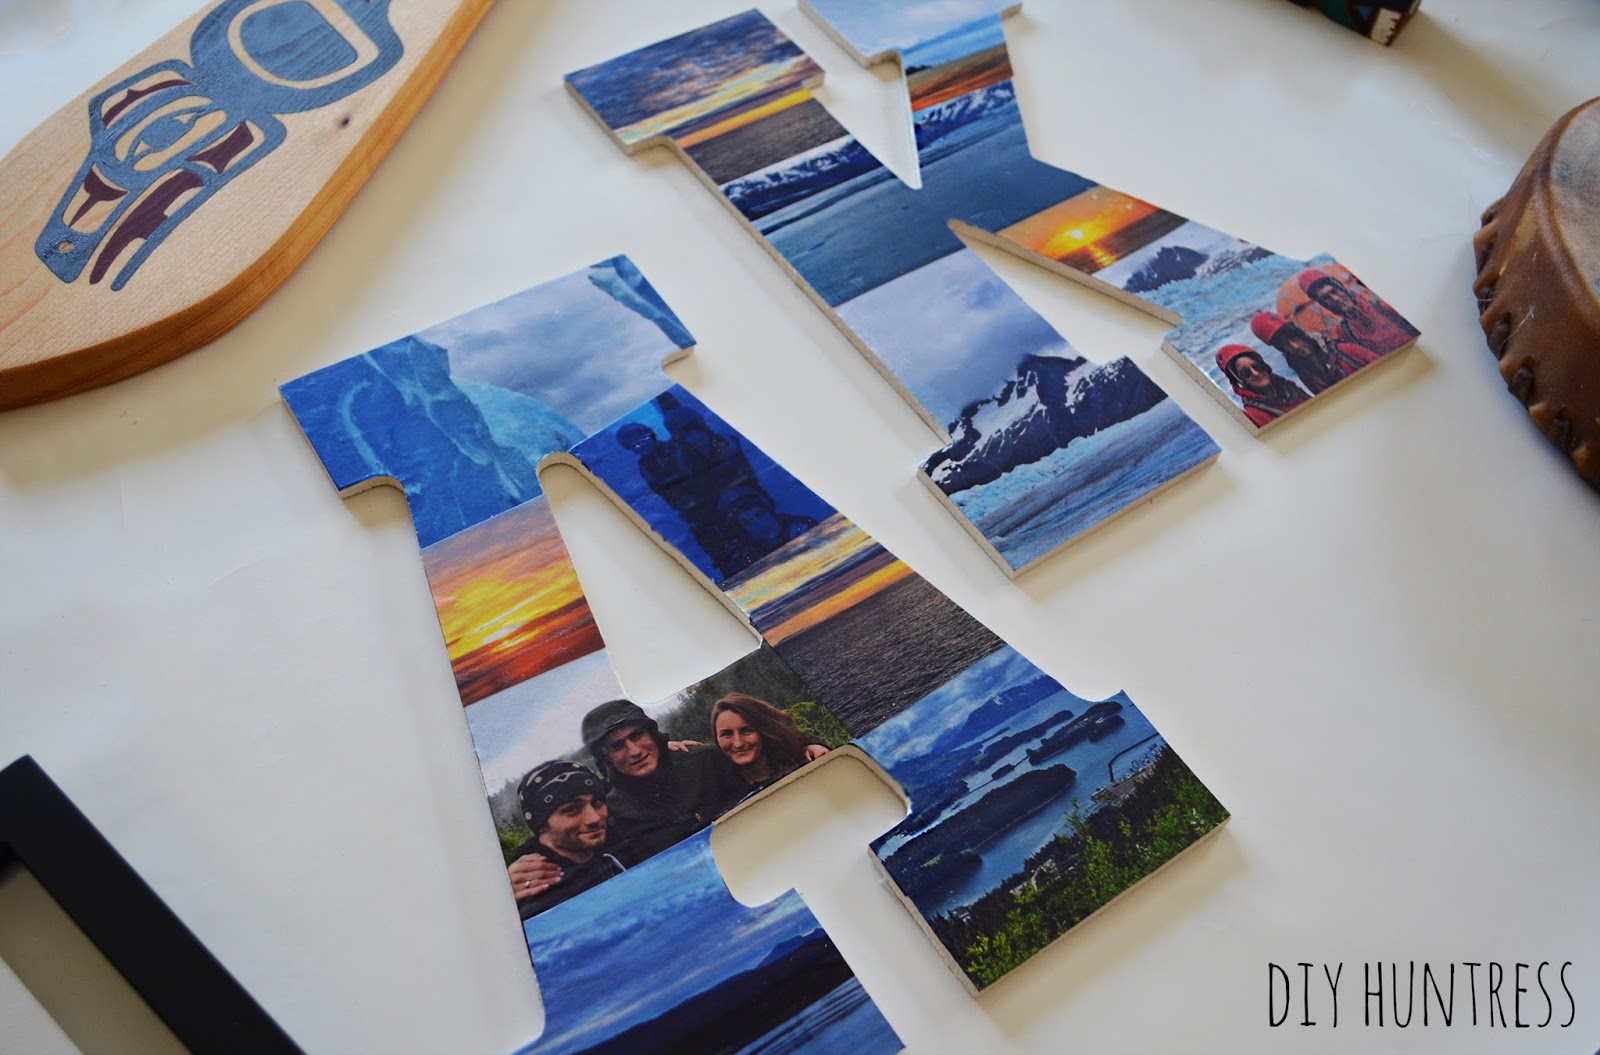
It was so nice to remember where each photo for this project was taken while adding them to my collage. I think I’ll end up making a project like this again when I travel elsewhere. But, for now, I can’t wait to display this one in my home and share our favorite stories with friends and family.


This is so great and useful !!! I am a picture hoarder on a mission. I don't want to get rid of my pictures but storing them in shoe boxes isn't doing anyone any good. I will definitely be trying this project!!! Yours turned out beautifully.
Thank you so much! I usually hate displaying pictures because I can never find the perfect frame, but this makes it a bit more creative now! I hope to see your project if you do choose to try! Please tag it #diyhuntress on social media so I can find it! 🙂
This is such a fun way to display all those vacation pictures! Mine are just sitting in a folder on my laptop, so I'll have to try this out 🙂
Thank you Courtney! I'm glad you liked it! I hope you'll share your project with me!