
We are coming up on the 2 year anniversary of living in our house and it has been nonstop with big renovation projects. I really just needed a small weekend project to fuel my soul. I also needed to make something that was multi-purpose for a small space. So not only did I want a place to store things like wine bottles and cutting boards, but I also wanted it to look good in my space. So if you’re also looking for a piece of furniture that can be both a piece of art and a storage solution you’ve come to the right place.
Your small space needs a murphy table
This project was really a revisit to my roots. Before we moved, all of my projects had to be creative solutions for my 300 square foot apartment and they had to be done on a weekend while I juggled my full time job as well as my content. So for this project I wanted to use only lumber I had leftover from other projects and I wanted to show you how to achieve this awesome functional piece of art with minimal tools. Make sure you check out the full materials list and the link to the plans so you can create your own.
This post contains affiliate links, which help support more projects on my website! For my full disclosure policy regarding affiliate links, click here!
Want to see this build in action? You can watch my build video here (+ make sure to subscribe to my channel)!
Plans
If you’d like plans for this project you can find them here!
Materials + Tools
Materials
- Printable Plans!
- Project Panels
- 1×2 Boards
- 1×4 Boards
- 1×6 Boards
- Magnet
- Joint Compound
- Cabinet Pull
- Hinges
- Pocket Hole Screws
- Pocket Hole Plugs
- Wood Glue
Tools
1. Cut the front panel and the table top
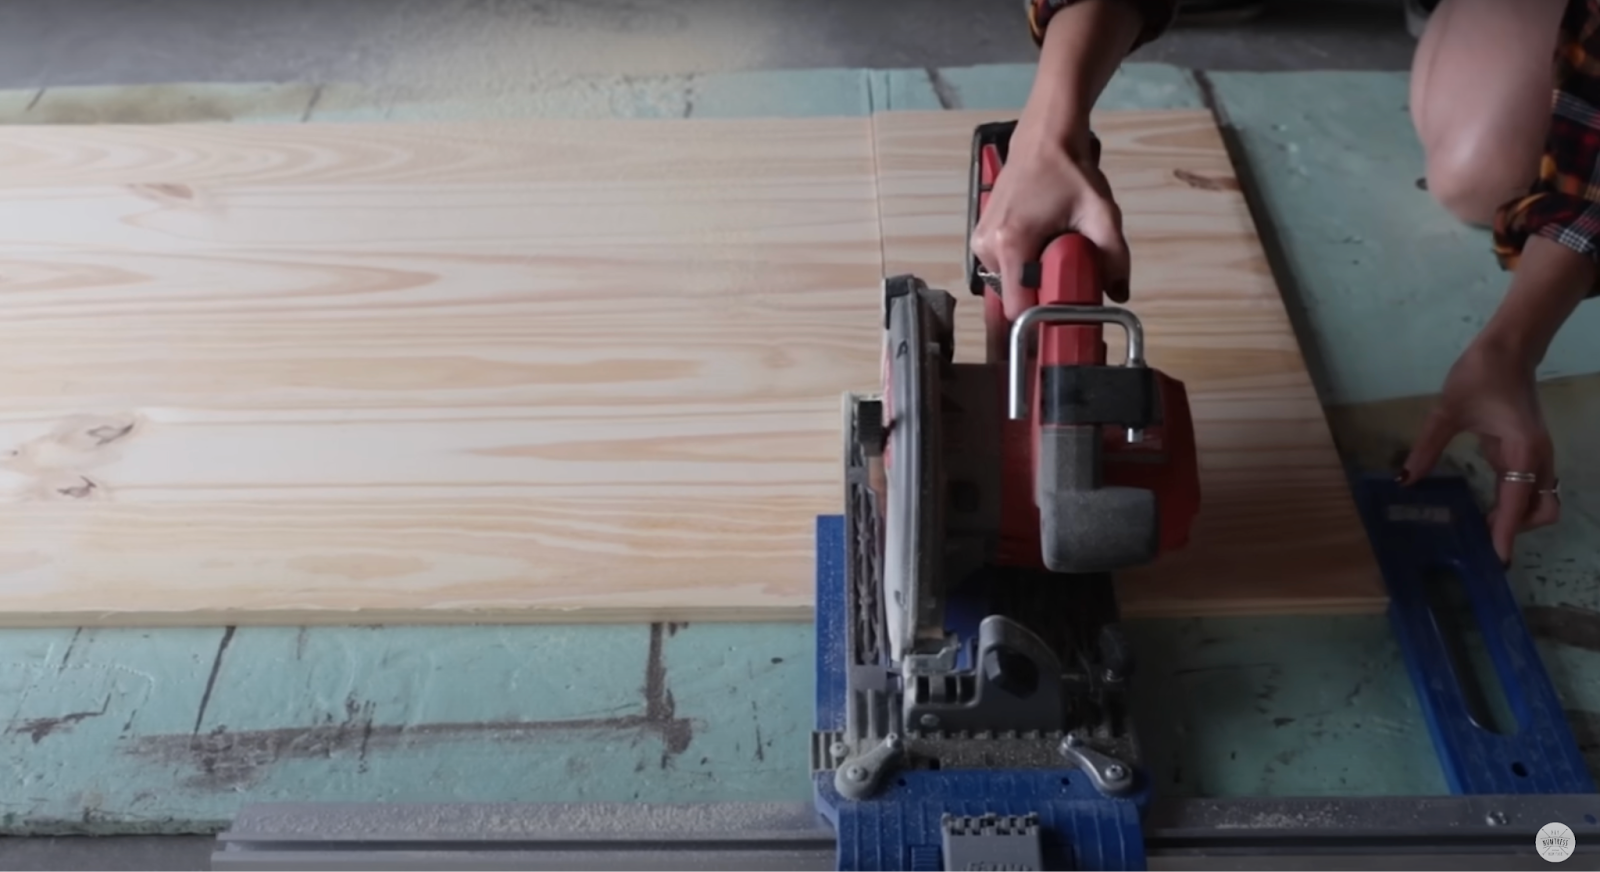
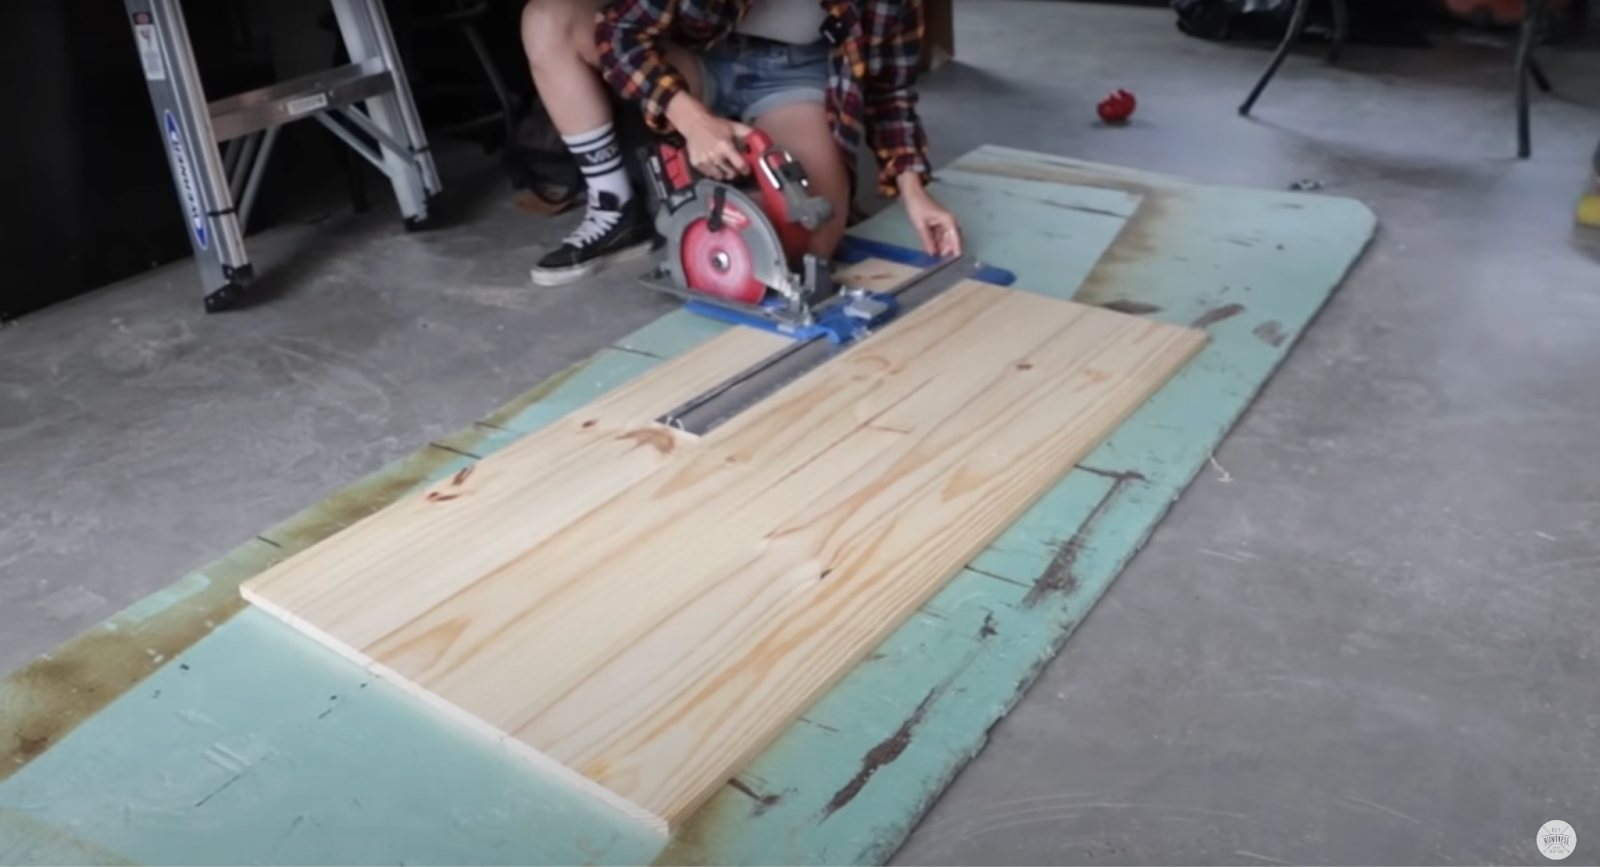
I used my circular saw and circular saw guide to make the cuts for the front panel which will have the artwork on it and the panel that will become the actual table top.
2. Make the frame
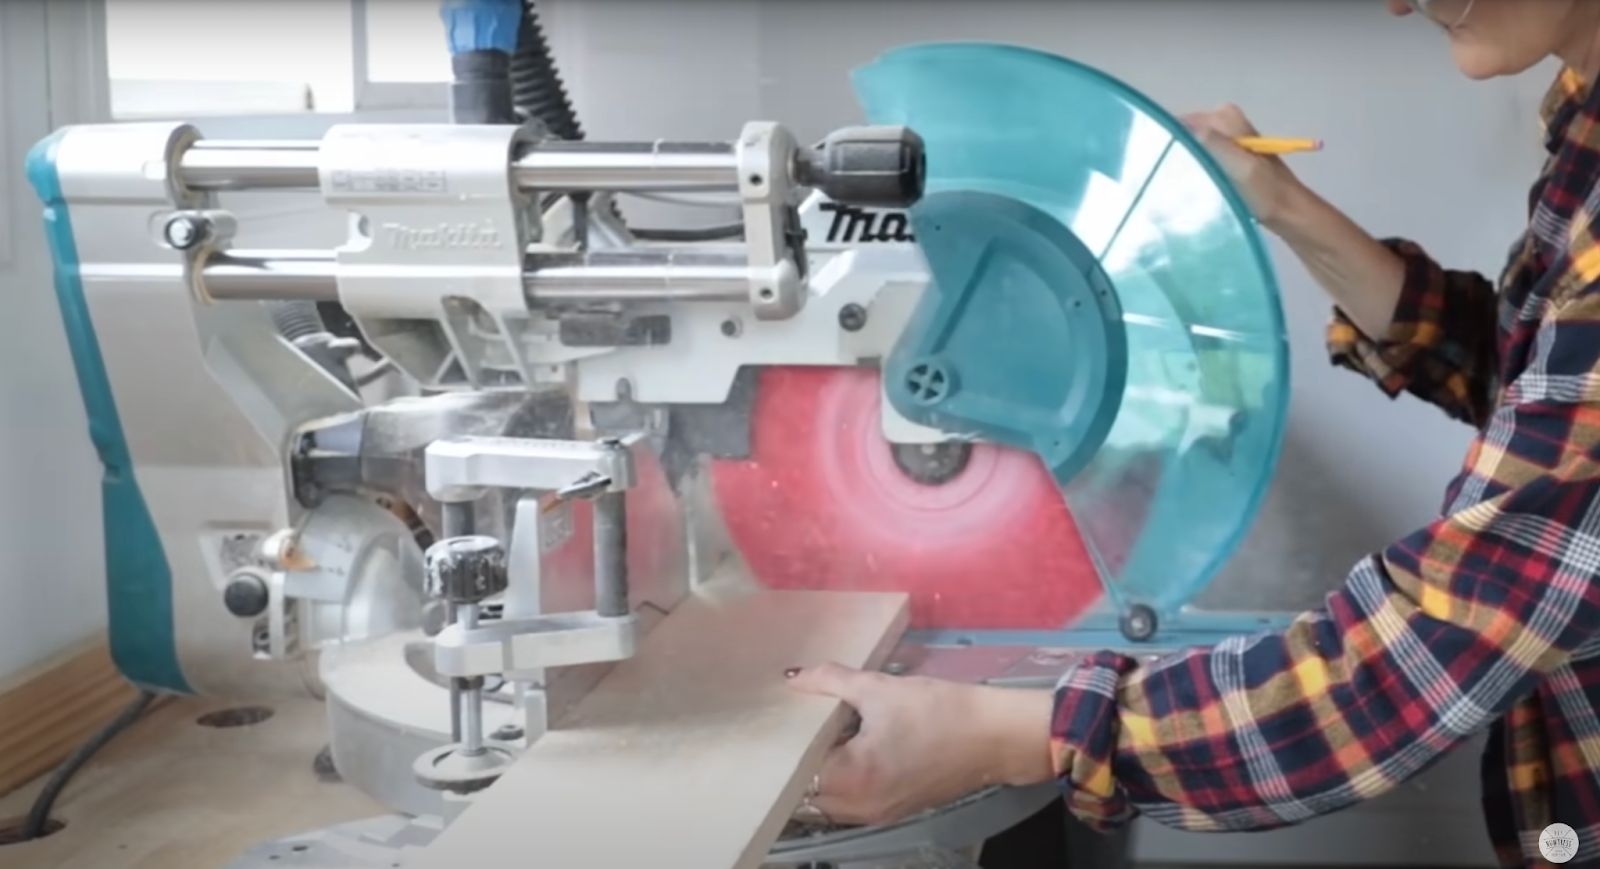
Next you’re going to cut the pieces for the frame. I used 1×6 boards and cut it with my miter saw. If you don’t have a miter saw you can absolutely use a circular saw to make all of these cuts.
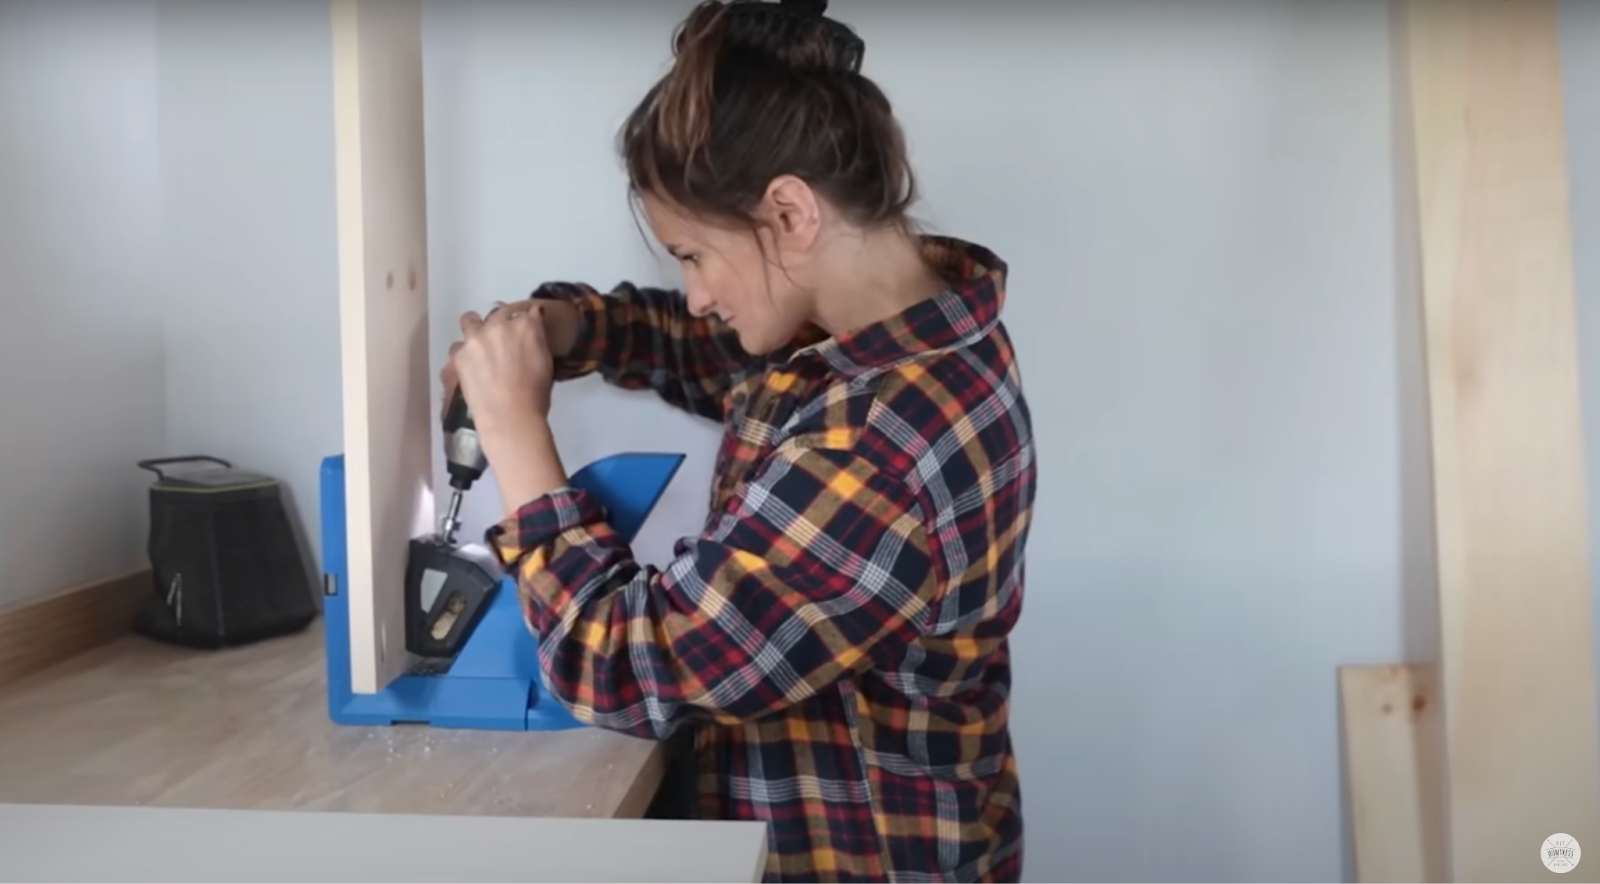
I used a pocket hole jig to pre-drill holes in the frame for assembly. If you don’t have a pocket hole jig you can totally just use screws and screw these pieces directly to the frame.
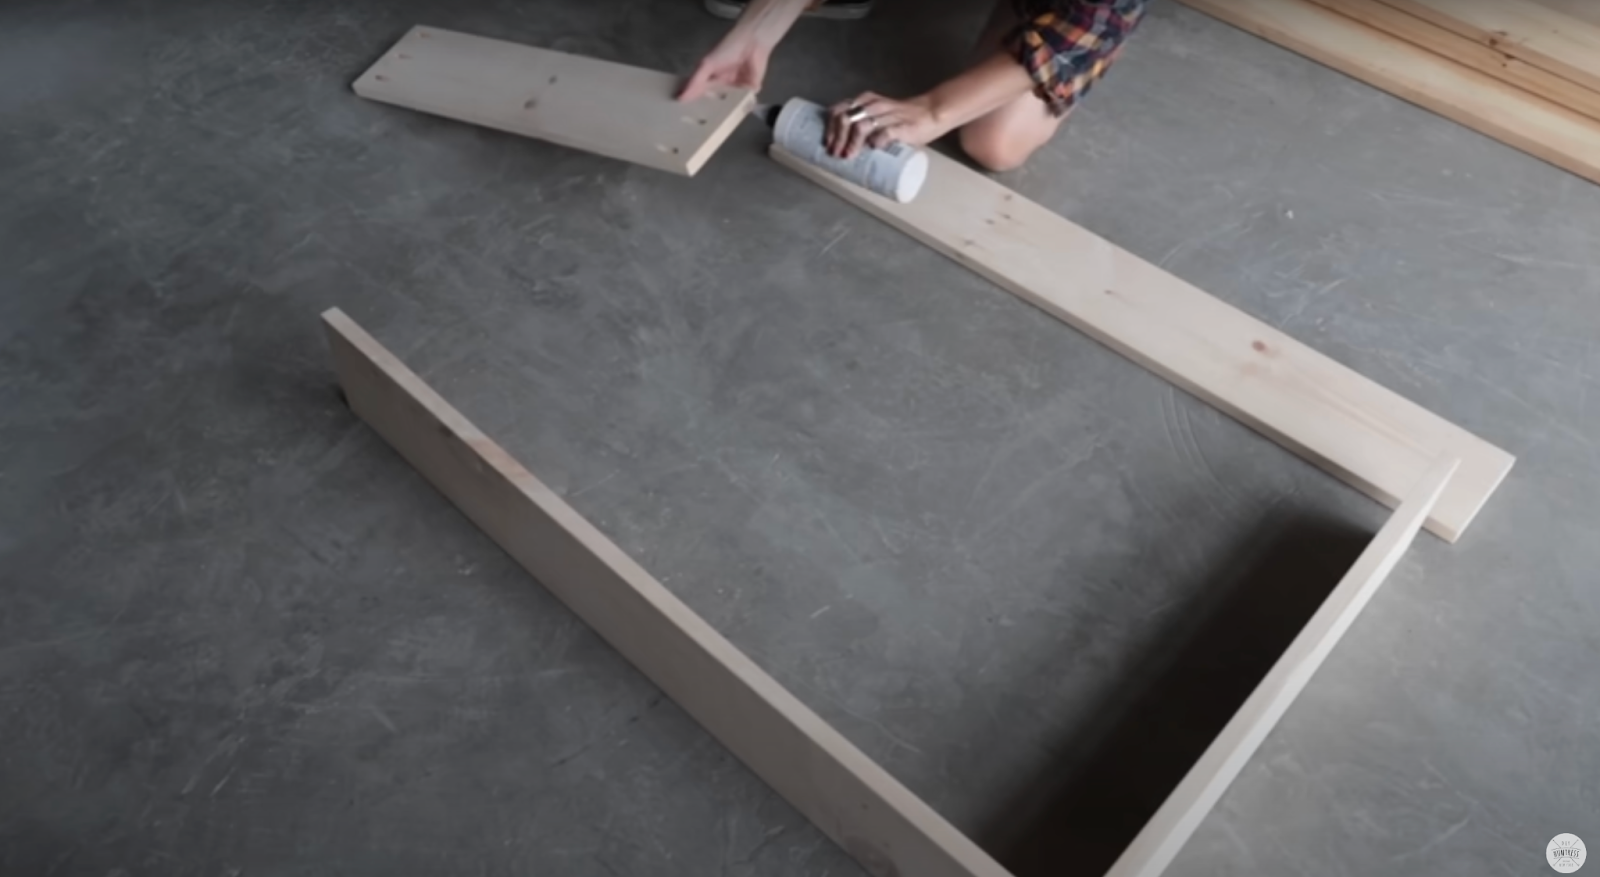
Next I used some wood glue before I screwed the pieces together using the pre-drilled pocket holes.
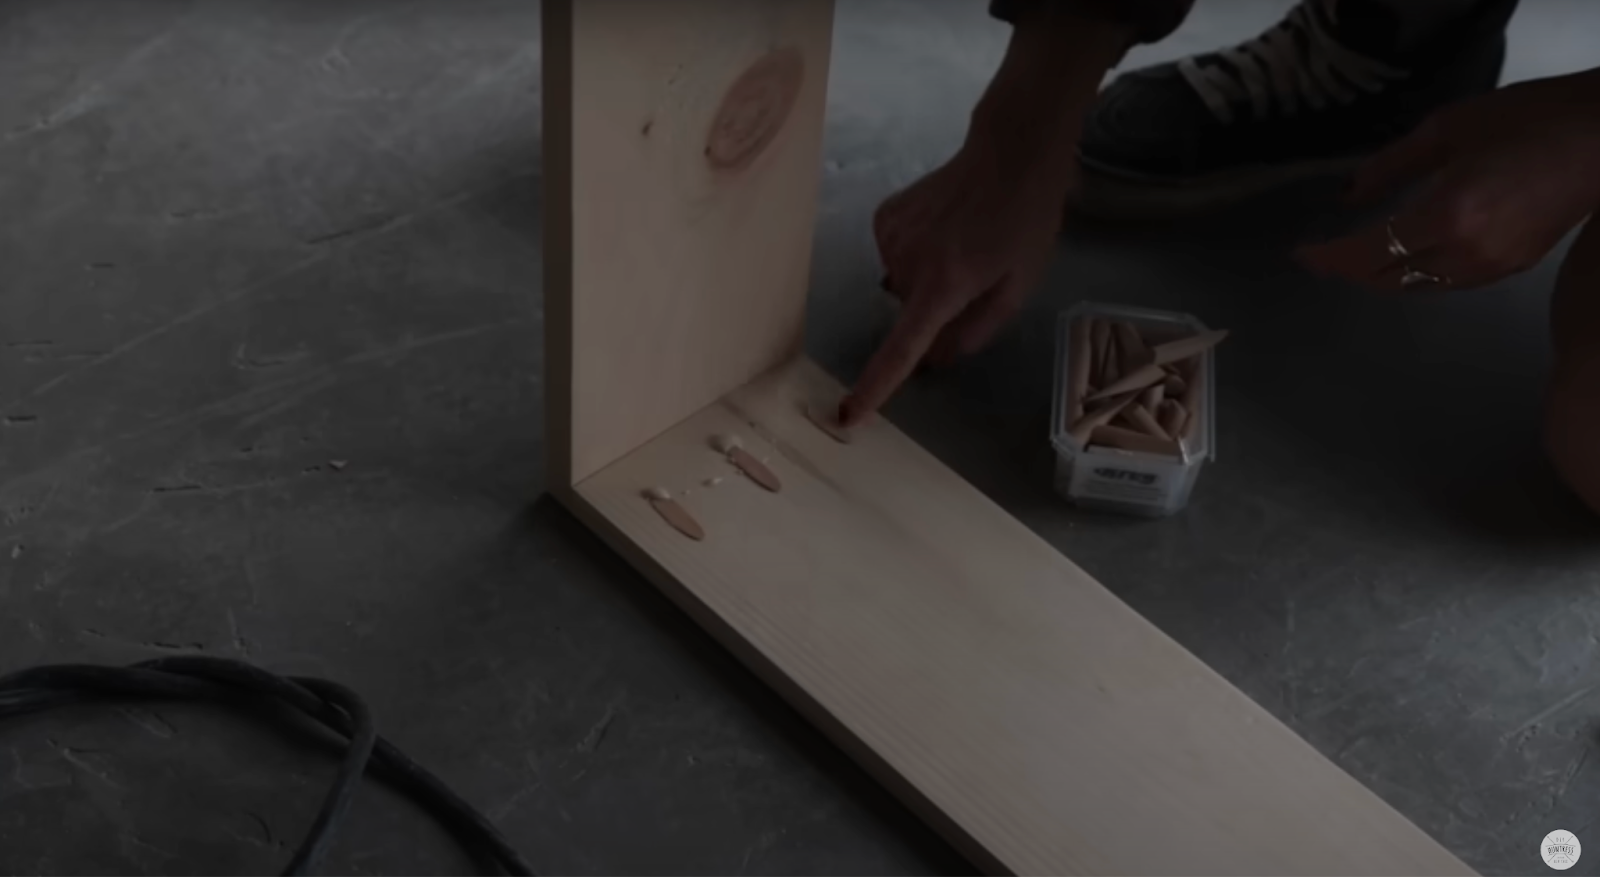
I didn’t want exposed pocket holes so I used these plugs to fill in the holes. Apply the wood glue first, then spread the glue around once the plug is in place.
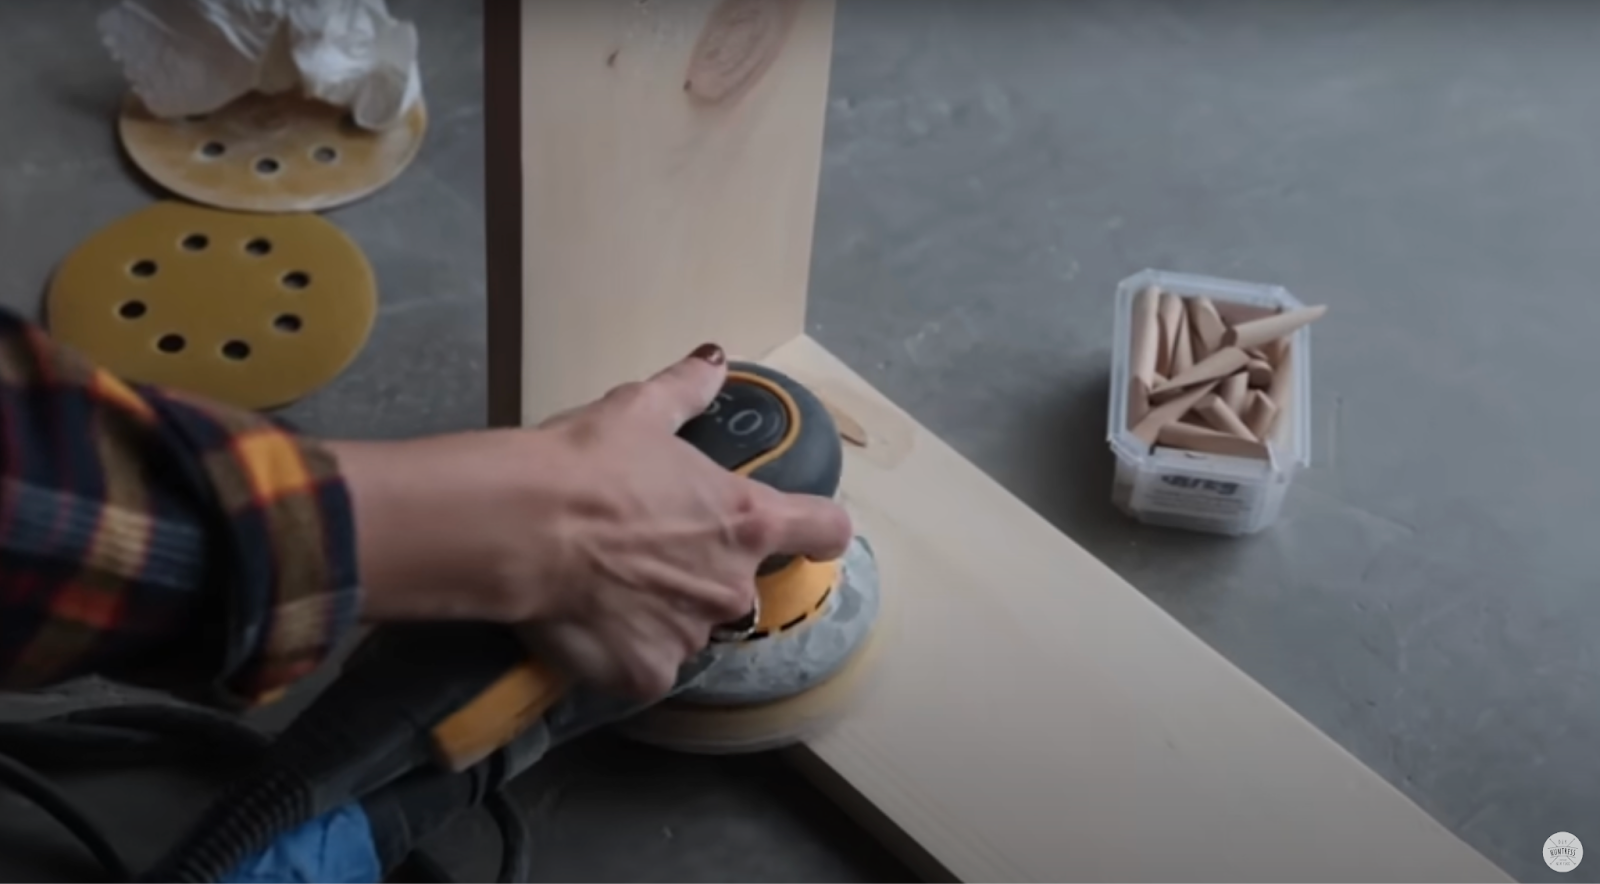
Then sand over the plugs and the glue will combine with the sawdust to give you a smoother finish.
3. Add the shelves and supports
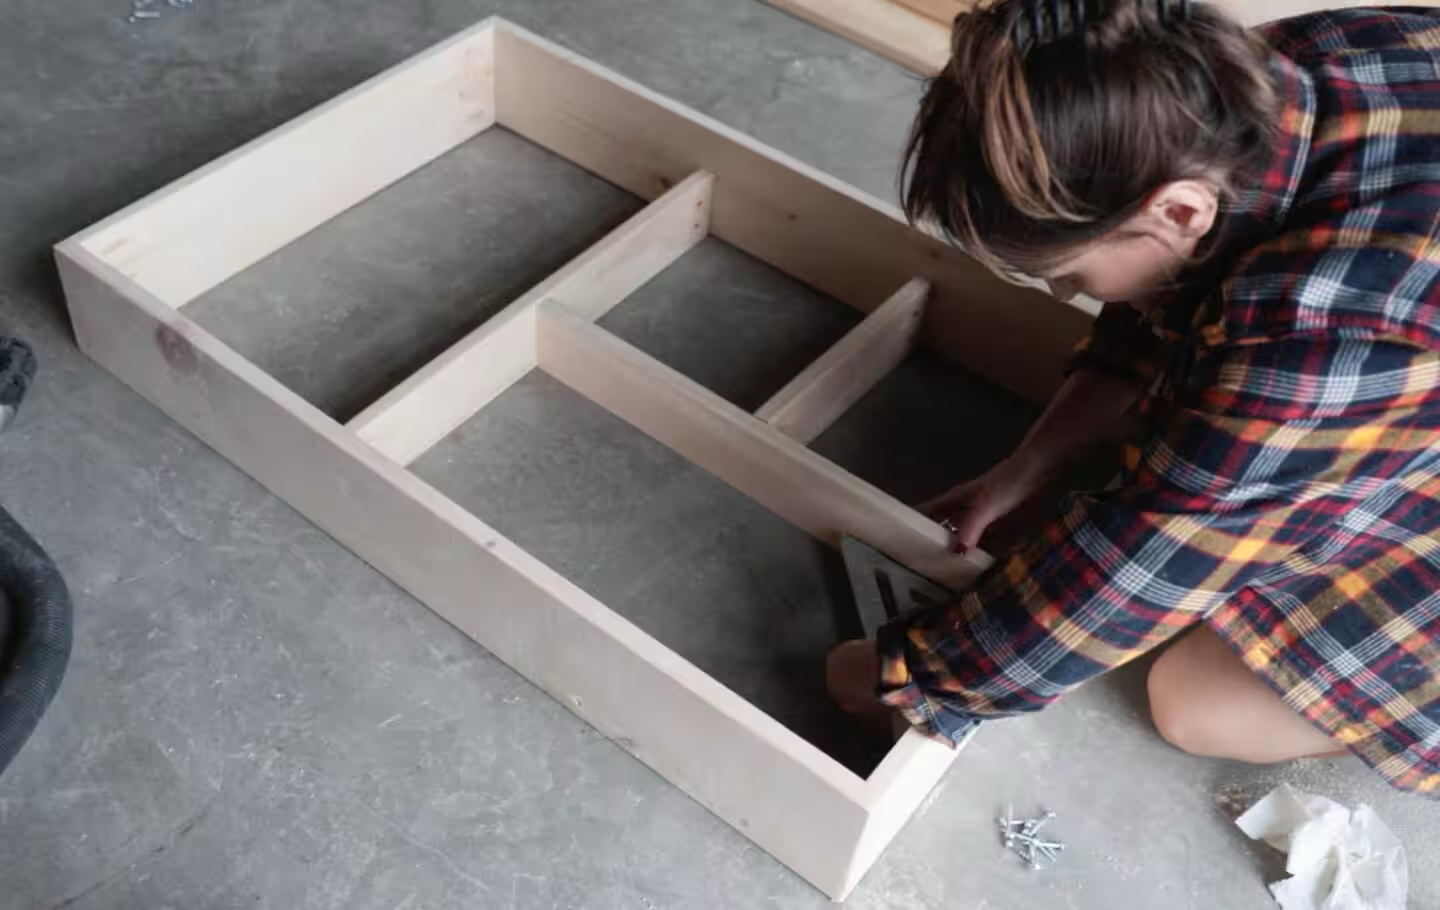
Now we add the shelving and supports. I used narrower boards so the table would fold into the frame and sit flat. (The detailed lumber dimensions can be found in my plans.) I again pre-drilled pocket holes into these pieces and used my square to make sure everything fit well before screwing into the pocket holes. You can get creative here with the layout of your shelves. I arranged mine to fit items I’ll use for entertaining but you can make your shelves to fit your needs.
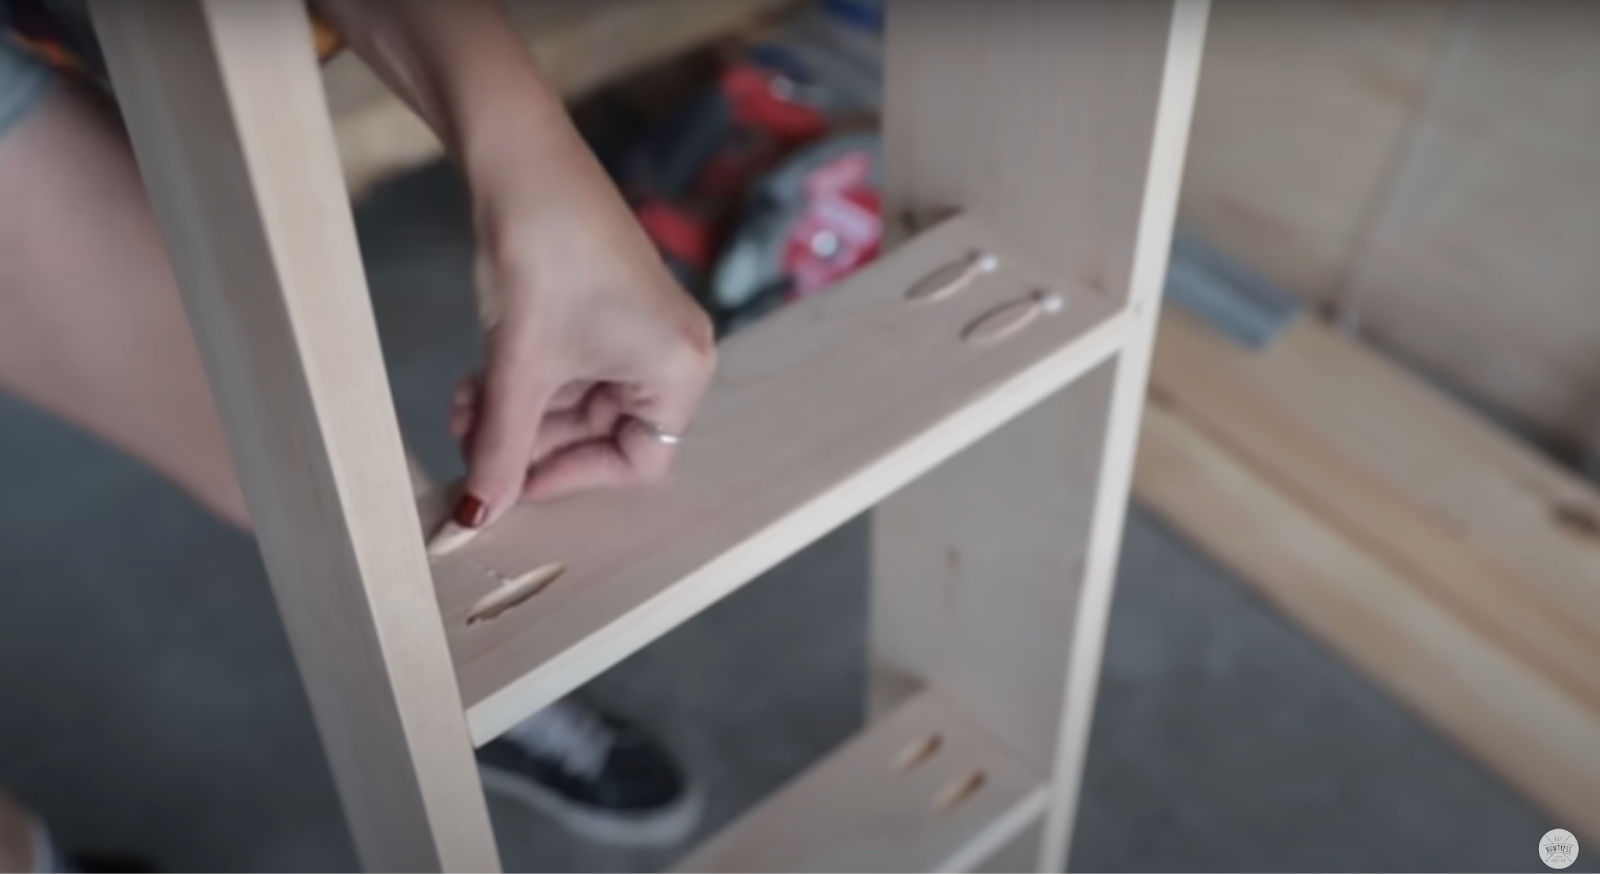
I plugged up the pocket holes in the shelves and supports as well to make sure everything had a finished look.
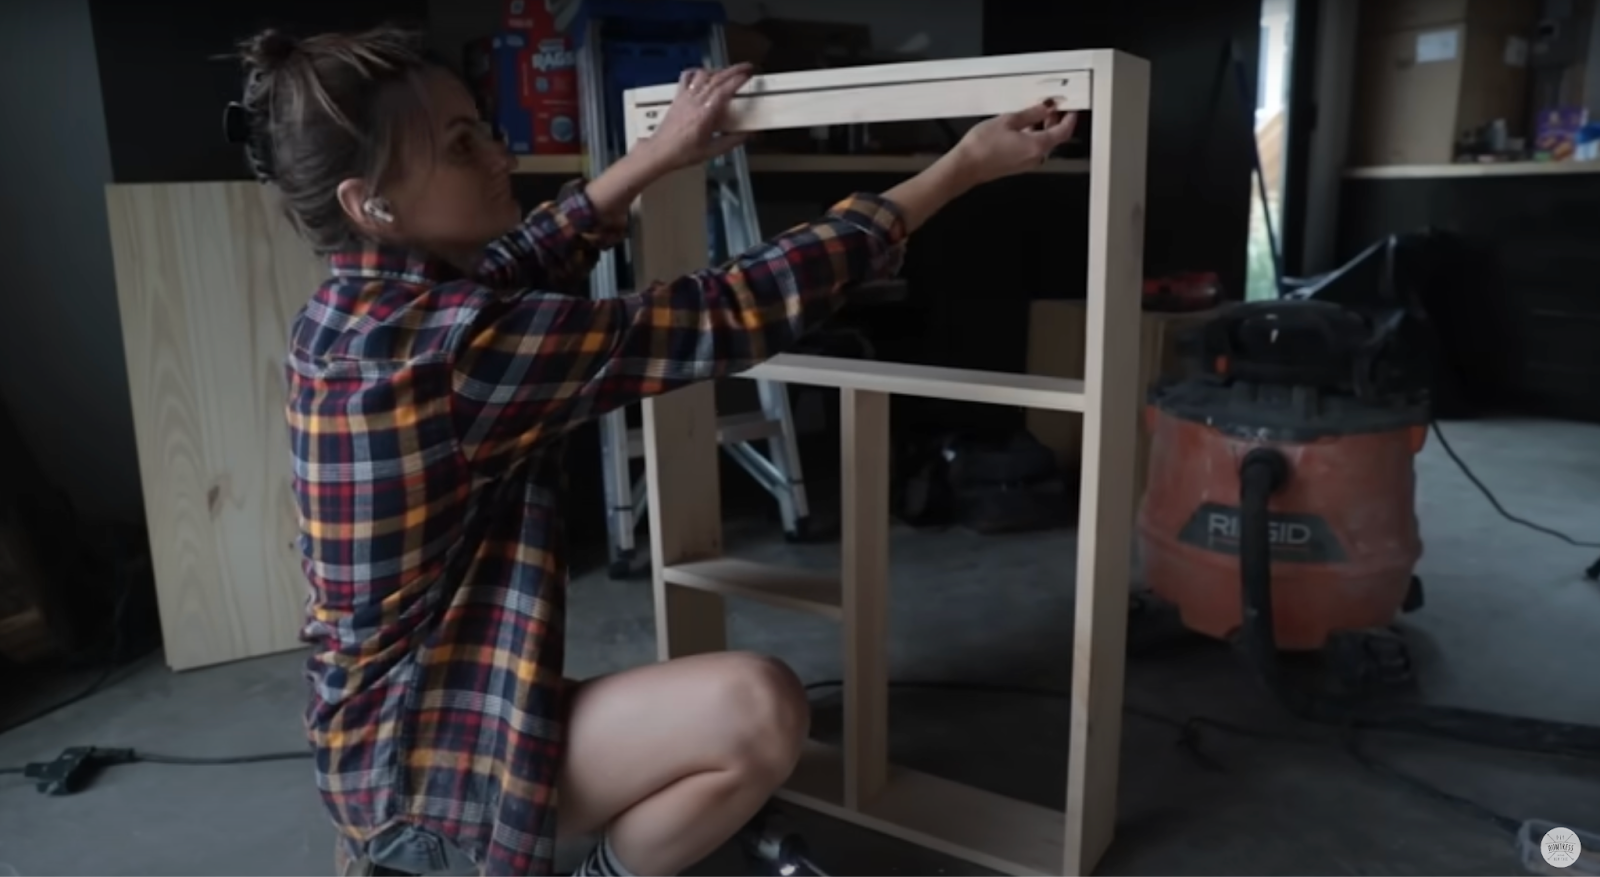
I wanted to mount the murphy table directly into the studs in the wall so I needed to add extra supports on the back. I used 1×2 lumber on the top and bottom. This is super helpful in making a strong cleat to hang it on the wall.
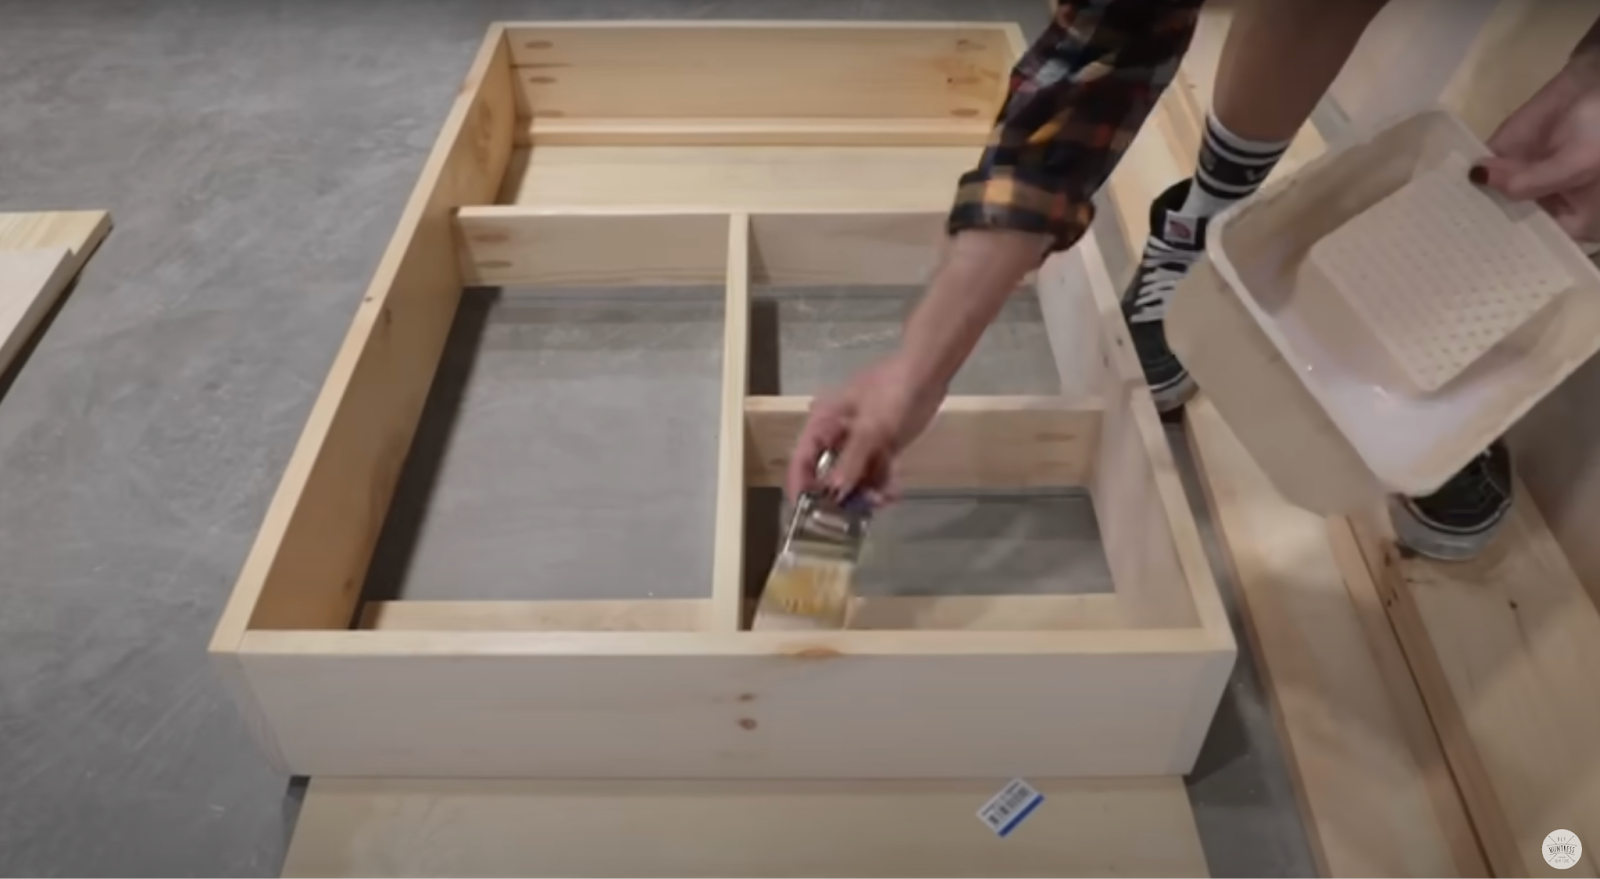
I finished the frame with a clear coat because I wanted it to contrast the art piece that would go on the front. You can be creative here with whatever color suits your piece best.
4. Make joint compound art!
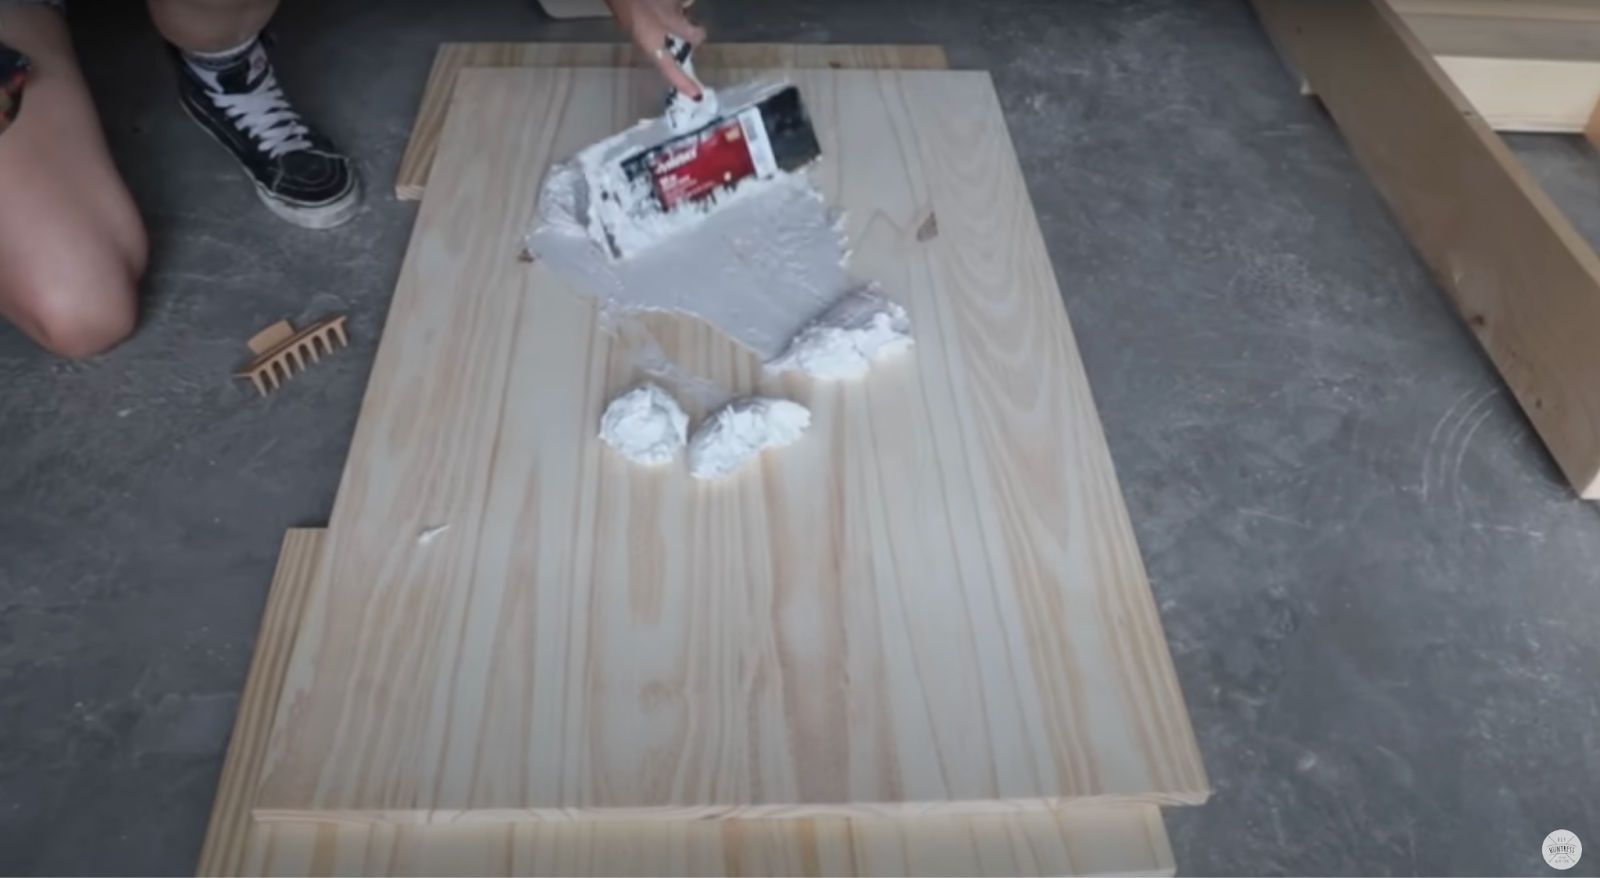
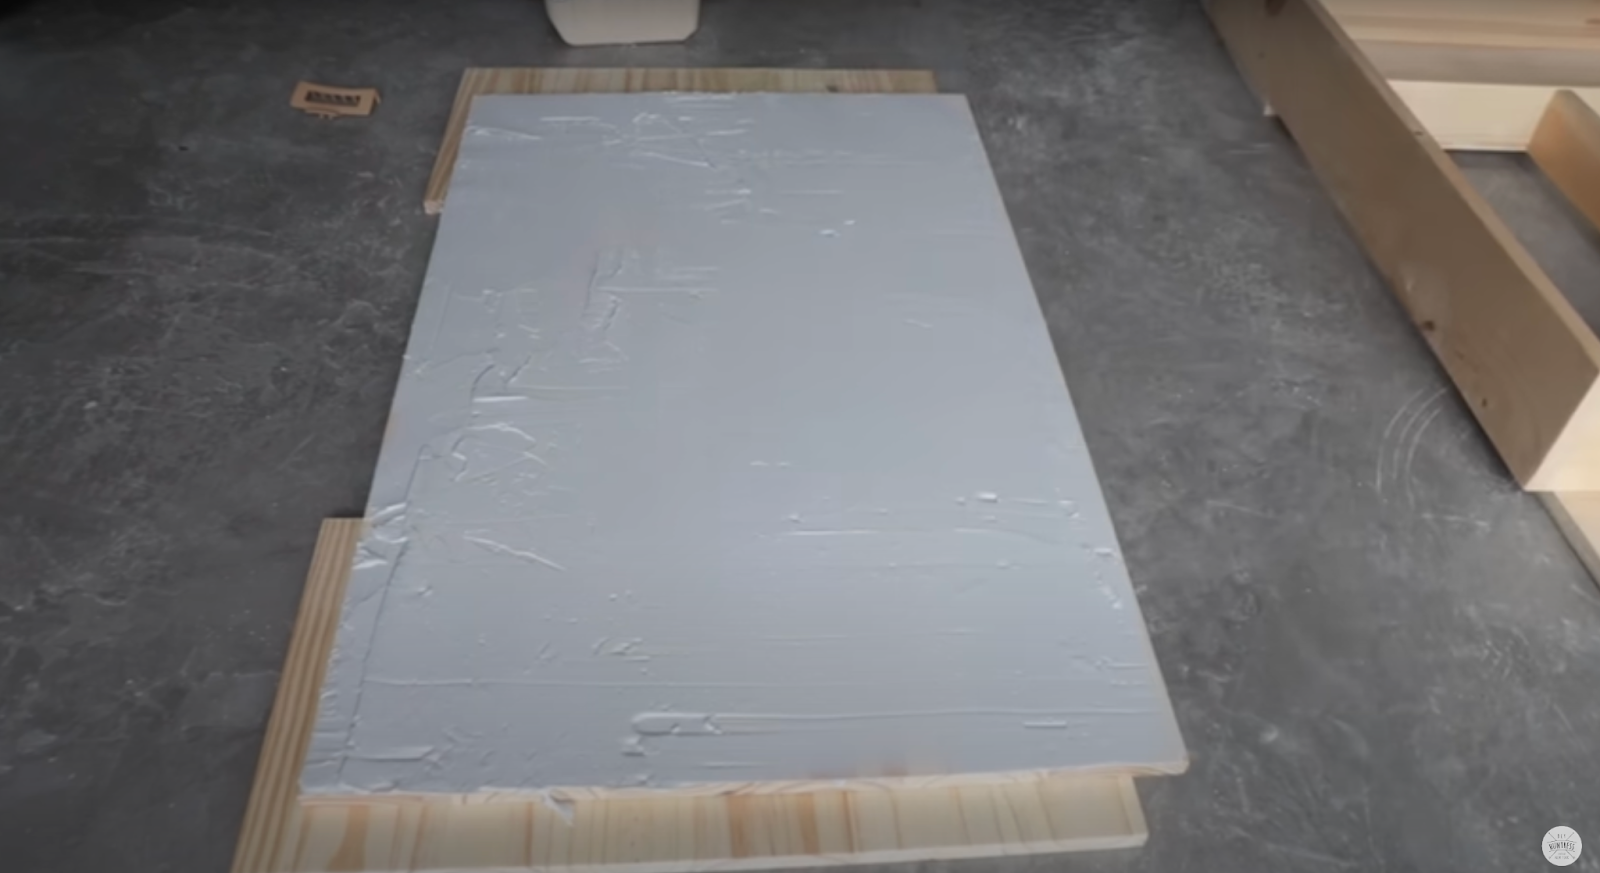
Apply the joint compound to the piece that will be the front and the table leg when it’s in it’s open position. Smooth it over the surface as best you can.
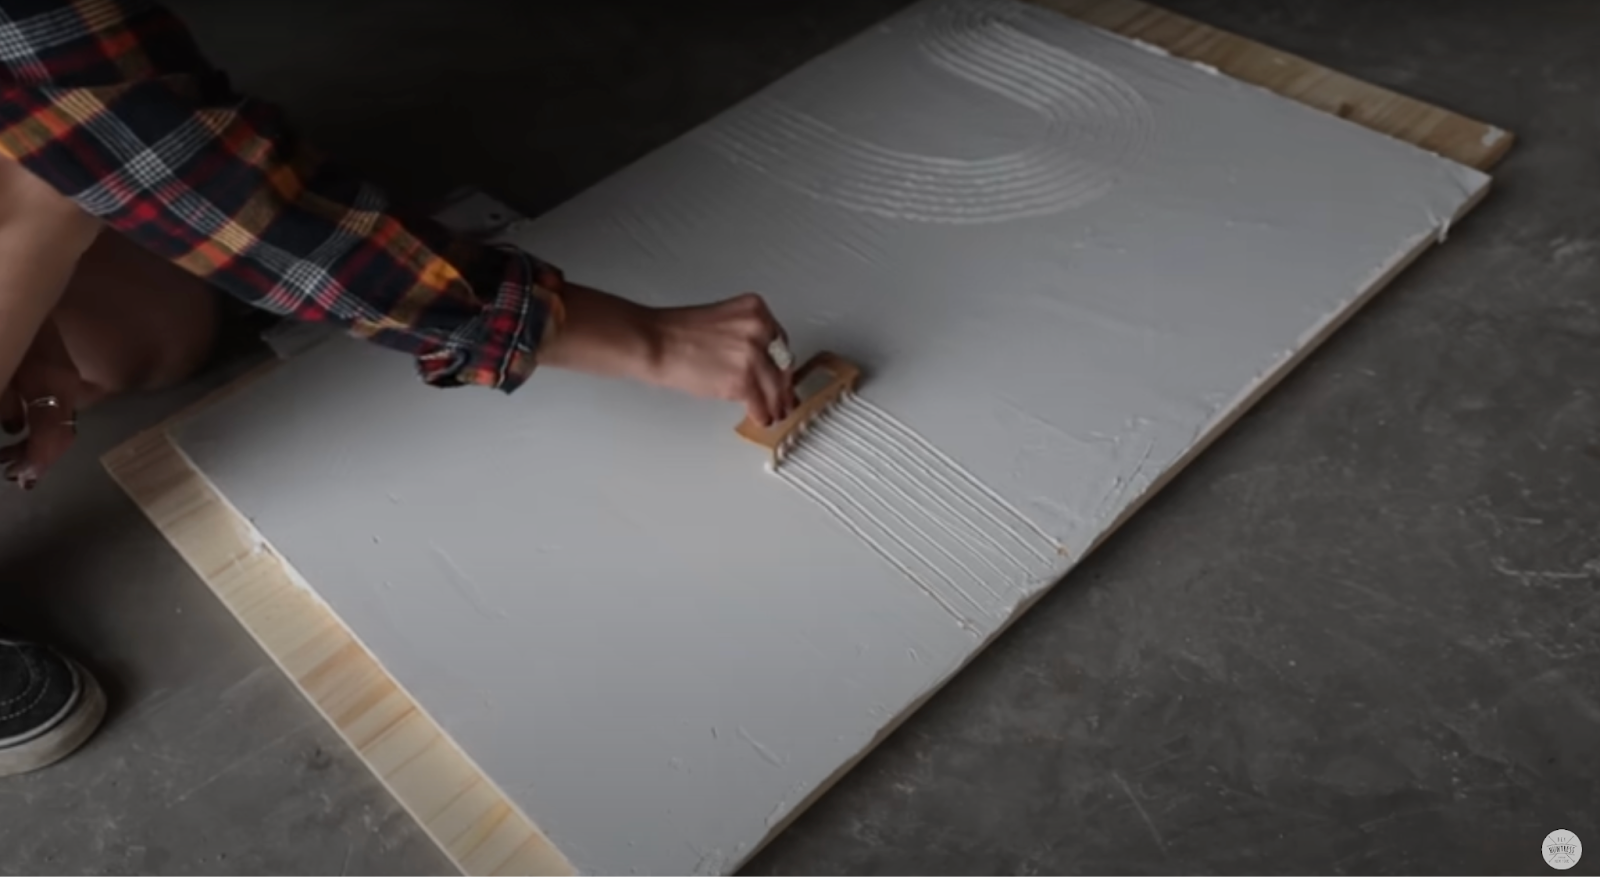
Create your design. I used a broken hair clip in keeping with my theme of using what I had on hand.
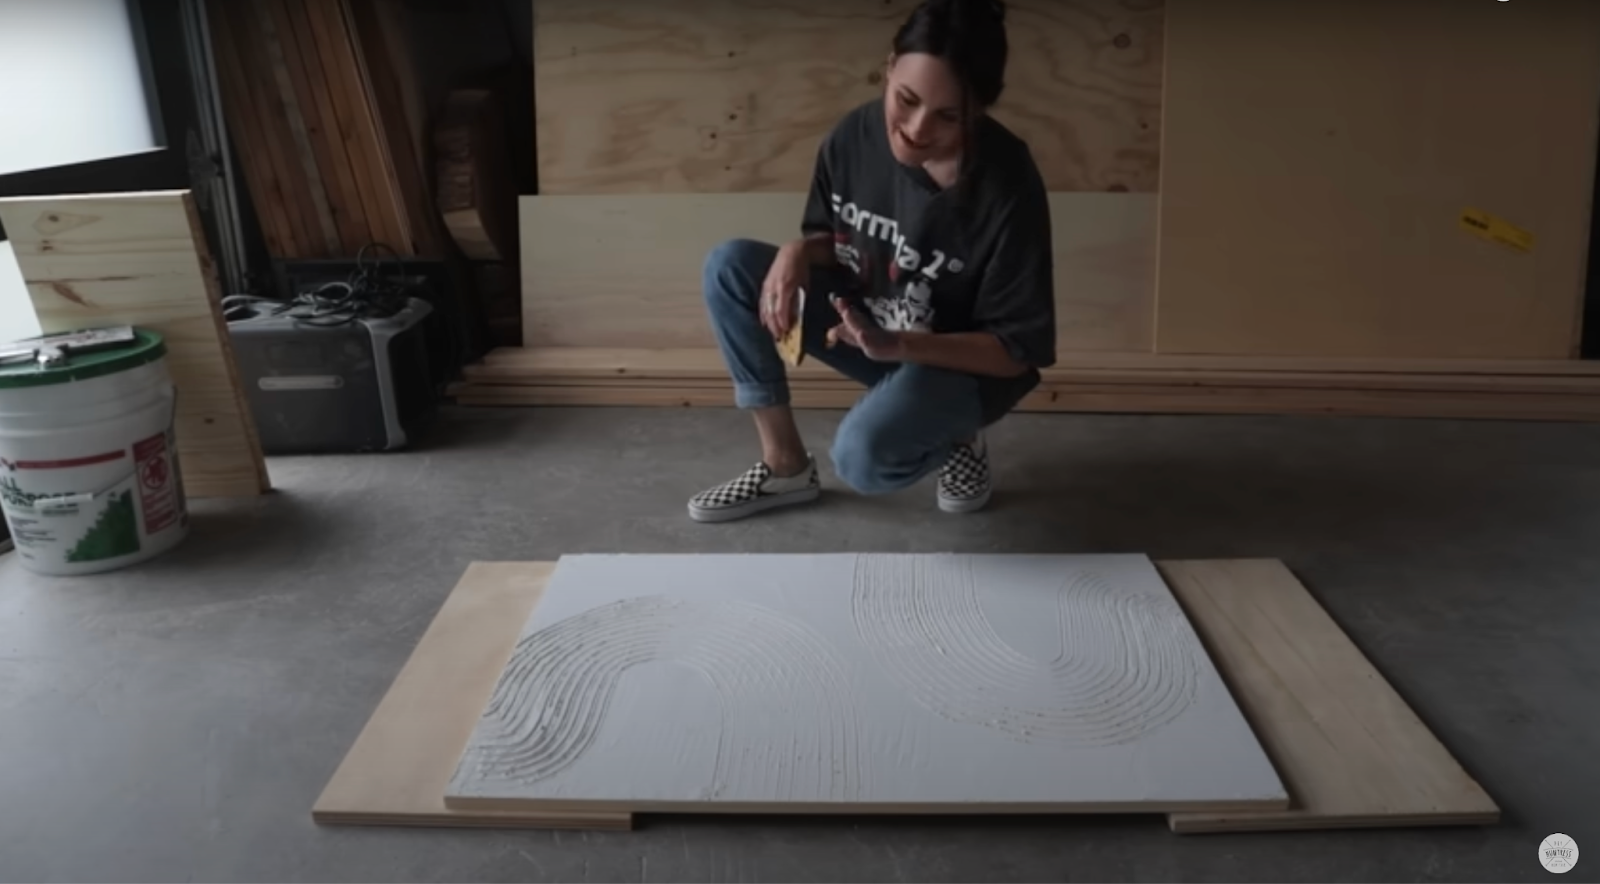
Make sure to let it dry overnight before touching up.
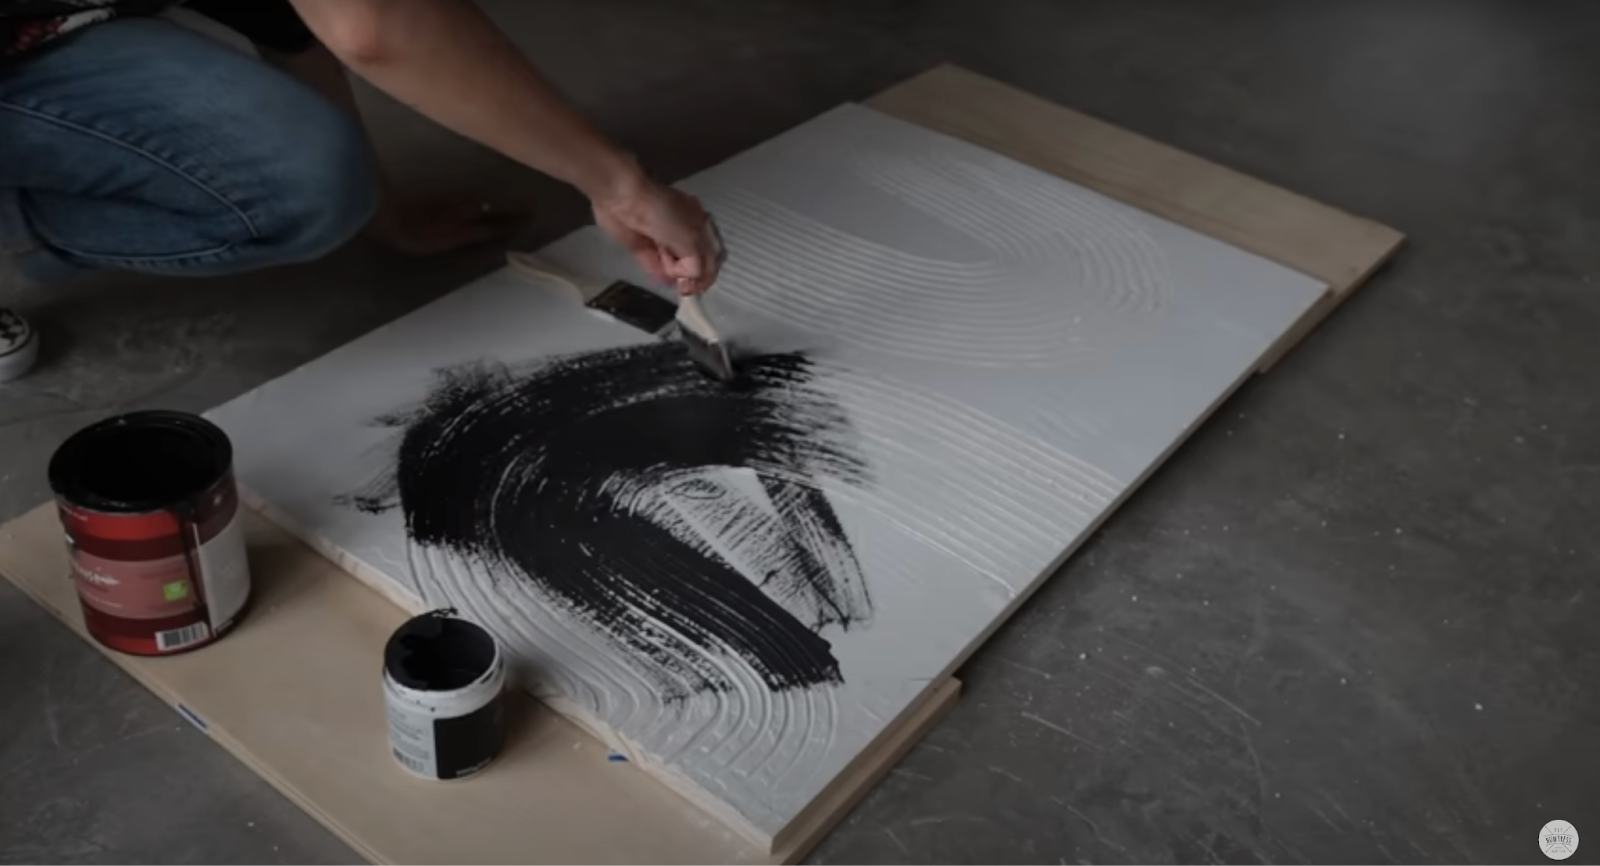
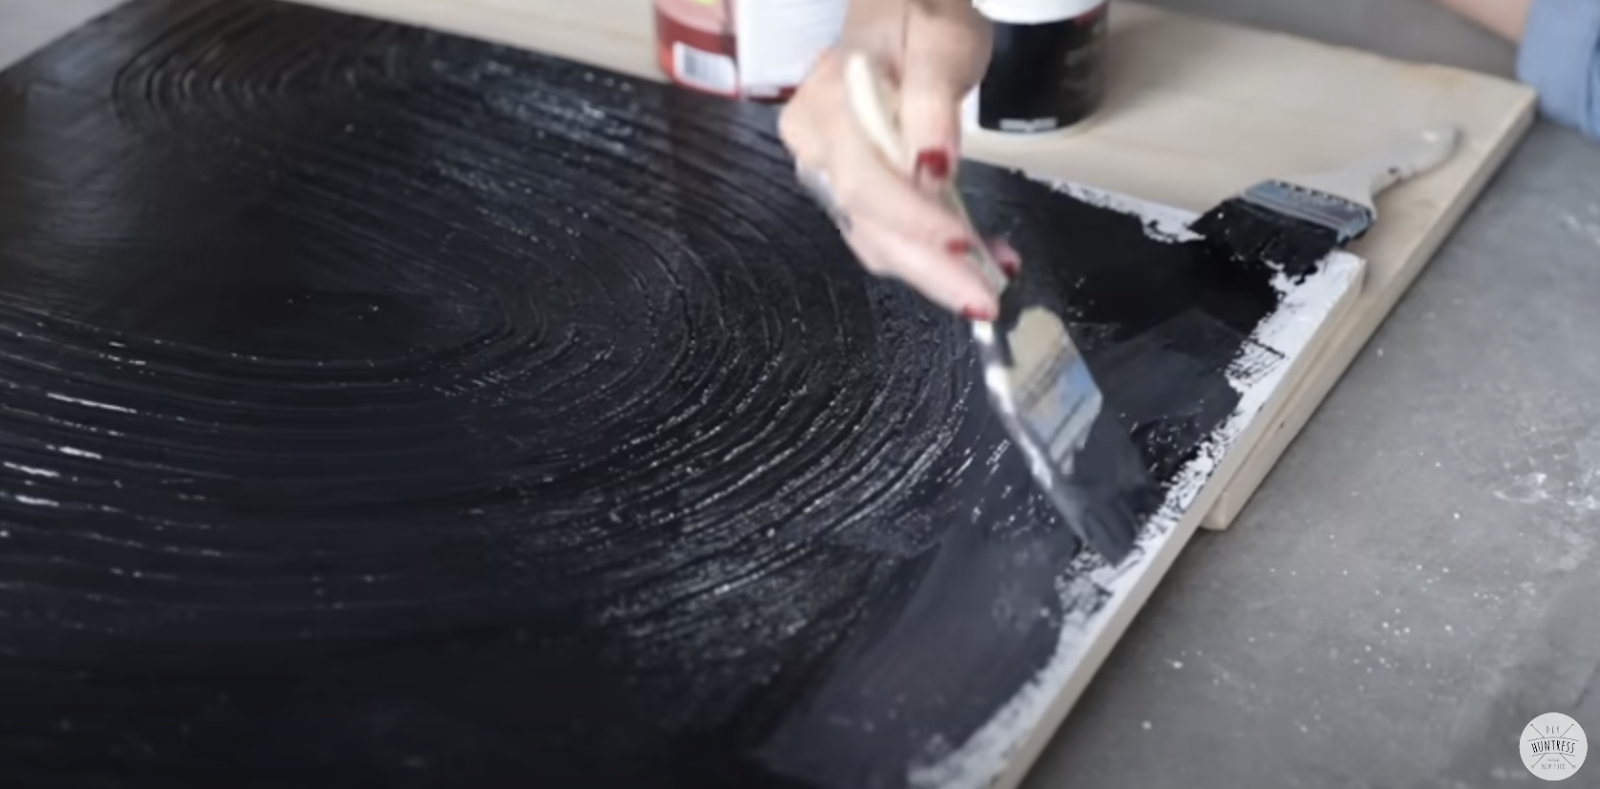
Next I applied some black and charcoal gray paint that I already had on hand.
5. Hang the table
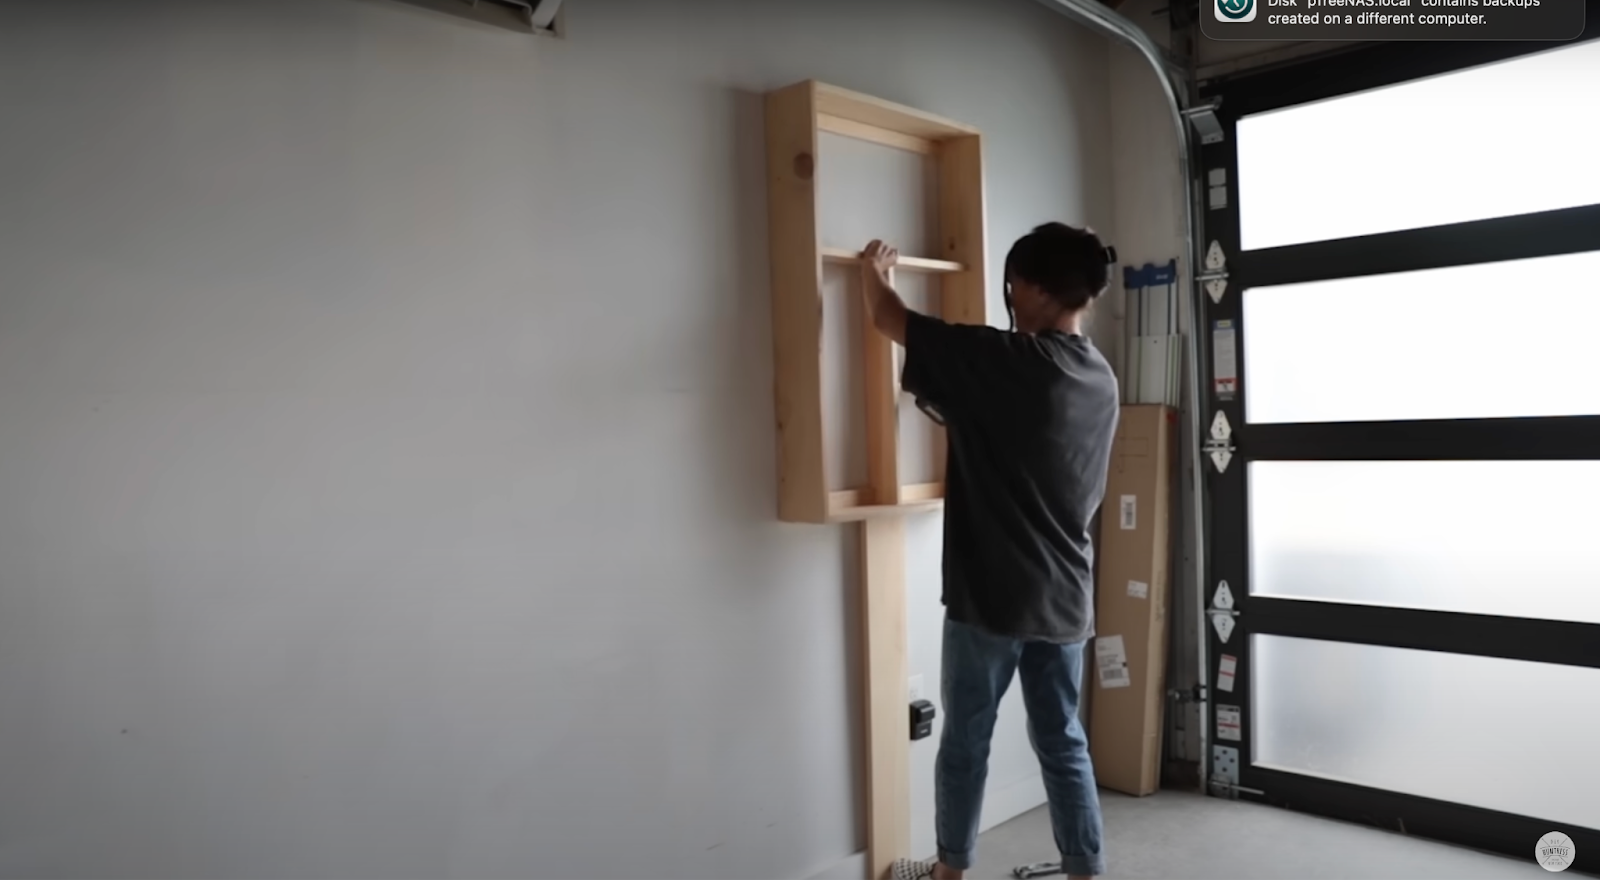
When deciding where to hang the table I wanted to make sure I placed it so the front/table leg would properly reach the floor. Taking into consideration the height of the front/table leg and the hinges, I cut a piece of wood to use as a spacer so I knew exactly where to hang the table on the wall.
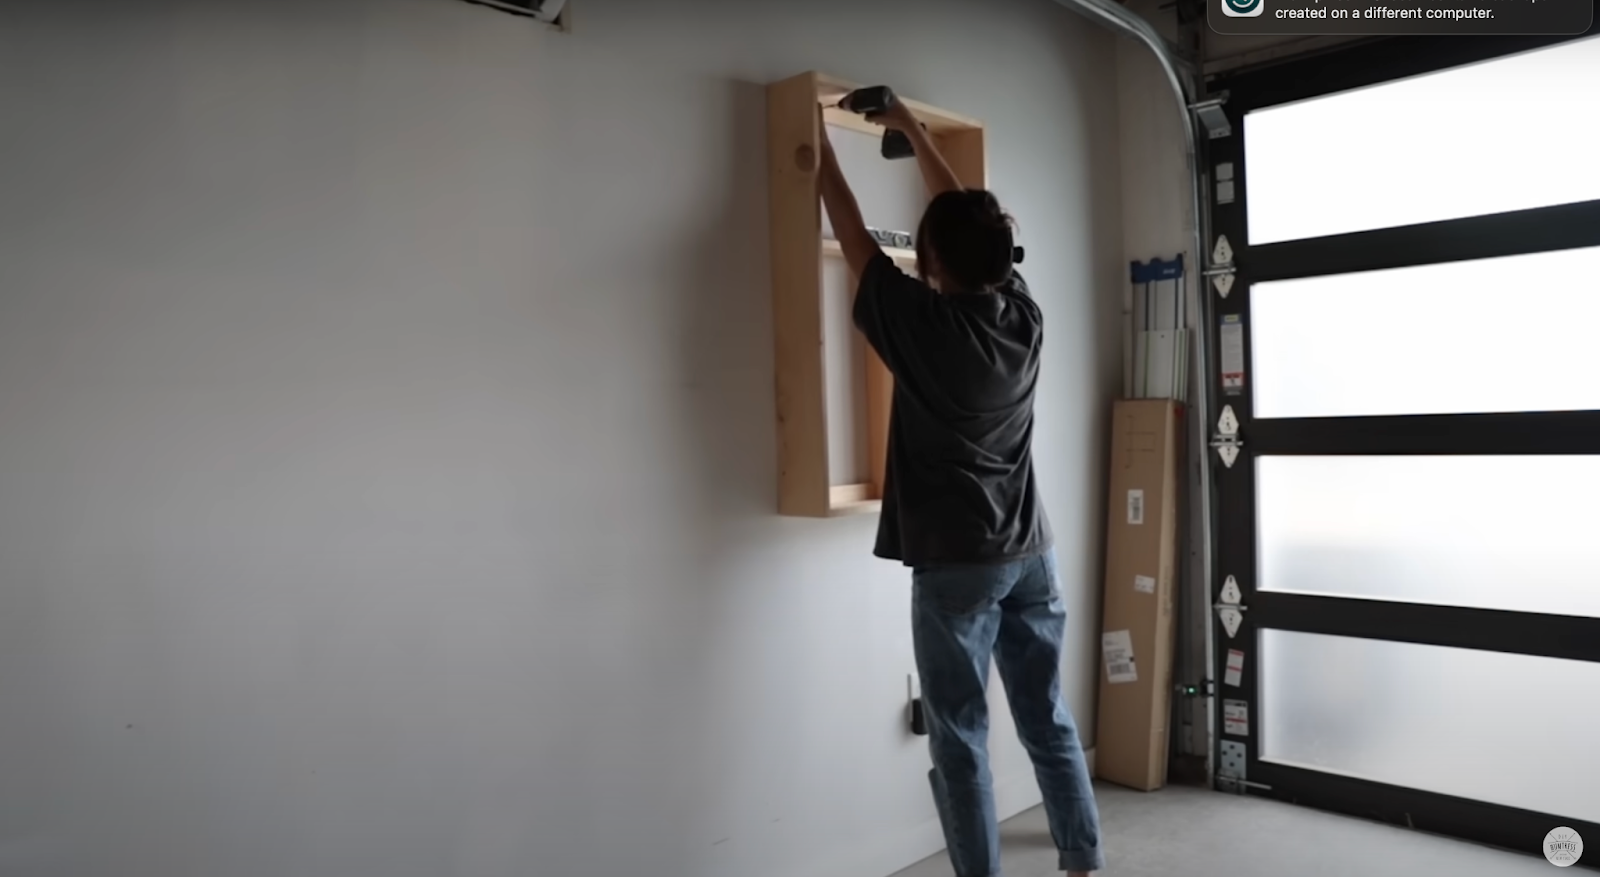
Use a level to check your alignment as you drill into the supports.
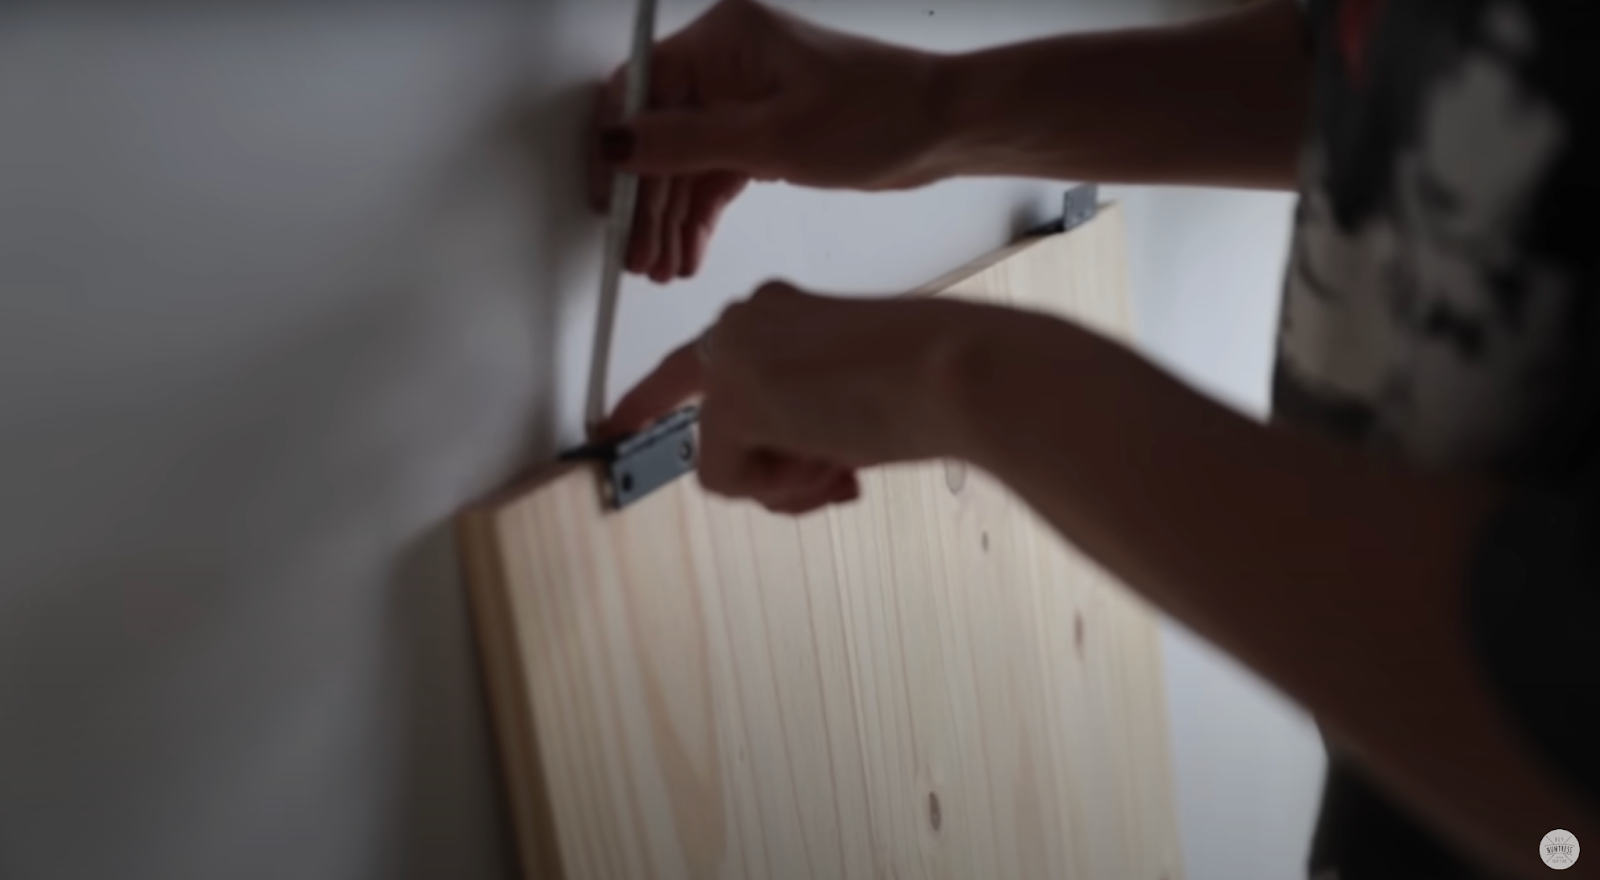
Then mark the placement of your hinges and attach to the table top.
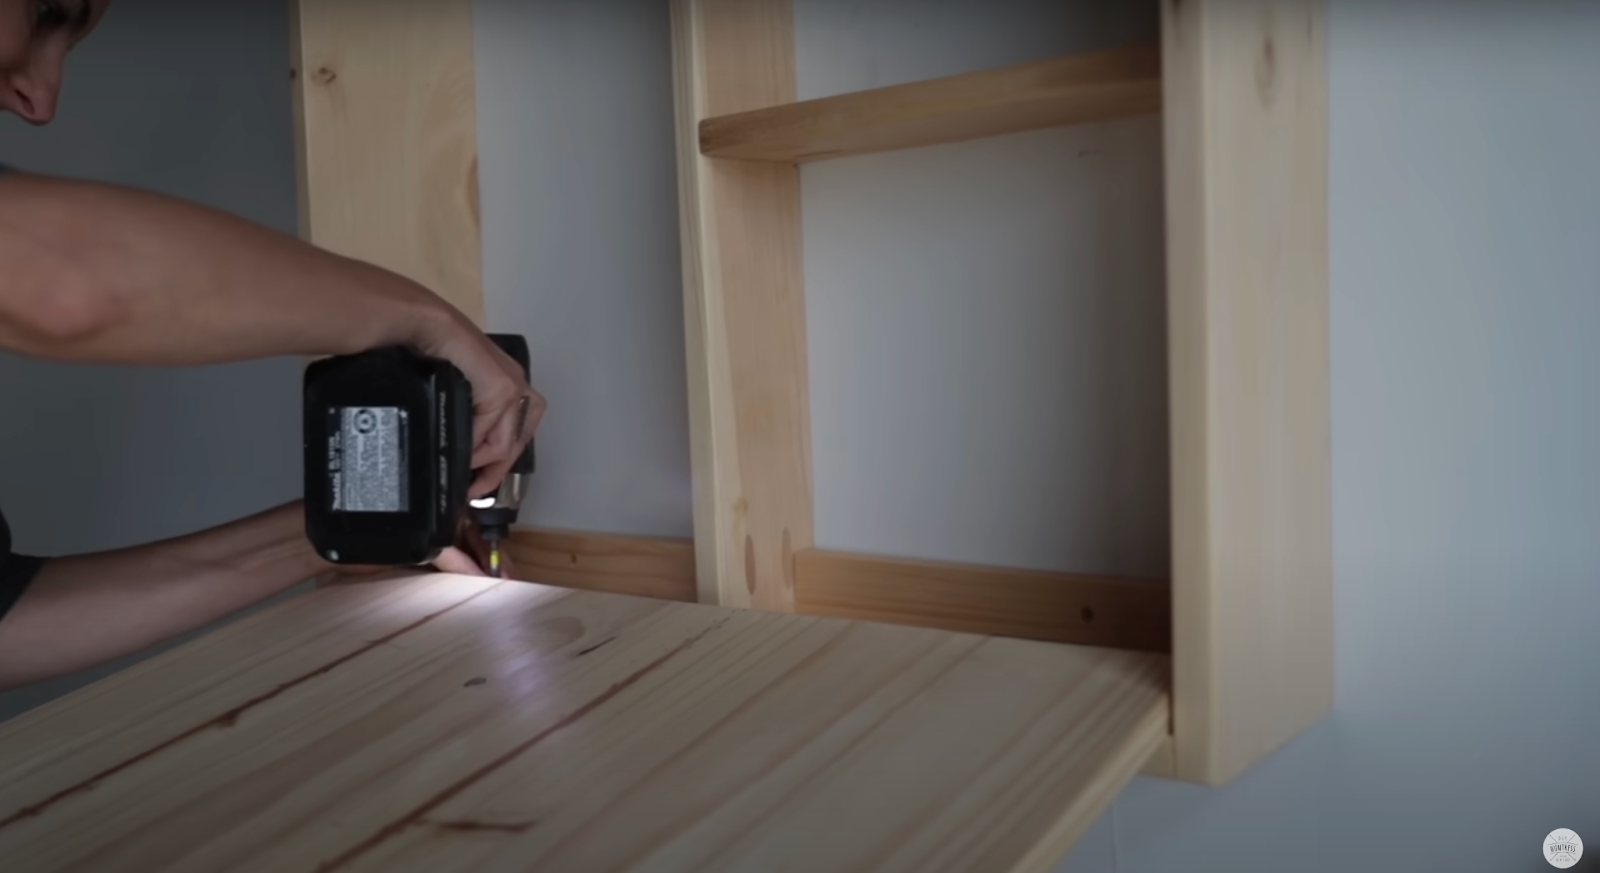
Attach the tabletop to the frame by screwing the hinges into the frame.
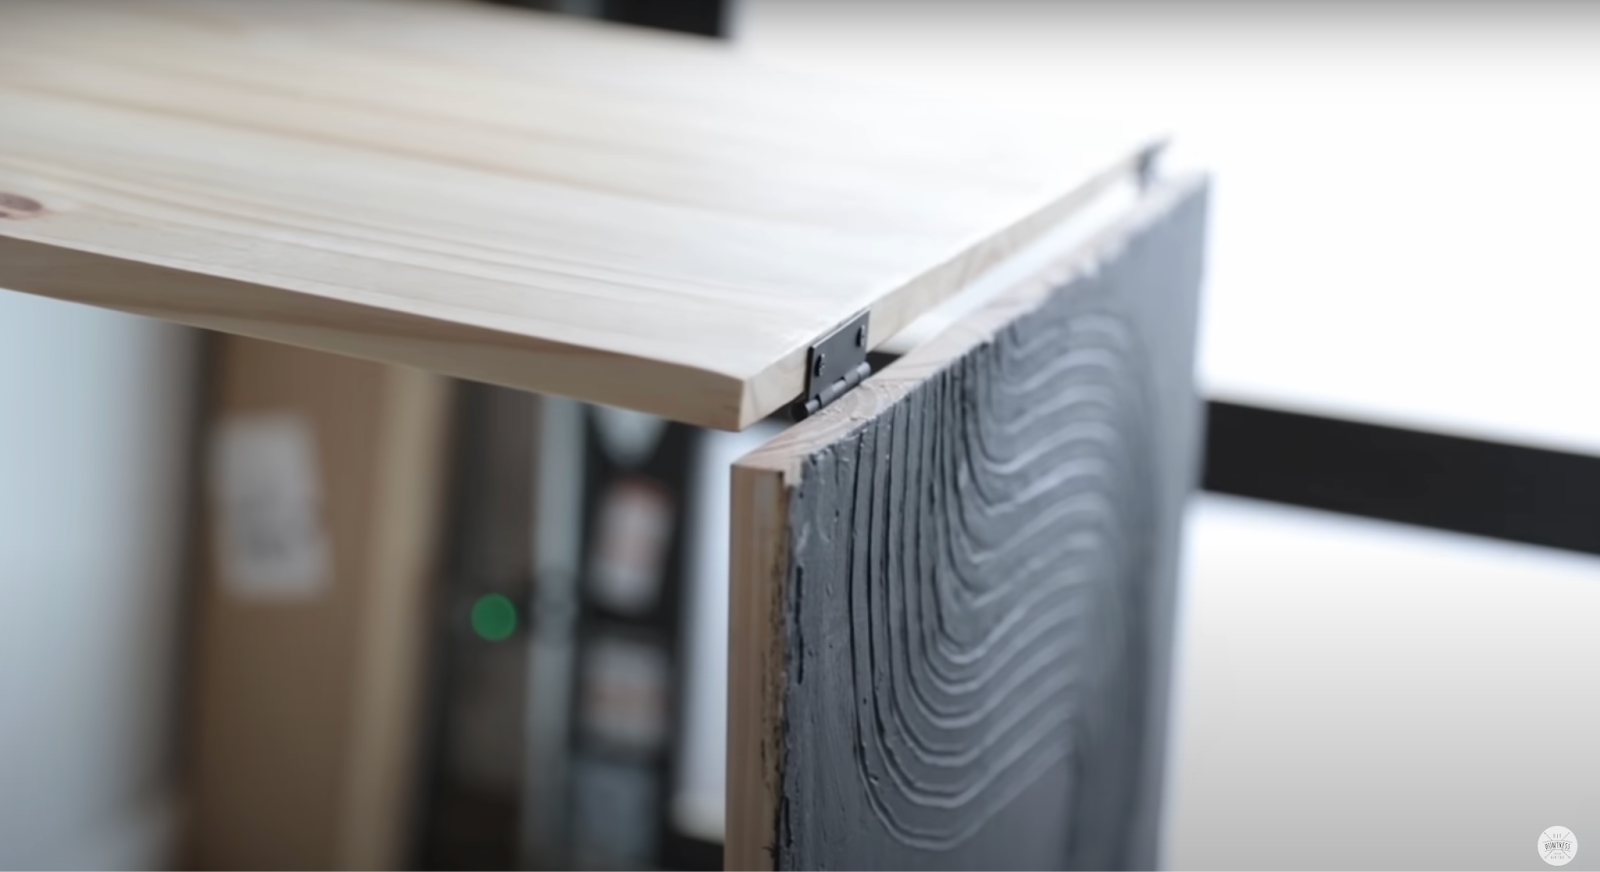
Attach your art piece to the tabletop with hinges.
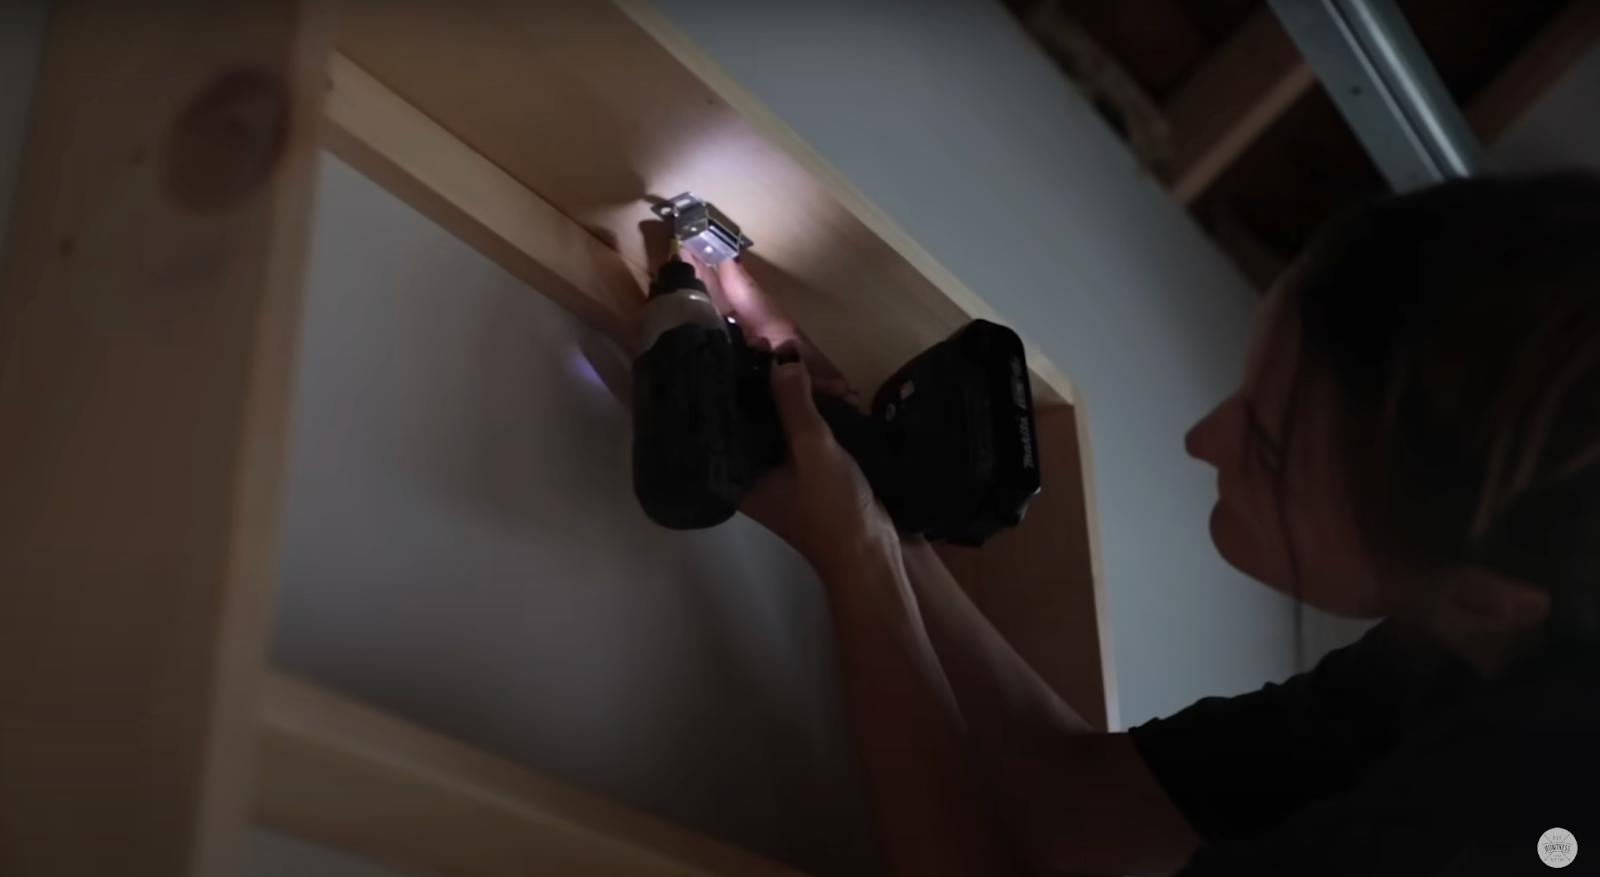
I added a magnet to help keep the table latched when in it’s upright position, I wasn’t sure it would be strong enough but spoiler alert, it was perfect.
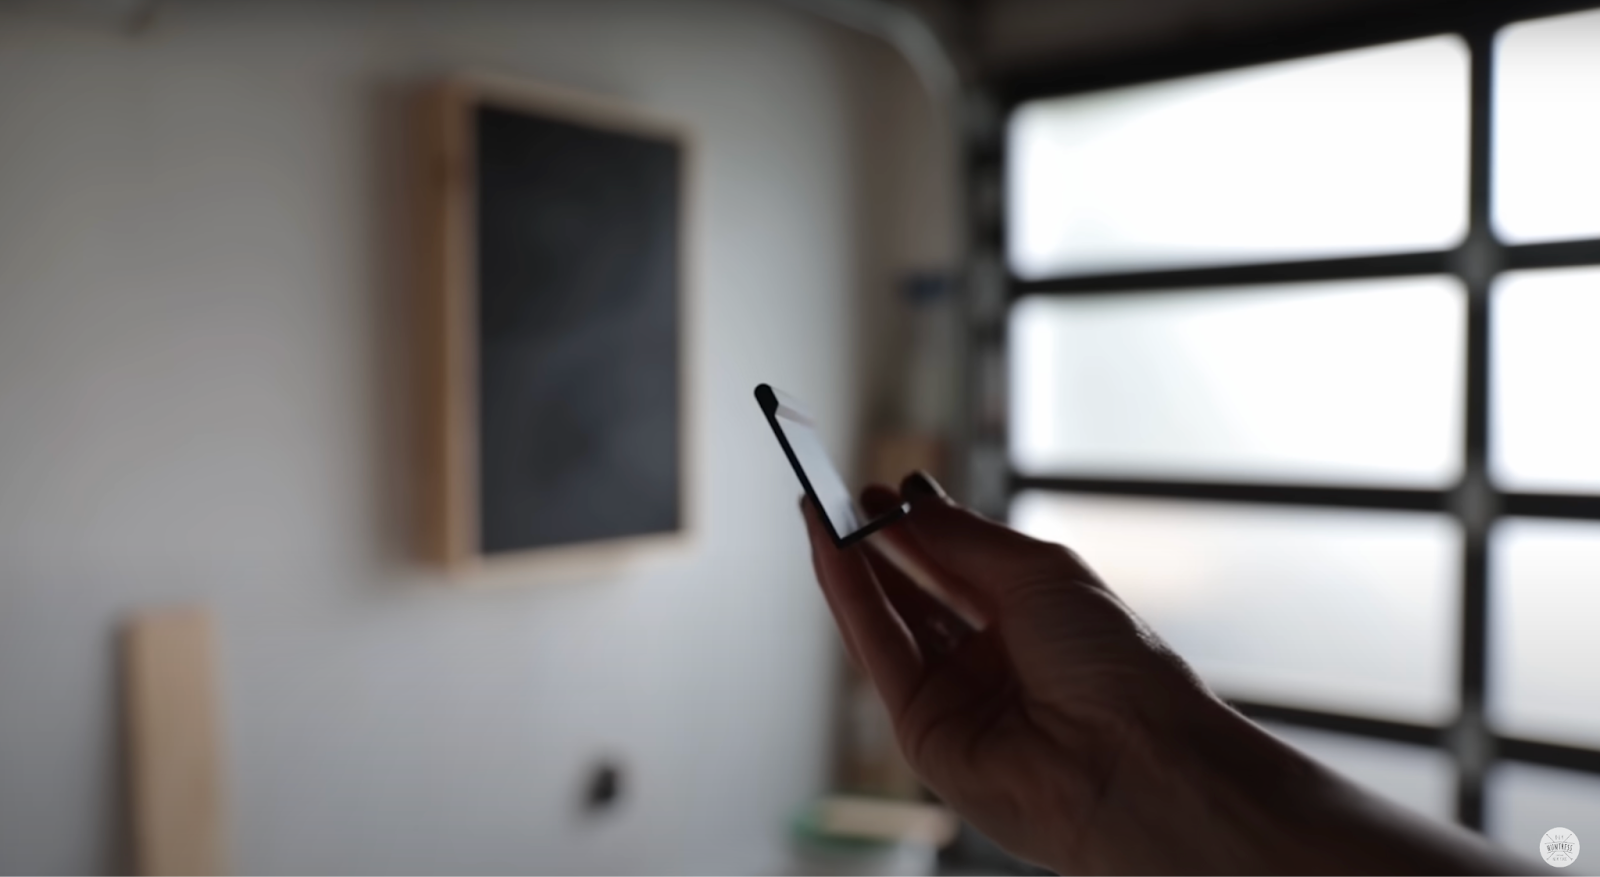
Realizing I would need a handle to disengage the magnet and pull the table down, I picked this one up at the hardware store. It was functional and simple enough to not take away from the look of the piece.
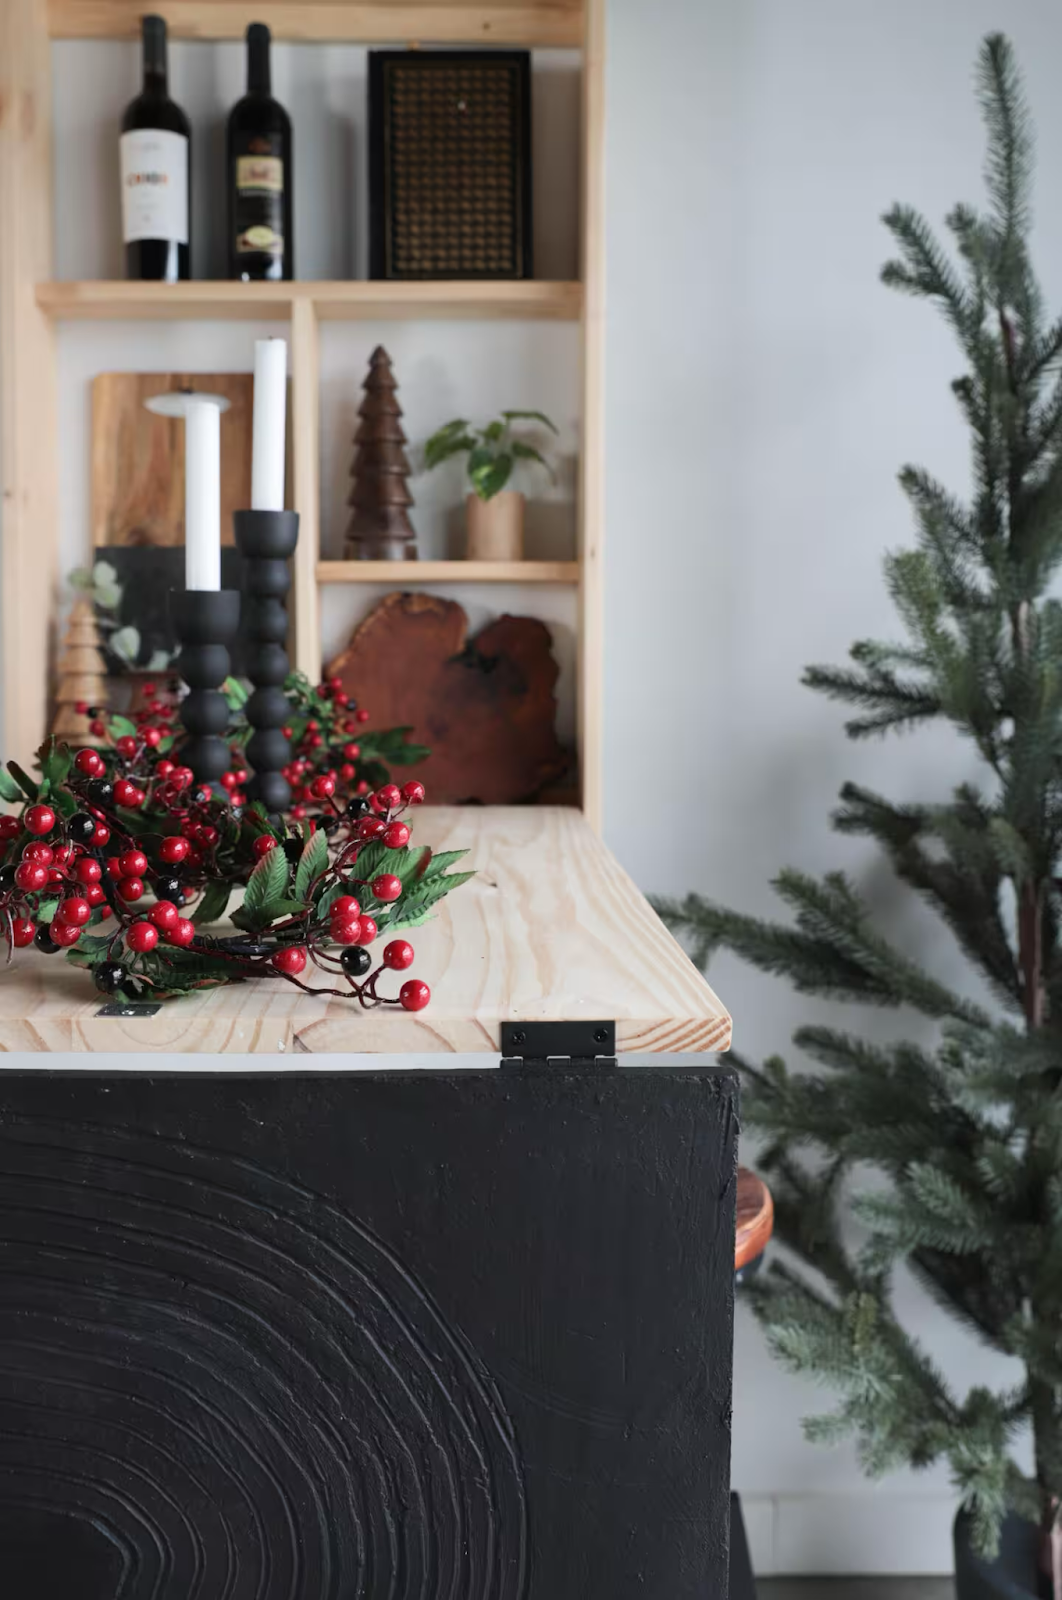
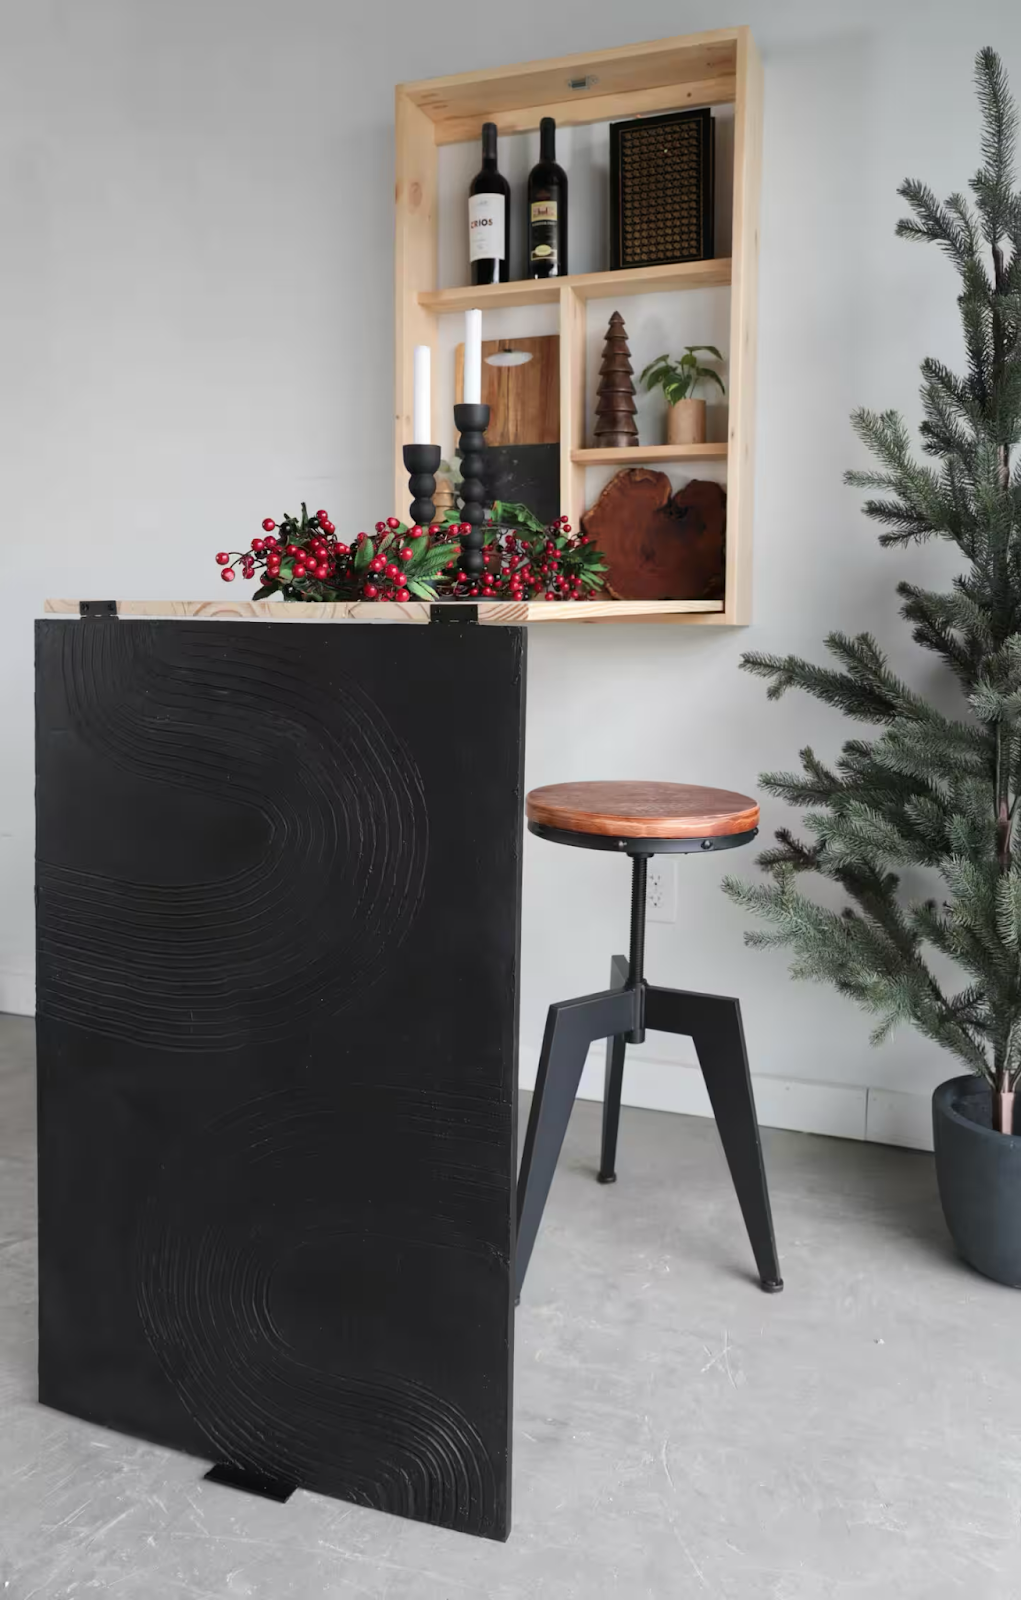
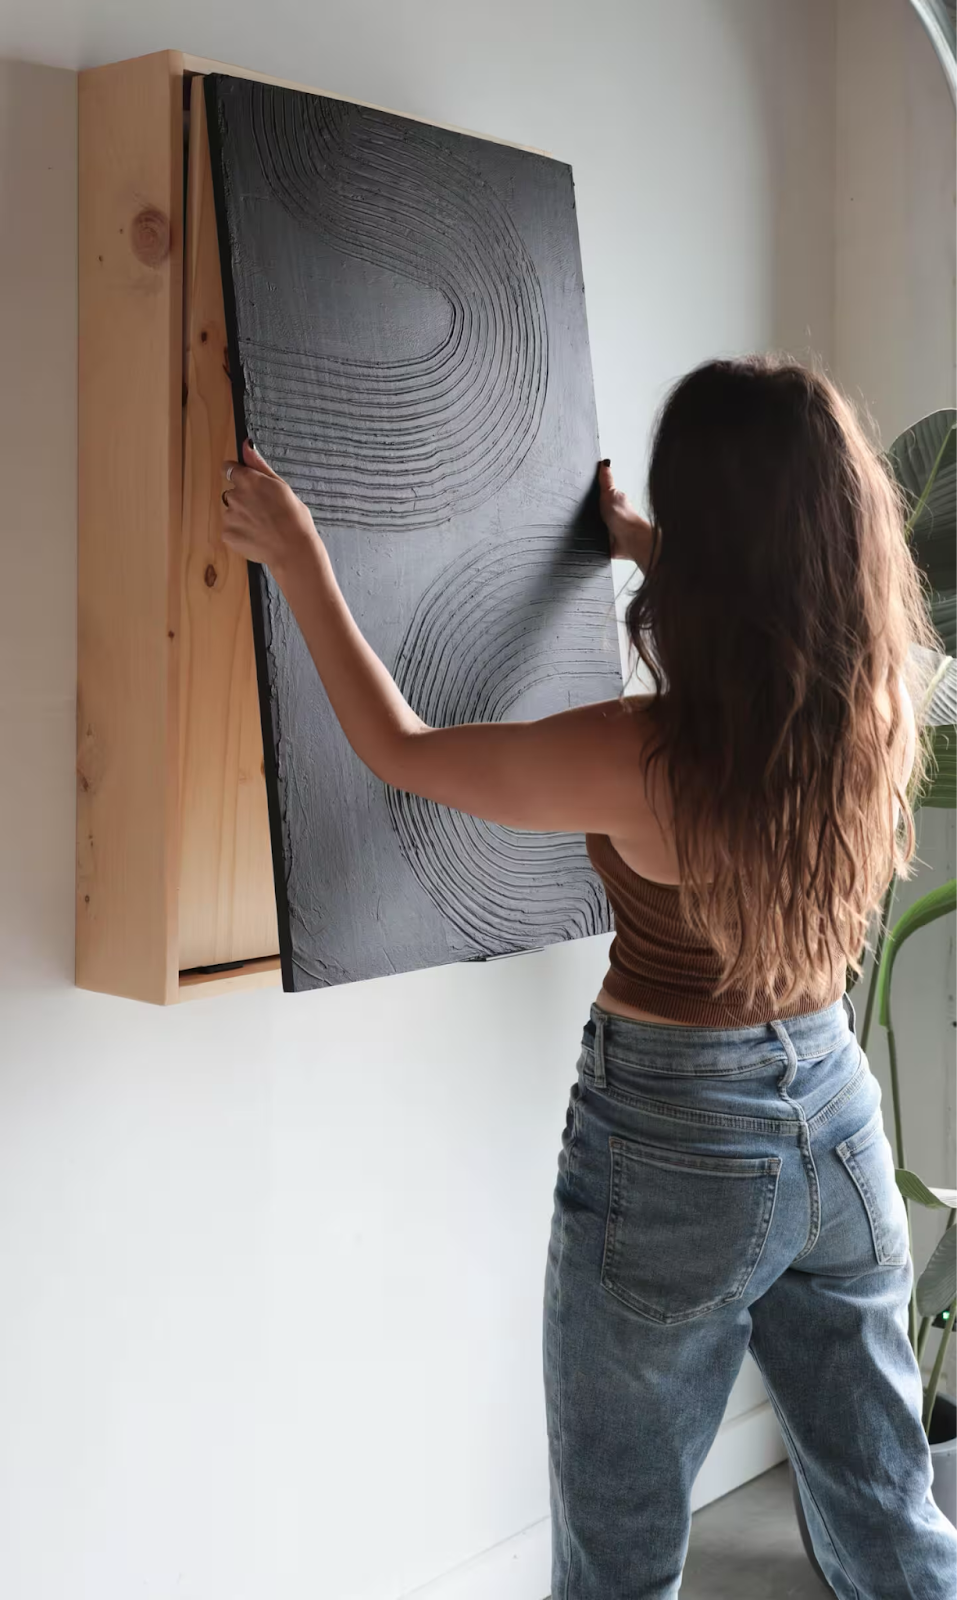
As promised, this project took me one weekend to build and it’s the perfect little nook for entertaining in a small space. I am so happy with how it turned out, I’m able to store my wine bottles and cutting boards and also have an additional seating area when I need it, and when I don’t need it, I’ve can look at a pretty rad piece of art that I made myself! Let me know if you decide to try this build and be sure to check it out on Home Depot’s site as well!
Save This for Later
I hope you enjoyed this little weekend project! If so, make sure to Pin It for later!


i really enjoyed your DIY and was looking to make my wife a folding laundry table that could be put away, this was my answer. Also she will be able to put her soaps and other laundry stuff in hiding or away, great idea.
Thank You so much and will gladly let you know what she thinks,
again Thanks