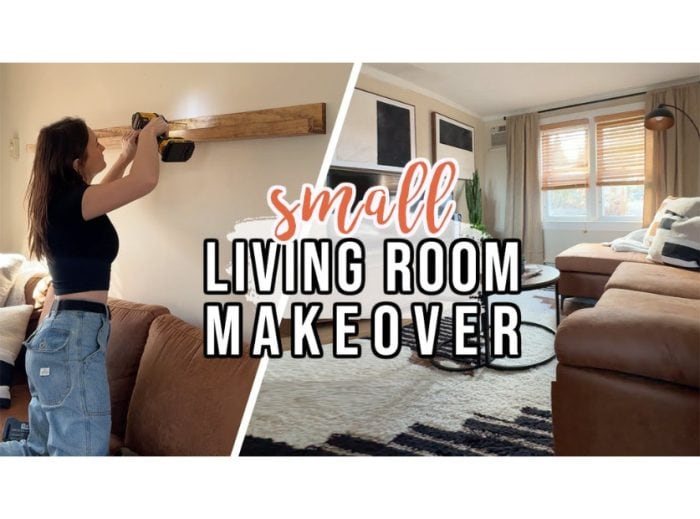
My brother bought a house! As you know we’ve been working on re-doing my brother’s first home and I got to surprise him yet again with this living room makeover. We’re actually completely re-doing the downstairs portion of his house down to the studs, so while that’s happening we’re freshening up the upstairs space to make it livable through the renovations. For this project we’re not spending a ton of time or money since eventually the plan is for their main living space to be downstairs, and you’ll have to stay tuned to see how it all shakes out. So here’s how we did this space, let’s get started friends!
This post contains affiliate links, which helps support more projects on my website! For my full disclosure policy regarding affiliate links, click here!
Want to see this build in action? You can watch my build video here (+ make sure to subscribe to my channel)!
Tools & Materials
Tools
MAterials
Decor
Videos
Here are links to other videos I referenced in this one!
- DIY Small Bedroom Makeover
- DIY Small Dining Room Makeover
- DIY Murphy Desk (Joint Compound Art Tutorial)

1. Installing Laminate Flooring


The first step in this project was to take out the carpeting and install laminate flooring. This was Rob’s first time installing laminate flooring and he really crushed it.

We decided that this floor to ceiling bookcase in the middle of the room had to go. It just made the space feel so closed off and it was in a very awkward place. We enlisted the help of our dad to take it down.
2. Painting the Walls


Painting is the easiest update you can make, and it can really dramatically change a space. (Don’t come at me for painting around the outlets, Rob is going to have the outlets changed and a bunch of wiring redone so I’m not bothering with them.
3. Easy Decor


My brother sent me an inspo photo of a picture ledge above a couch and I thought I would just throw one together. So I took a 1×4 and two 1x2s and then screwed one 1×2 through to the back.

Then I nailed this piece to the front to make a ledge to hold the pictures from falling off. The rest was just sanding and staining before putting it up on the wall.


Switching out a fan and adding lighting to a room can make such a difference.


Because my brother is on a budget we opted to keep the existing shades, but I did add some new curtains to warm up the space.
Final Touches


I think the rug really ties it together, and I’m obsessed with this couch.

I got to surprise Rob and Marina via Facetime and it was so fun!


I’d call that a success. It’s amazing what a few decor updates can do for a space. I love a good project and I love being able to work with my family and help my brother make the home of his dreams. There will be more projects in his house coming up so make sure you’re following along. Until then, Happy DIYing friends!
Save this for later
I hope you enjoyed this project! If so, make sure to Pin It for later!


