Walk-in closets are cool, but if your house is anything like mine, then you’re familiar with small closets and making the most out of any storage space you’ve got. So, today I’m going to show you an easy way to customize a small closet!

Our home gym closet was not doing us any favors with its clutter and disorganization. So, it was time to turn it into a functional and customized space (including one of my favorite parts, the custom barn door I made for it)! Keep reading to see how I made it happen!
Easy DIY Small Closet Makeover
This post contains affiliate links, which help support more projects on my website! For my full disclosure policy regarding affiliate links, click here!
Want to see this build in action? You can watch my build video here (+ make sure to subscribe to my channel)!
Materials + Tools
Materials
- AraucoPly Sanded Plywood
- Arauco Slatted Panels (Coming Soon)
- Barn Door Hardware
- Wood Stain
- Closet Rod
- Halcyon Wood Finish (this link gives you an automatic discount on TotalBoat products!)
Tools
- Miter Saw
- Sander
- Drill/Driver
- Nail Gun
- Kreg Pocket Hole Jig
- Kreg Foreman
- Circular Saw
- Straight-Edge Guide
Step 1. Assessing & Clearing the Space
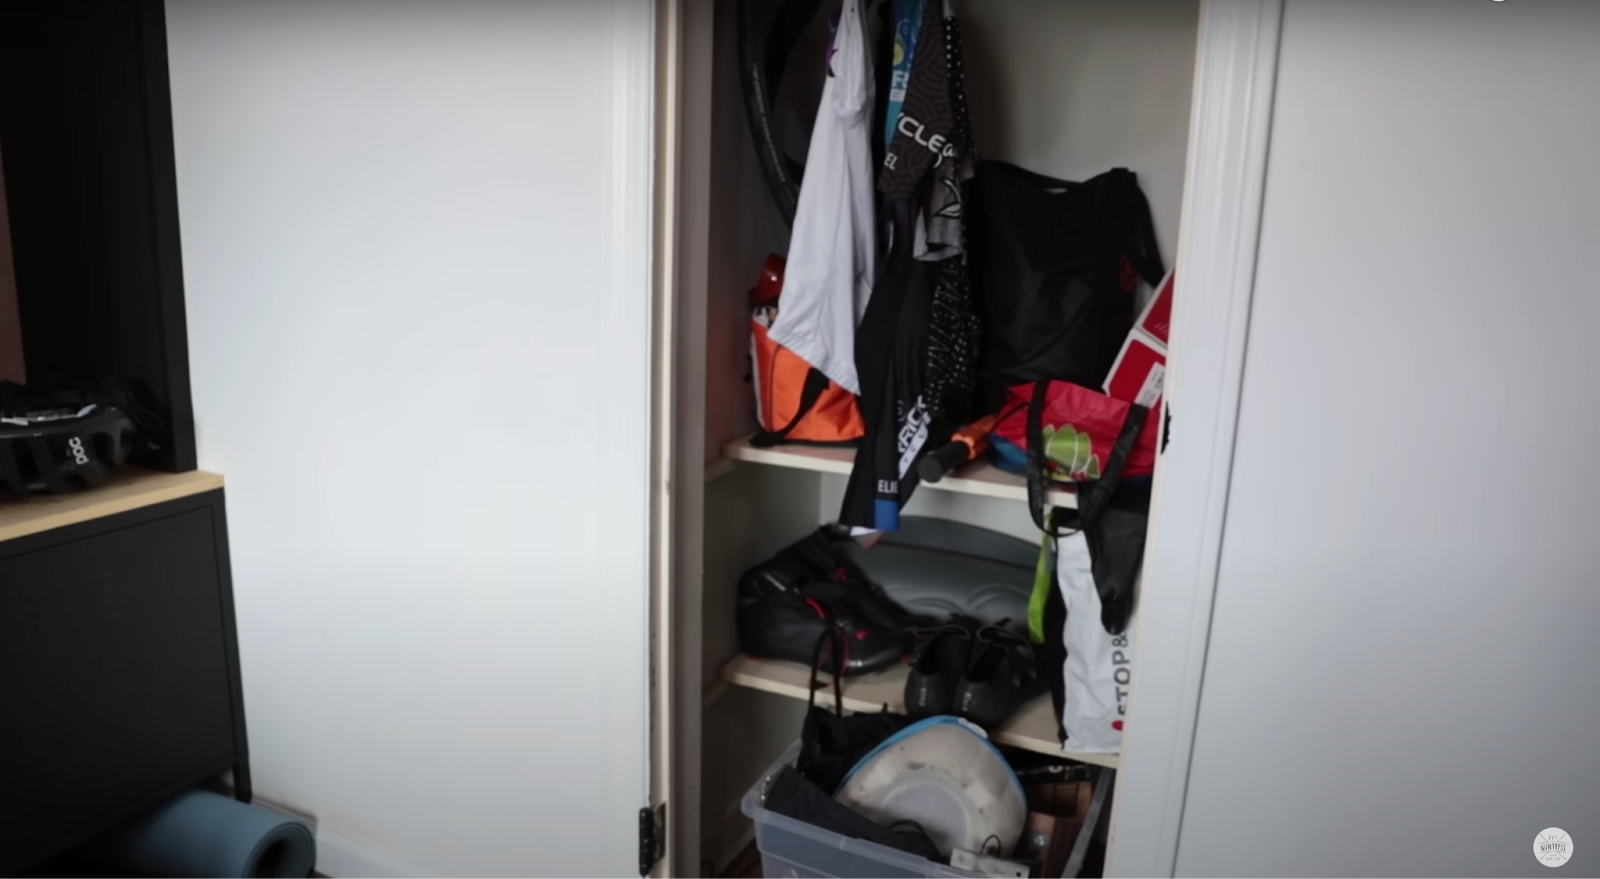
Like any closet that doesn’t quite fulfill its purpose, the gym closet was a cluttered mess, so it was time to clear it out and start fresh.
Step 2. Demo
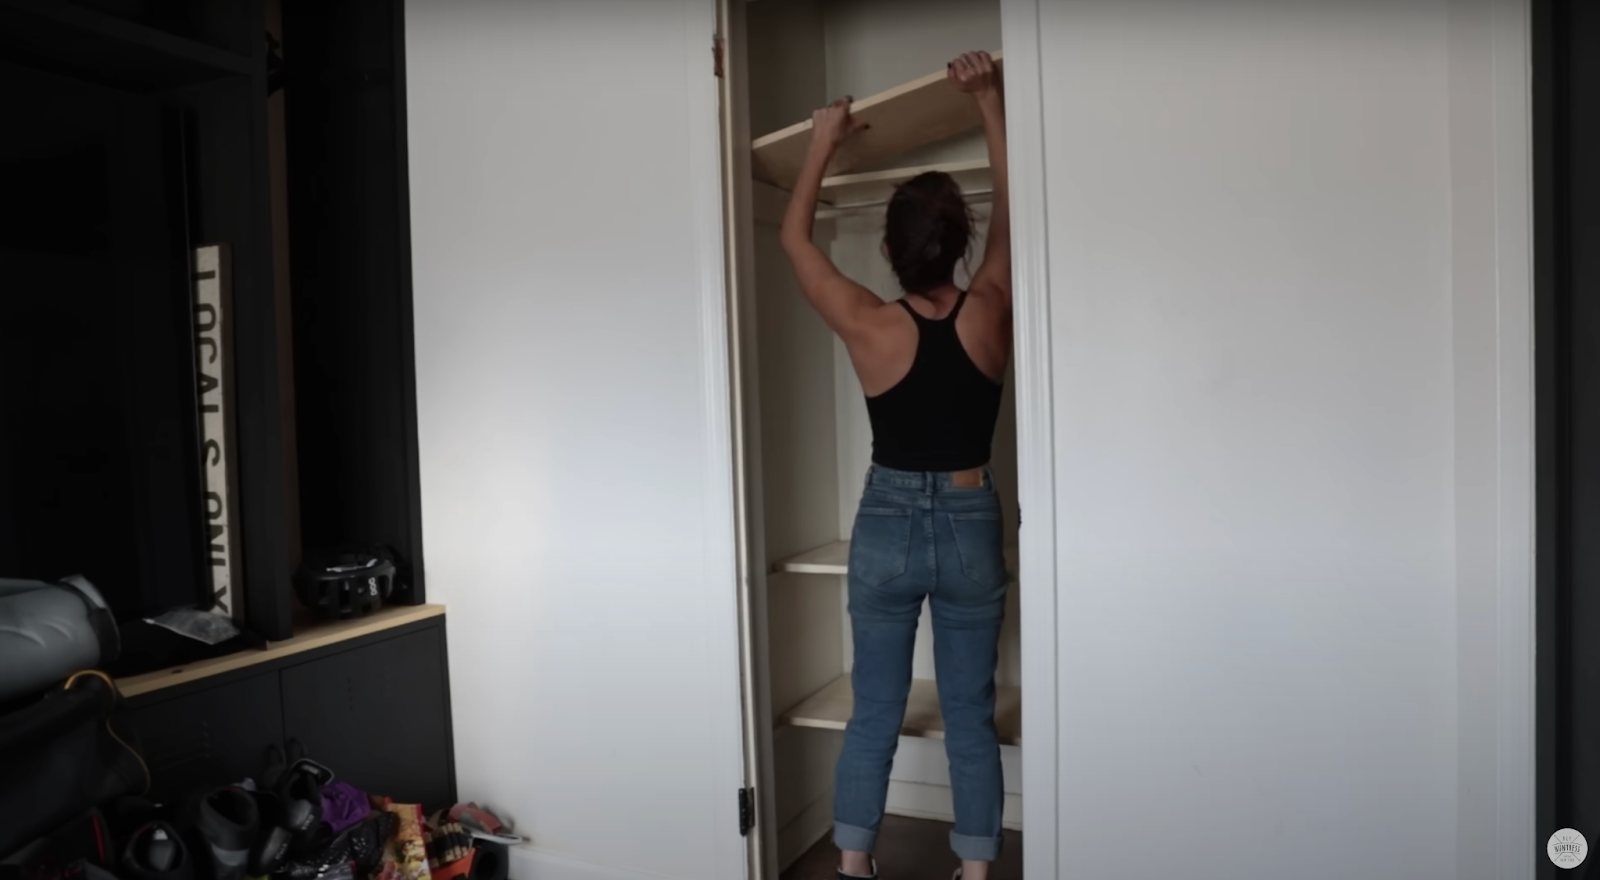
To start, I took down the existing shelving and rod to make space for the new layout.
Step 3. New Layout Plan
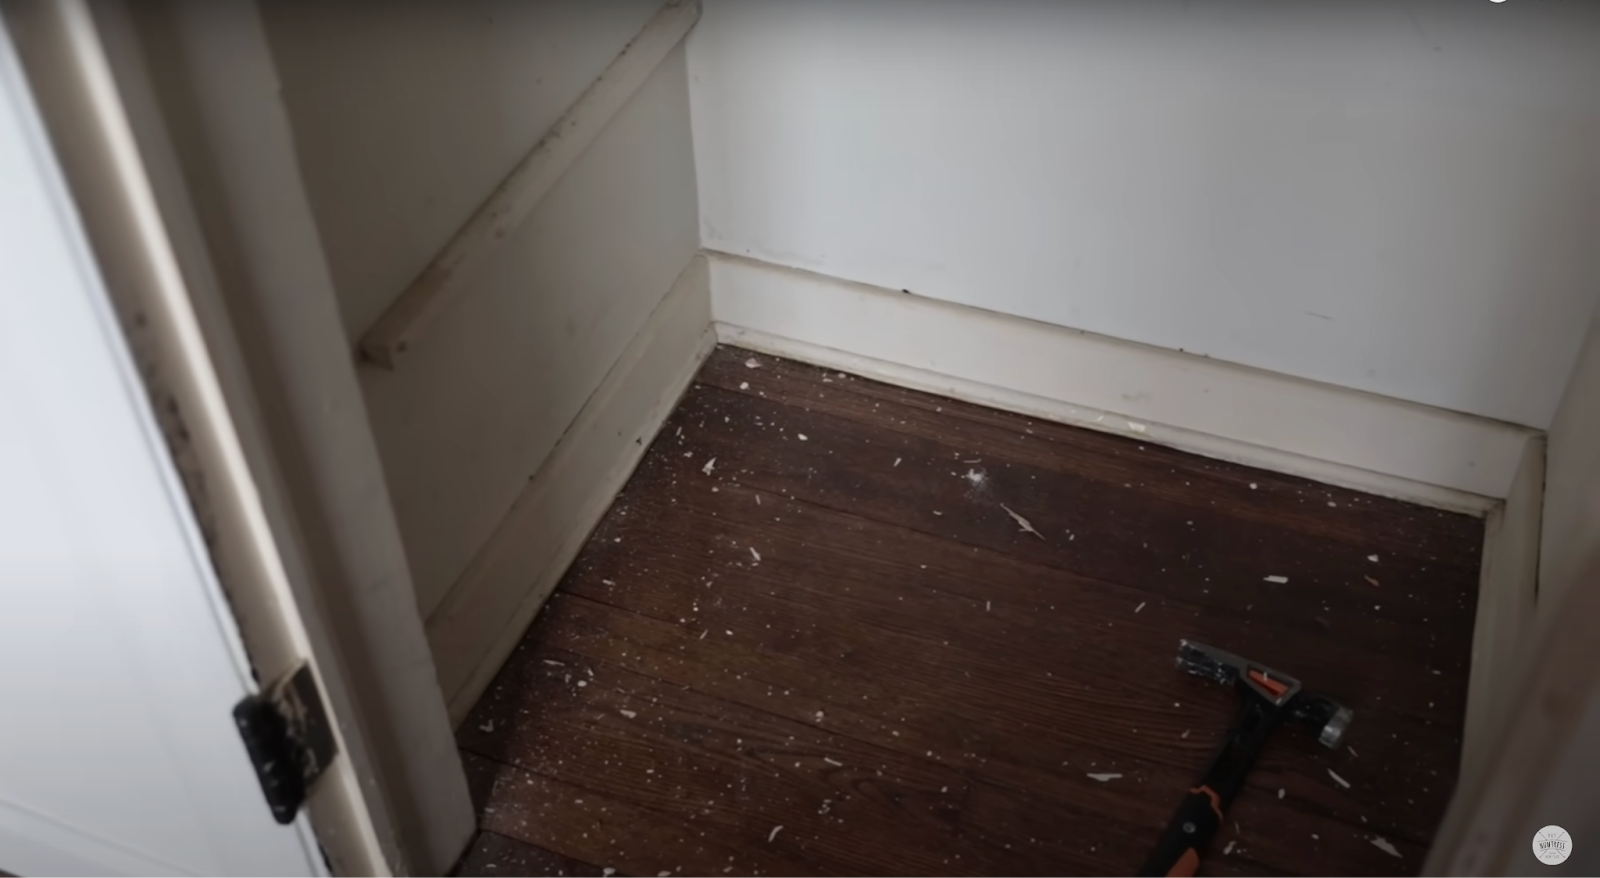
I decided to leave the existing braces and the molding that was along the floor. I built the cubbies inside the dimensions of the molding and used the braces to hang the new system.
Step 4. Prep Work and Painting
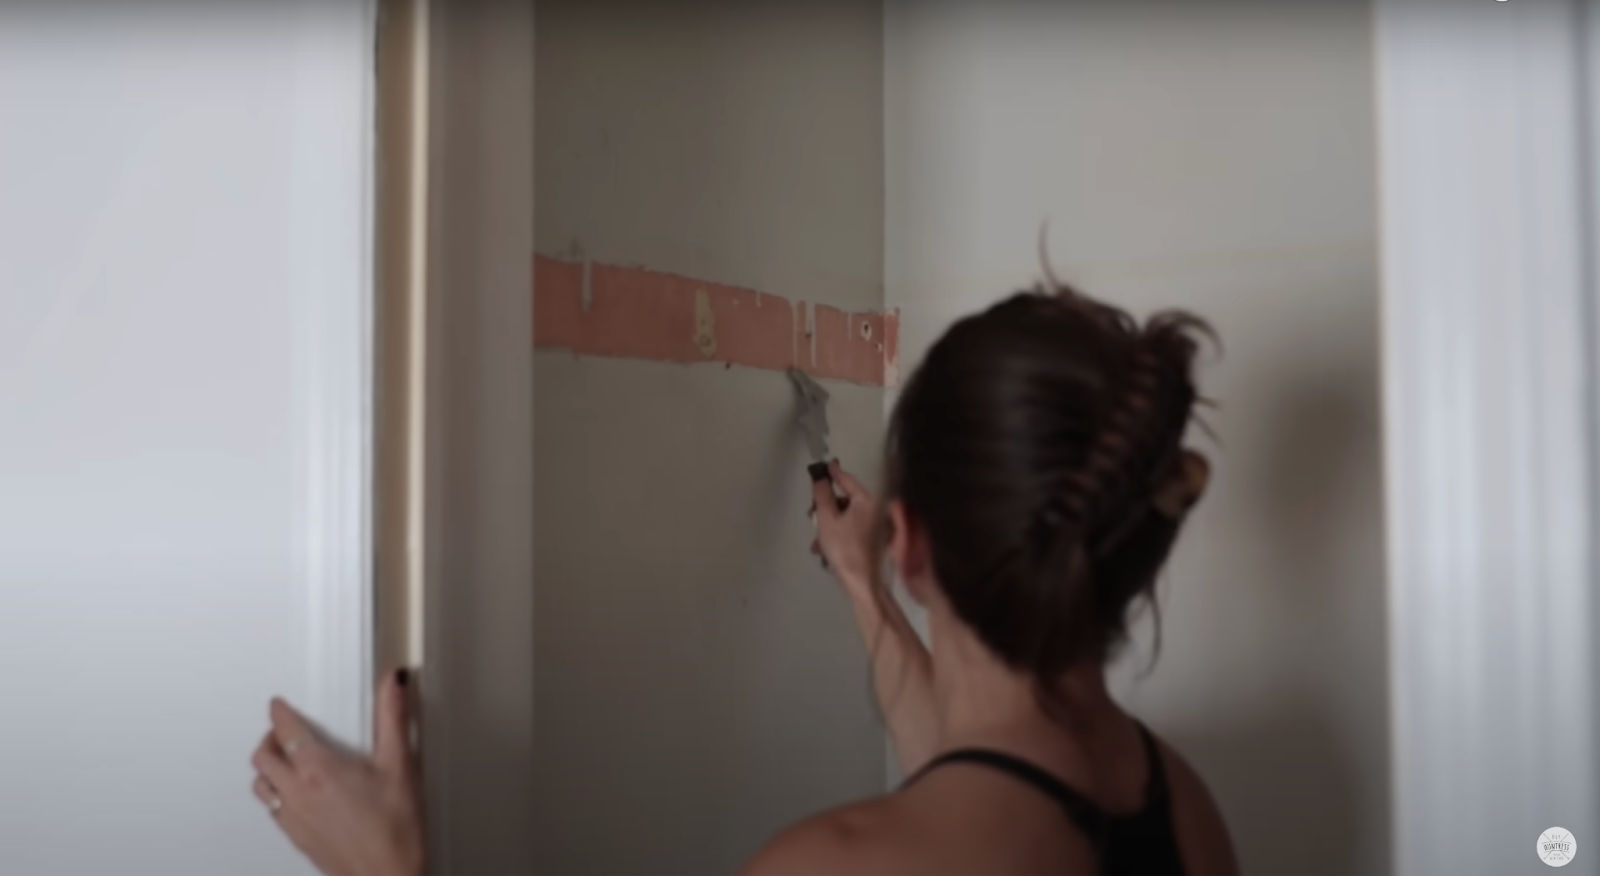
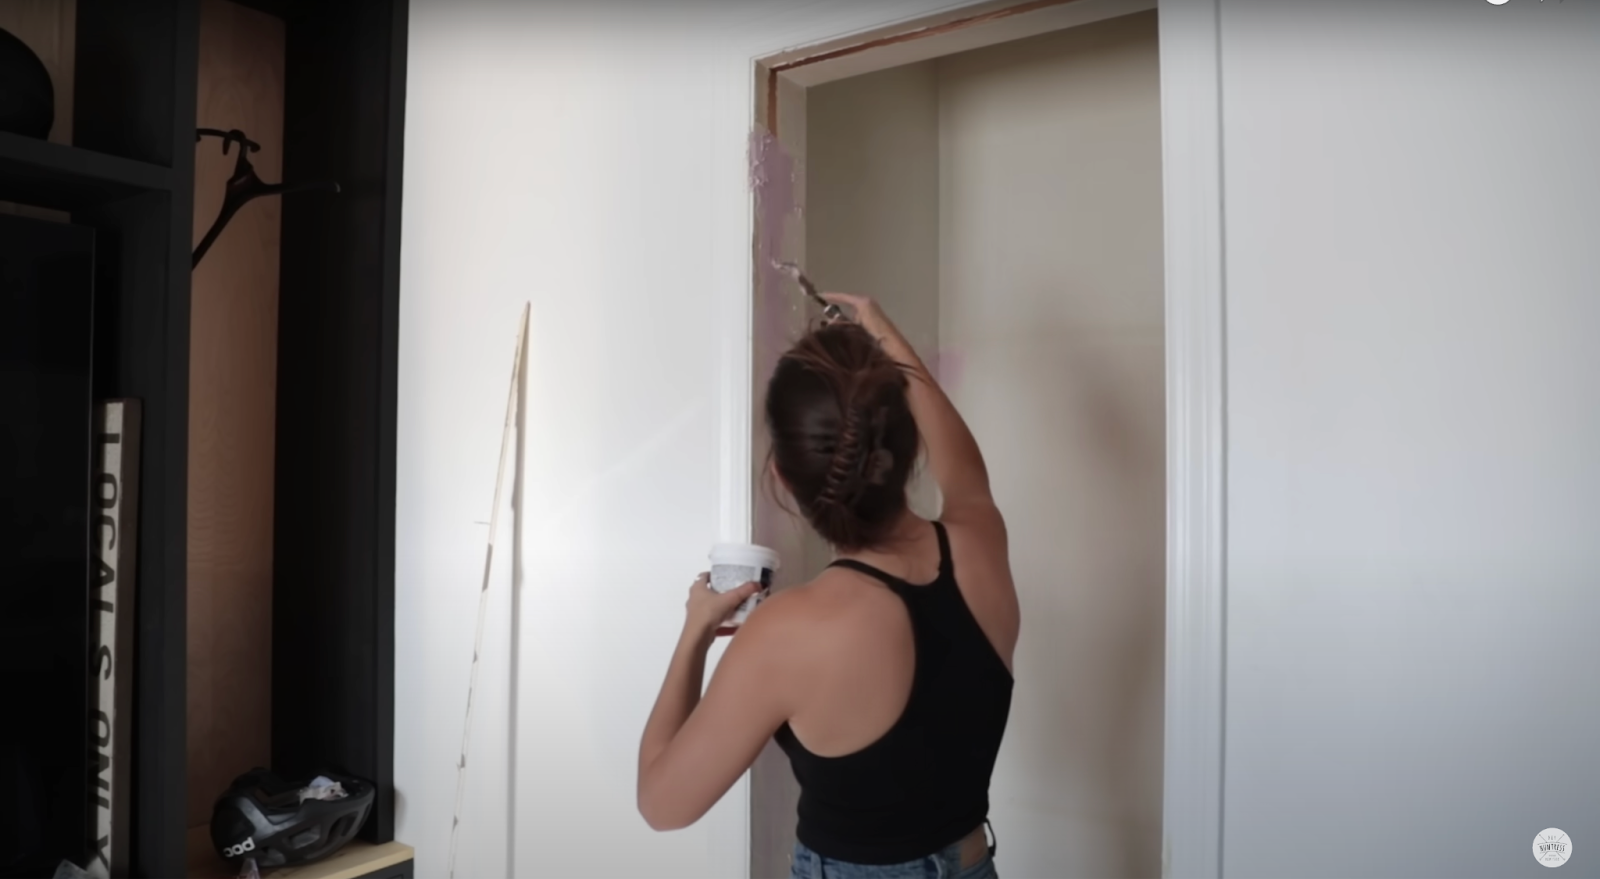
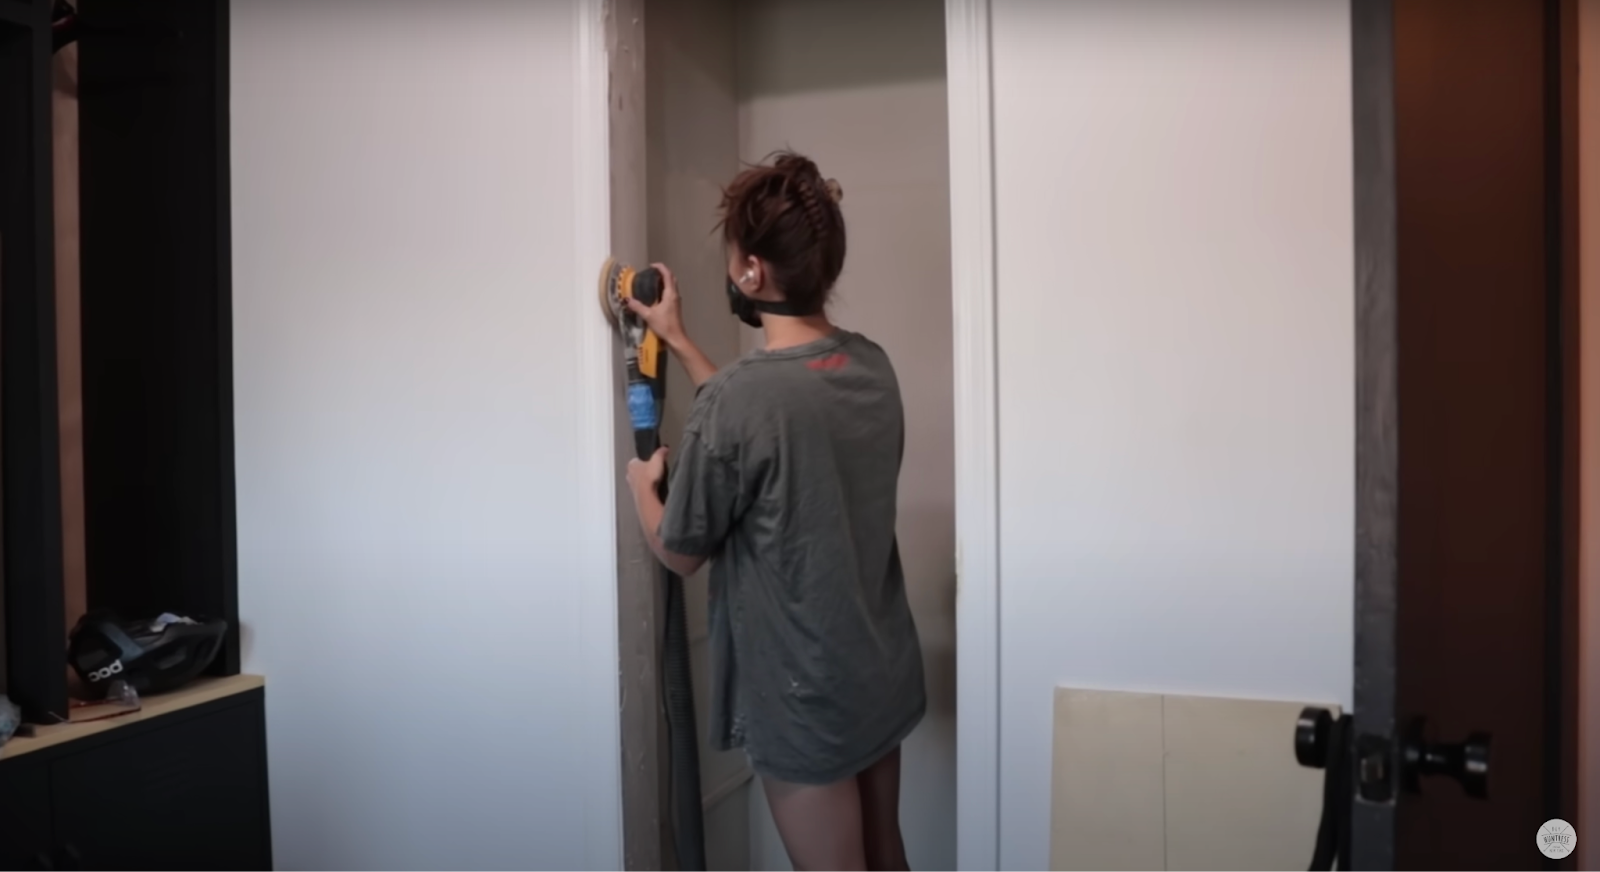
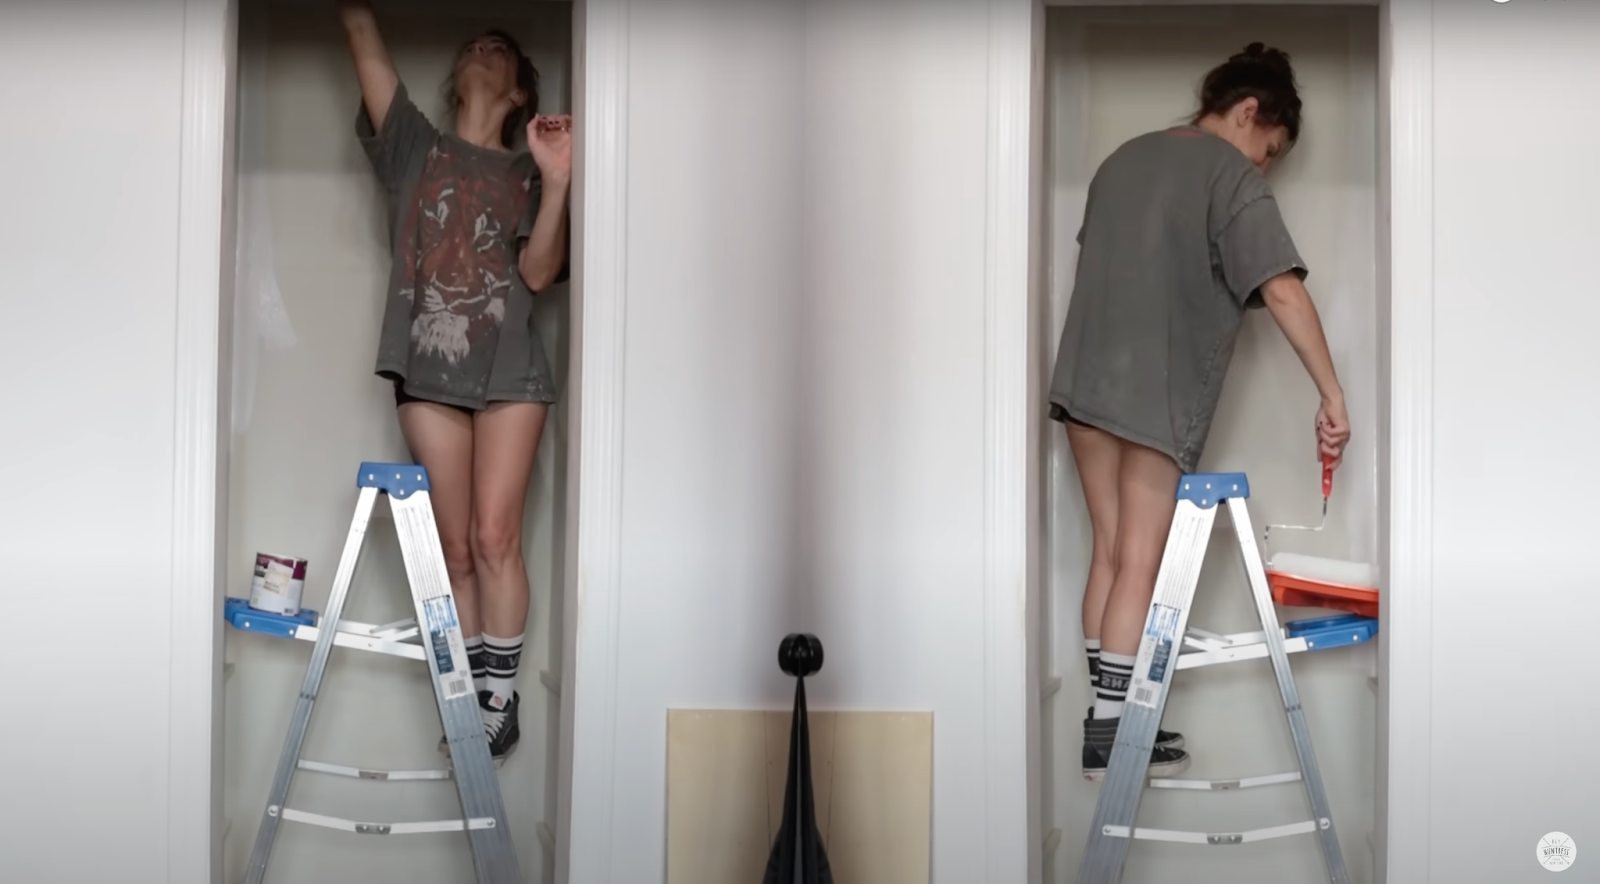
After demo and brainstorming the final plan, it was time to prep the space for its transformation. Scraping, patching, sanding and a fresh coat of paint were just what it needed.
Step 5. Building Custom Cubbies
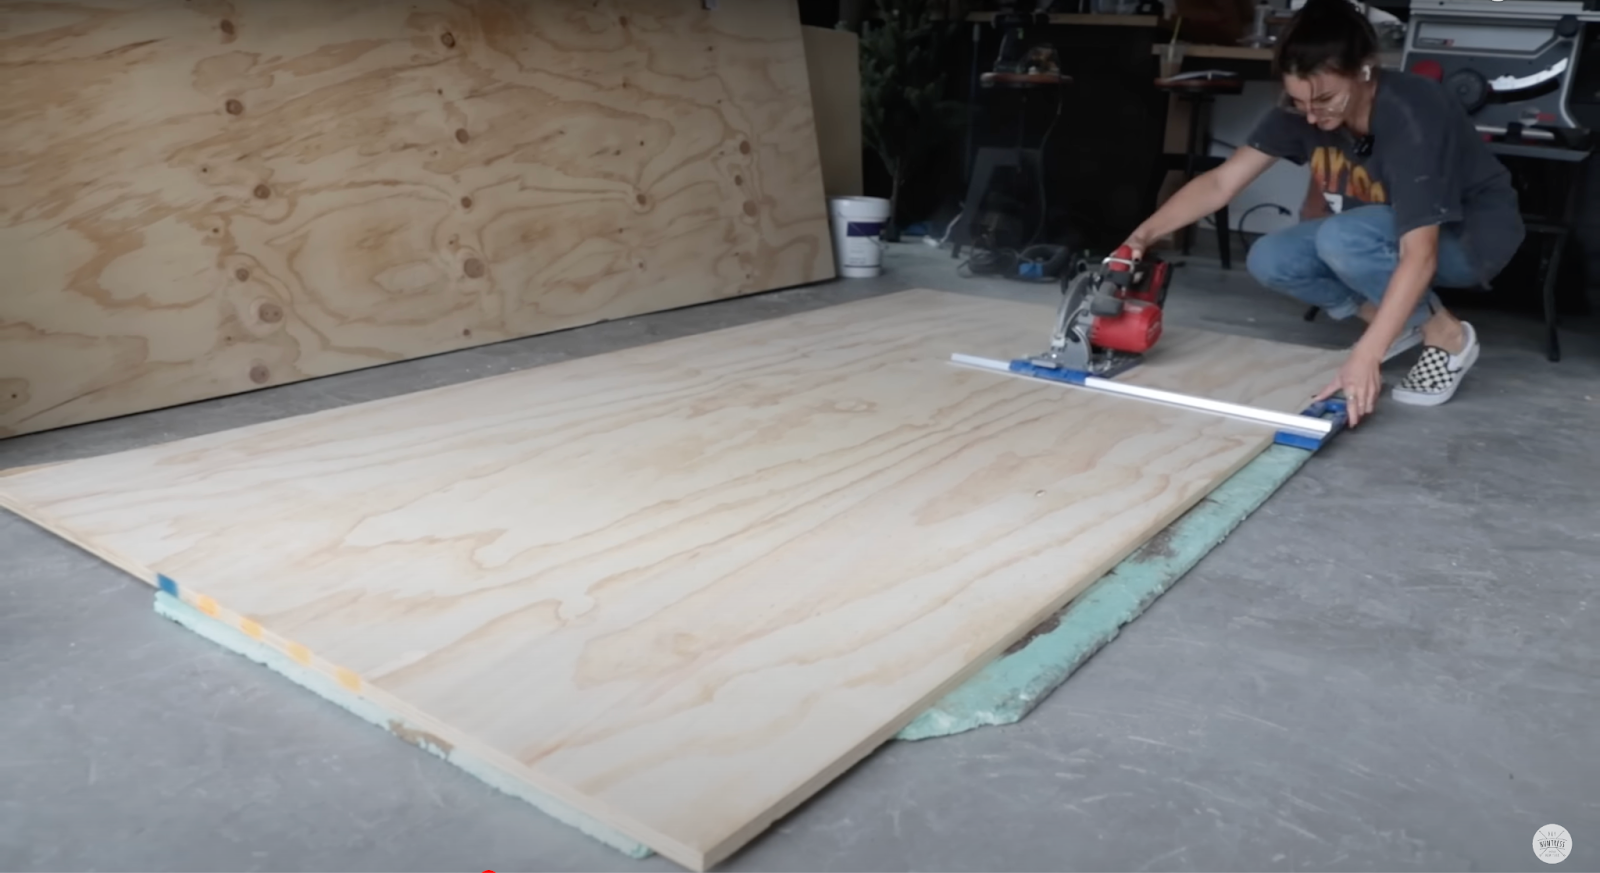
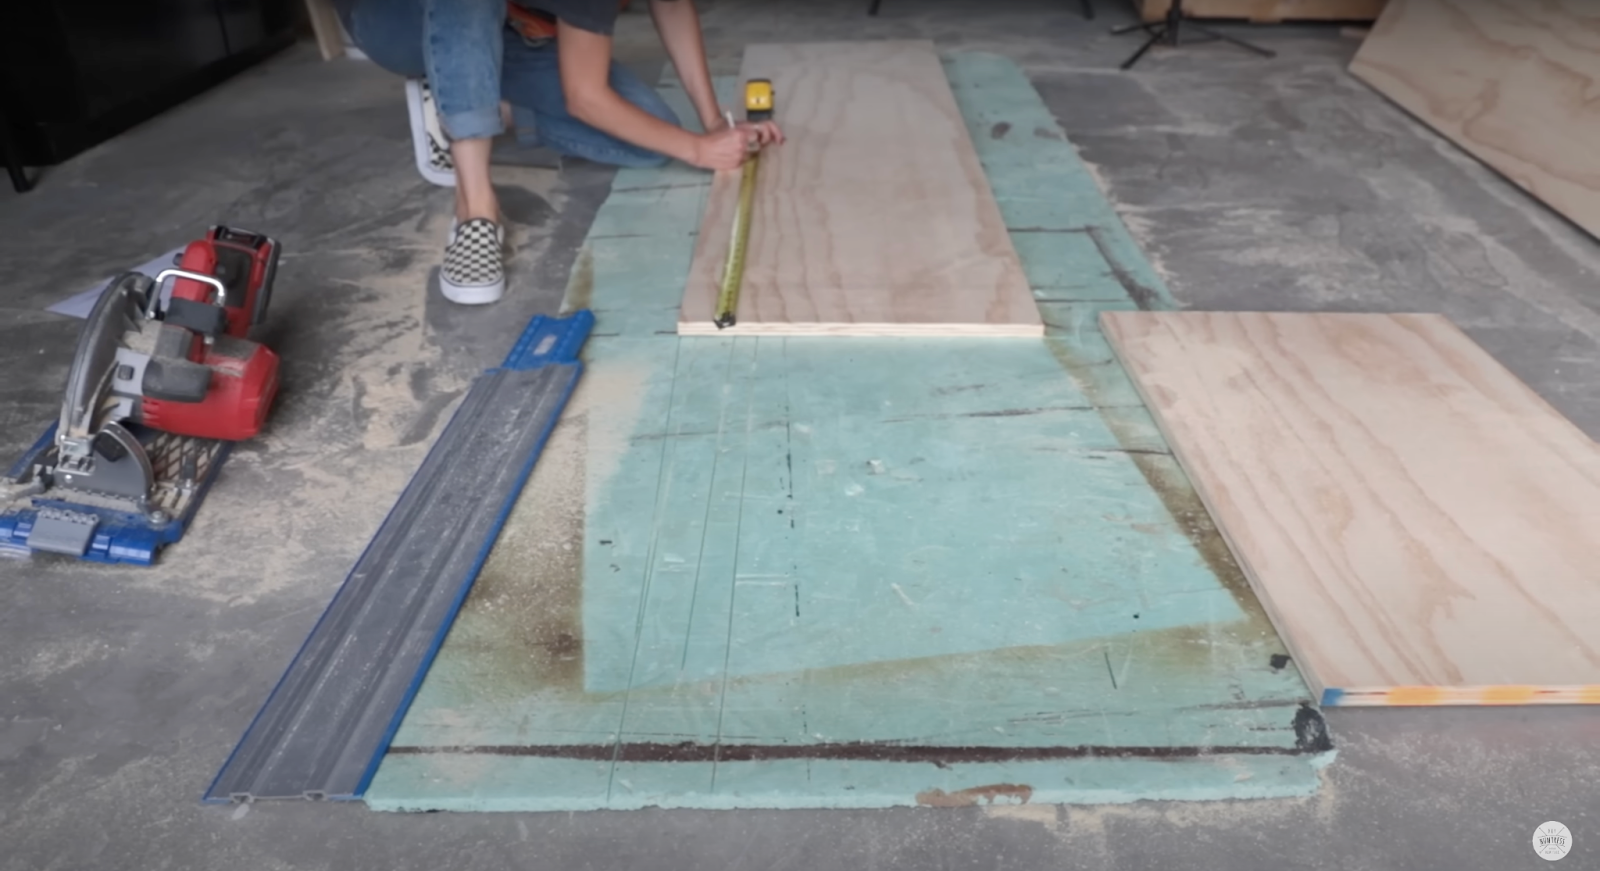
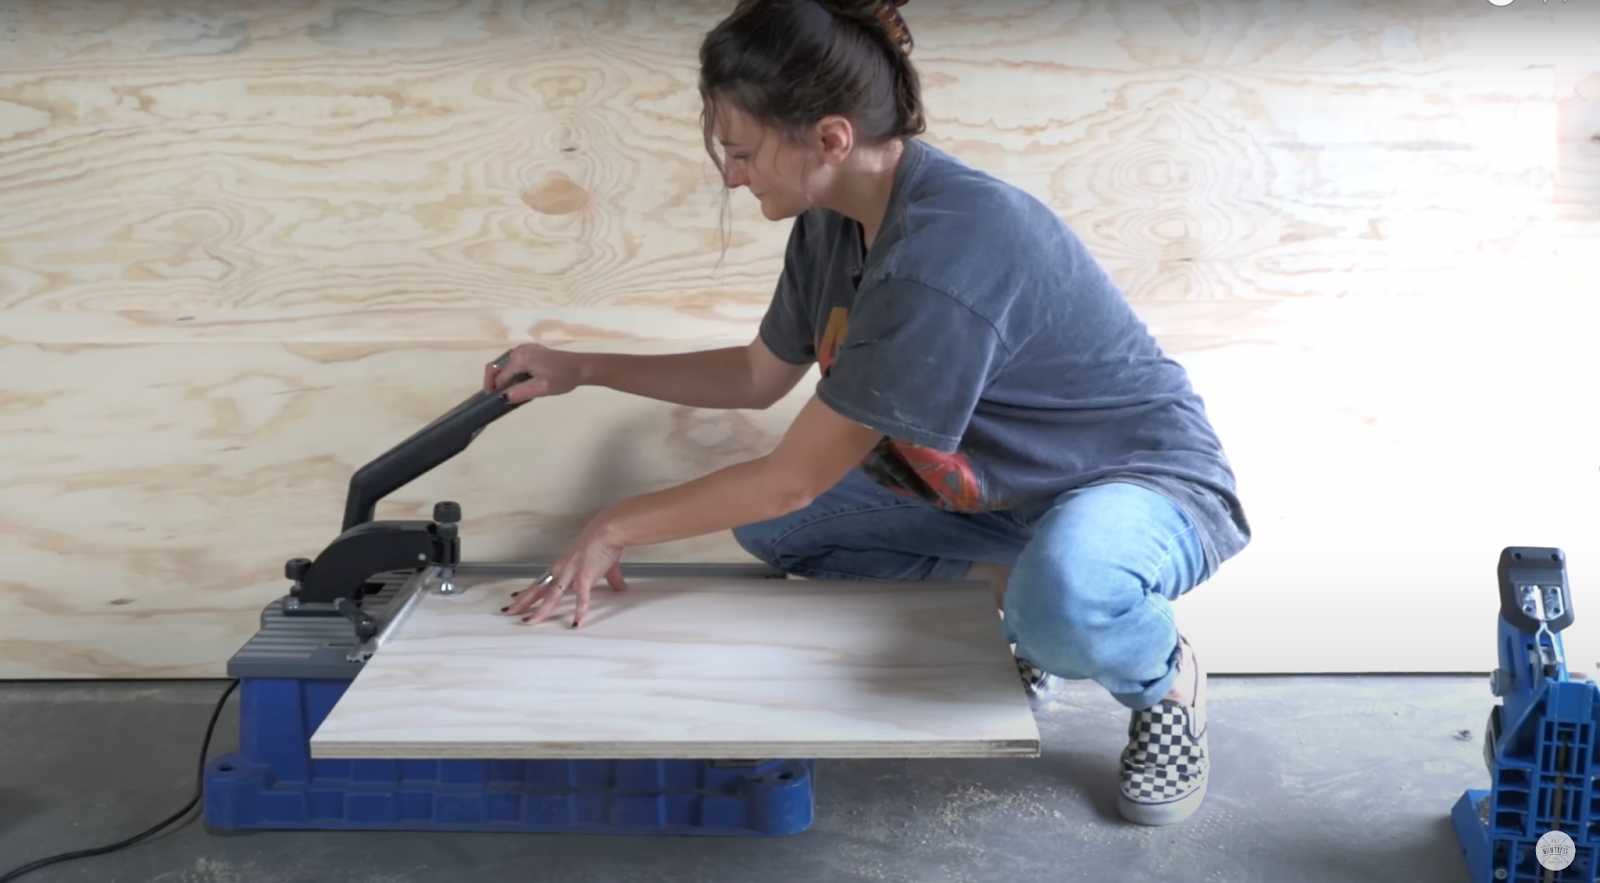
You could use a table saw to cut down the plywood for the cubbies, but if you don’t have one you can use a circular saw and straight-edge guide.
I used a pocket hole joinery system to assemble the cubbies. So at this point I made those pocket holes. If you don’t have a pocket hole system, you can pre-drill holes and use screws to fix the pieces into place.
Step 7: Assemble Cubbies in the Closet
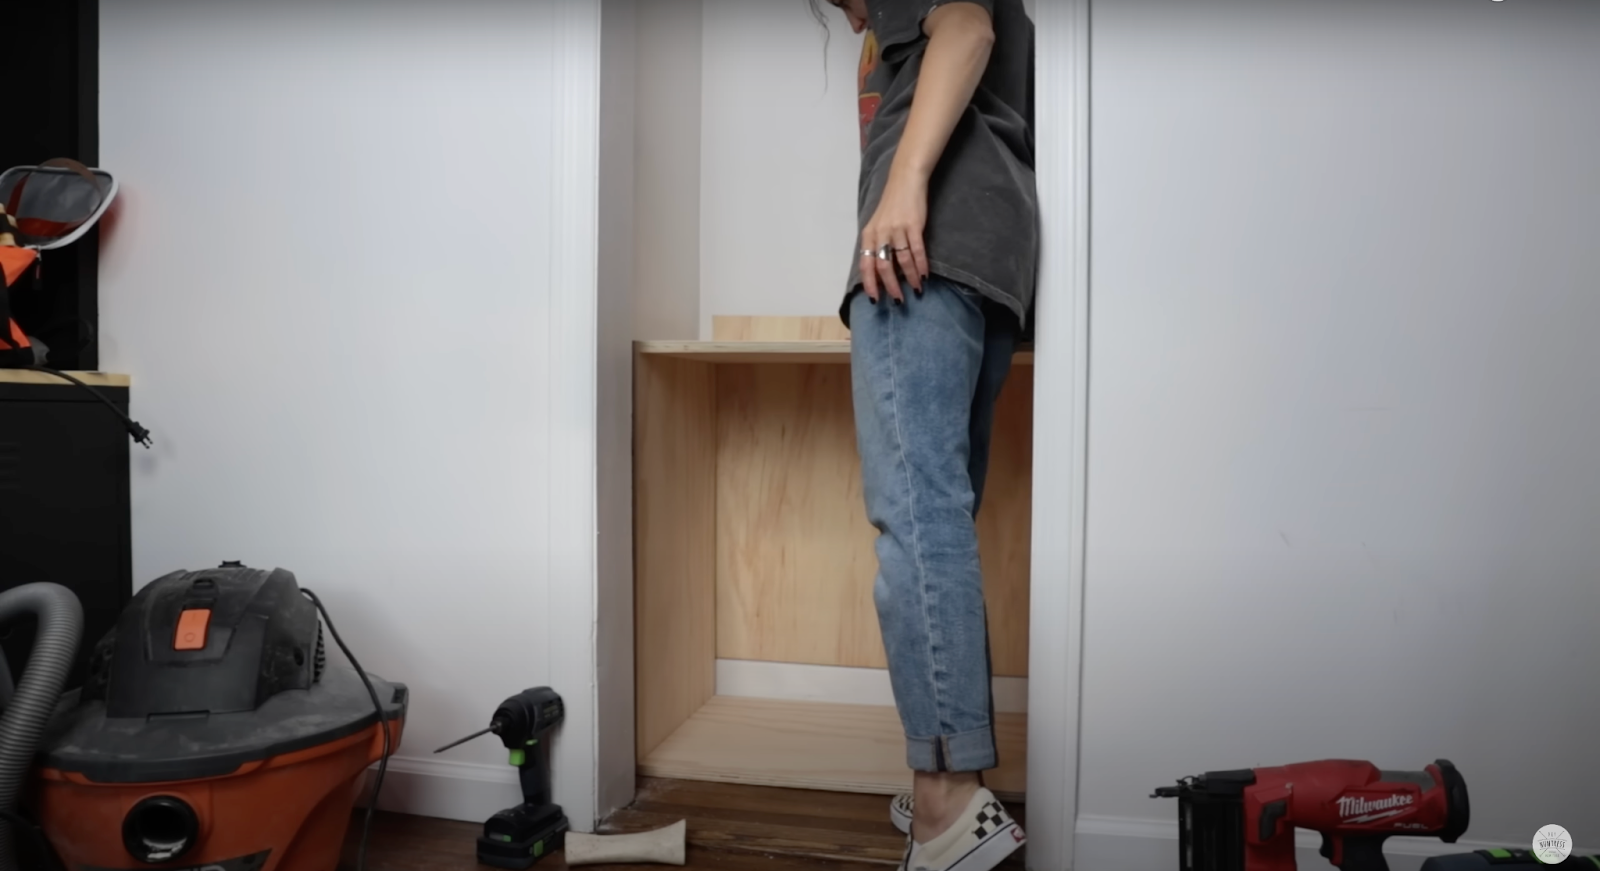
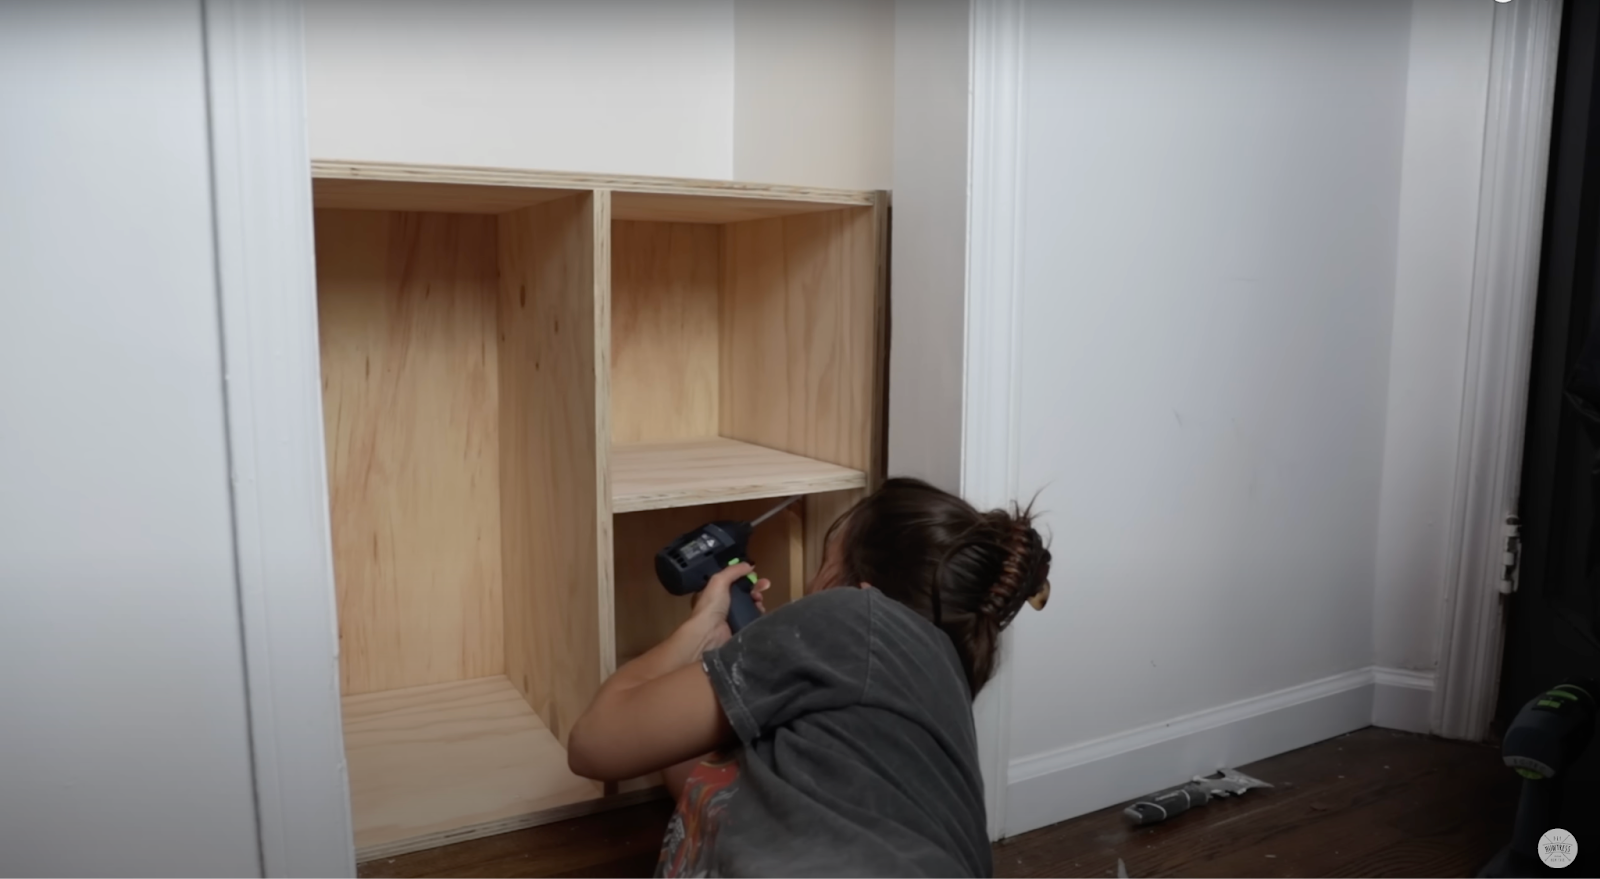
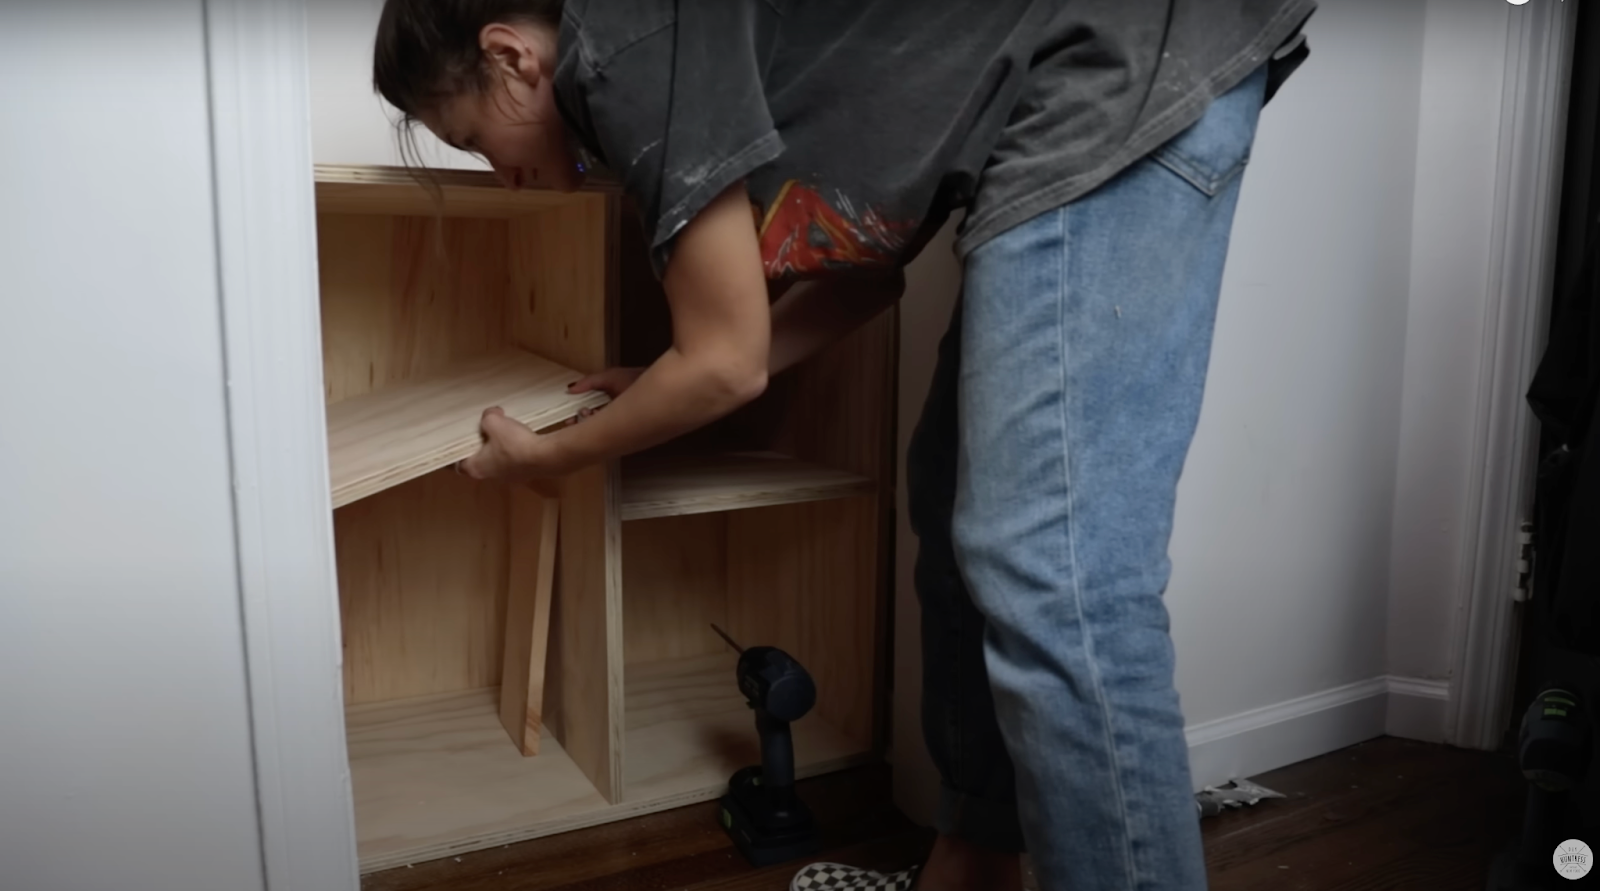
I realized that I had to put the cubbies together inside the closet, because it was too tight to assemble before install.
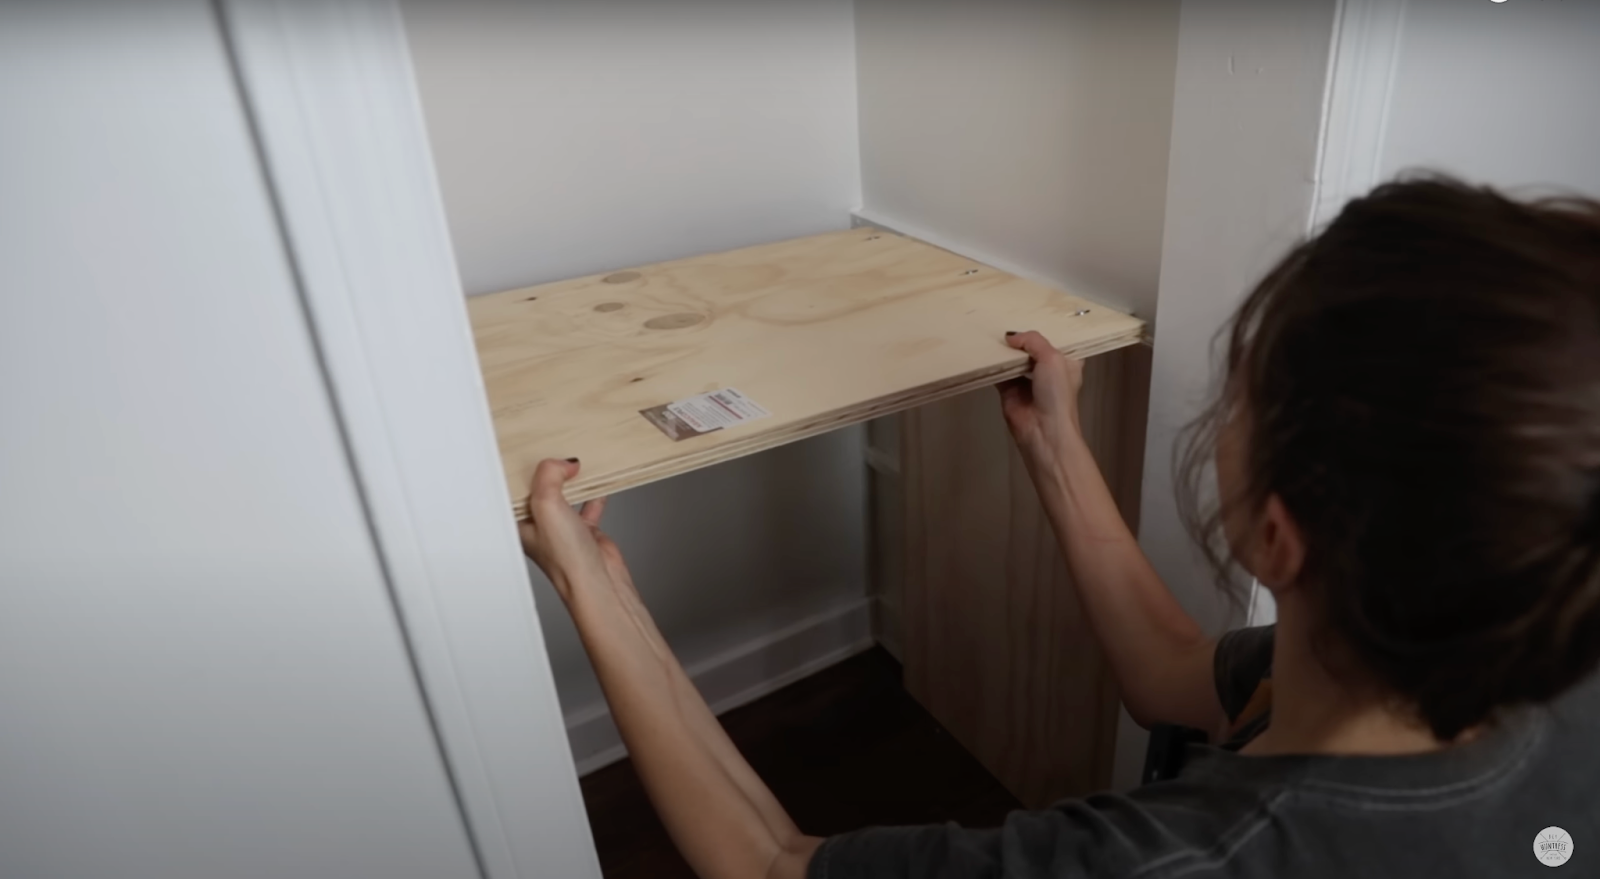
I placed a cleat higher up in the closet to hold up the cubbies in order to attach the bottom piece. This cleat will be used to hold the top shelf later on.
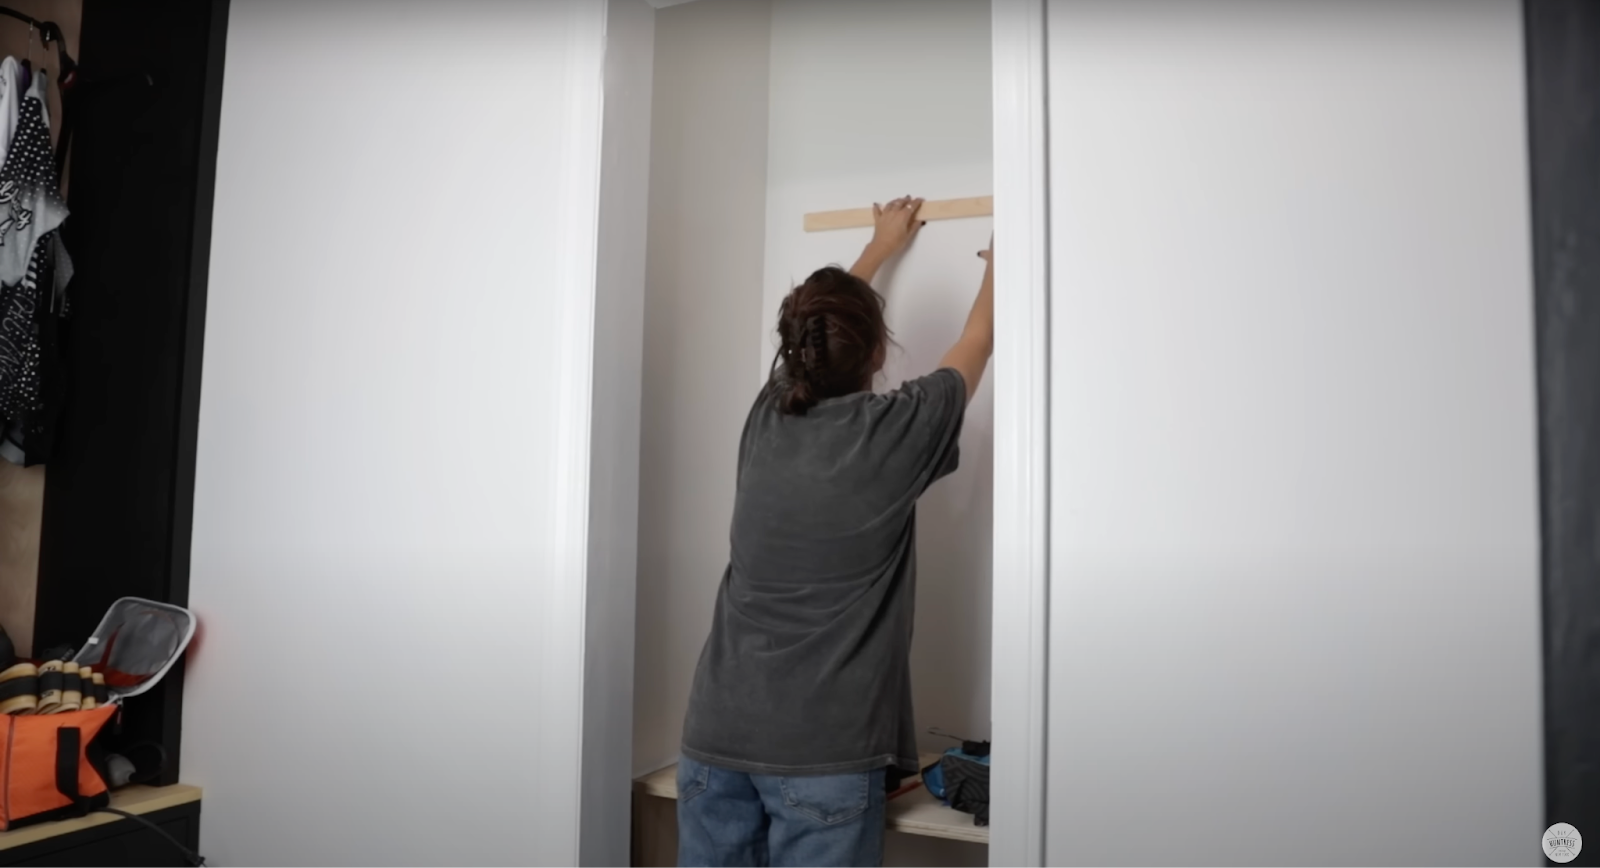
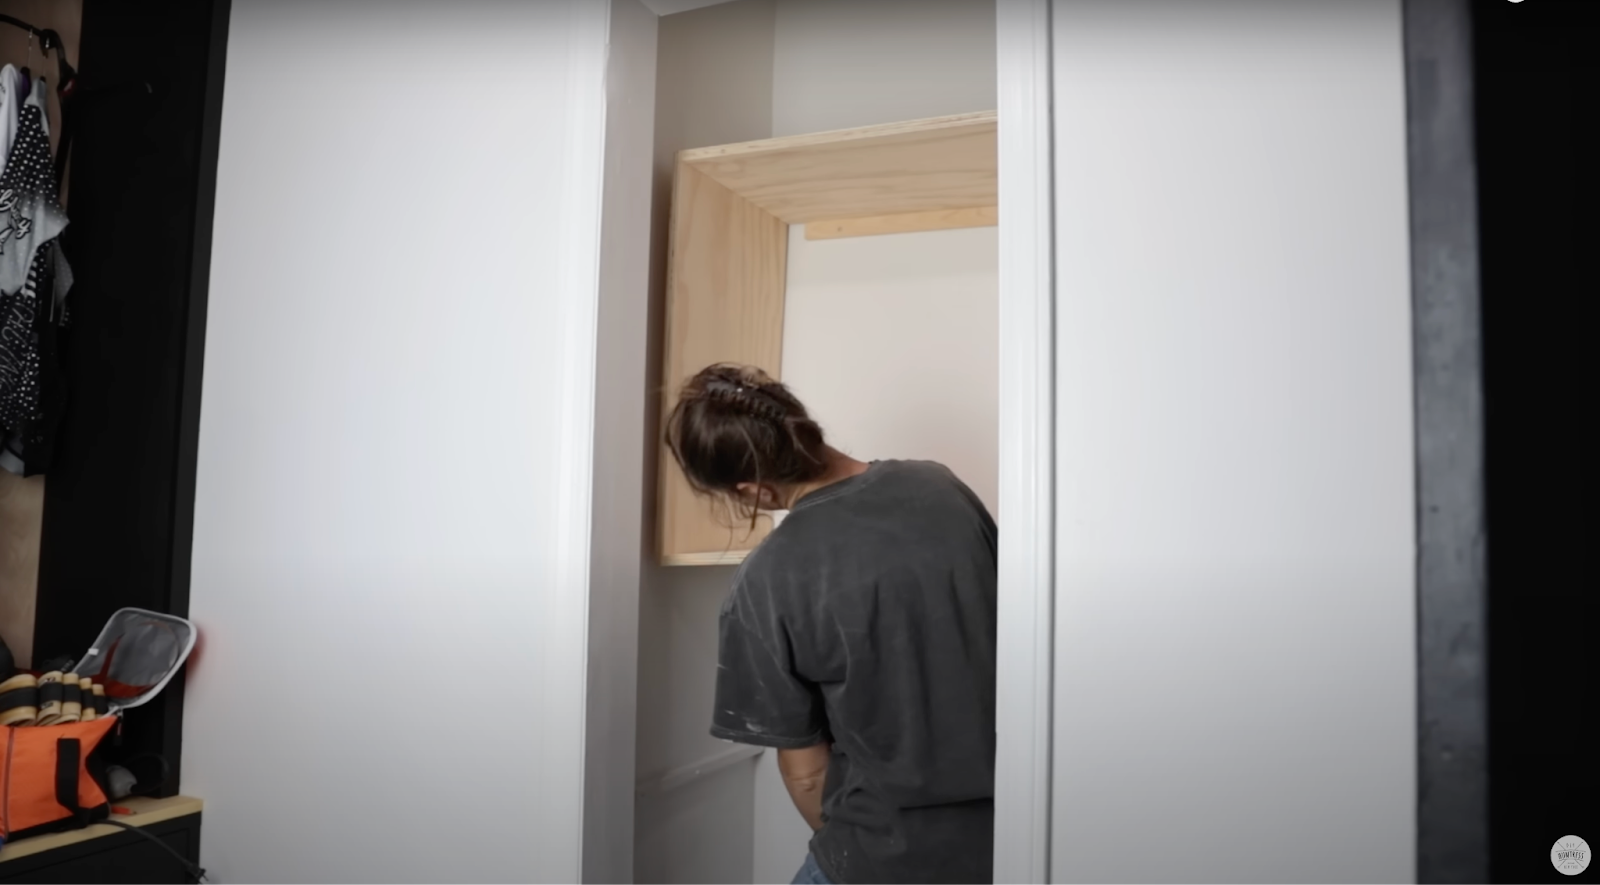
Rather than try to fit a measuring tape inside this tight area, I used spacers to make sure everything was spaced out evenly in the cubbies.
Step 8: Attach the Top
I used nails to attach the top piece directly to the top of the box.
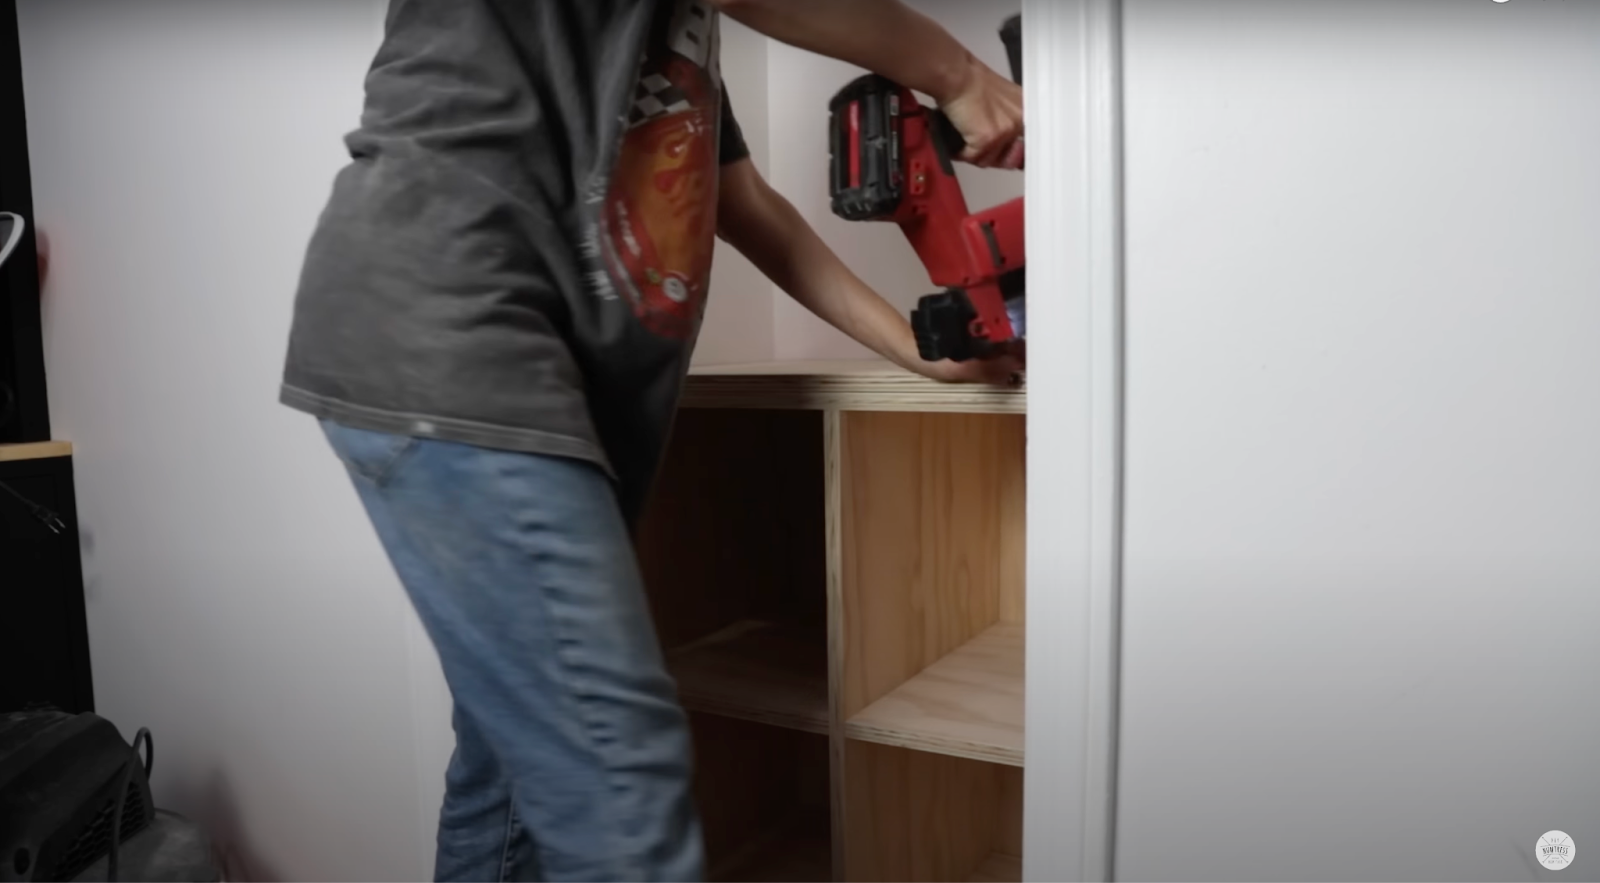
Step 9: Add Trim
I added trim to the front of the box to make it look more finished, and then filled the nail holes.
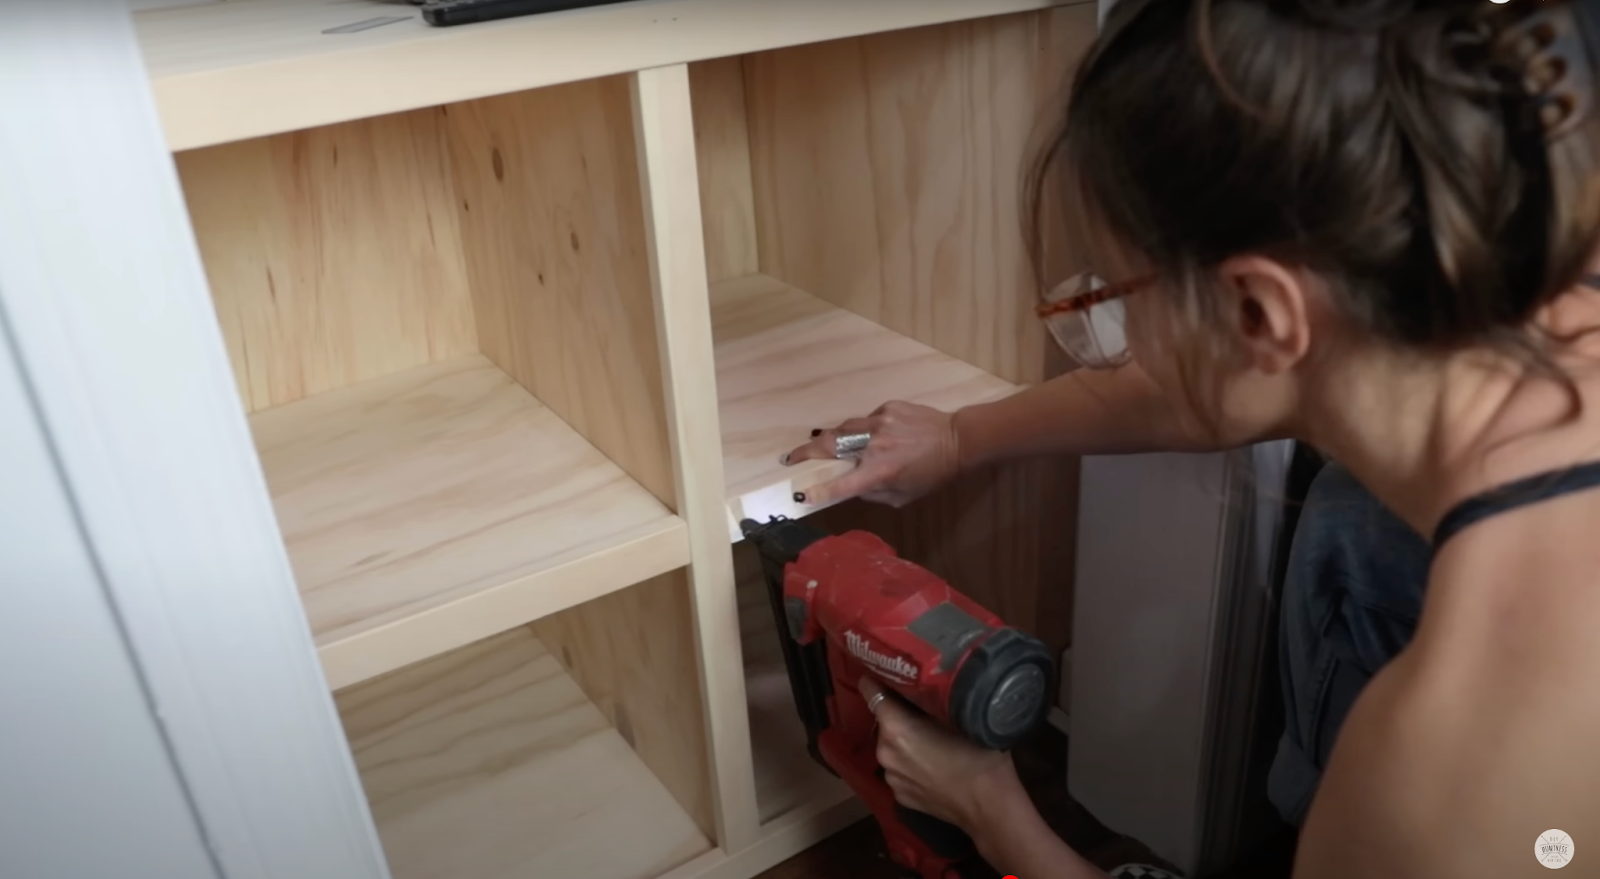
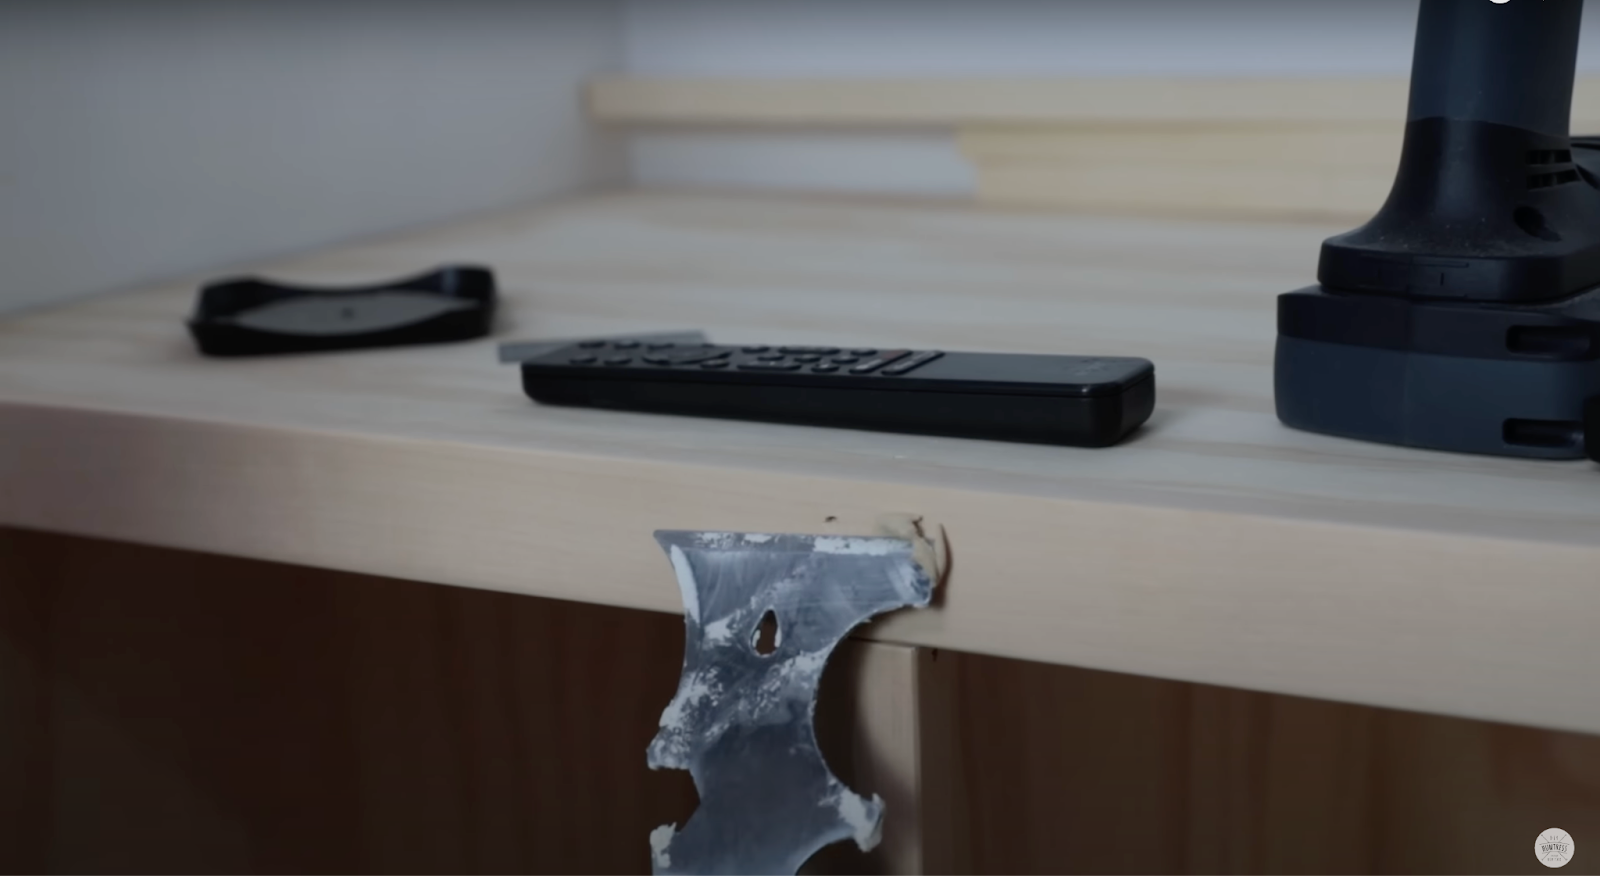
Step 10: Install Top Storage Shelf
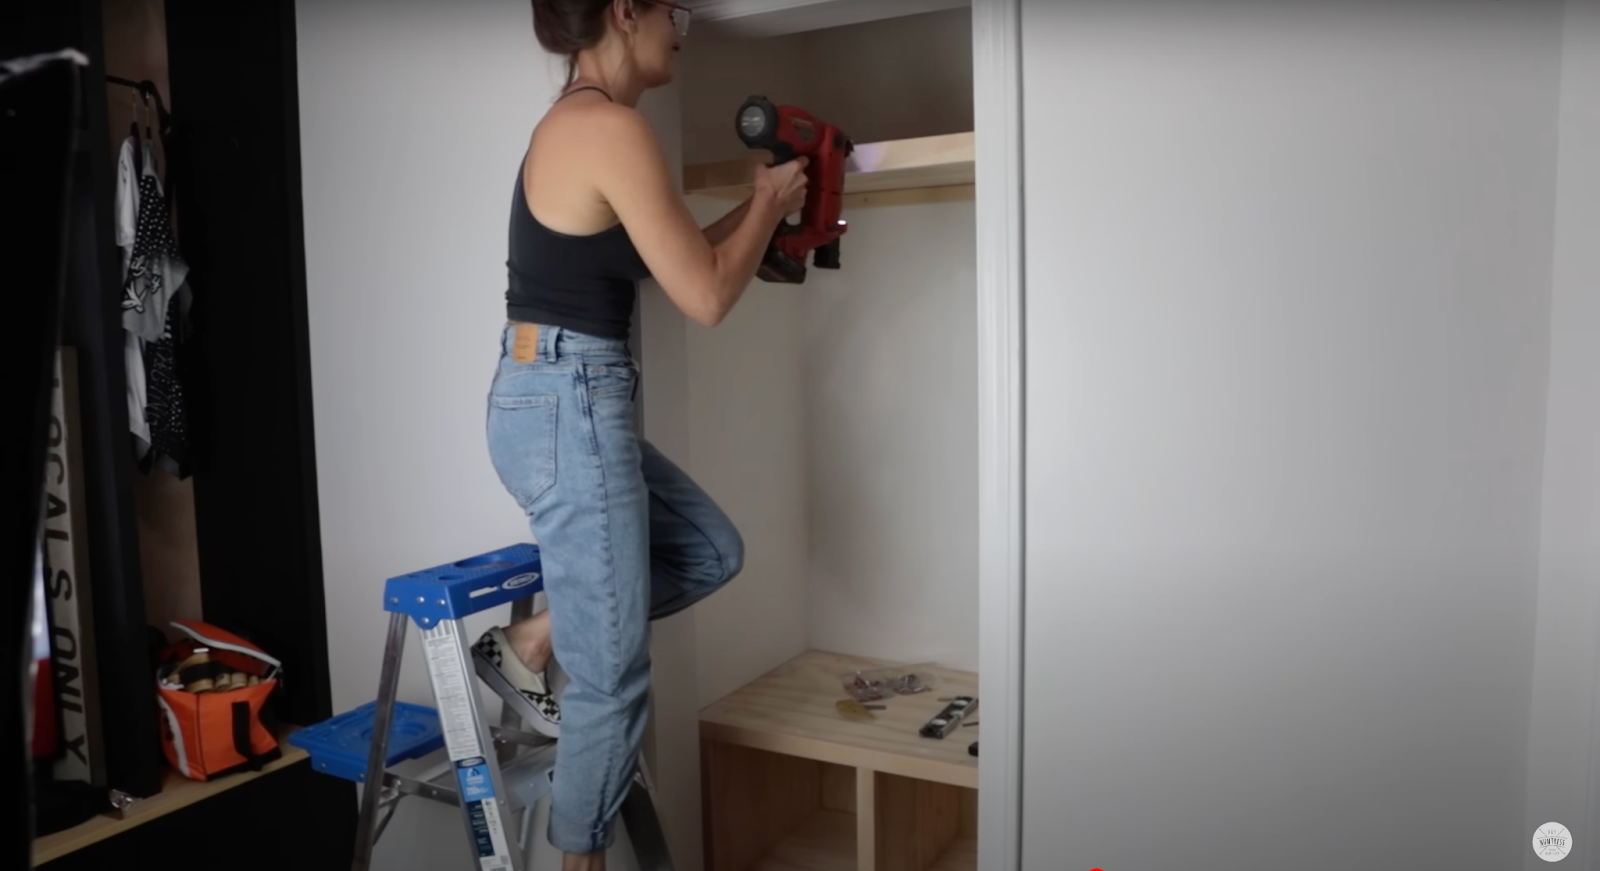
Next, it was time to place the top shelf! I raised it up from where the original shelf was to maximize the storage space a bit. I attached cleats into studs and used anchors where I couldn’t find studs.
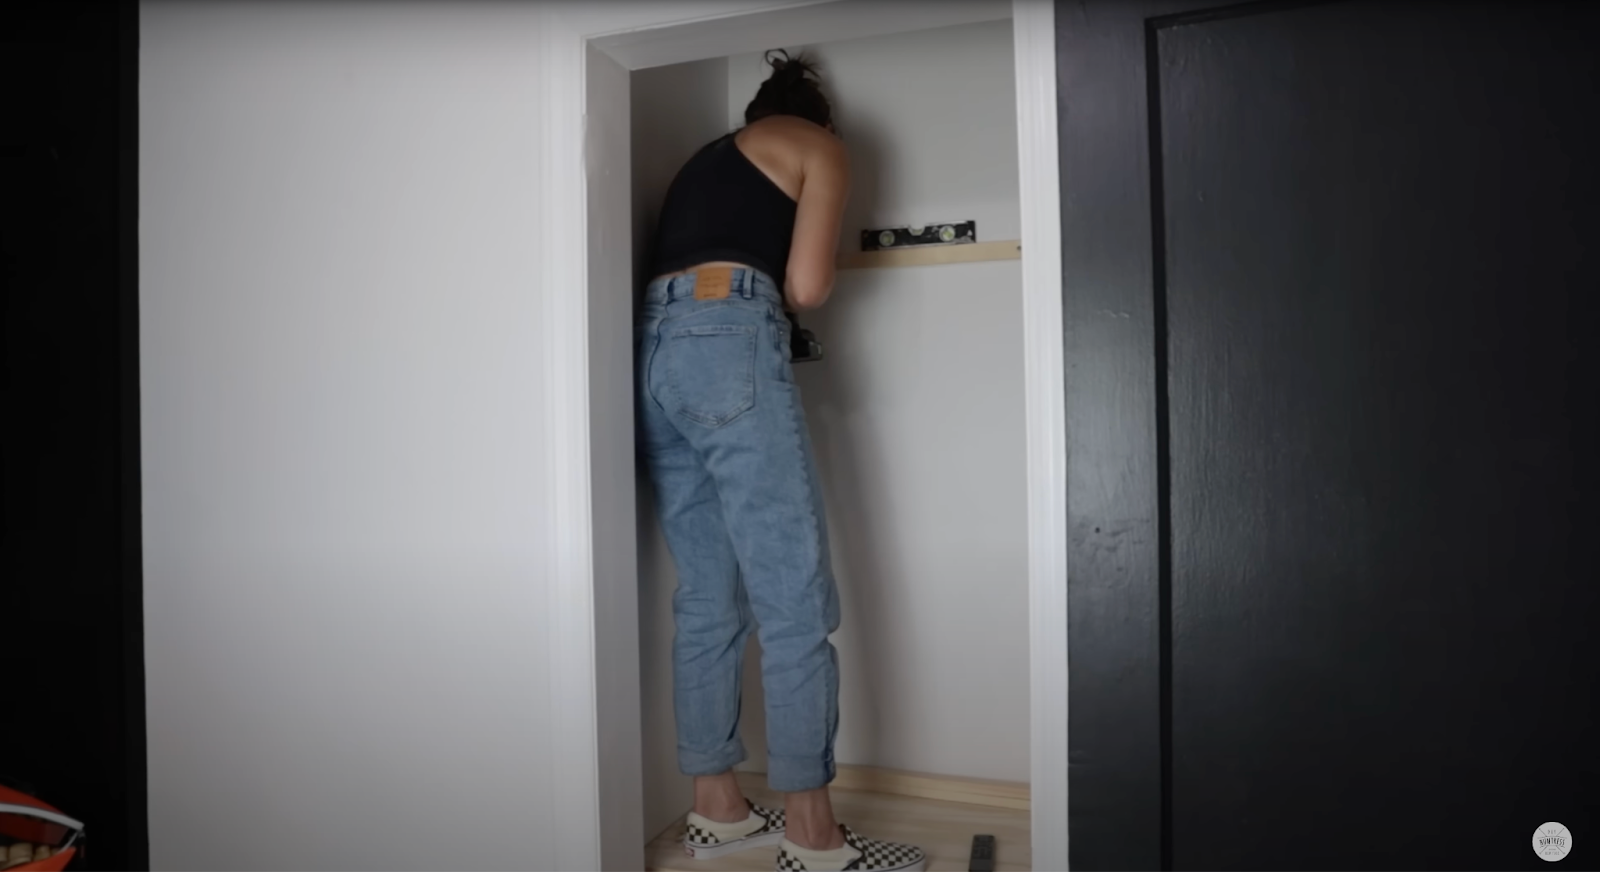
I then attached the top piece of plywood to the cleats with nails and also installed a front trim piece with nails as well.
Step 11: Finish and Seal
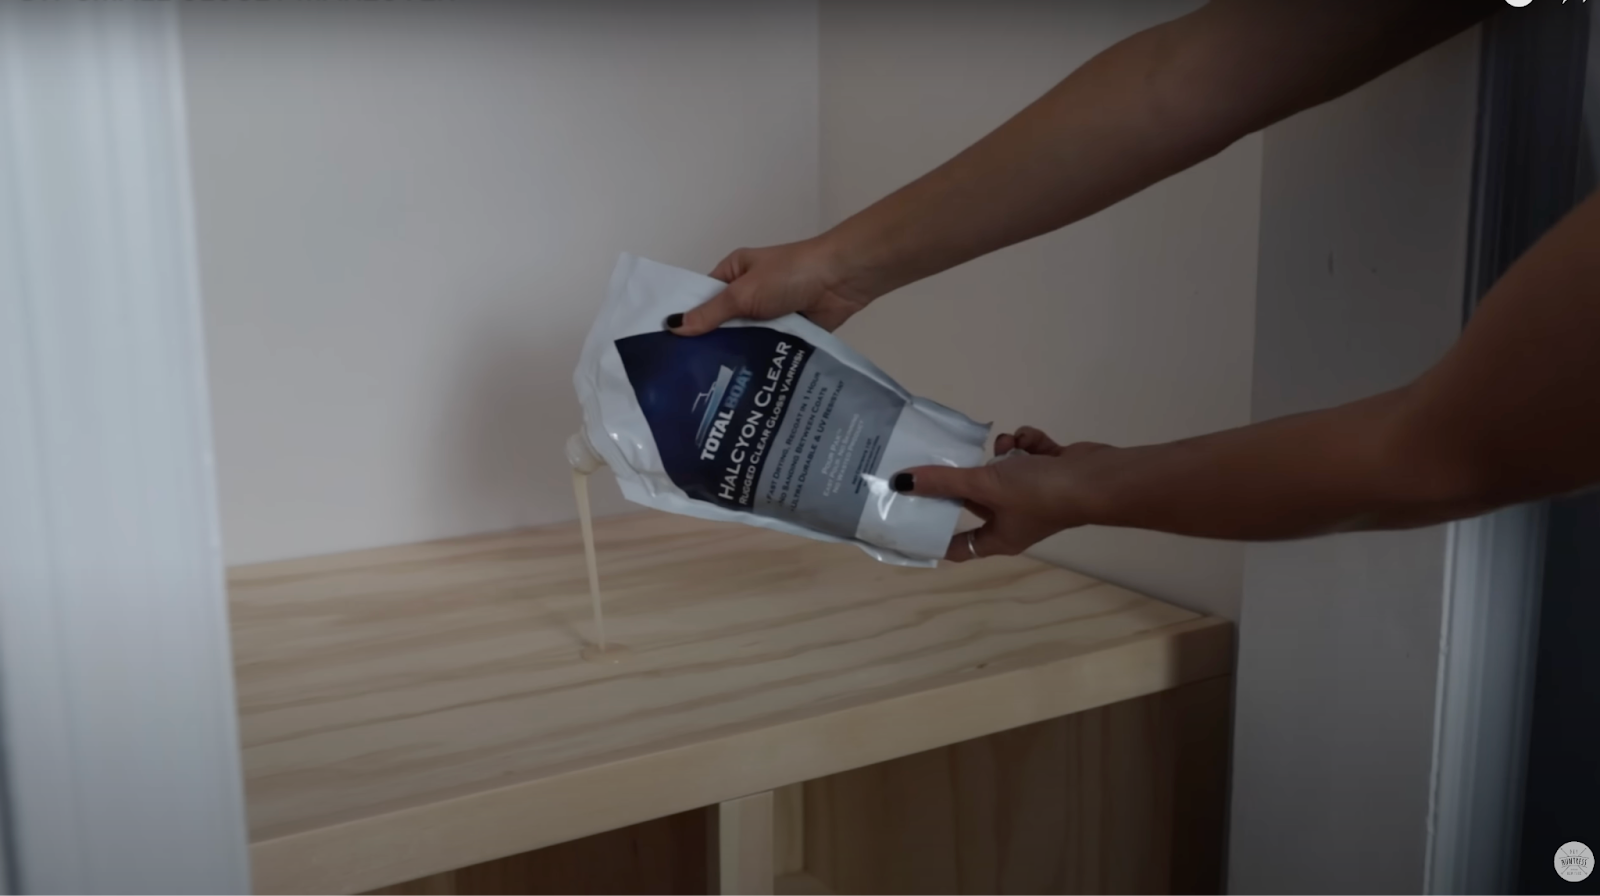
I gave the wood a light sanding and applied TotalBoat Halcyon Wood Finish.
Side Note: this has easily become my new favorite wood finishing product.
Step 12: Custom Sliding Barn Door
One the inside of the closet was complete, I began work on a new door (I stole the closest door from this room to install in my bedroom).
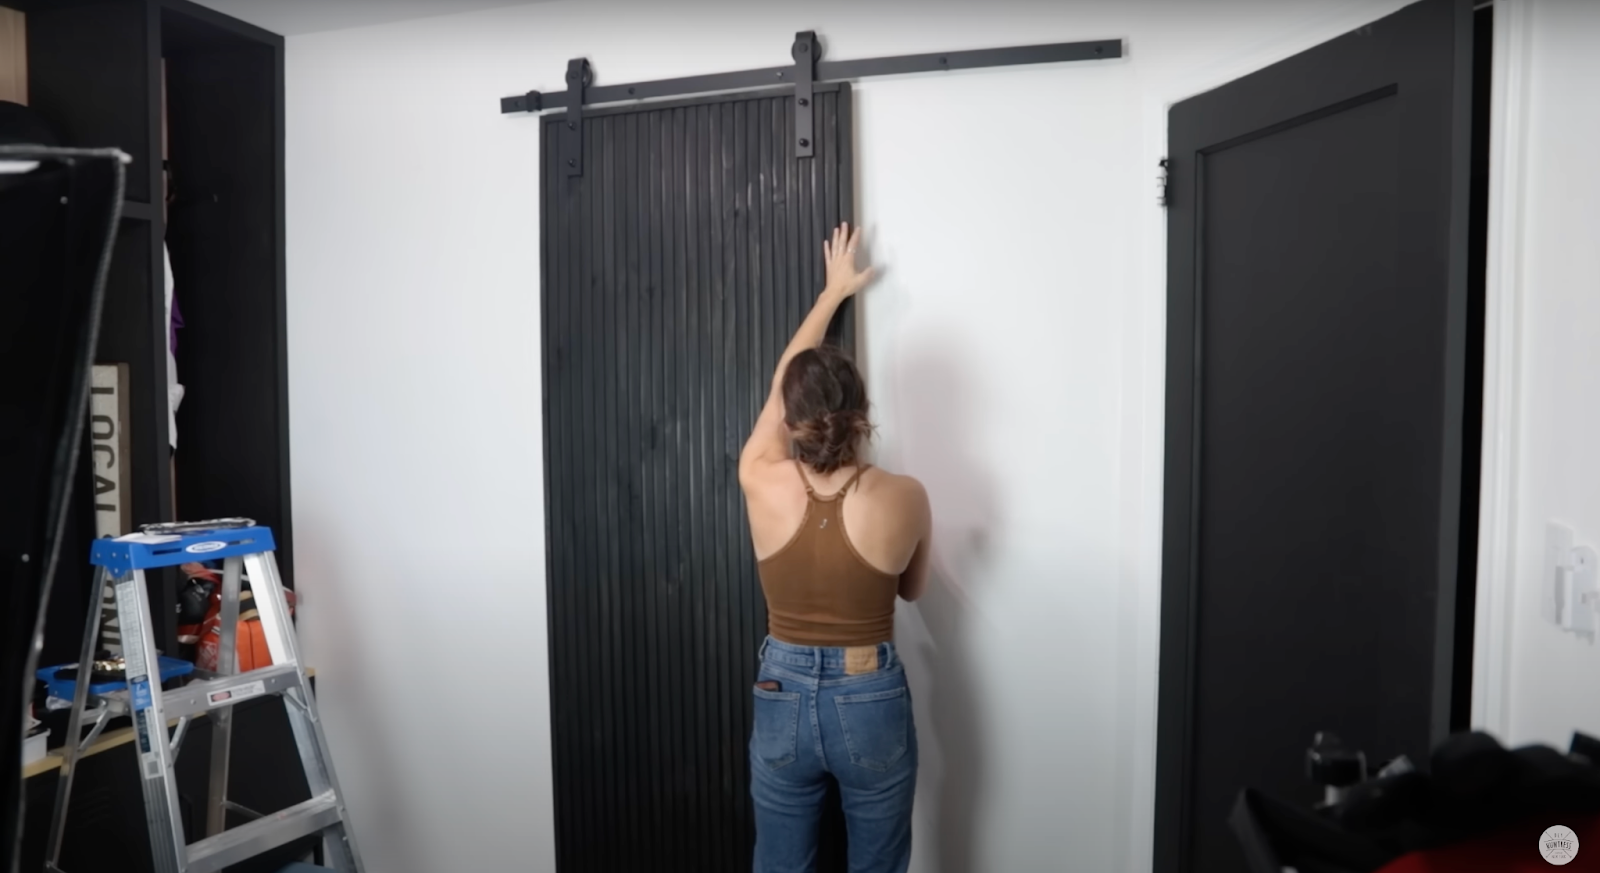
I wanted to make something modern, but also didn’t want to spend too much time on this project. So, I designed it using vertical slatted panels to create a really cool texture for this barn door (but, you’ll see that in action in a couple of steps).
Step 13: Cut Down Backer
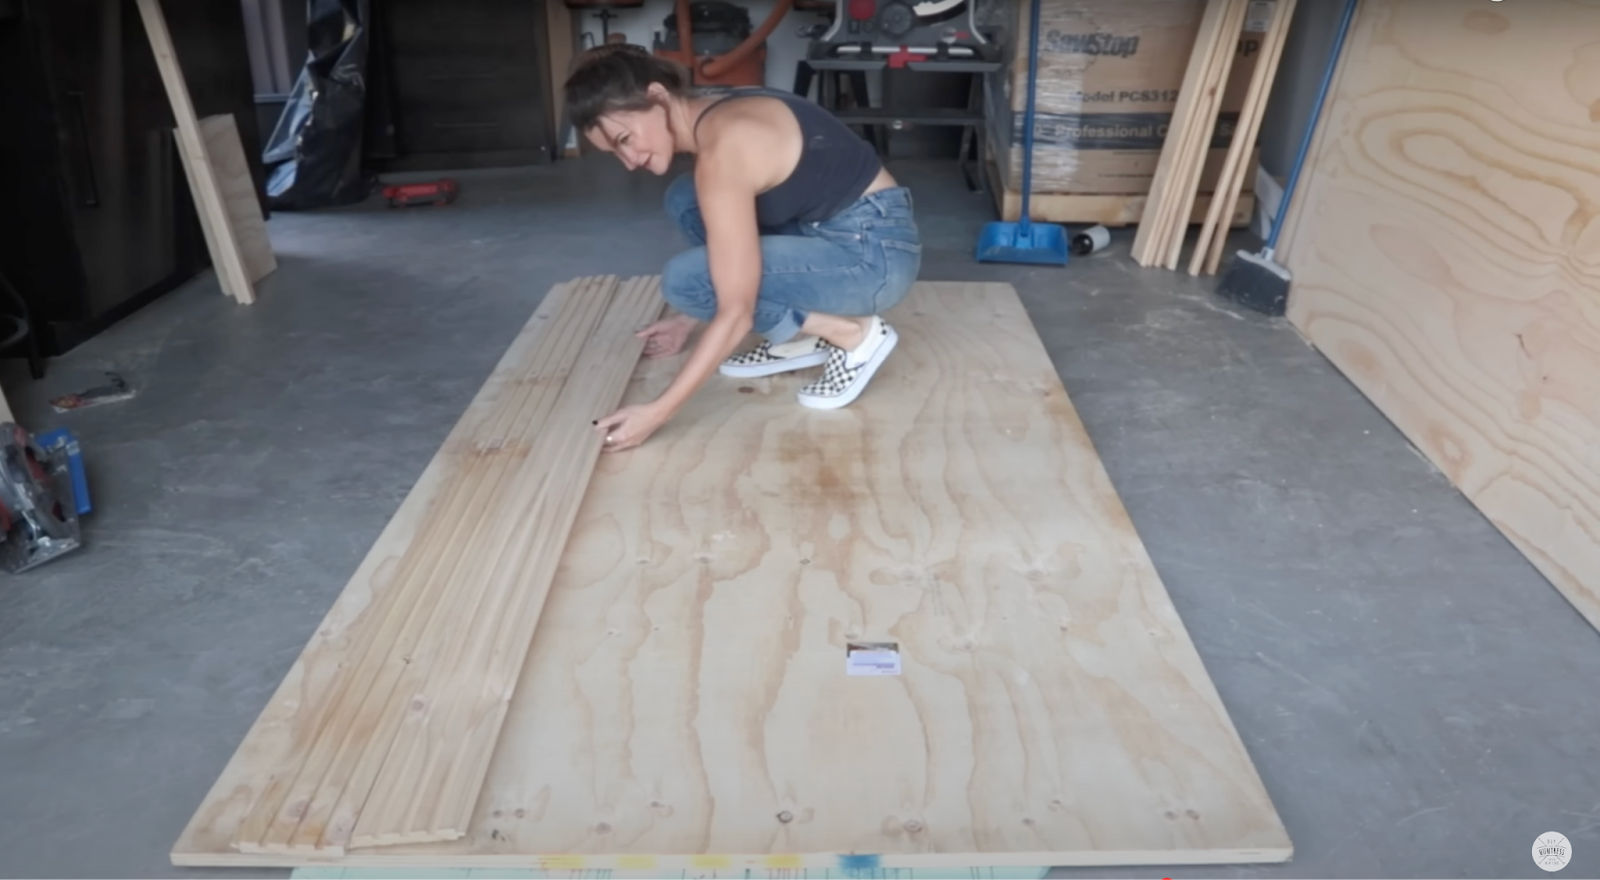
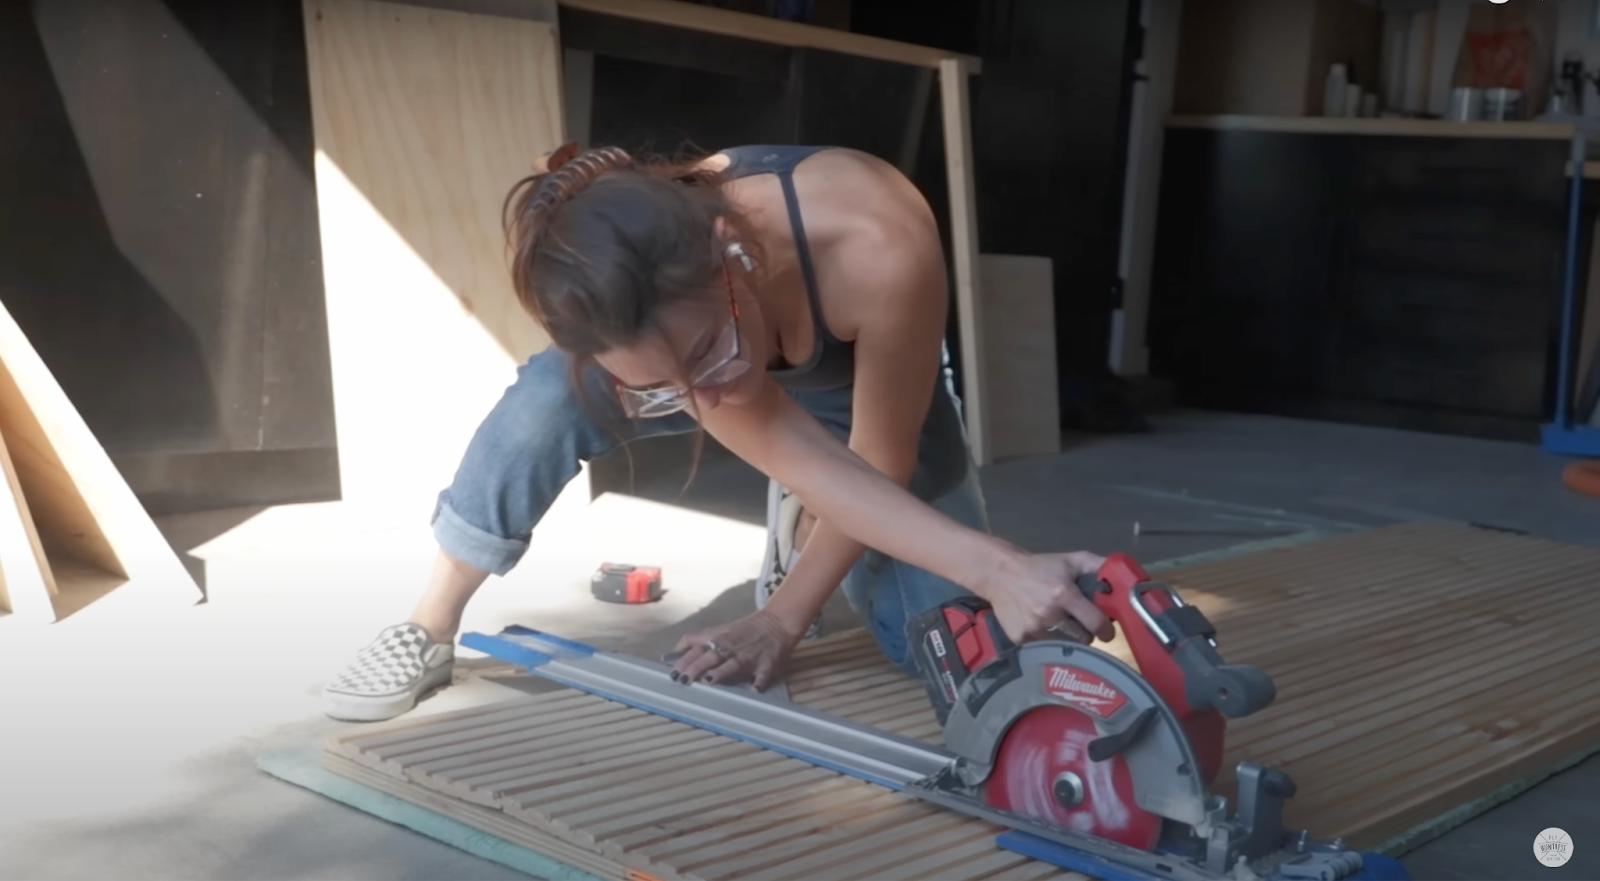
Once I figured out my size and my layout for my door, I used a circular saw and straight edge guide to cut my backer down to size. I made sure to cut it to the same size as the door opening + the trim (I’ll be adding a border later that will make the door slightly larger than the opening).
Step 14: Attach slatted panels to backer
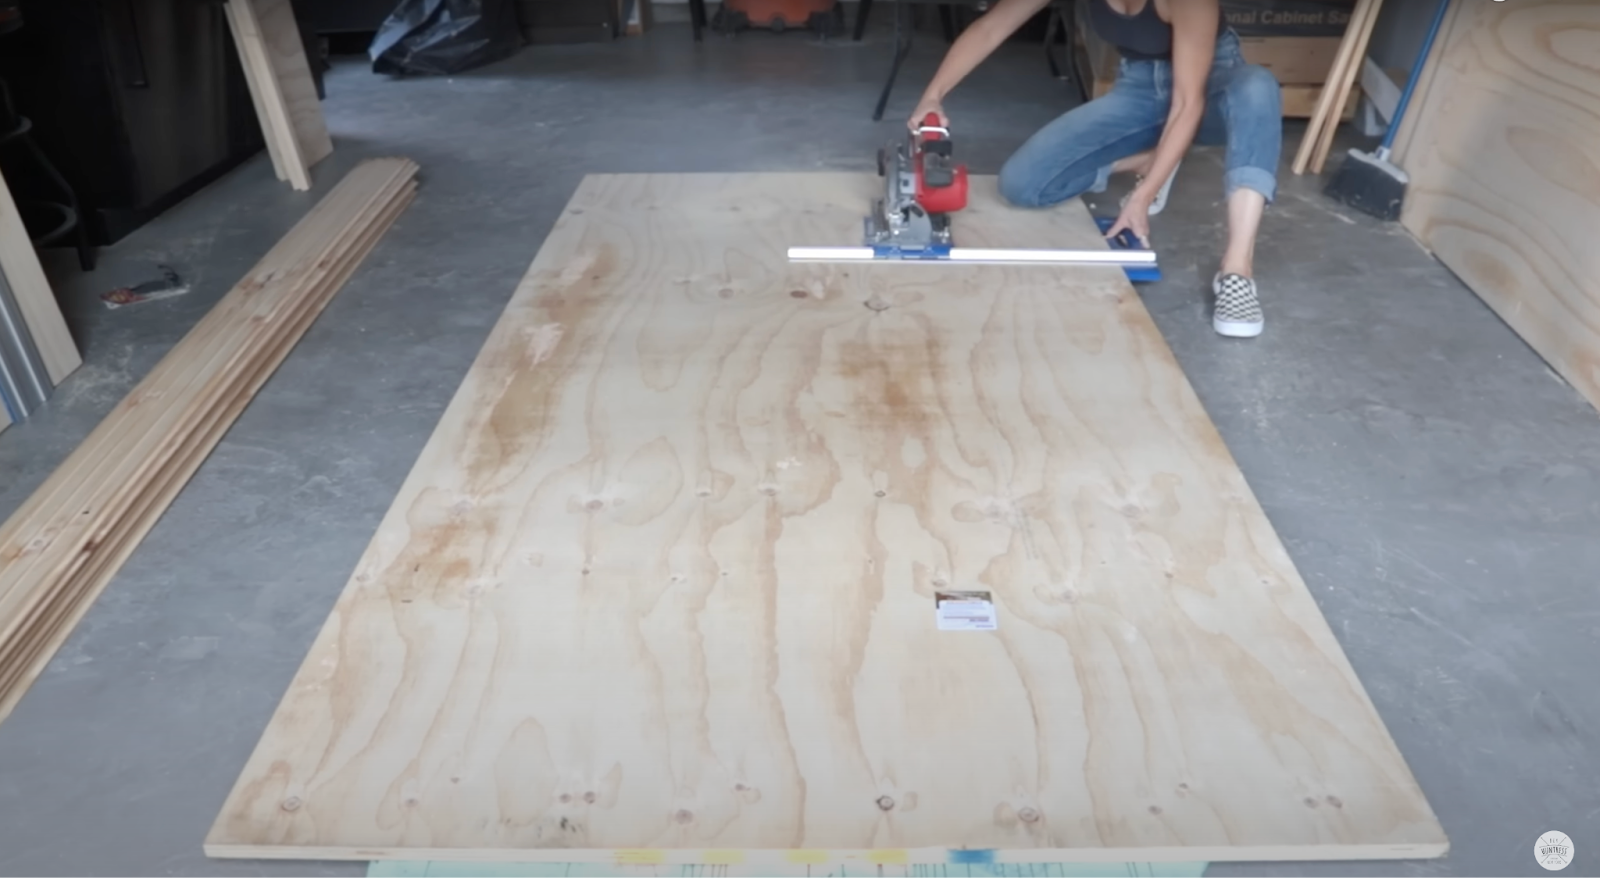
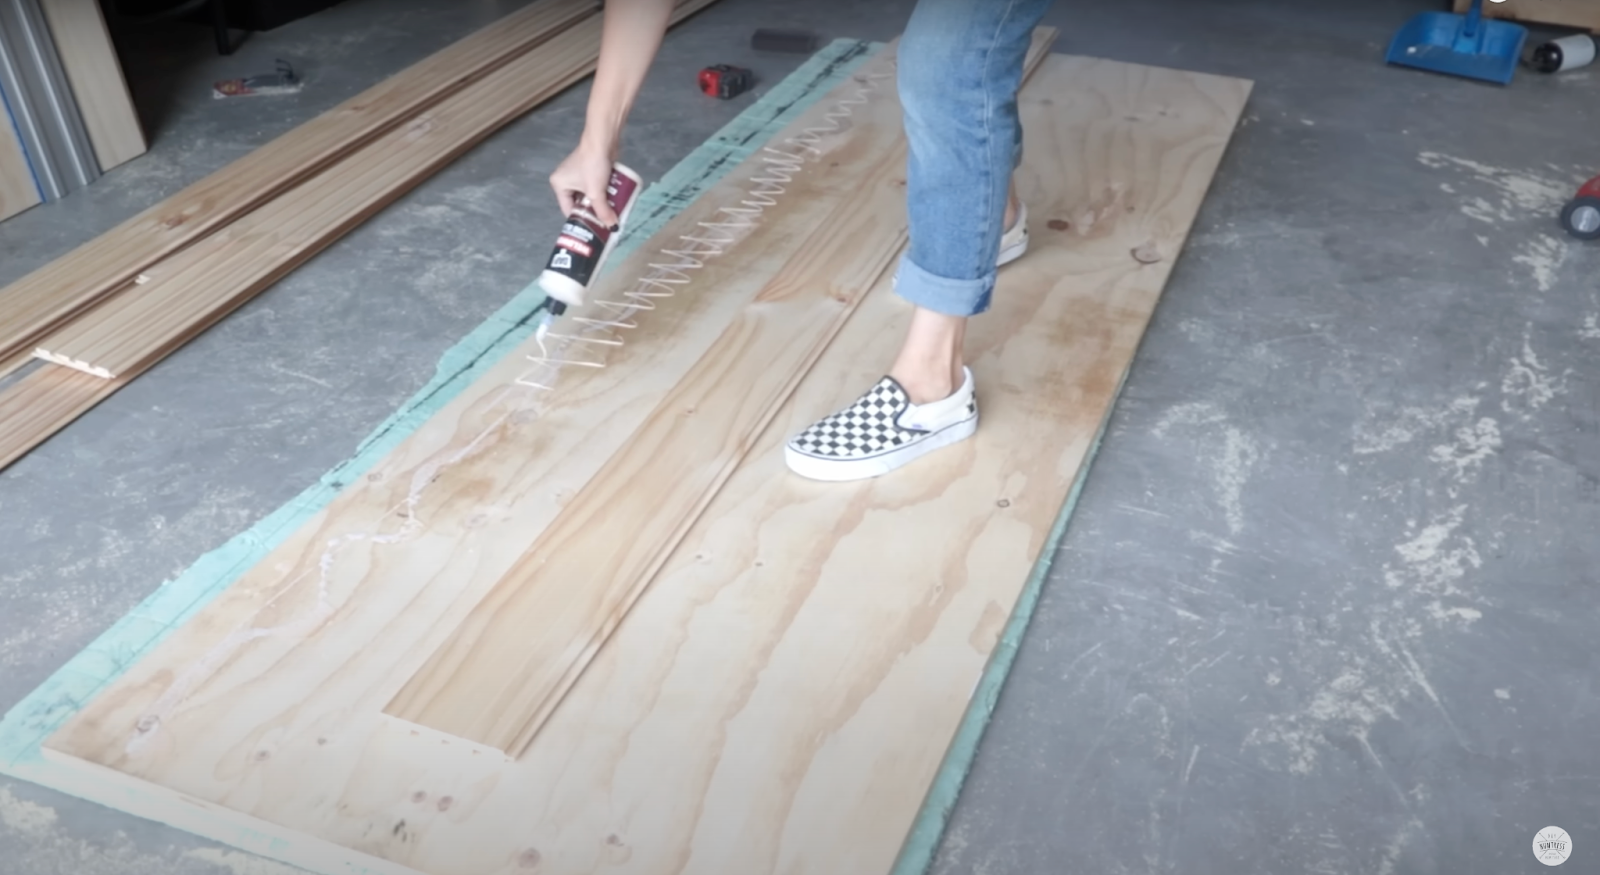
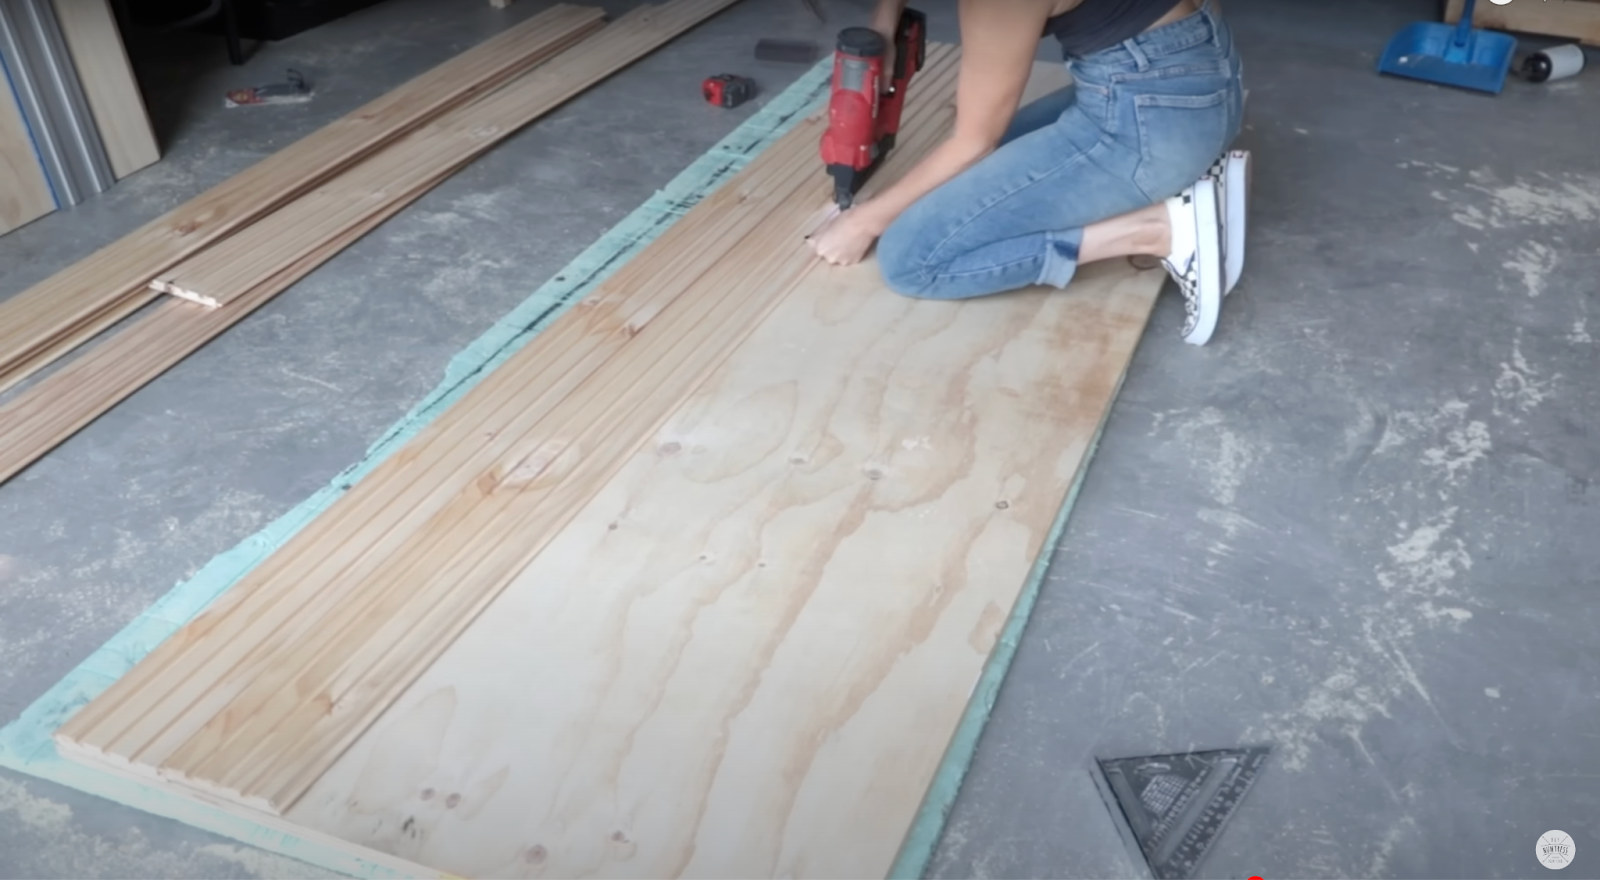
I generously applied wood glue and then nailed the vertical/shiplap panels to the backer.
Step 15: Final Trim + Adding A Border
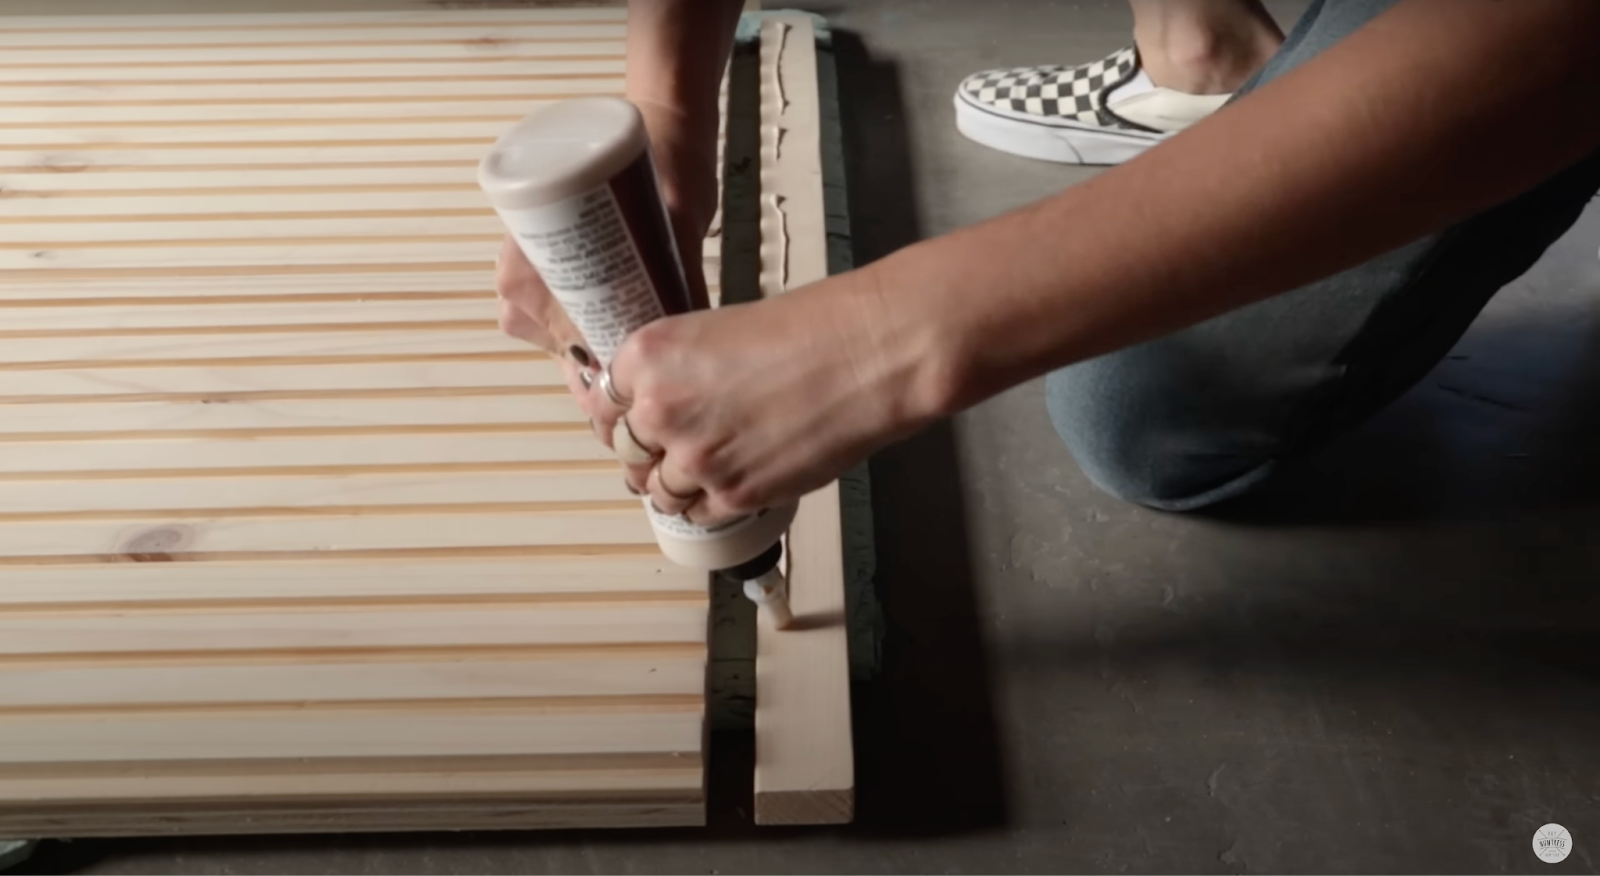
To help make sure the door was the perfect size, I cut any overhang from the panels and then used wood glue and nails to attach the top, bottom and side borders.
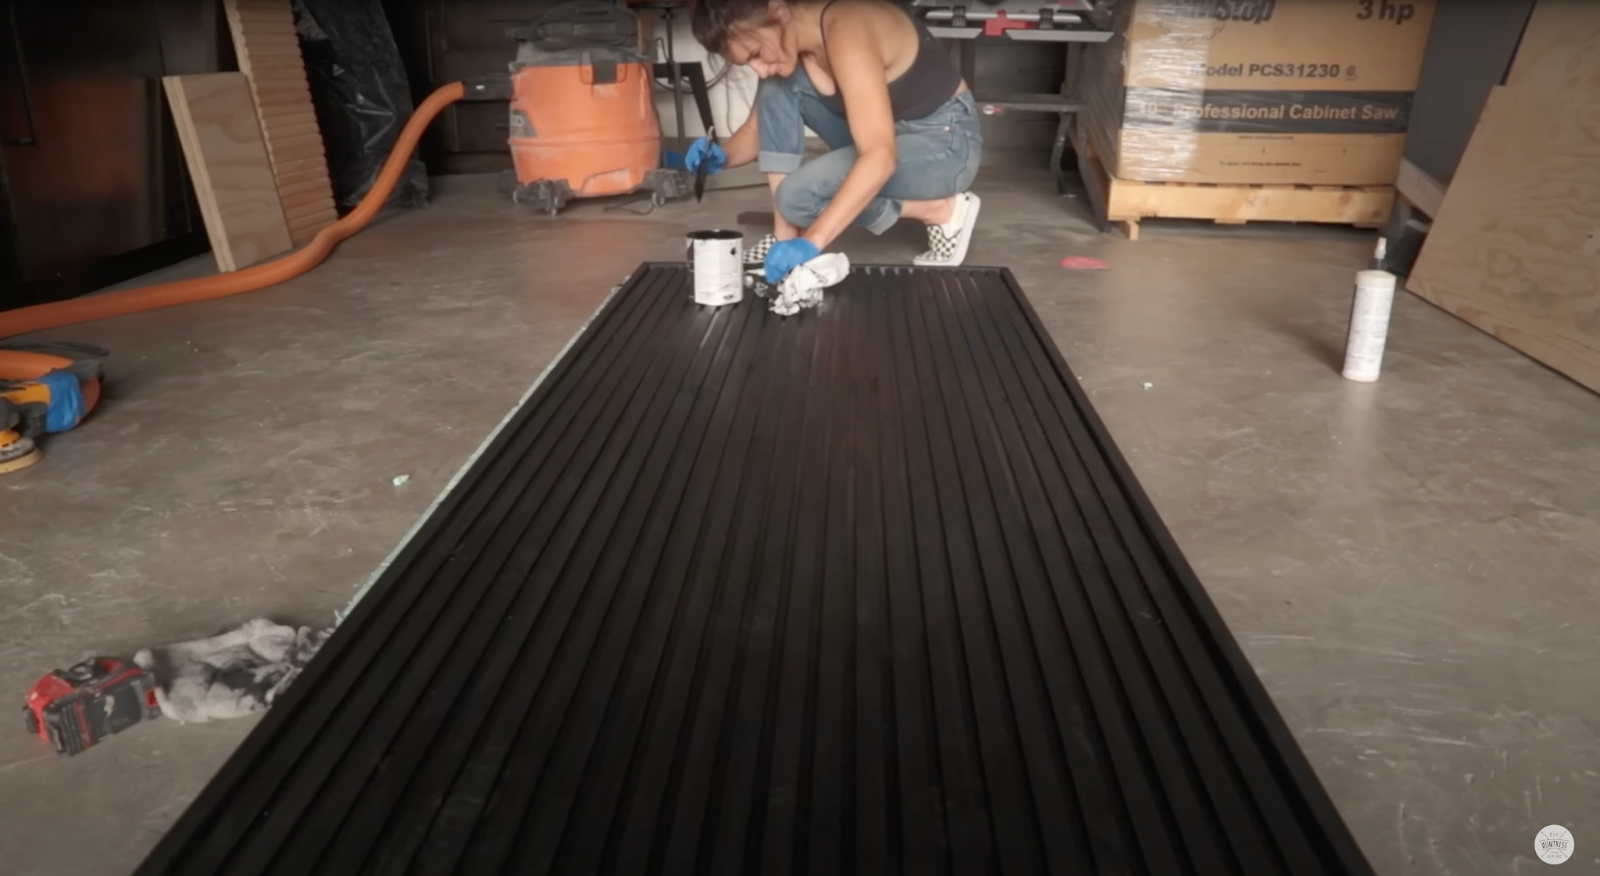
Step 16: Stain Barn Door
I used black stain and let the door dry overnight.
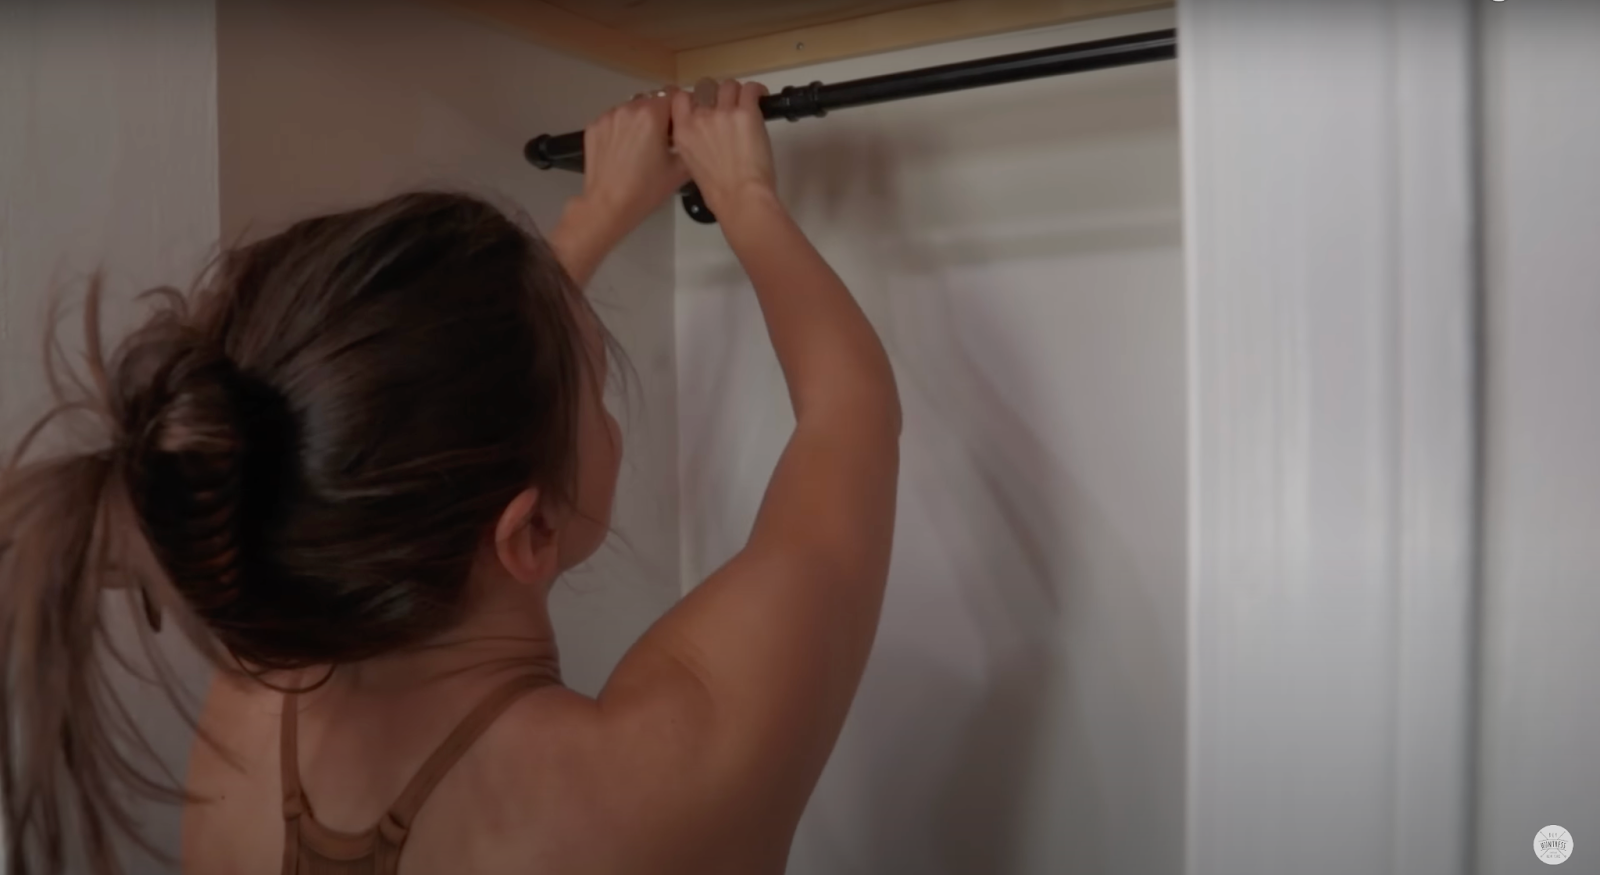
Step 17: Install Closet Rod
While the stain was drying I installed the rod into the closet, along with final custom touches. This was much easier to do before the door was installed.
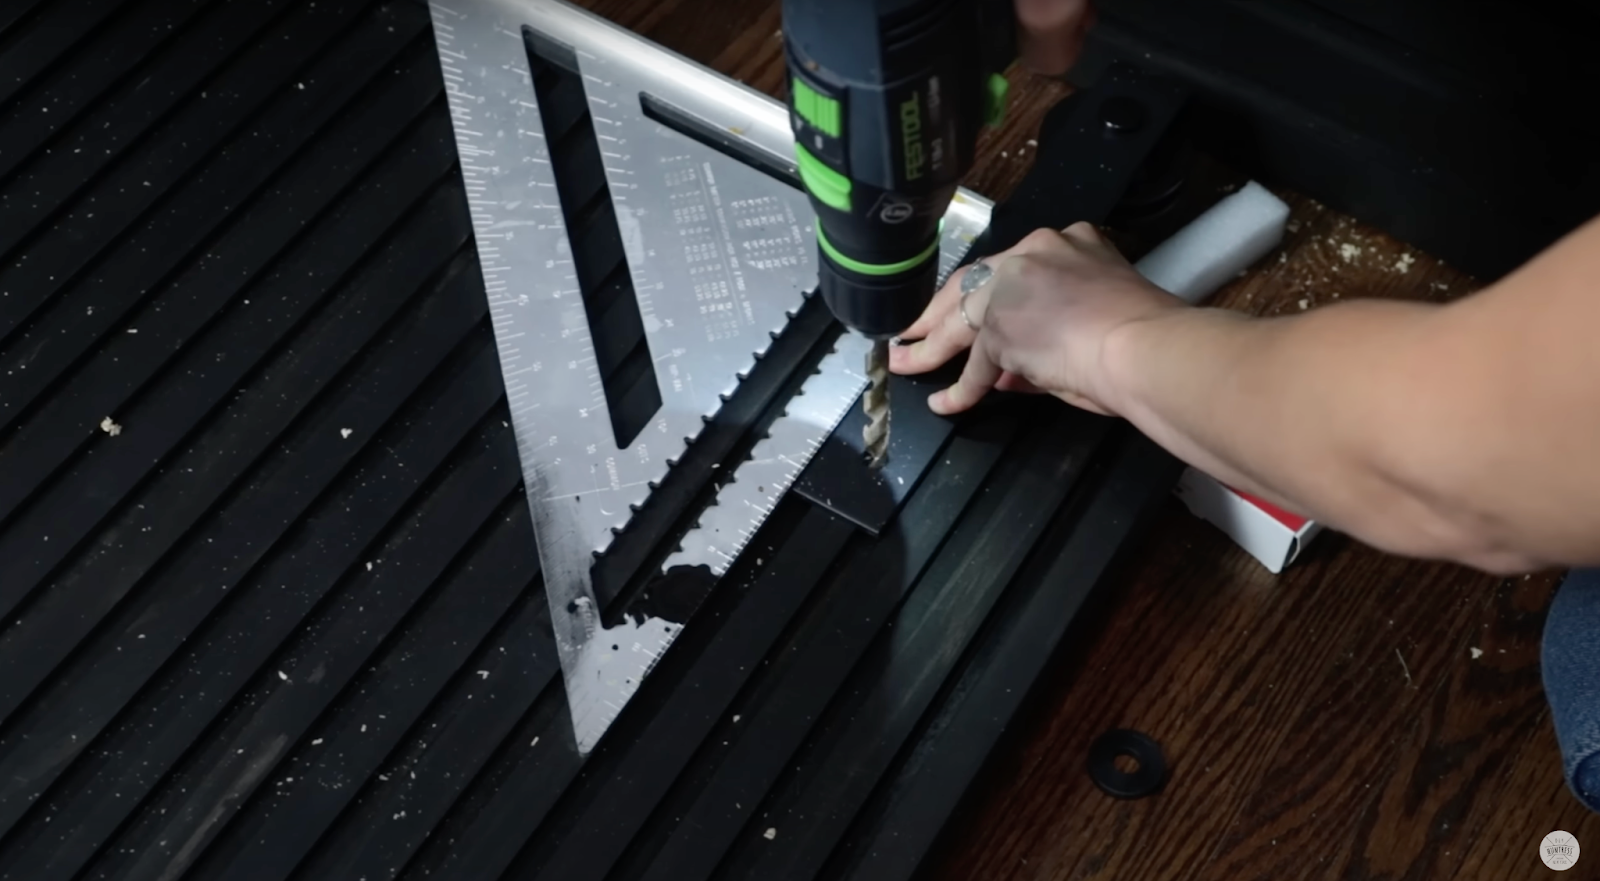
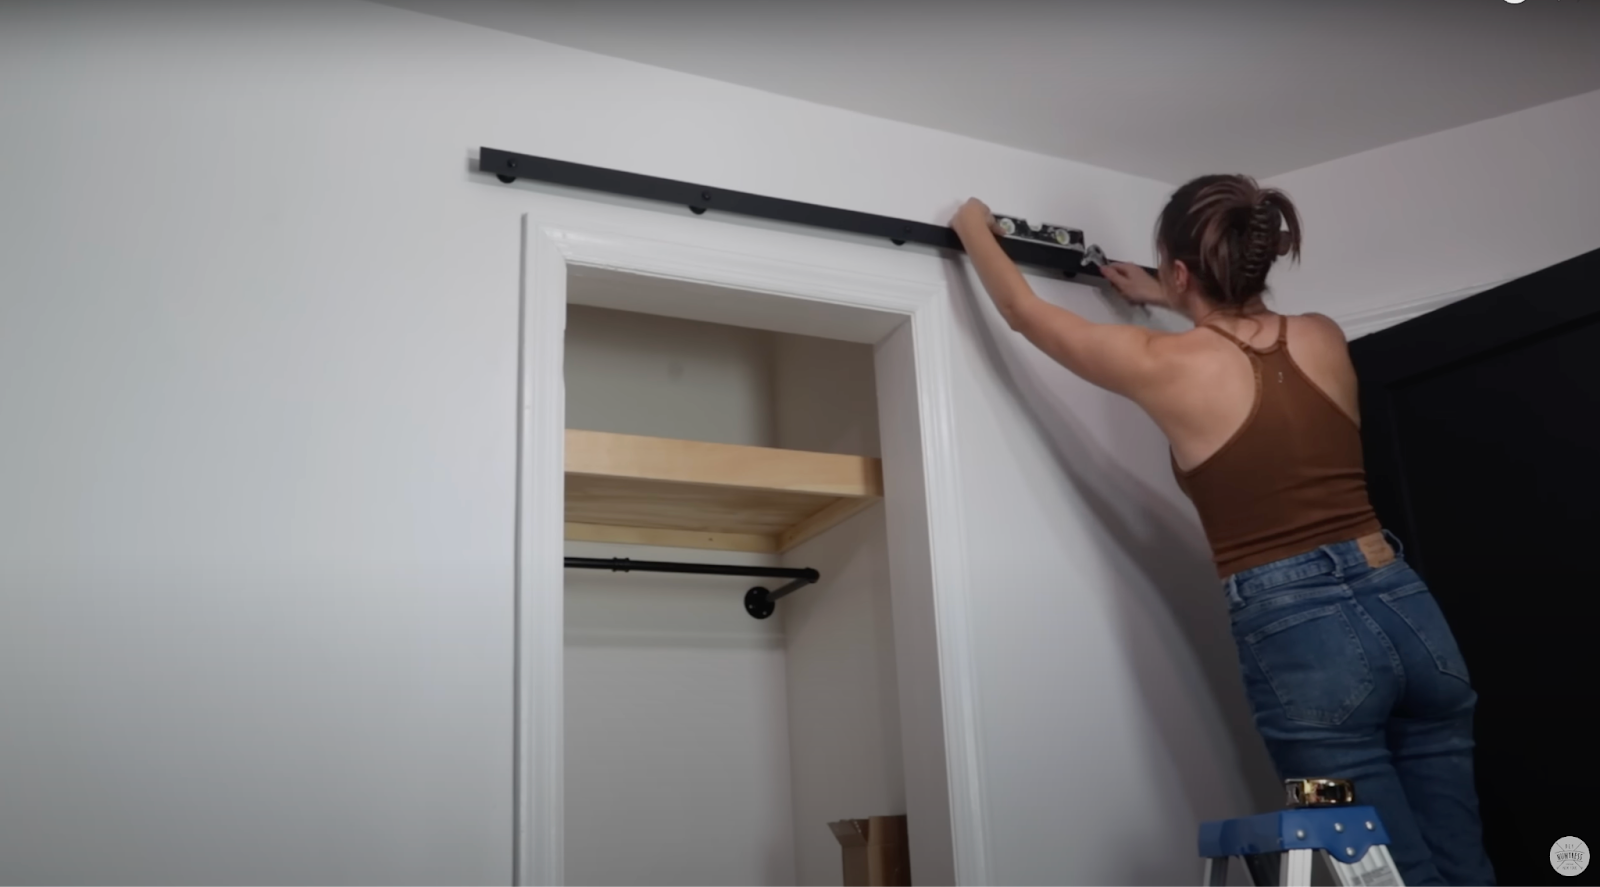
Step 18: Installing Barn Door Hardware
I attached the hardware to the door and the track to the wall above the closet. It’s really important to make sure you are installing barn door hardware into studs to support the weight of the door.
Step 19: Replace Closet Items + Move Back In!
It feels so good to have another custom project done in this house, especially one in a space that gets a lot of use. Now everything has a place so we can avoid clutter and the best part is sliding that beautiful barn door shut!
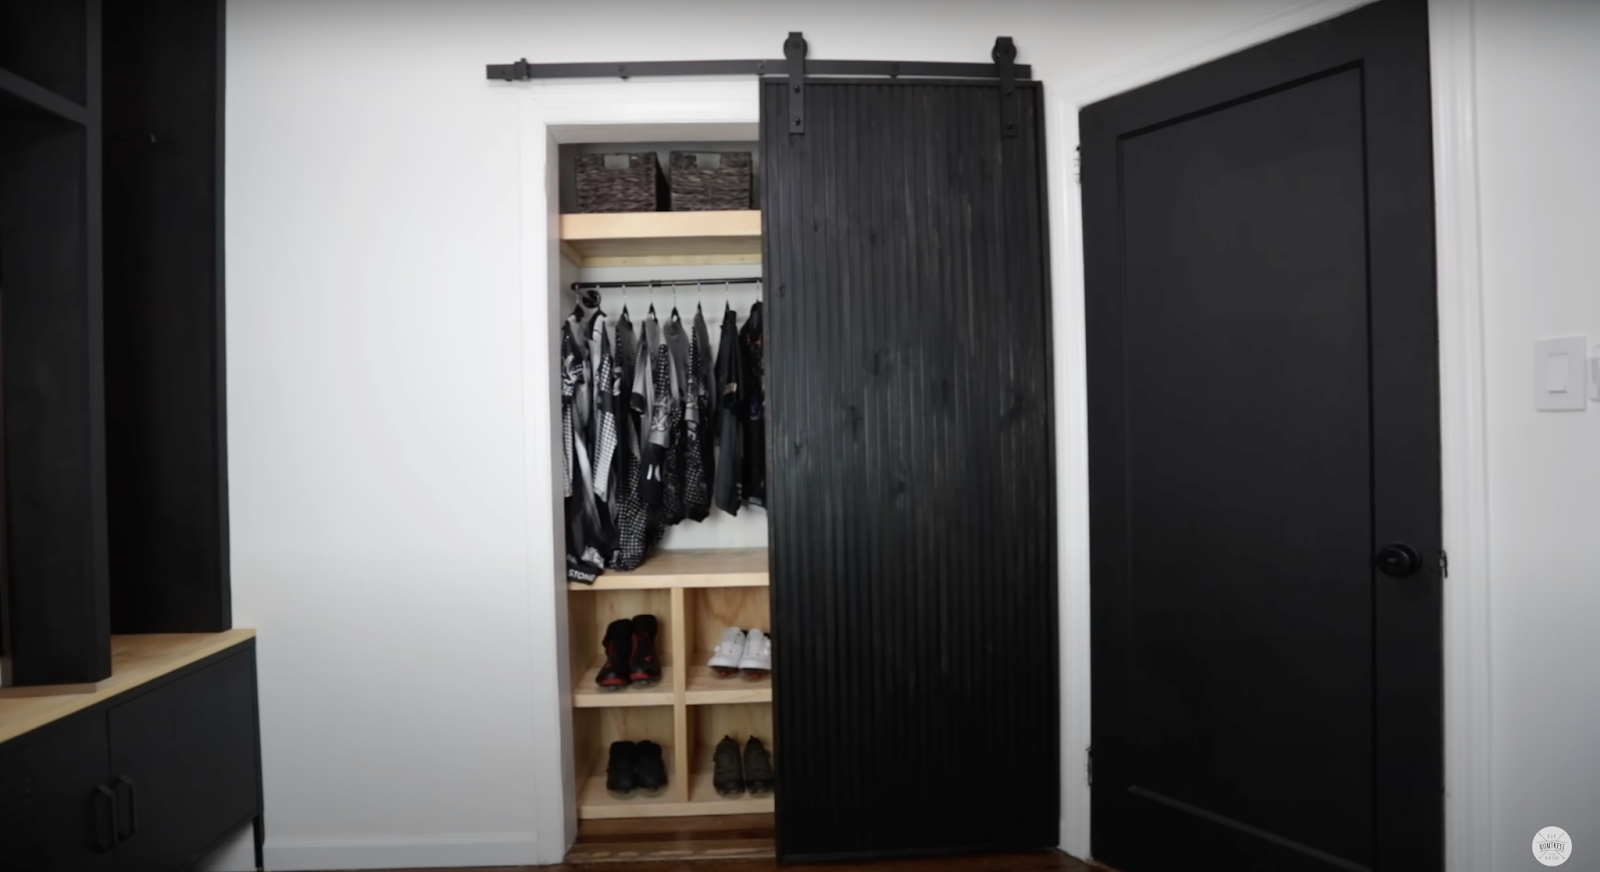
It is kind of amazing what adding some custom touches to a closet can do for organization. While the system I built isn’t too different from the original, it works so much better for our needs in this space. The best part about it, is that this is a project that can be completely customized to your needs!
Save This for Later
I hope you enjoyed this little weekend project! If so, make sure to Pin It for later!


