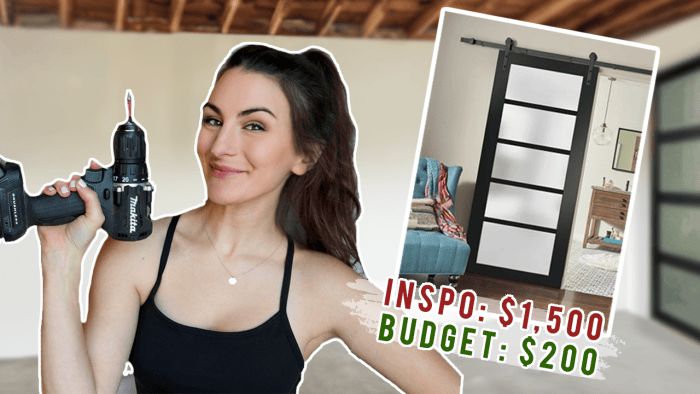
For this project I made custom sliding barn doors in my garage for my office and I’m so stoked about how they turned out. I had a vision and a tight timeline and thanks to some last minute reinforcements by DIY Danie, we made it happen! If you’re looking to elevate an office space with some rad looking closet doors without breaking the bank this is definitely the project for you.
DIY Custom Sliding Barn Doors
This is the last space in our home that needs a makeover and I am so excited about all of the progress we’ve made. The actual closet for this office space was its own project entirely which you can see here. But before I was able to get to the closet, I had to at least cover that mess with some pretty awesome looking custom doors.
This post contains affiliate links, which help support more projects on my website! For my full disclosure policy regarding affiliate links, click here!
Want to see this build in action? You can watch my build video here (+ make sure to subscribe to my channel)!
Materials + Tools
Materials
- DAP Weldwood Professional Wood Glue
- DAP Plastic Wood-X™ All Purpose Wood Filler with DryDex Dry Time Indicator
- DAP Ultra Clear All Purpose Silicone
- DAP DryDex Dry Time Indicator Spackling Paste
- Barn Door Hardware
- Acrylic
- Frosted Glass Spray
Tools
1.Building the door Frames

First, I used pre-primed 1x4s and cut them on my miter saw.

Then I dry fit my pieces to make sure everything was good to go for assembly.

I made pocket holes to prep my pieces for joining. I have this awesome system pictured above but you can also use a simpler jig like this one.


As well as screws I also used wood glue to attach each joint and to make sure that these doors were solid.


Next I routed into the back of the frame using a rabbet bit to make a space to place the acrylic.

To finish the corners I grabbed my multi tool and squared them off.

Even though these boards are pre-primed there were some imperfections. I’m painting these doors black and if you don’t prep your surface correctly black paint really shows all the imperfections. So I used wood filler to fill in all of those spots that needed a little extra help.

After letting the wood filler dry overnight it was time to sand and prep for paint.

I sprayed the door frames a matte black which really went on so well.
2. Cutting & Installing the Window Panels

While the paint was drying on the door frames I cut this thin acrylic to size on my table saw. If you don’t have a table saw you can use a circular saw, a jigsaw, a multi cutter, or a blade, you don’t have to get fancy.

After cutting, I frosted the acrylic. I left the plastic on the back side while I did this so it didn’t scratch.


To install the acrylic panels into the grooves I used this ultra clear silicone. I wanted something that would dry clear and this stuff is so strong. I actually wanted to adjust one of the panels after it dried and I could not get it to budge.
3. Install the Barn Doors

First I installed the track above the closet for the doors to ride on.


Then I pre-drilled the holes for the barn door hardware and used a square to make sure everything was aligned properly.

Once it was all aligned I added the finishing hardware that came with the kit.

When it came time to actually hang the doors I realized there were some tweaks that needed to be made…

So I grabbed my emotional support human, DIY Danie to help me get through the last bits of this project.
4. Finishing Touches

Danie started by removing the existing trim from around the closet.

I added some extra trim to the doors to make them a little thicker, I just wasn’t feeling the thinness when I first hung them up.

While I was doing that Danie spackled around the edges to smooth out where she removed that trim.

We touched up the paint where I added the extra pieces of trim.


The last step was to add these bumpers on the floor to keep the doors in line as they roll back and forth.
The Reveal

Let me just remind you of our before…


Can we talk about a transformation?
I am so happy with how these barn doors turned out. They are exactly what I envisioned in my mind and I am so excited about how they tie together the new HQ for DIY Huntress. I’m so grateful Danie got to be a part of this project too, she really helped me get to the finish line. I hope that if you’re tackling your own custom barn doors this was helpful for you and that you love your project as much as I love mine! Happy DIYing!
Save This for Later
I hope you enjoyed this little weekend project! If so, make sure to Pin It for later!


