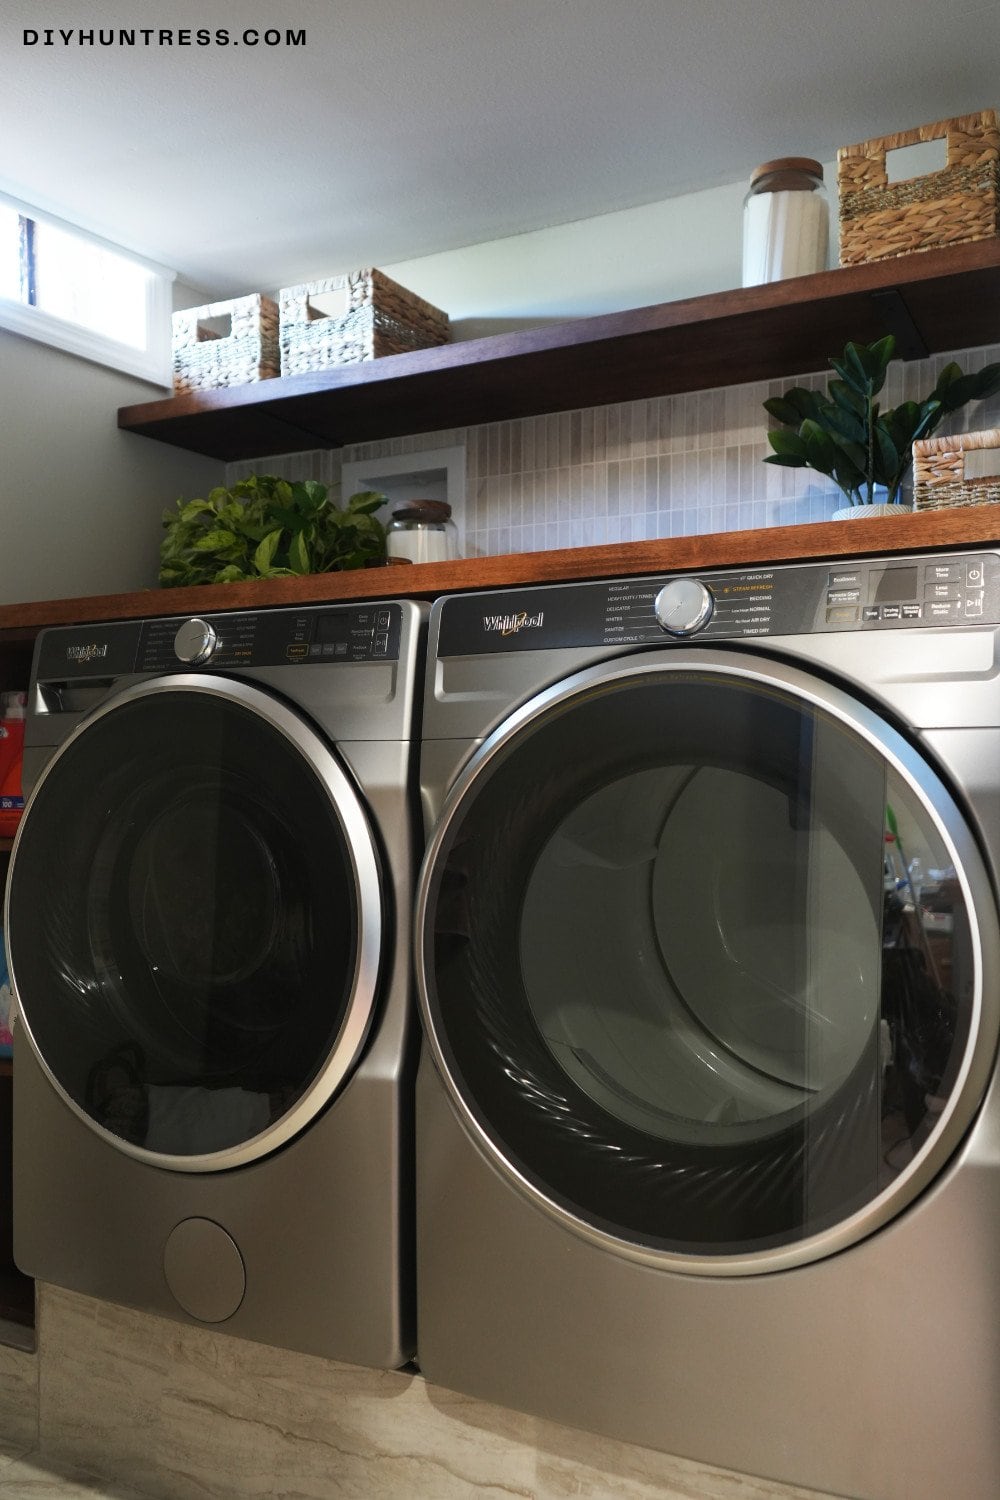
We are back at Rob’s house, and if you’re new here and you don’t know who I’m talking about, my little brother Rob just bought his first house this past year, and he also just recently got married.
Since then, the entire family has rallied together to help him turn his first house into his first home. We’re talking about the bedroom, living room, sun room, dining room, the works! (You can check those other projects out on my channel too!)
But just in case buying his first house and getting married isn’t exciting enough, they’re also expecting their first baby! And since this baby is basically going to be here any day now, Rob has been putting in extra hours after work and on the weekends to really get their house ready.
But what do babies really need? You guessed it, a laundry room. I tapped in for the weekend to help Rob finish his laundry room makeover, and we’re turning a former utility closet into a functioning laundry room, because you know this room is going to be really busy, really soon. Let’s get started friends!
This post contains affiliate links, which helps support more projects on my website! For my full disclosure policy regarding affiliate links, click here!
Want to see this build in action? You can watch my build video here (+ make sure to subscribe to my channel)!
Other Projects at Rob’s House
Tools + Materials
- Click here for all of the materials and supplies I used for this project
- Click here for my tools
- Check out my tool guide on my website here
Where We Started
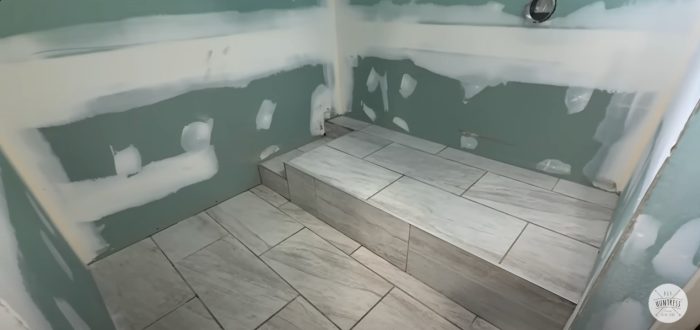
Rob has done an amazing job with the tile work and the drywall, but there is still a lot to get done and not a lot of time to do it.
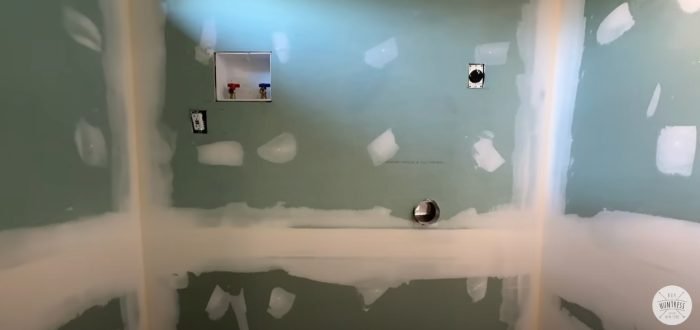
1. Paint
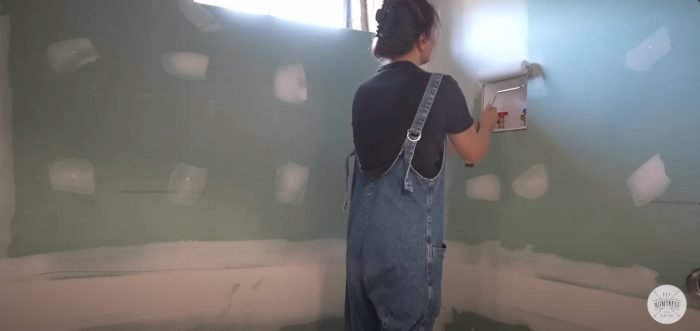
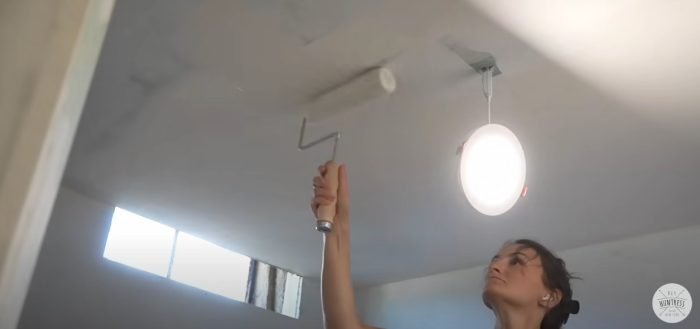
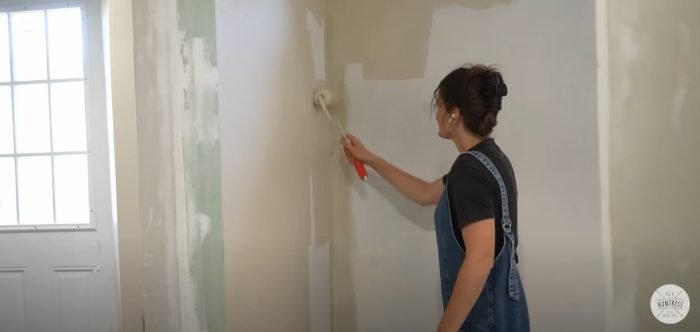
We’re focusing on super easy updates for a laundry room, so first thing’s first, the drywall and ceiling needed to be primed and painted.
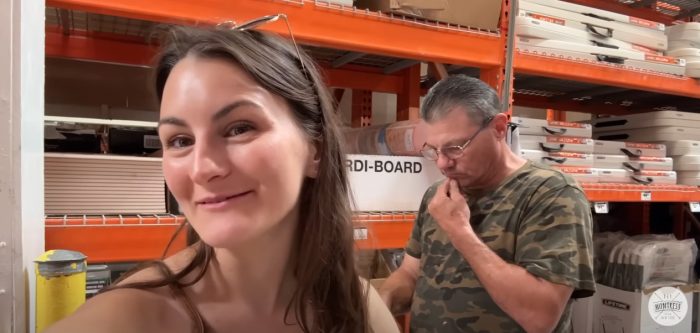
No project is complete without a trip to the home improvement store. This one featured my partner in crime and a lot of math in the aisles.
2. Countertops
One thing I’ve learned from working in small spaces is that when you’re bringing things into them, they have to have more than one purpose.
So putting a countertop over the washer and dryer not only adds storage, but it also adds a functional place to fold laundry or even store laundry temporarily.
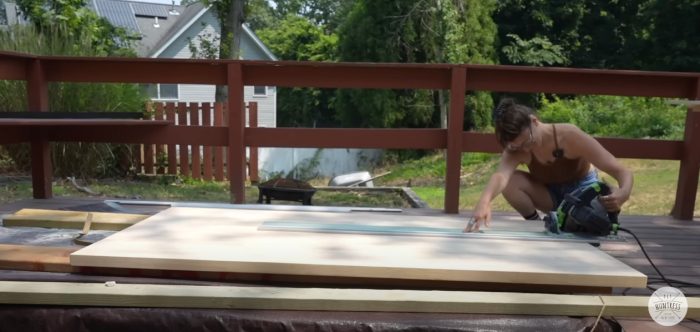
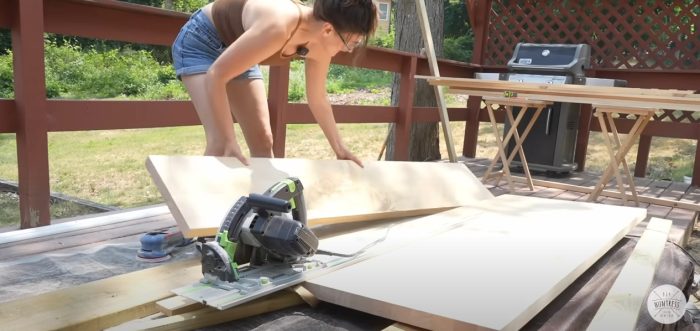
Needless to say, they needed a countertop so I started by cutting the countertop with my track saw.
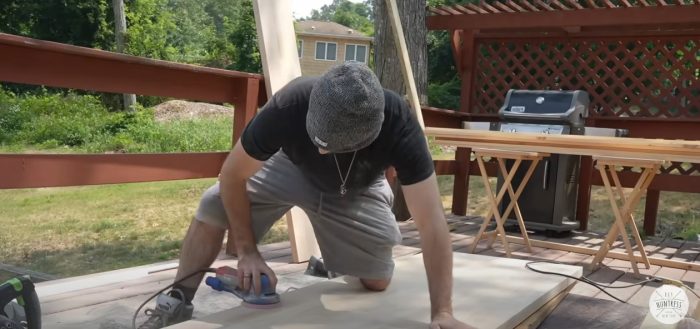
The great thing about having a brother is that you can make him do the stuff you don’t want to do. So he kindly sanded the countertop for me.
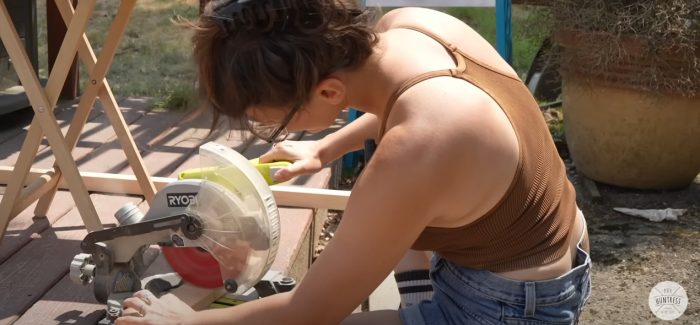
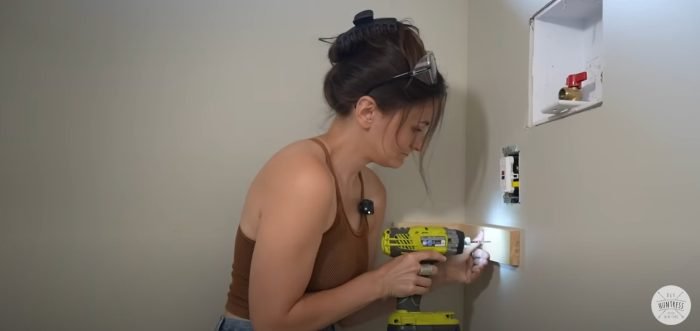
Then I used my cordless miter saw to make the brackets for the countertop and installed them before the washer and dryer were in place.
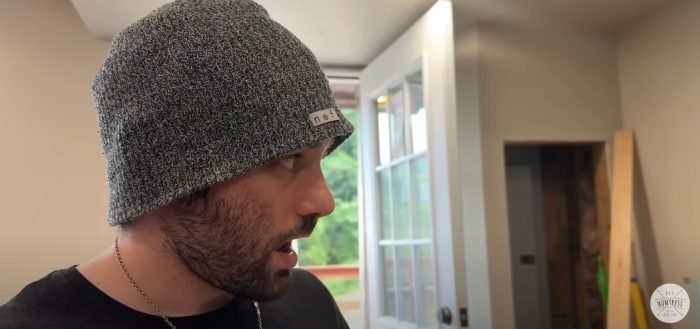
The face of a very happy Rob when he saw his new washer and dryer!
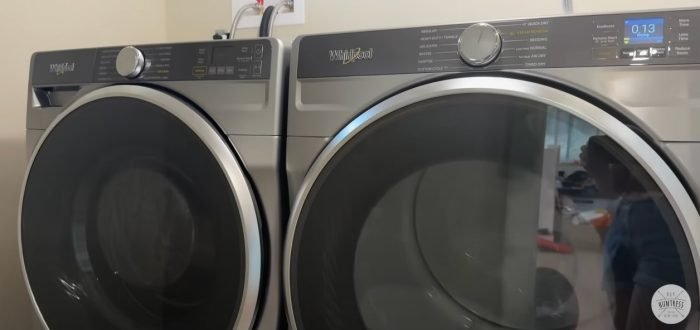
Not much to complain about here!
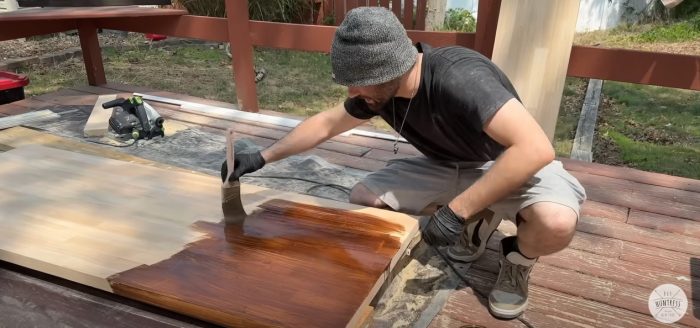
After Rob finished sanding he got started with staining.
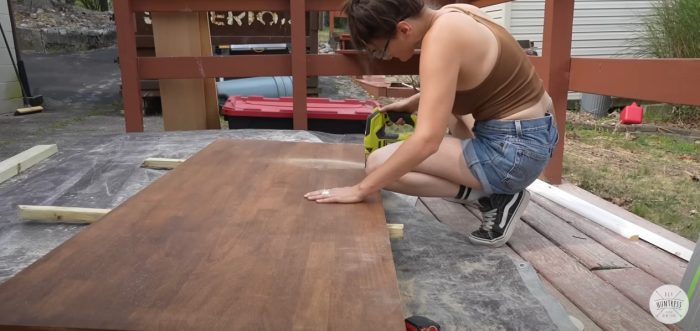
I had to make some adjustments with my jig saw so the countertop would fit around some of the piping and wiring on the wall.
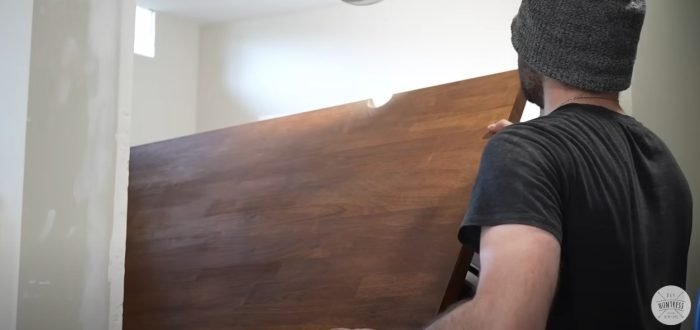
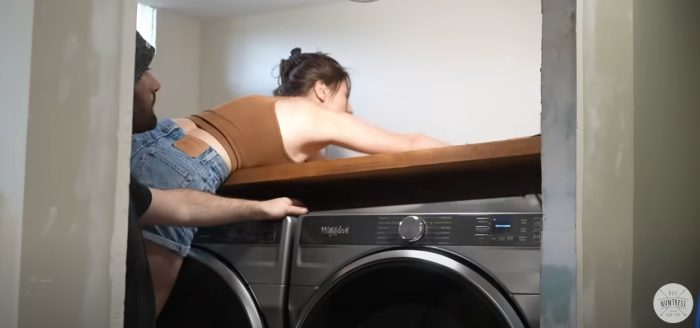
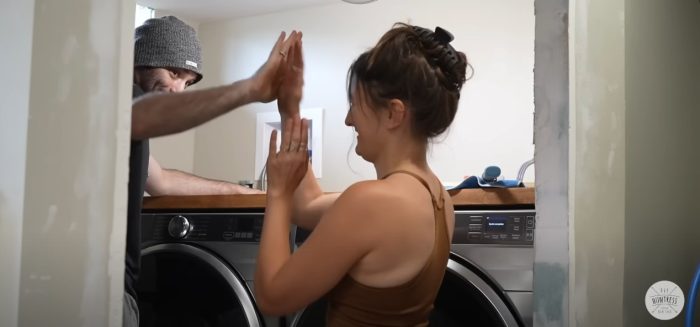
Trying to install this giant butcher block countertop into a tiny space with an angled doorway seriously felt like trying to fit a square peg into a round hole, but we got it done.
3. Backsplash
This room is teeny tiny and I didn’t want to go overboard with the design elements, but one thing I really wanted to do was break up all of the beige paint and also add something that would be easy to clean up.
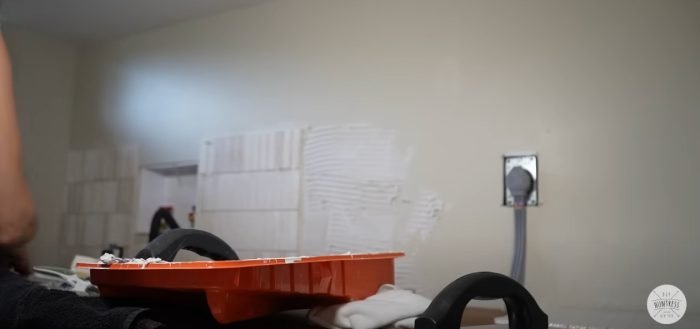
So, I decided to add a couple of these mosaic tile sheets, which were very inexpensive. This was such an affordable upgrade and super easy to install.
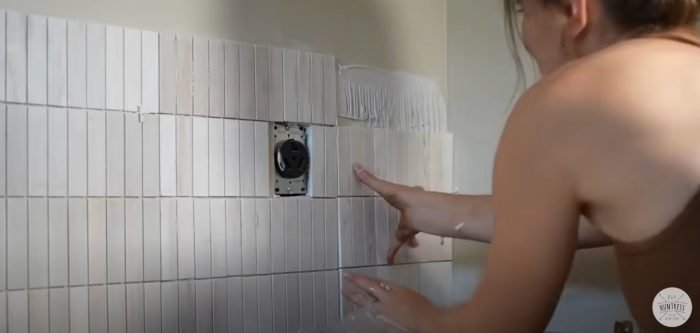
In my own laundry room, I tiled all the way up to the ceiling. This laundry room is a lot smaller than mine, so I only went halfway up the wall.
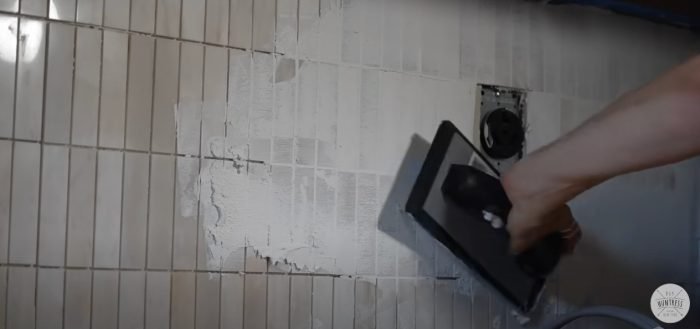
I added in some white grout which really made the tile look so good.
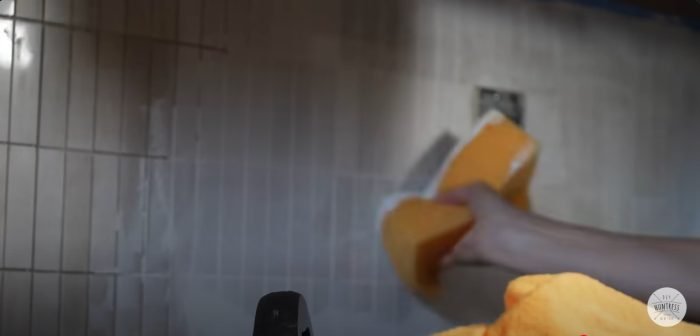
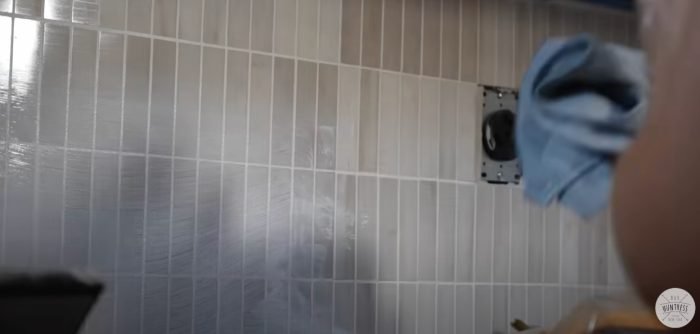
It’s amazing what $50 or $60 of tile and grout can do to transform a backsplash.
4. Shelves
Pretty much every project in Rob’s house (minus the one that I surprised him with) has had some sort of learning element for him. So far, we’ve taught him how to put new flooring down in his house, some painting techniques, some trim and molding techniques, and here in the laundry room he learned how to build furniture.
I think that these things are so important to know as a first-time homeowner, and I’m so happy to be able to help him along the way.
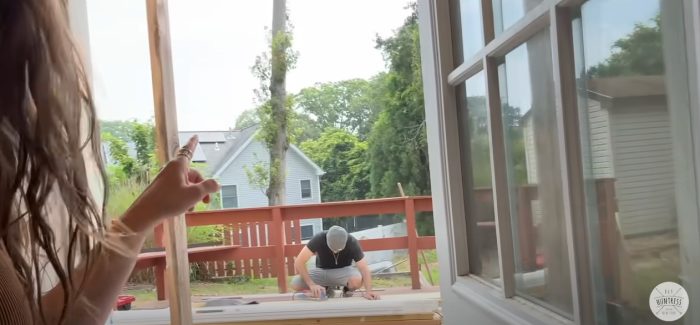
So to get the shelves started, Rob had to sand all of the lumber we had cut.
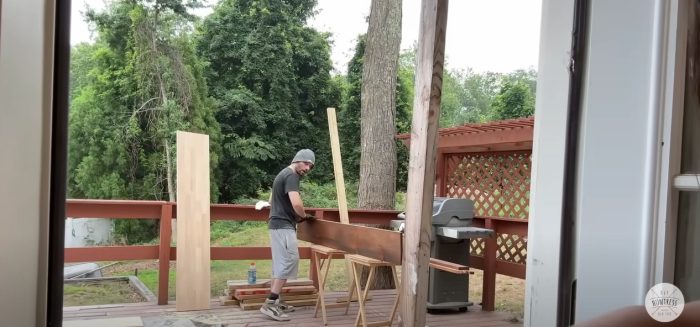
Then he had to stain all of them, which was no small task.
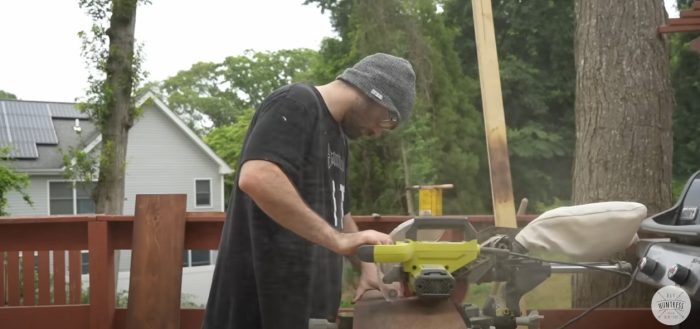
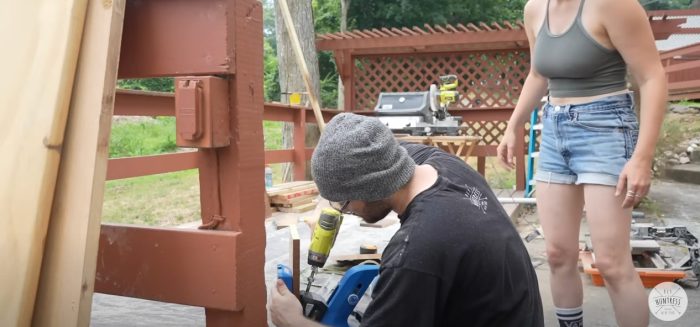
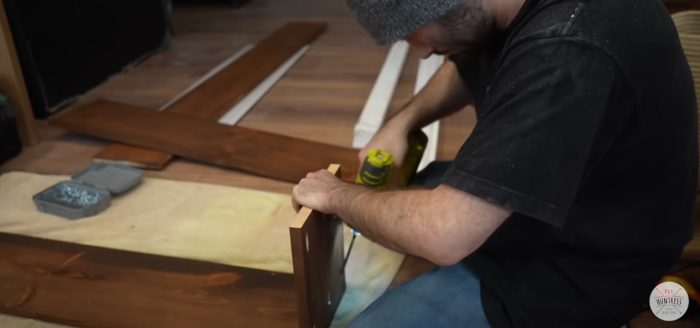
Then it was time to cut down the pieces and make some pocket holes, my favorite!
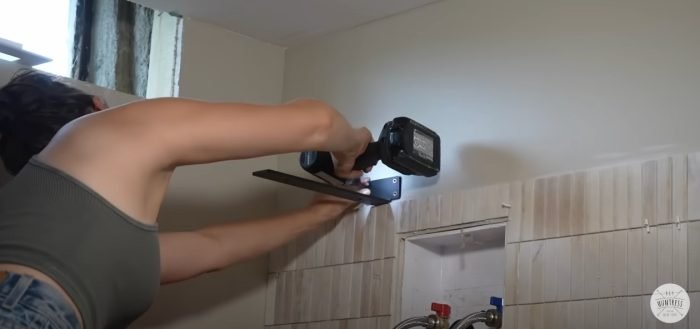
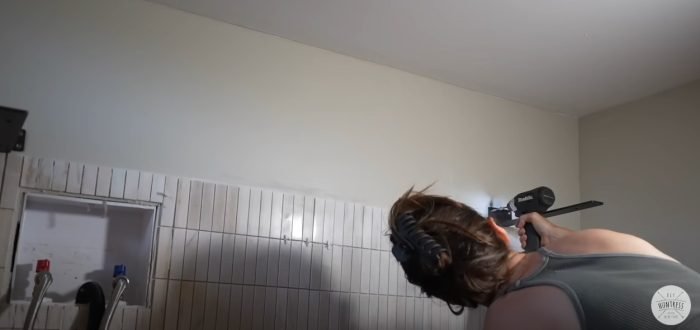
Not sure if you noticed, but the piece that I cut off of the countertop was literally the perfect depth for a floating shelf. So I decided to install it above the washer and dryer using some floating shelf brackets that I just drilled directly into the studs.
5. Finishing Touches
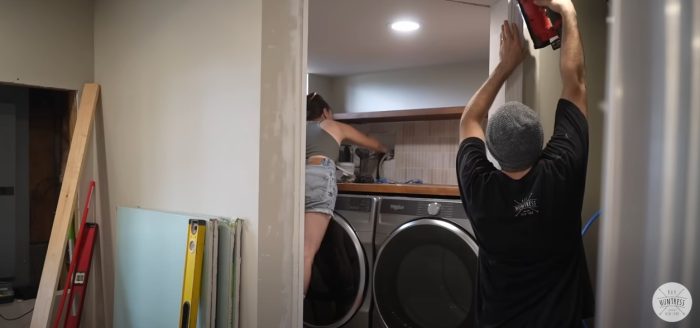
Rob finished up some of the trim work, while I made sure the backsplash was looking good. These projects really do go faster with another person, please remind me why I choose to work by myself?
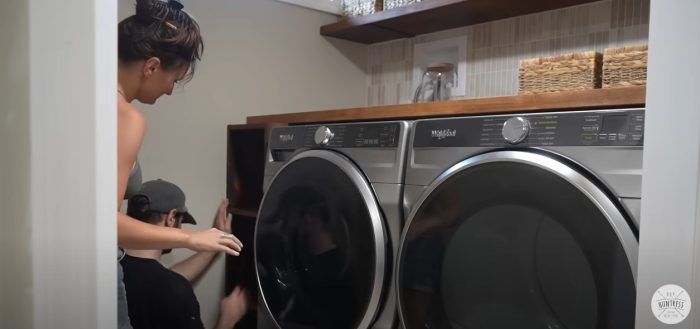
The last piece of the puzzle was that cute little shelf that Rob made and then it was a wrap on the laundry room!
The Reveal
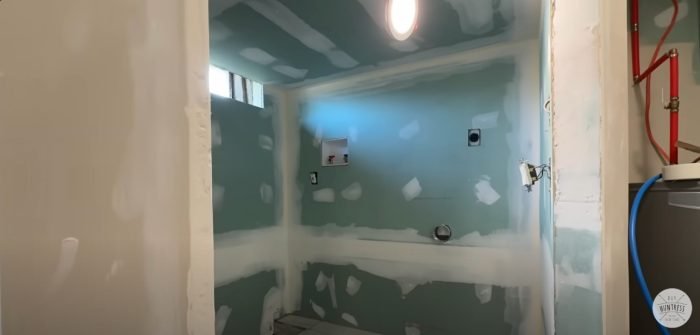
Just in case you forgot how this weekend project started here’s a reminder of the former utility closet.
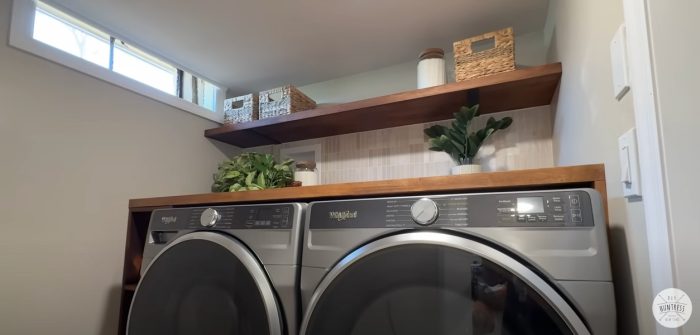
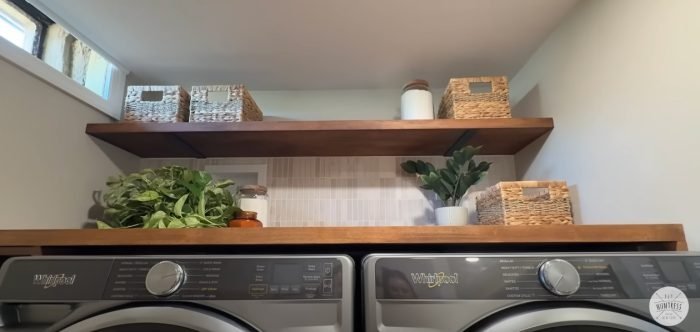
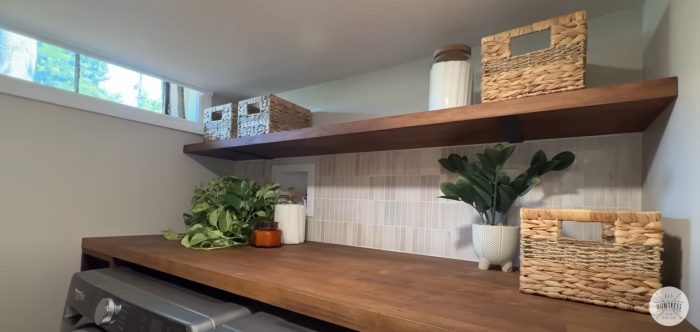
It really is amazing what a little bit of sweat equity and a couple of super simple DIYs can do to a space. This was a very small, tight, and cramped space and trying to fit a full-sized washer and dryer plus some make some dedicated spaces for storage and folding had its challenges.
But we were able to get everything done in just a few days and I think it looks adorable. Not counting the washer and dryer, I think we spent maybe $300 or $400 on this entire space. That’s a serious win and I hope its some good inspiration for anyone looking to give their laundry room a budget friendly update.
At the end of the day, Rob and his wife are stoked on this room which makes me so happy. I hope that you enjoyed this little break from the camper van project. If you did, make sure to stay tuned because there are more home improvement projects coming up very soon. I actually have a huge project coming up that I cannot wait to tell you all about! In the meantime friends, happy DIYing!
Save this for later
I hope you enjoyed this project! If so, make sure to Pin It for later!