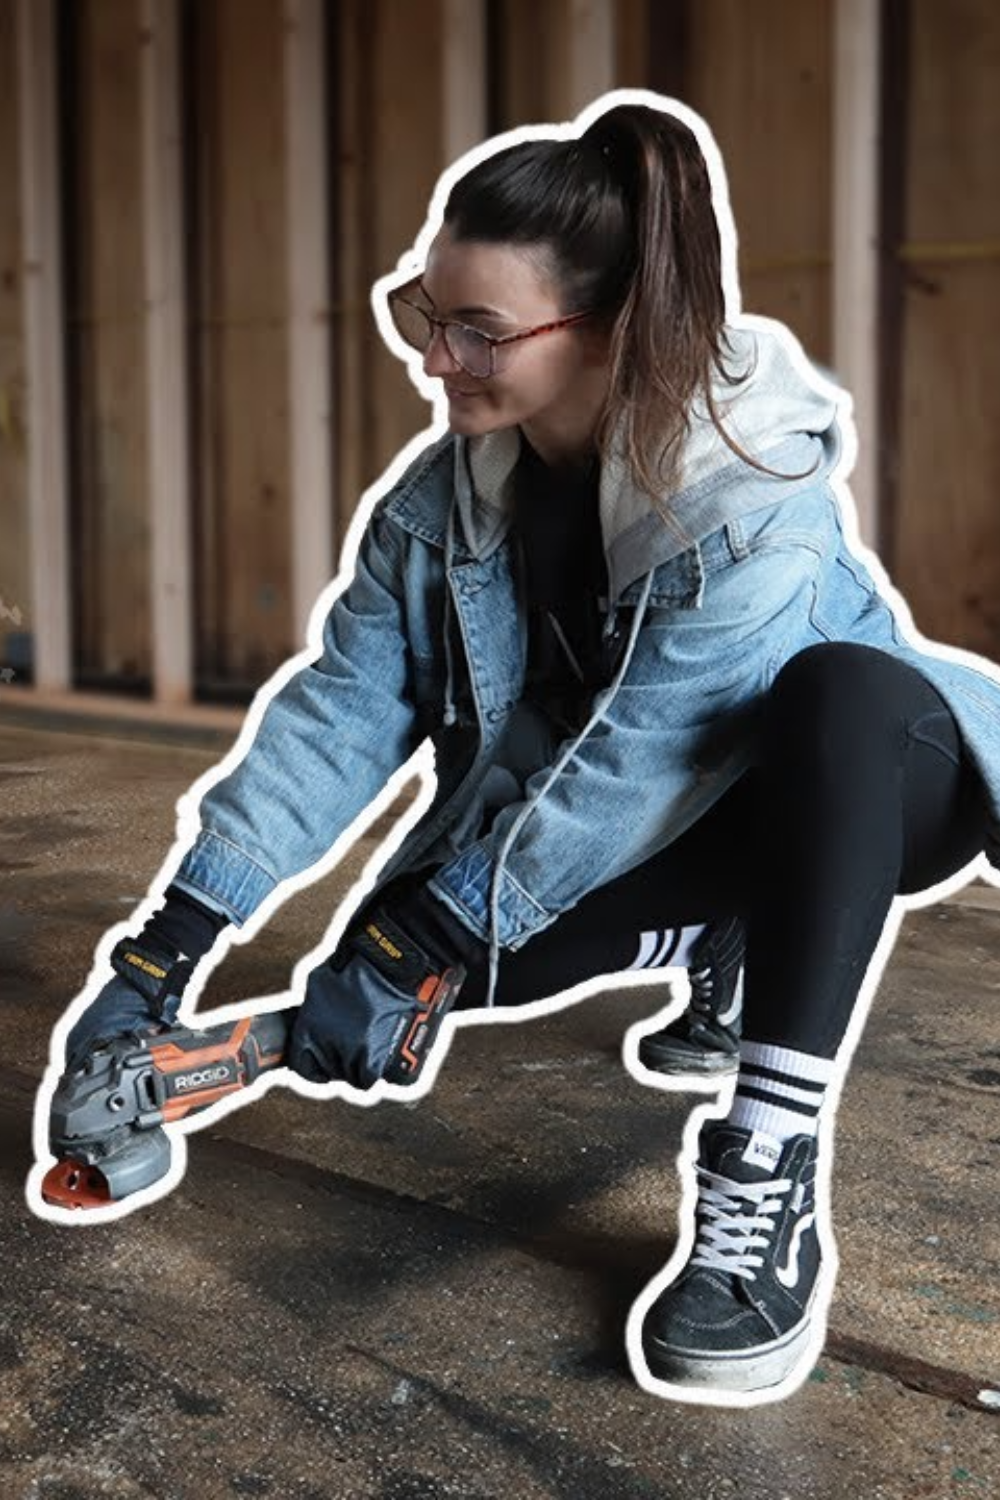
In an effort to not completely blow the budget on my shop renovations I decided to refinish the concrete floors myself. I had to contract out some of the other work for my shop which ended up costing way more than I was expecting. The quote I got for hiring this job out was $1,050. So, if I could do this for less I was going to figure out how, and spoiler alert I only spent $190. I had never refinished concrete floors before but with that amount of savings we made it work!
This post contains affiliate links, which helps support more projects on my website! For my full disclosure policy regarding affiliate links, click here!
Want to see this build in action? You can watch my build video here (+ make sure to subscribe to my channel)!
Tools + Materials
Tools
Materials
- DAP Concrete Mortar Sealant + Filler
- DAP Ready-Mix Concrete Patch
- Concrete Resurfacer
- Concrete Cleaner
- Concrete Sealer
1. Clean the Floors
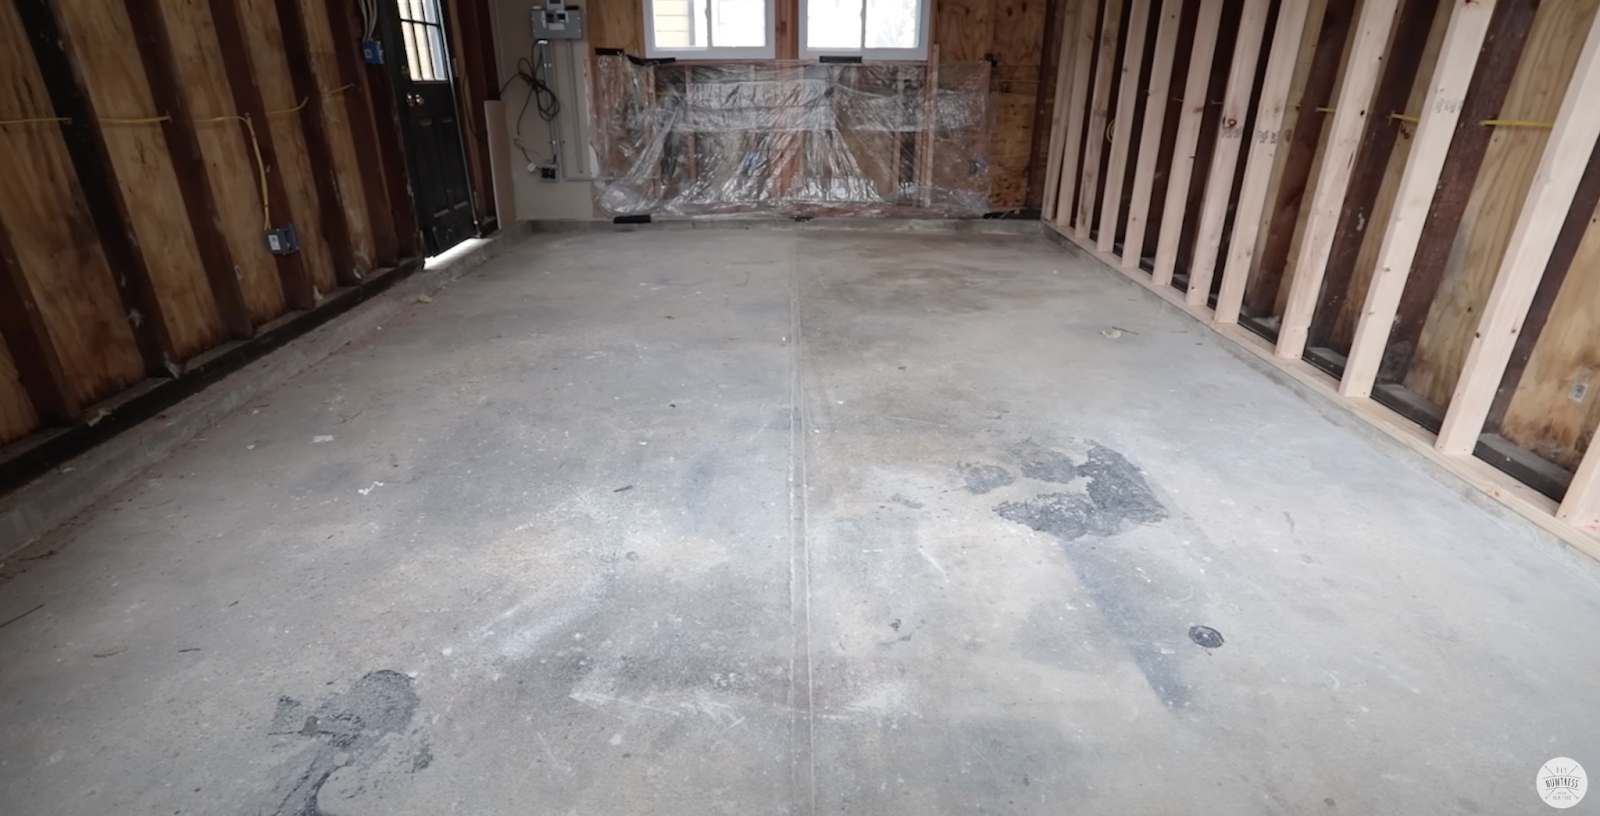
First I took a leaf blower to the floors and blew out all of the dust, dirt and debris that was on the floor.
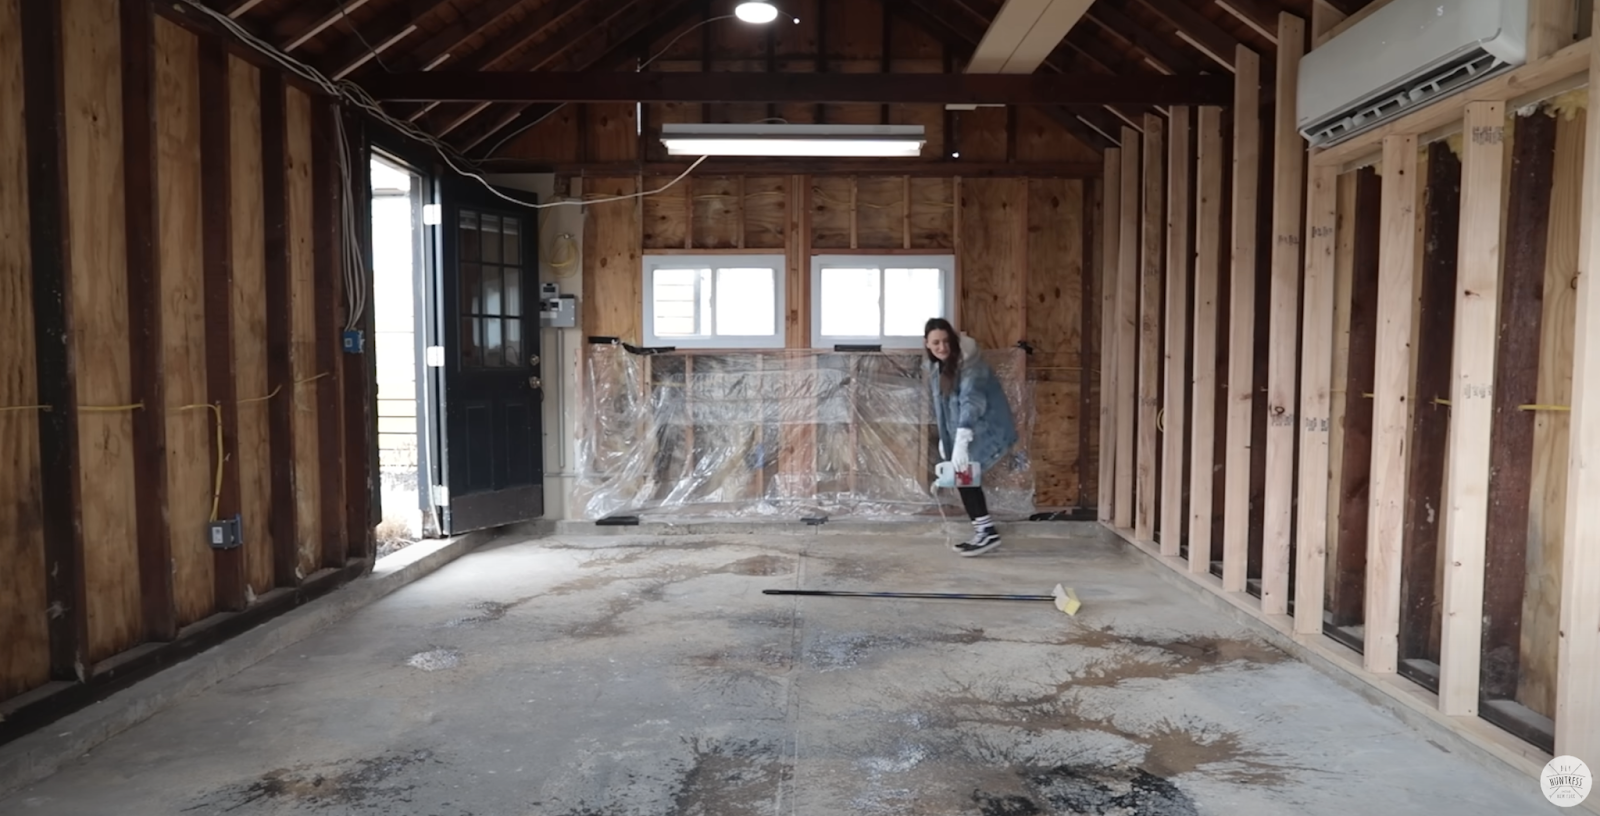
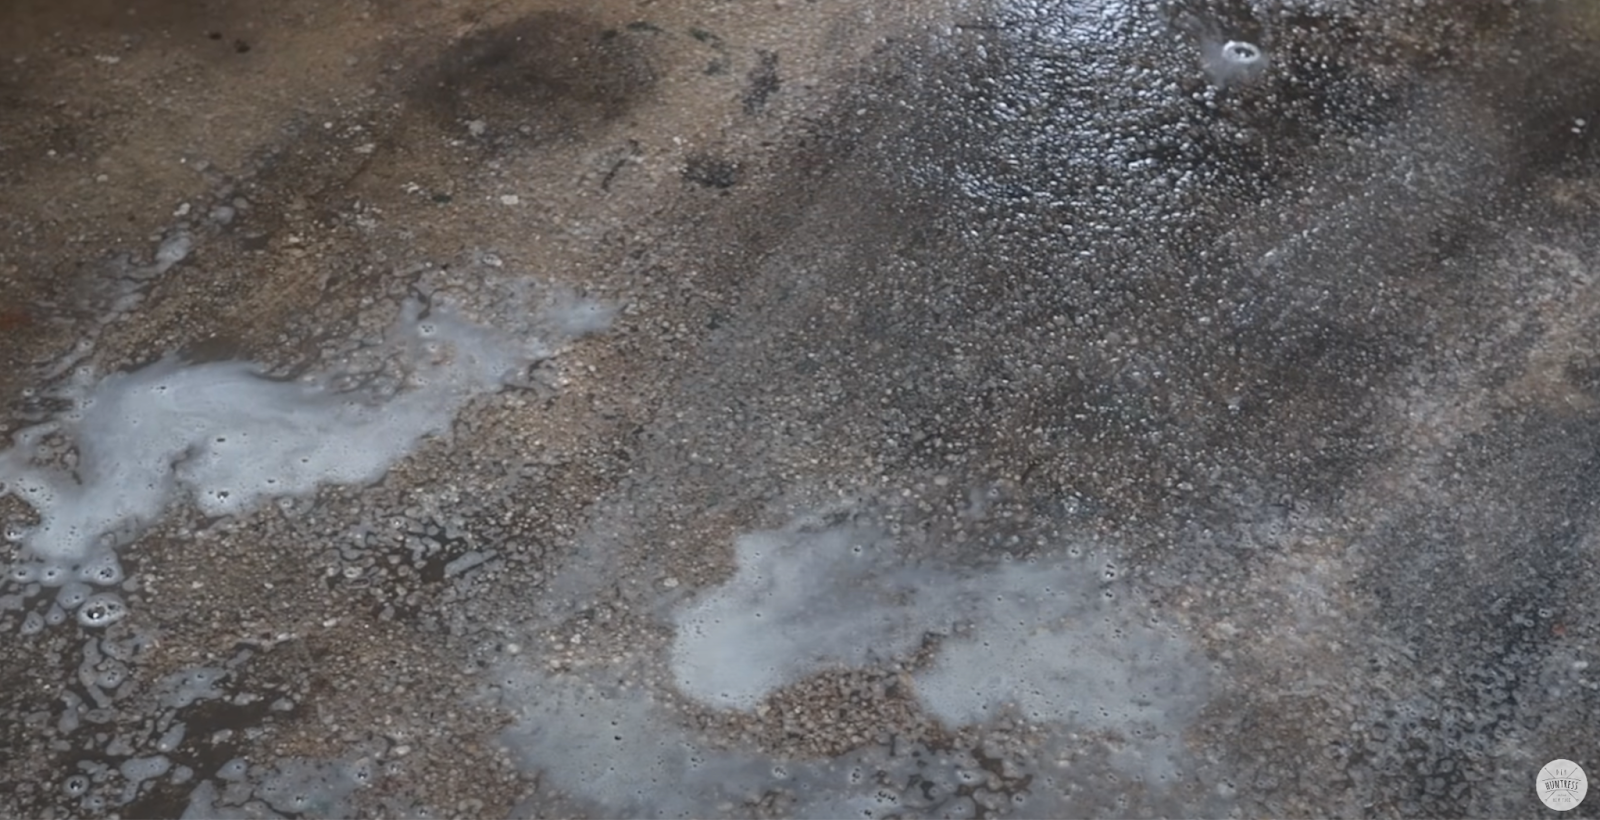
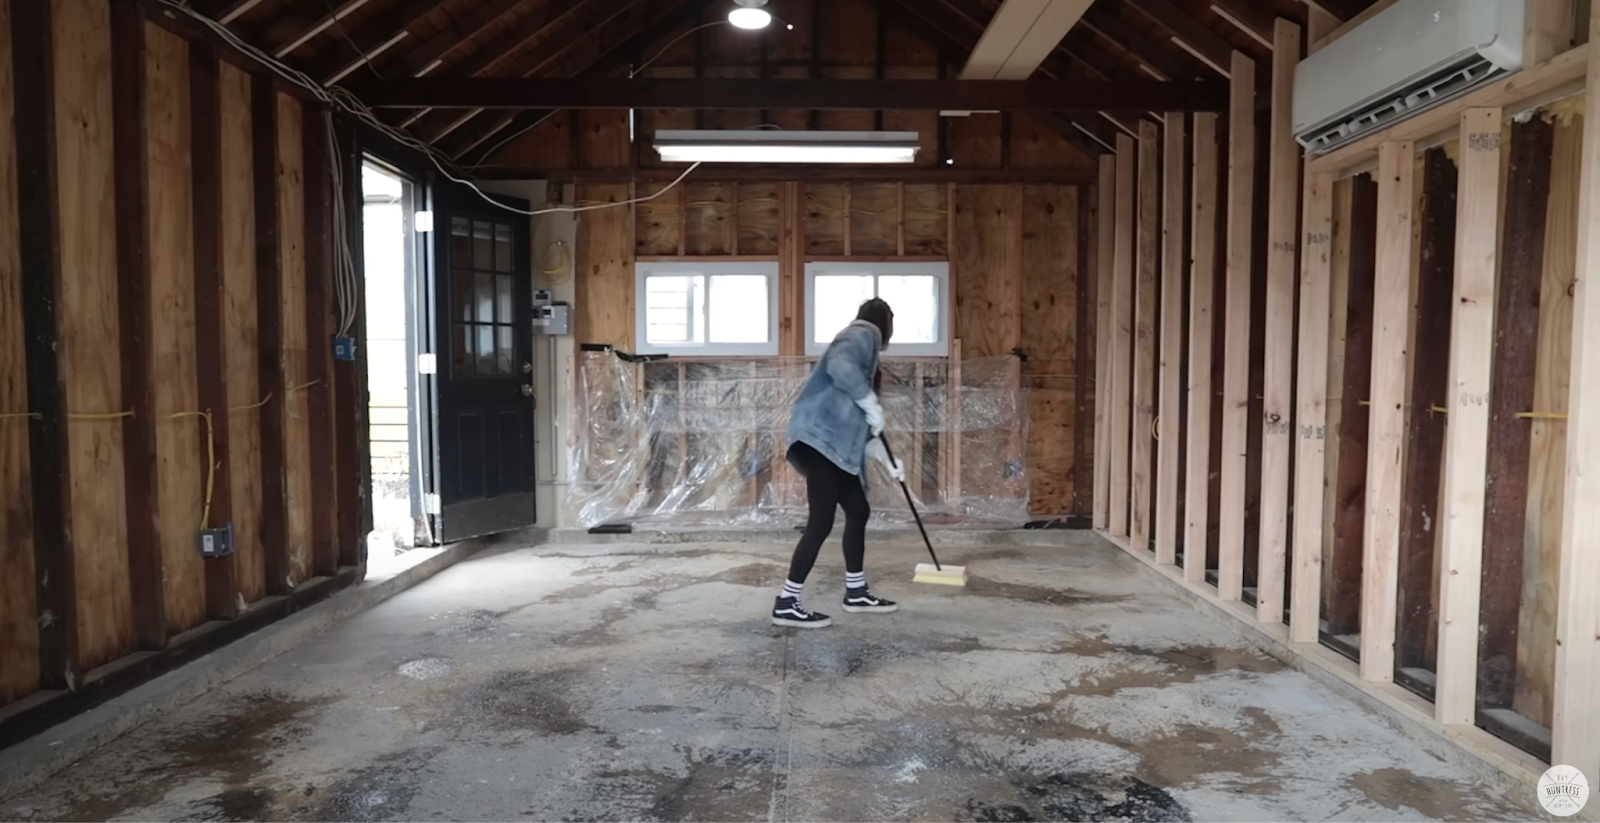
Then I doused the floors in concrete soap and gave them a good scrubbing with this squeegee broom.
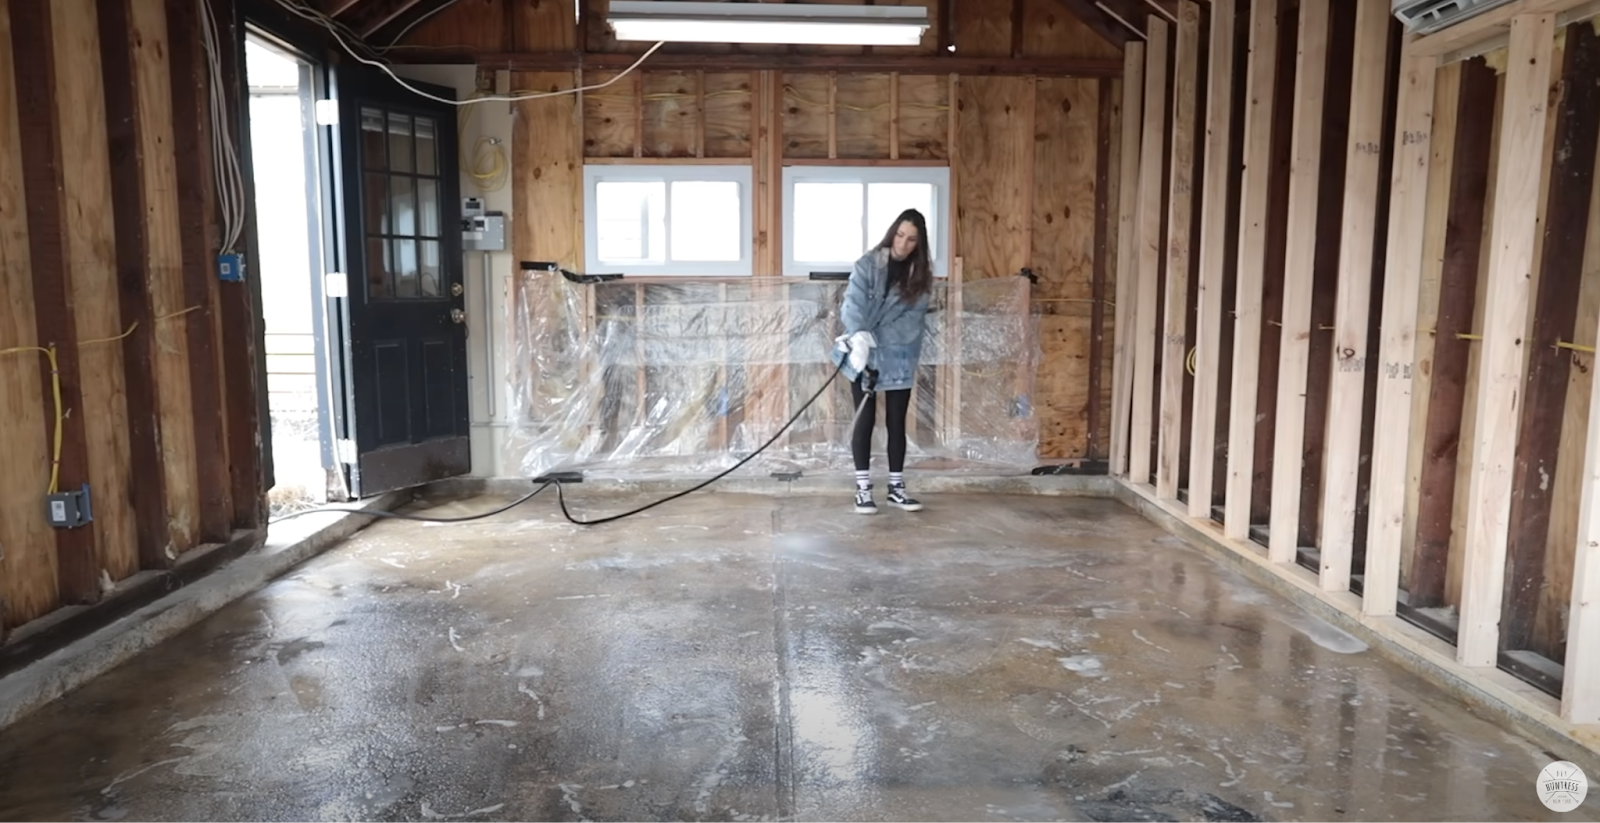
I made sure to give them a good rinse and wash away all of the soap and grime.
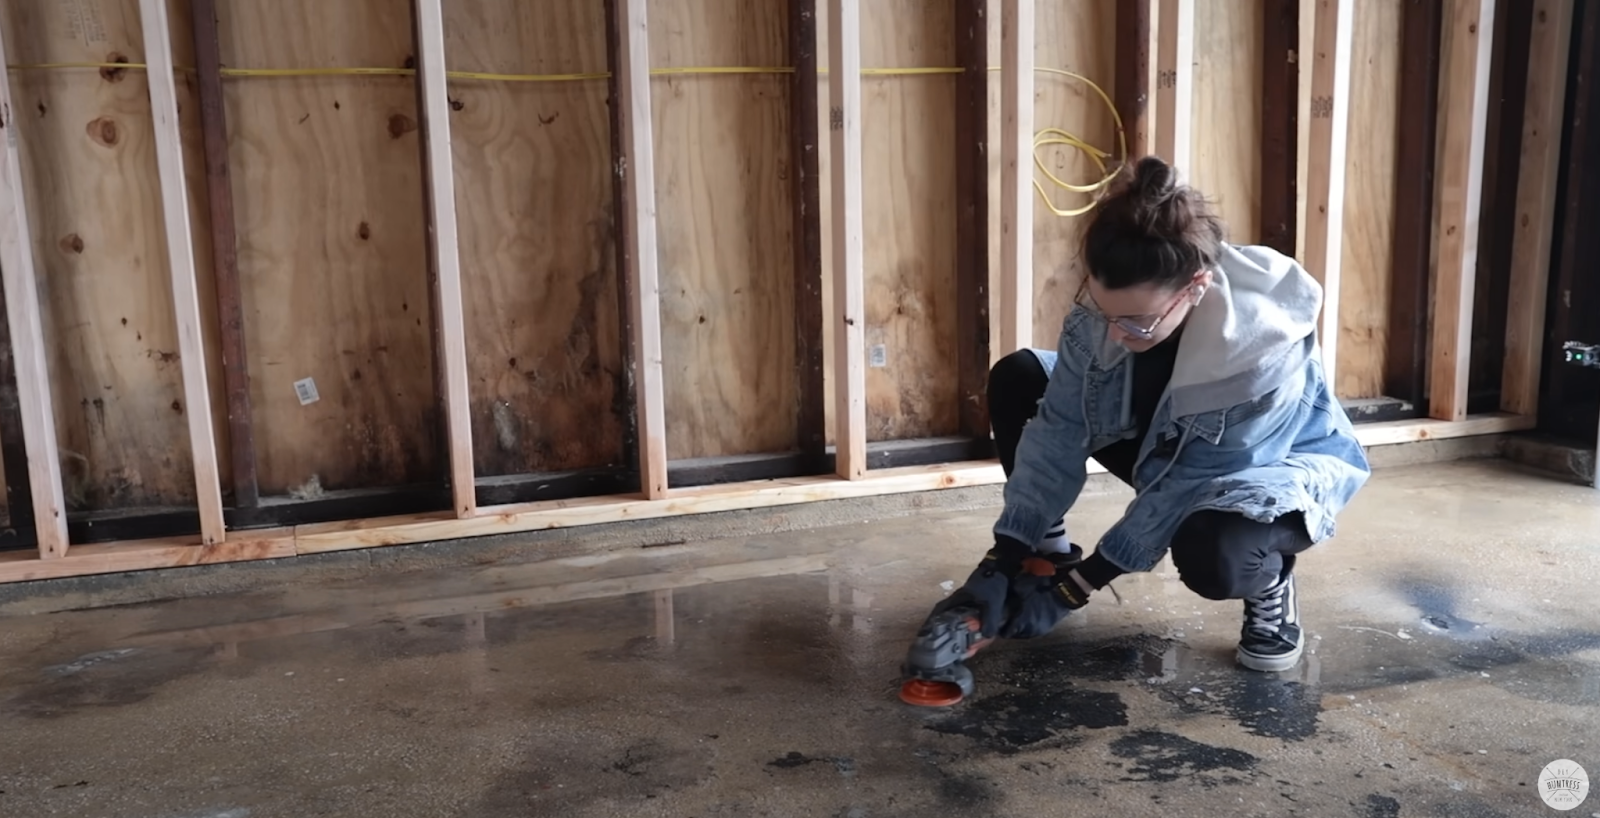
There were a few spots where the previous owner had spilled paint on the floor. That’s what garages are for right? No big deal, I wanted to at least attempt to treat these spots so that the resurfacing concrete wouldn’t eventually chip in these places from not adhering properly. So I took my angle grinder to these spots, I intentionally did this while the floor was still wet to minimize the dust it could kick up.
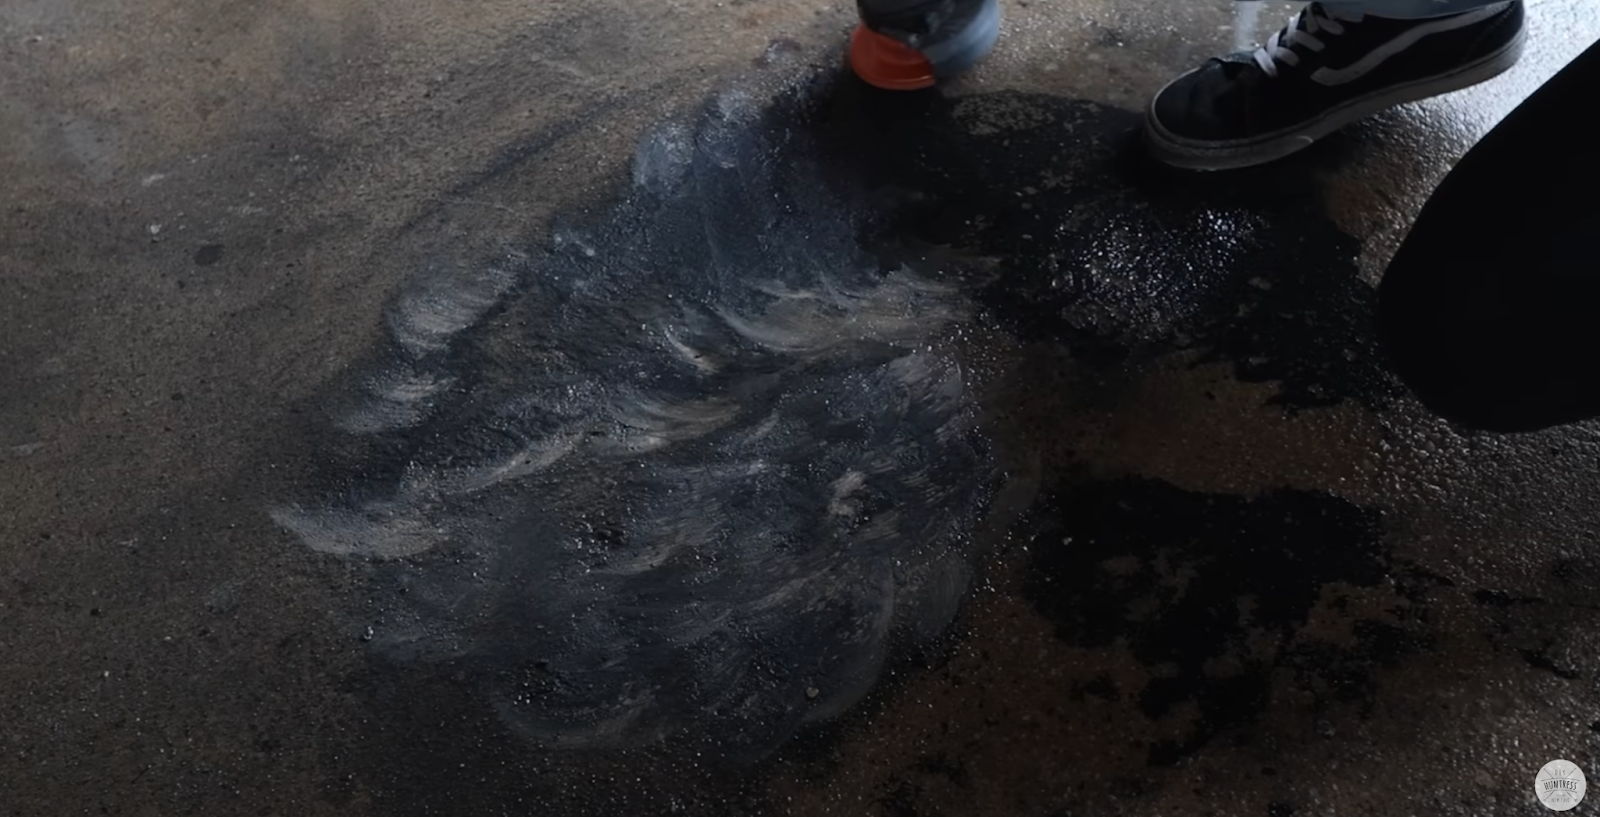
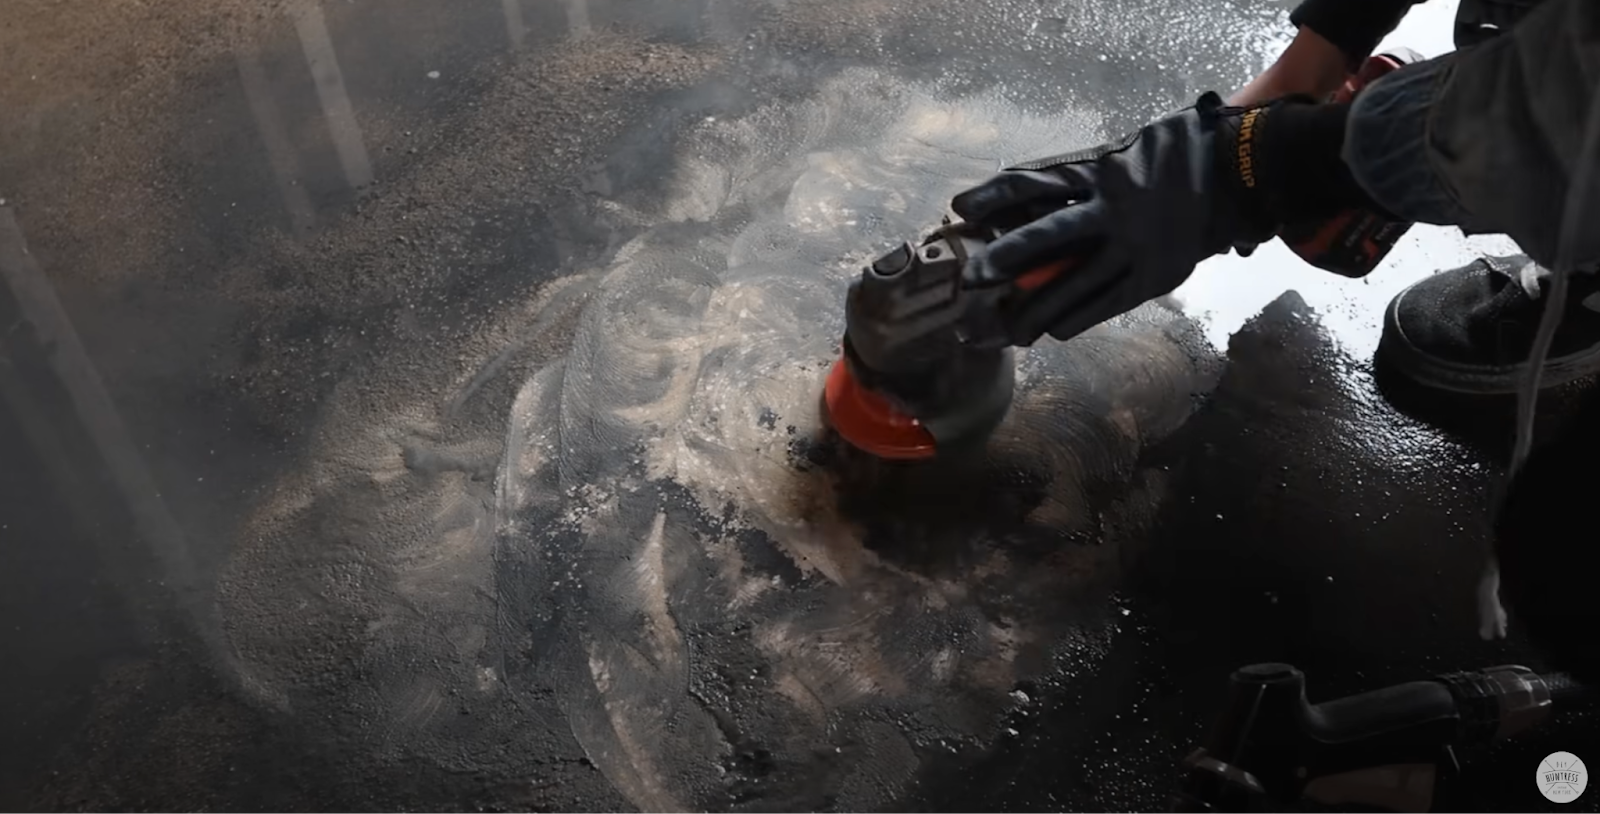
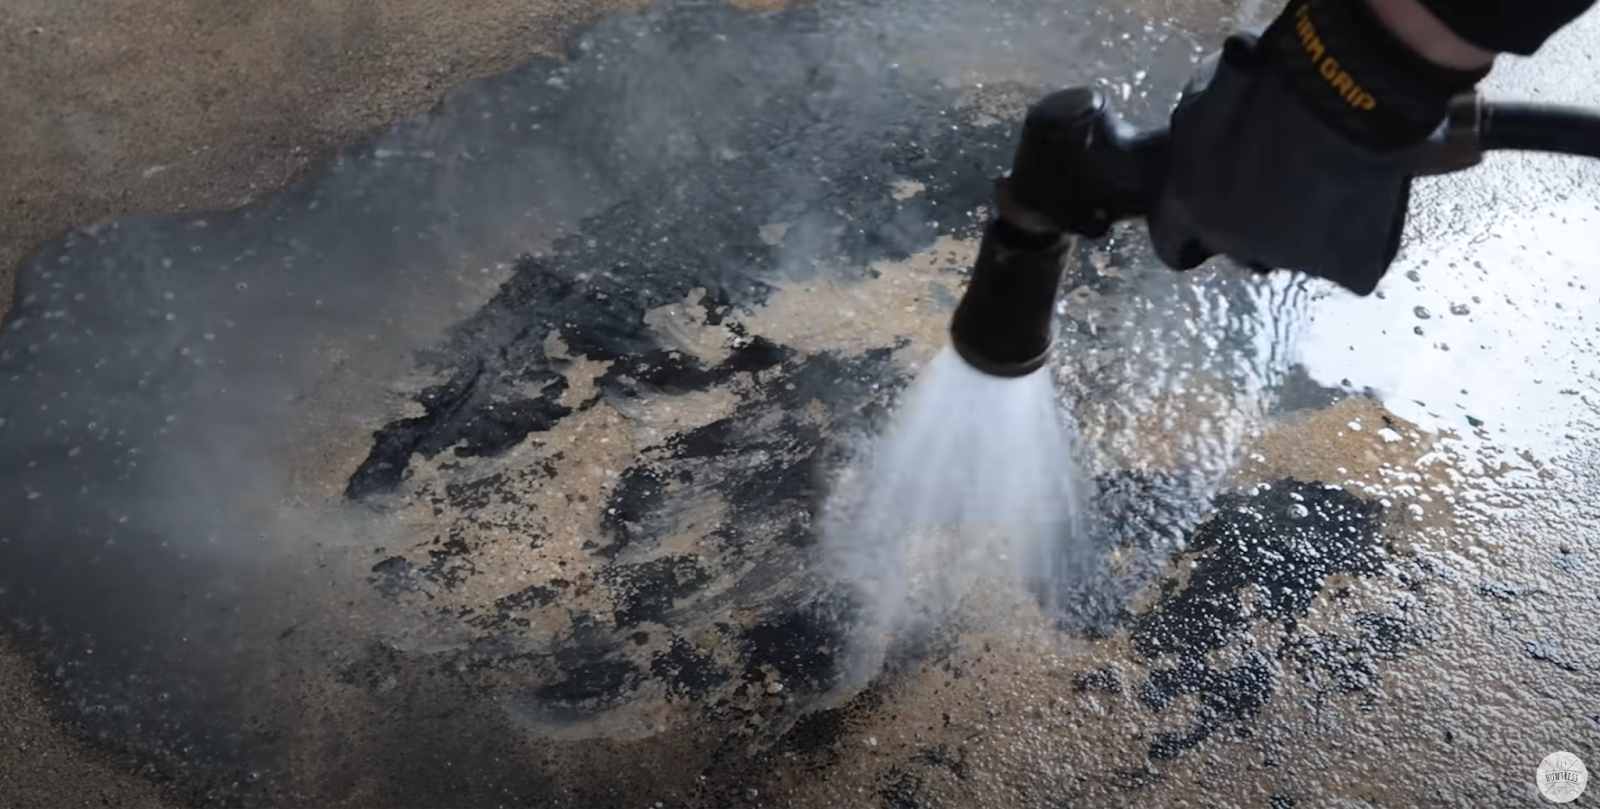
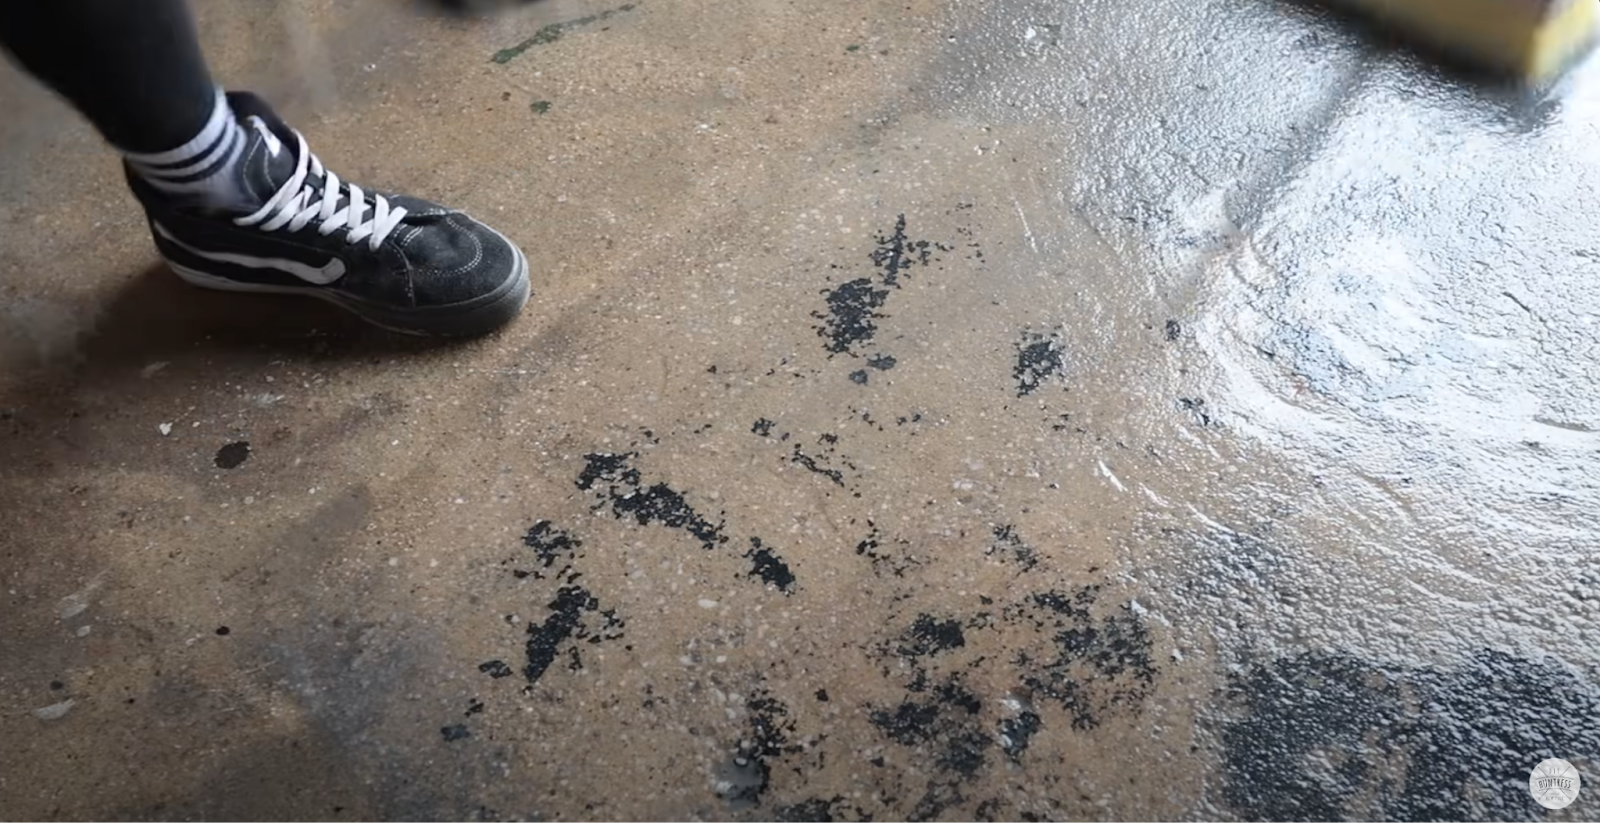
So I used the angle grinder, rinsed with water and brushed away the paint. A few times…
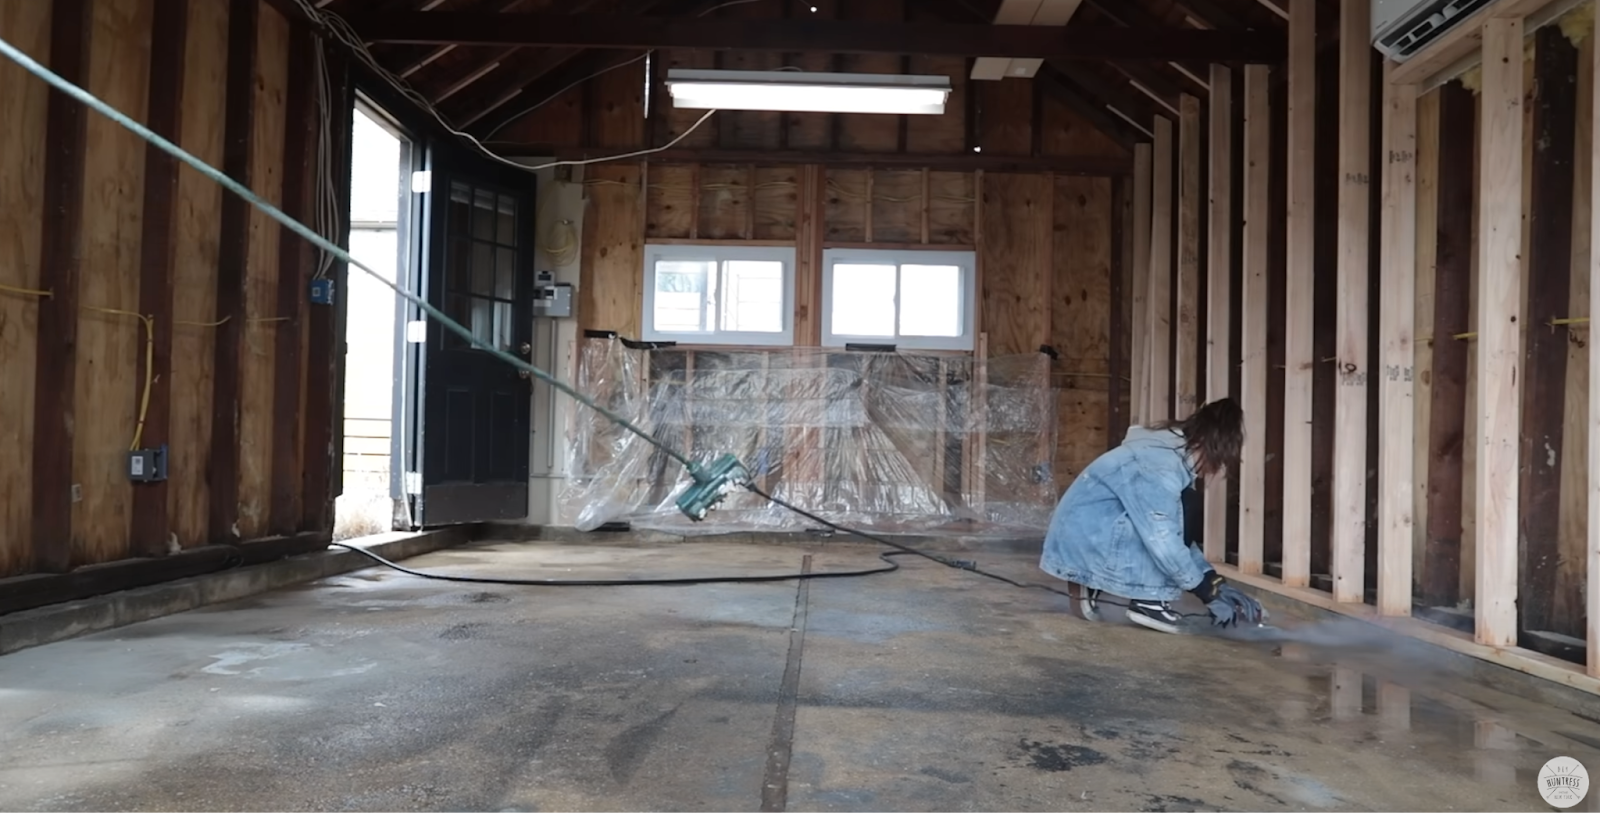
Then it was rinse and repeat on all the various paint spills.
2. Mix the Concrete Resurfacer
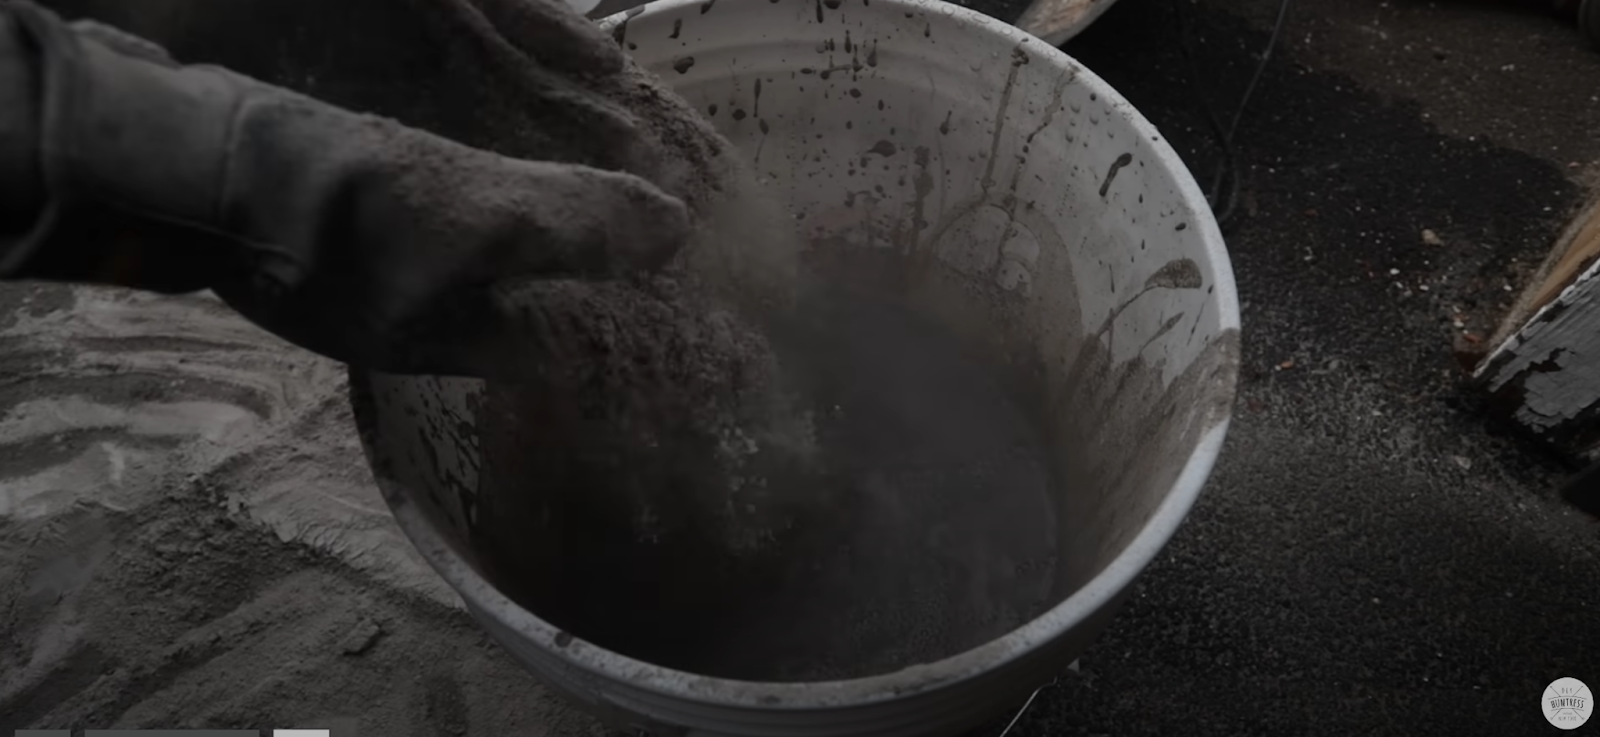
I mixed the concrete resurfacer with water in a bucket. Pro tip, don’t accidentally dump half the bag of concrete onto your feet when you pour it into the bucket…
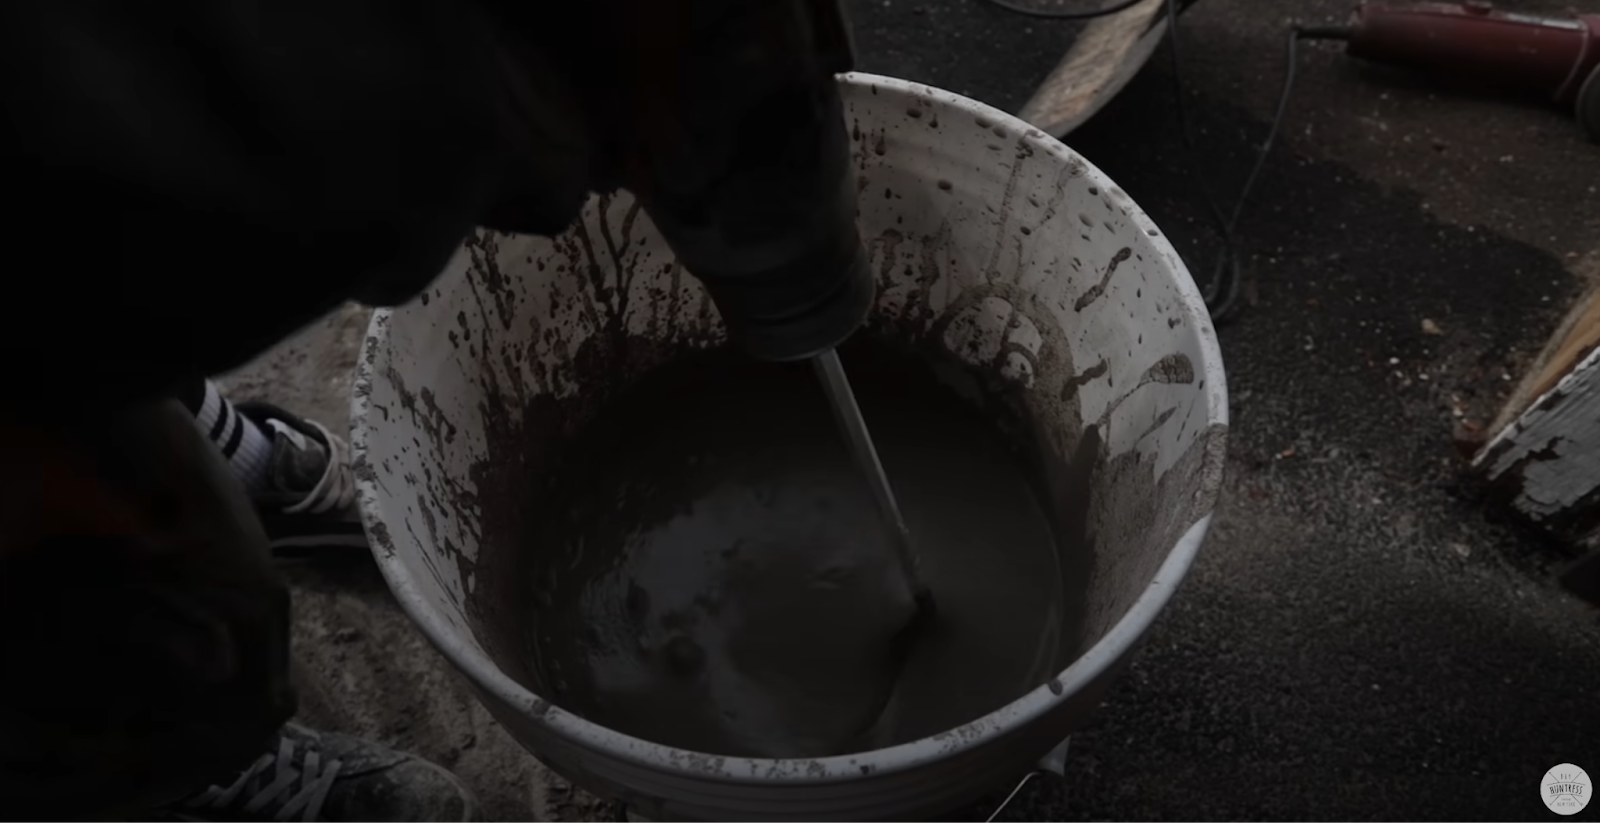
This product is basically a watered down concrete. You’ll want to mix it with a drill and mixing paddle. I did mix up a few different batches of it as I went.
3. Pour the Concrete
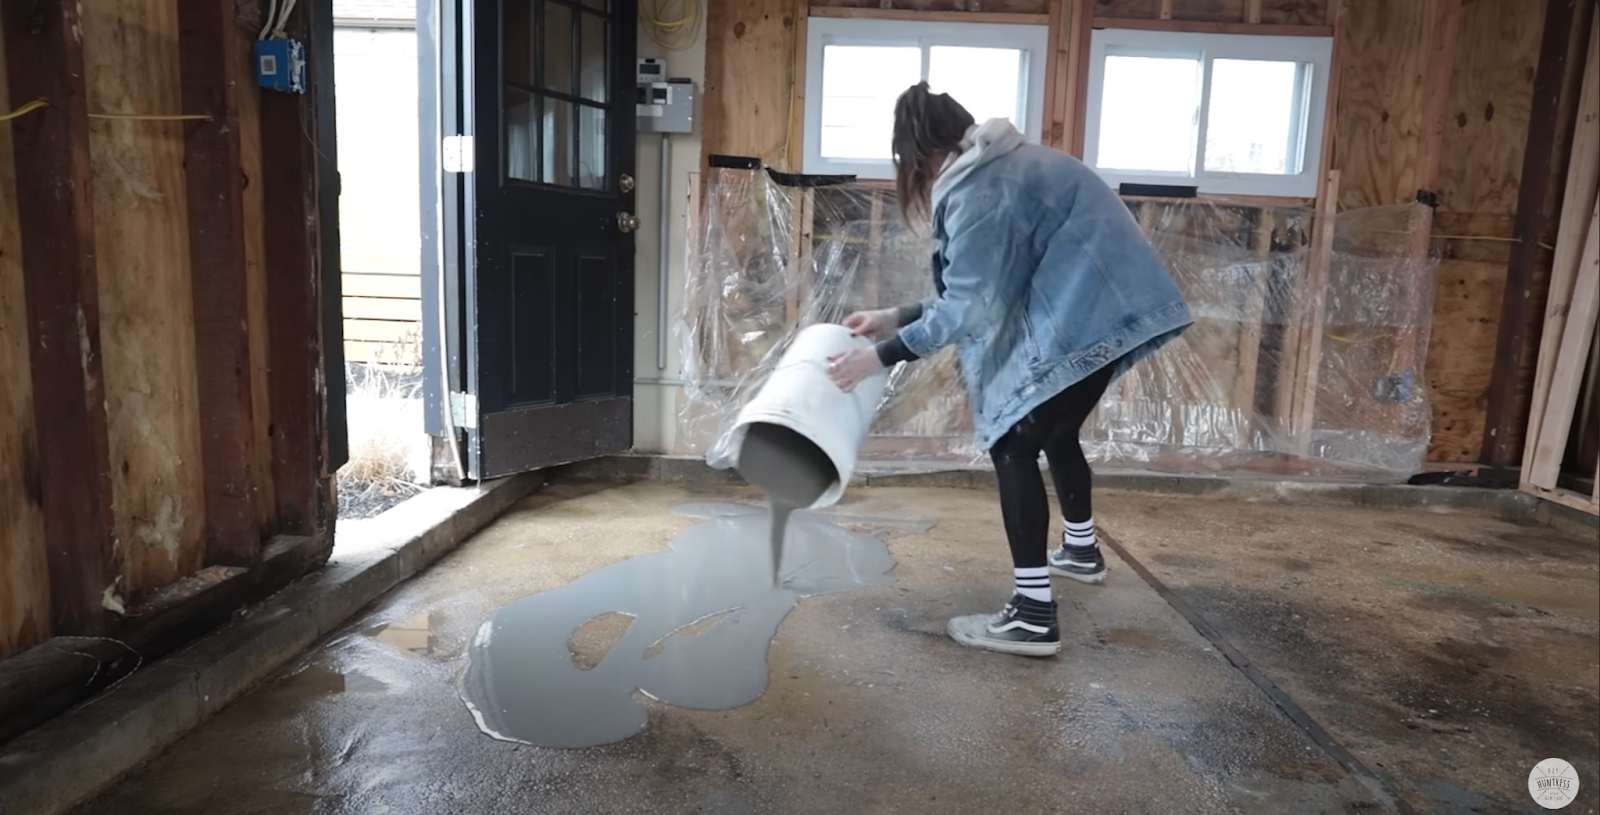
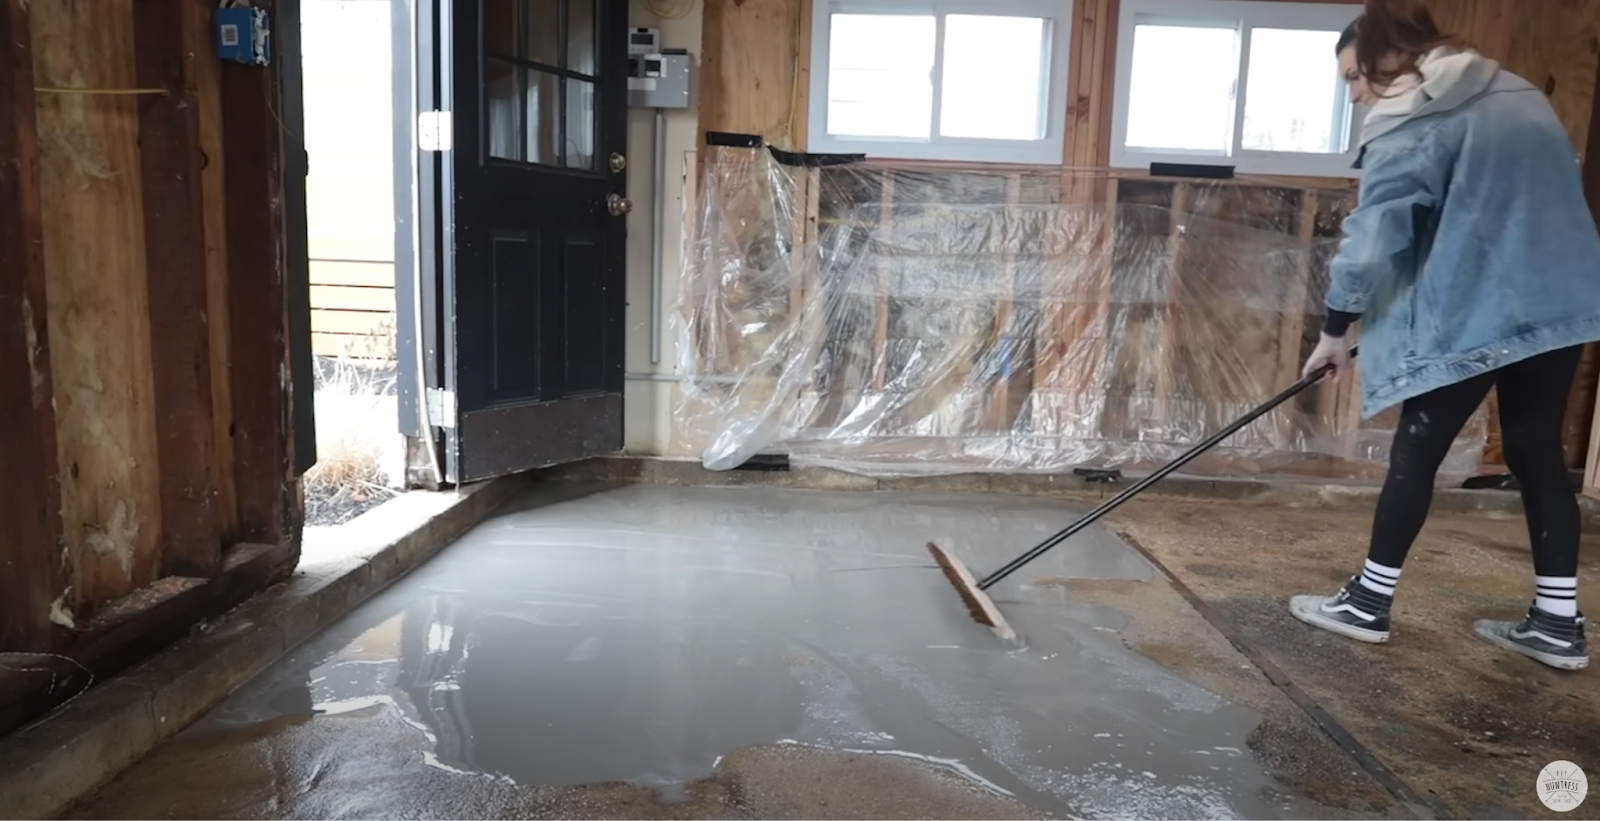
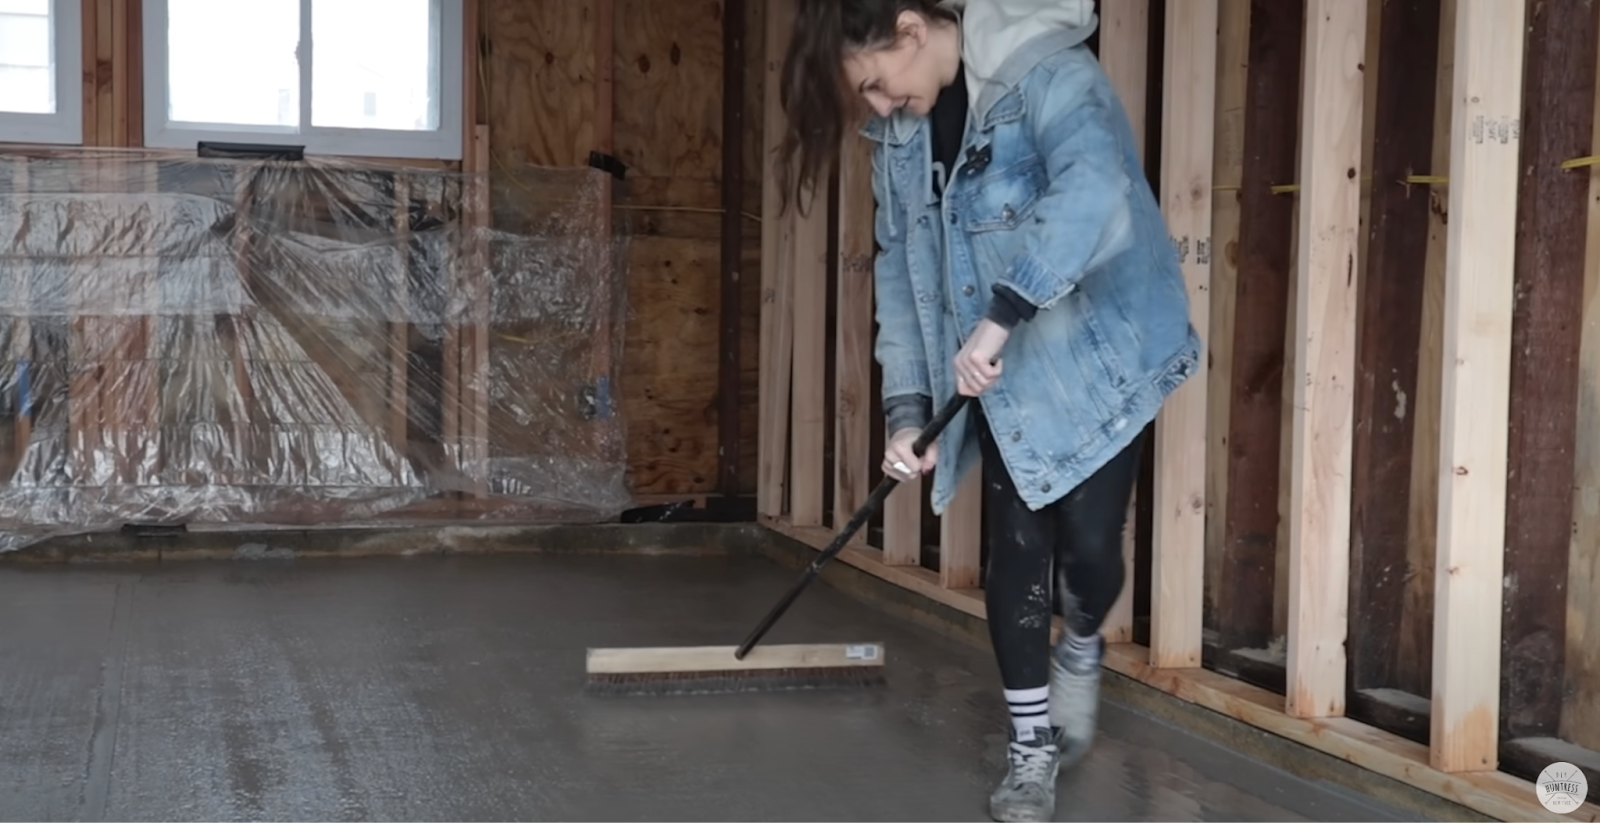
I poured the concrete in a thin layer and used my squeegee broom to spread and level it.
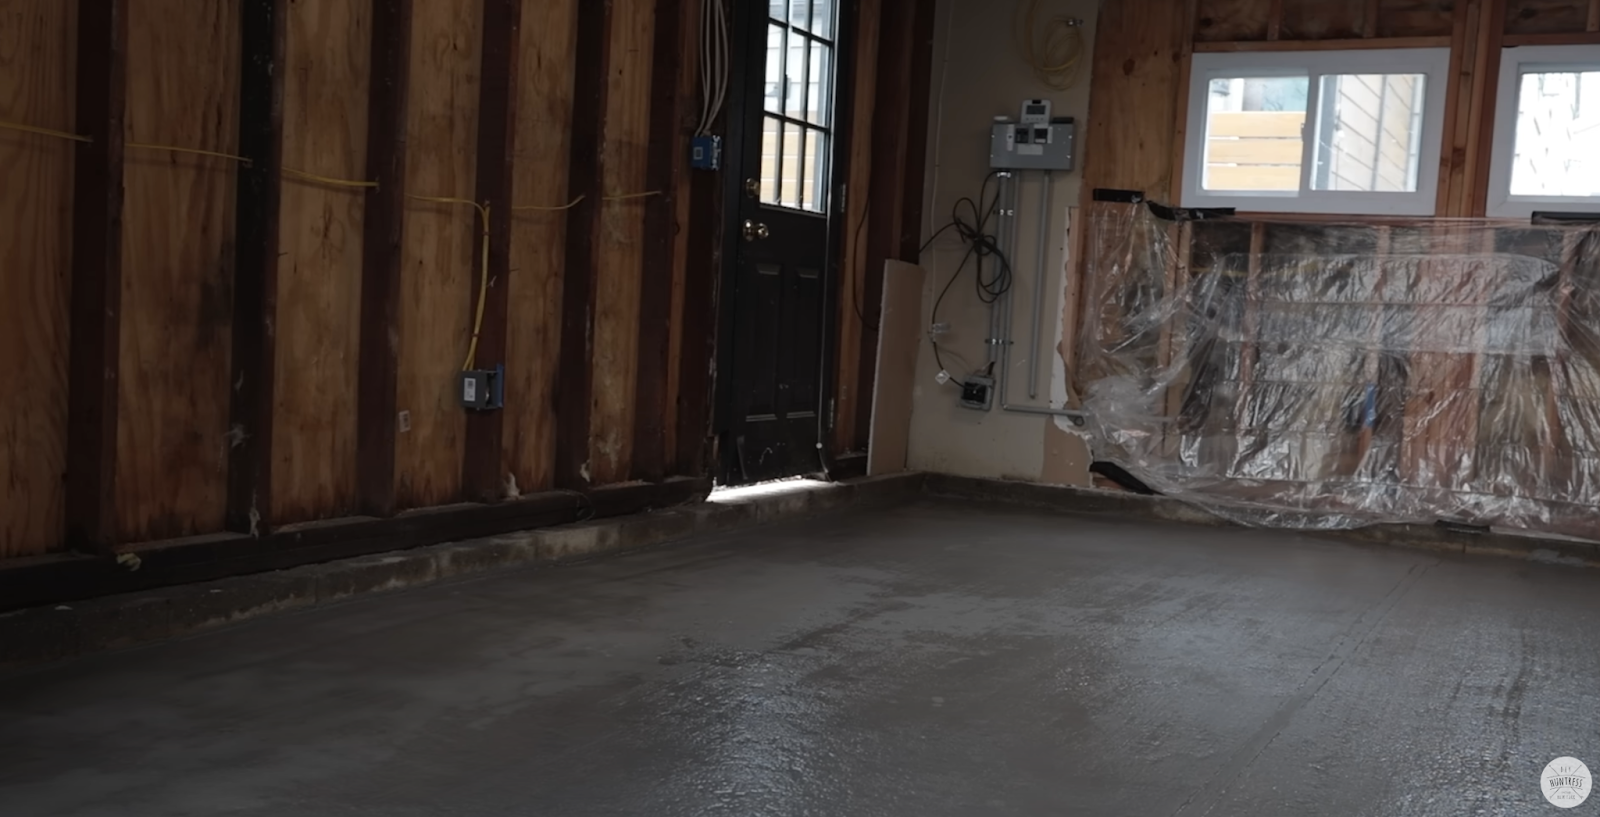
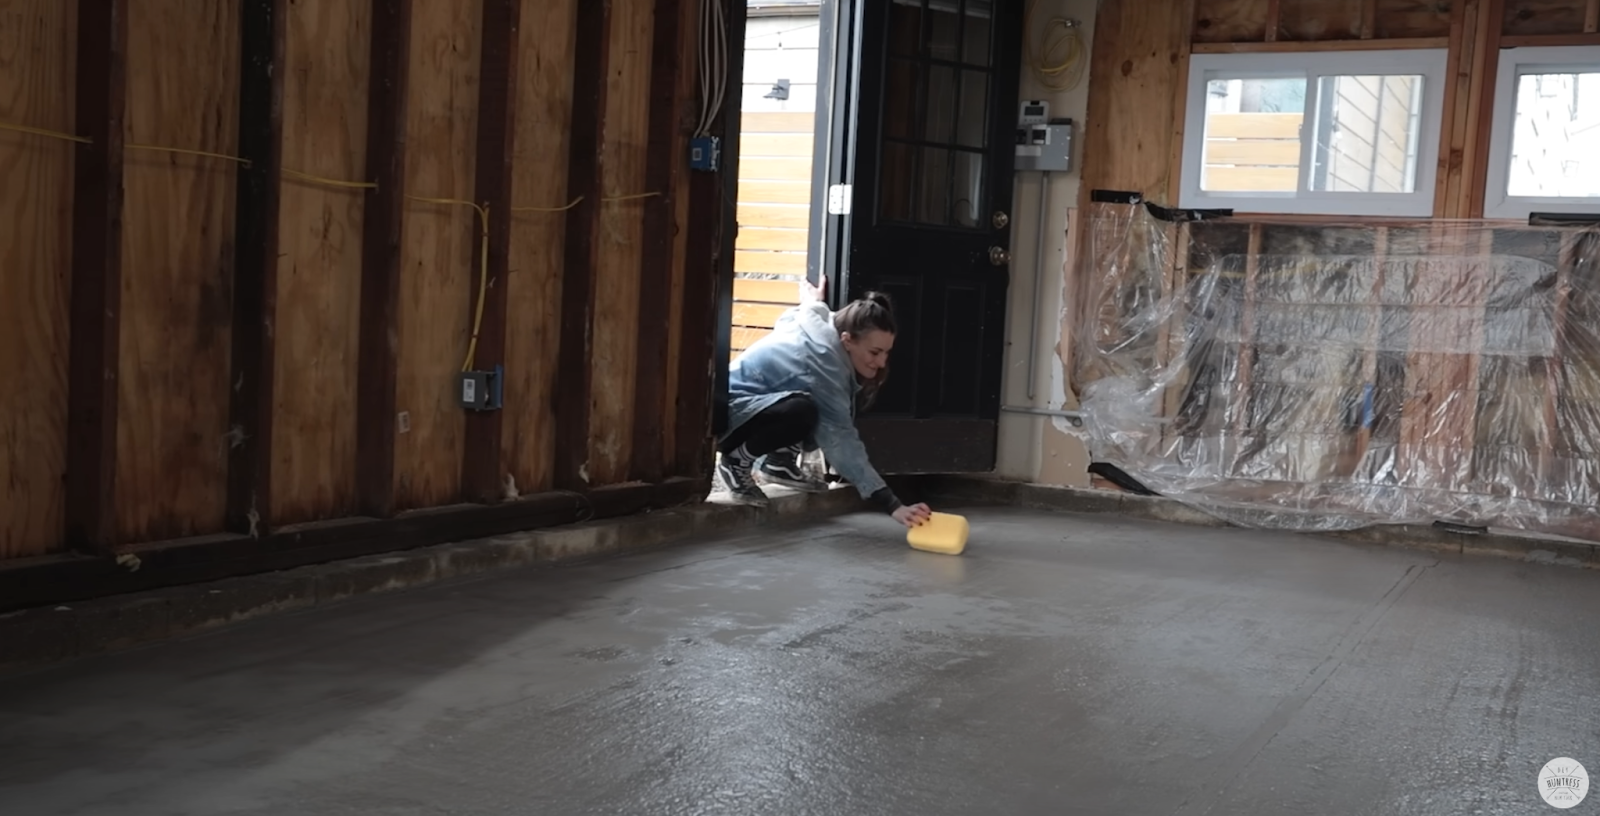
It did start setting really quickly so I had to jump back in to touch up some spots before they fully dried. Longer arms would have been helpful at this point…
4. Touch Ups
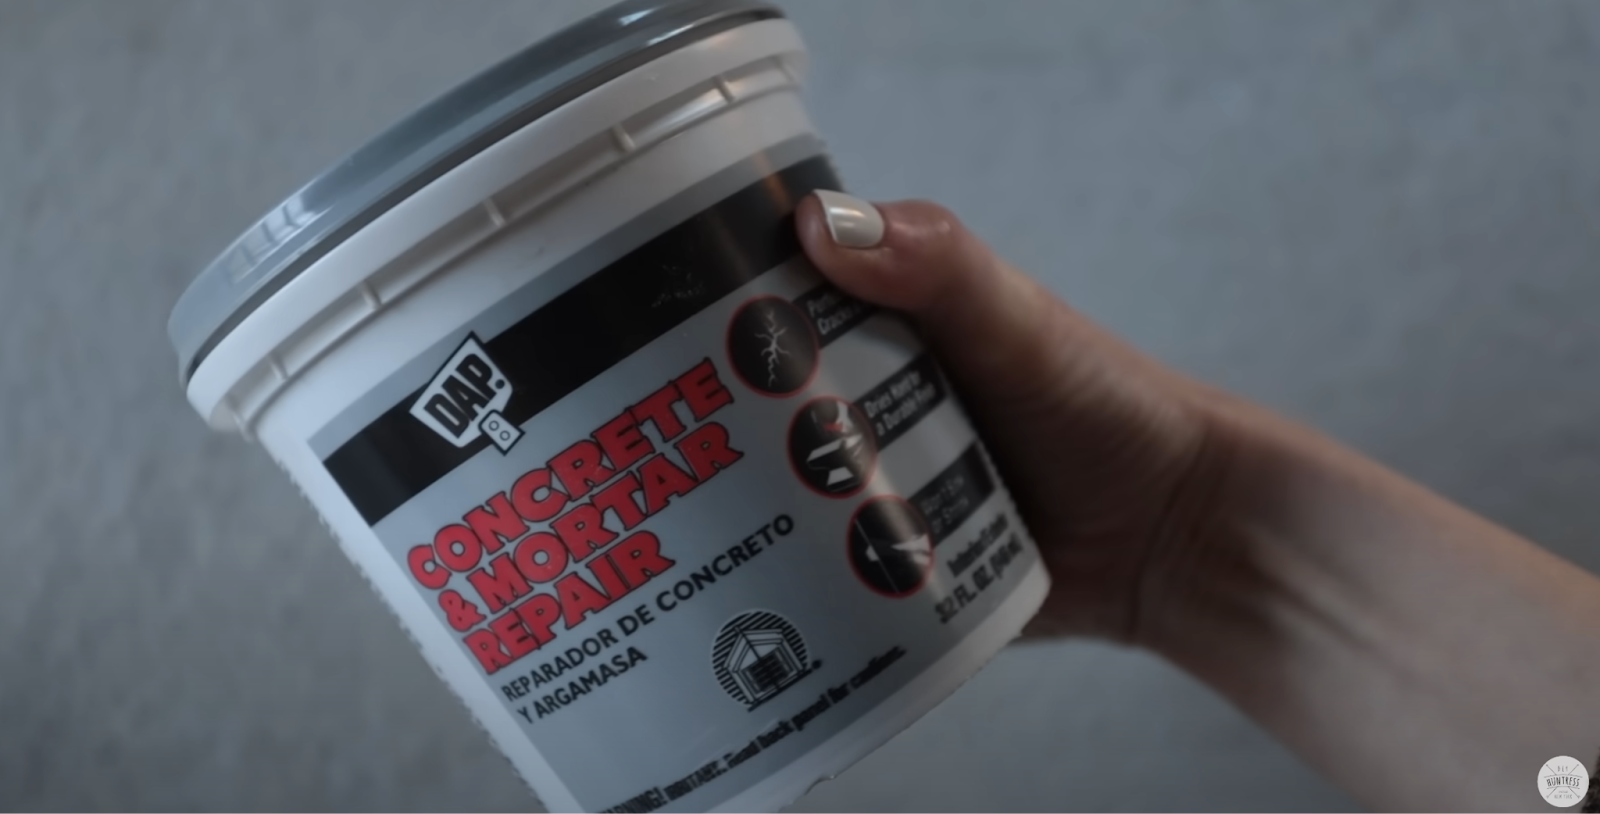
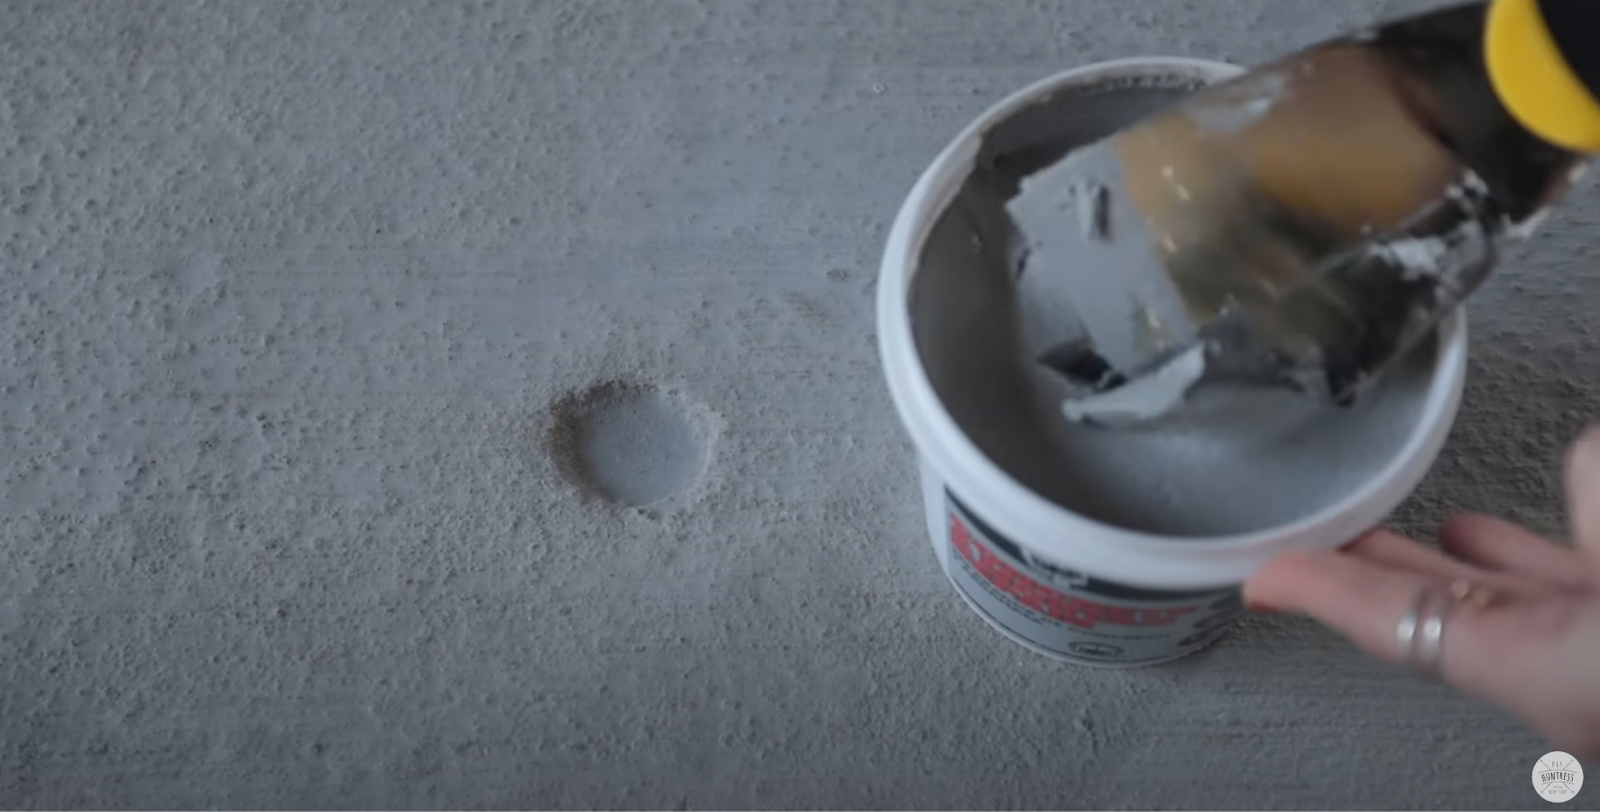
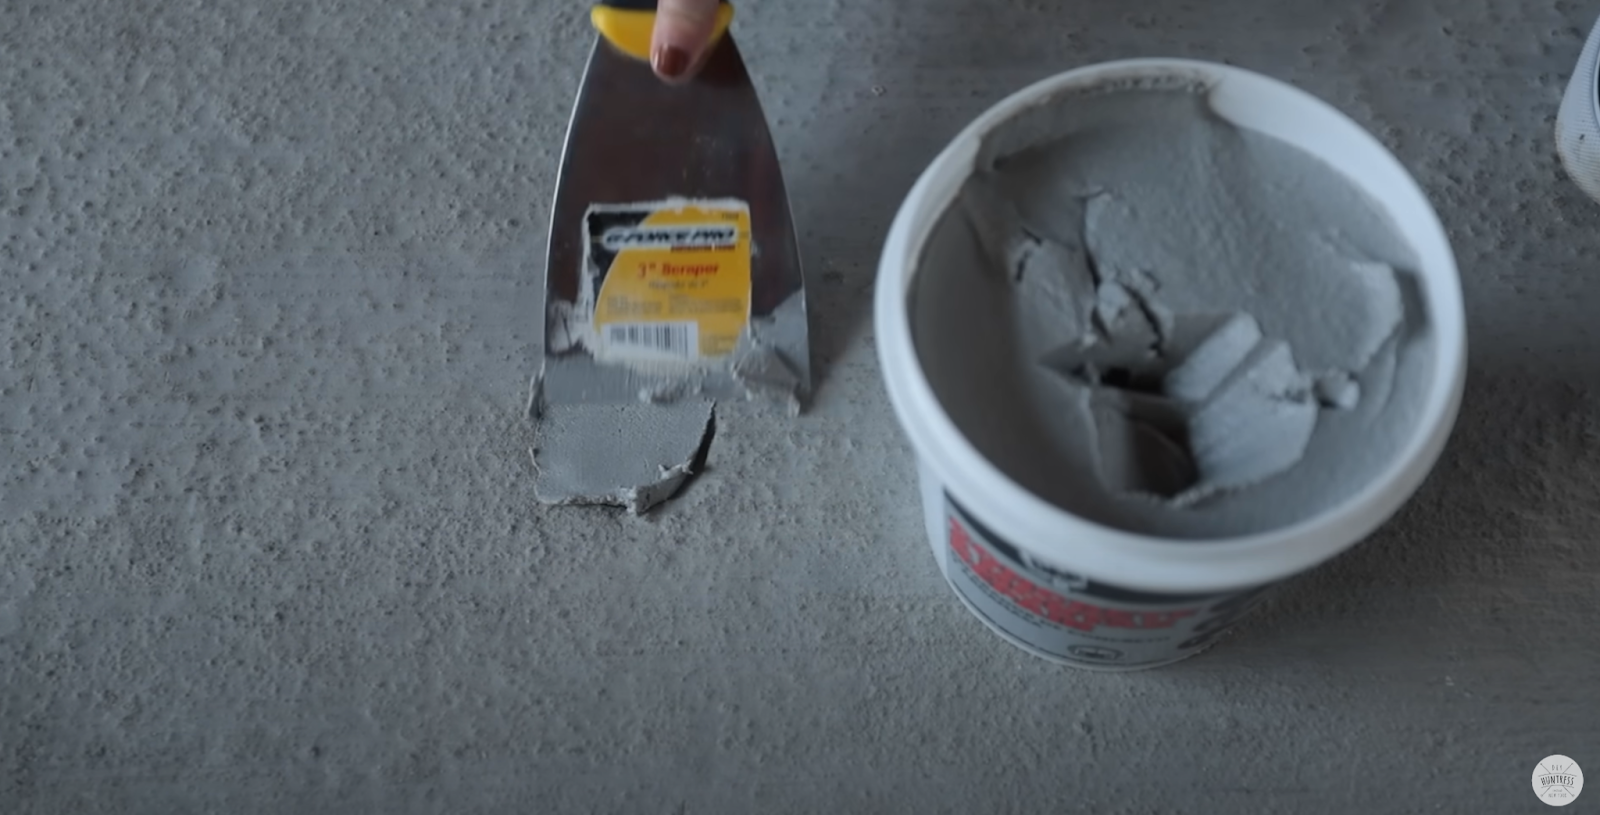
I am so happy with how the concrete dried. It really looked so good. However, now that everything was coated over I did notice some voids that needed to be filled. I used this ready to mix concrete patch and a scraper to patch these up.
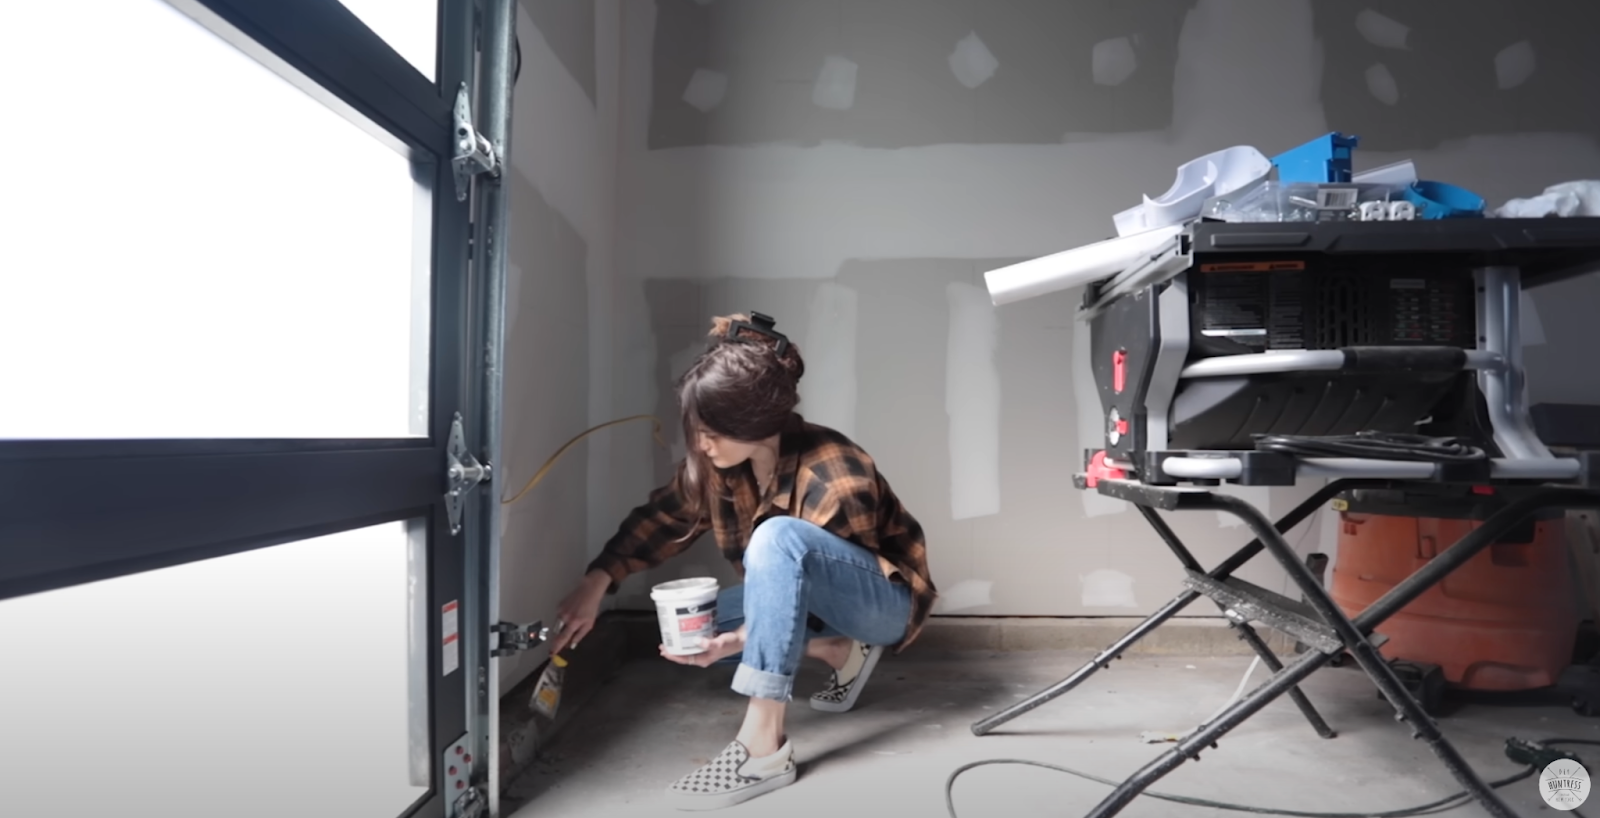
I also used it to fill in some of the cracks in between the cinder block foundation. Bonus points because it dried the same color as the skim coat I had poured.
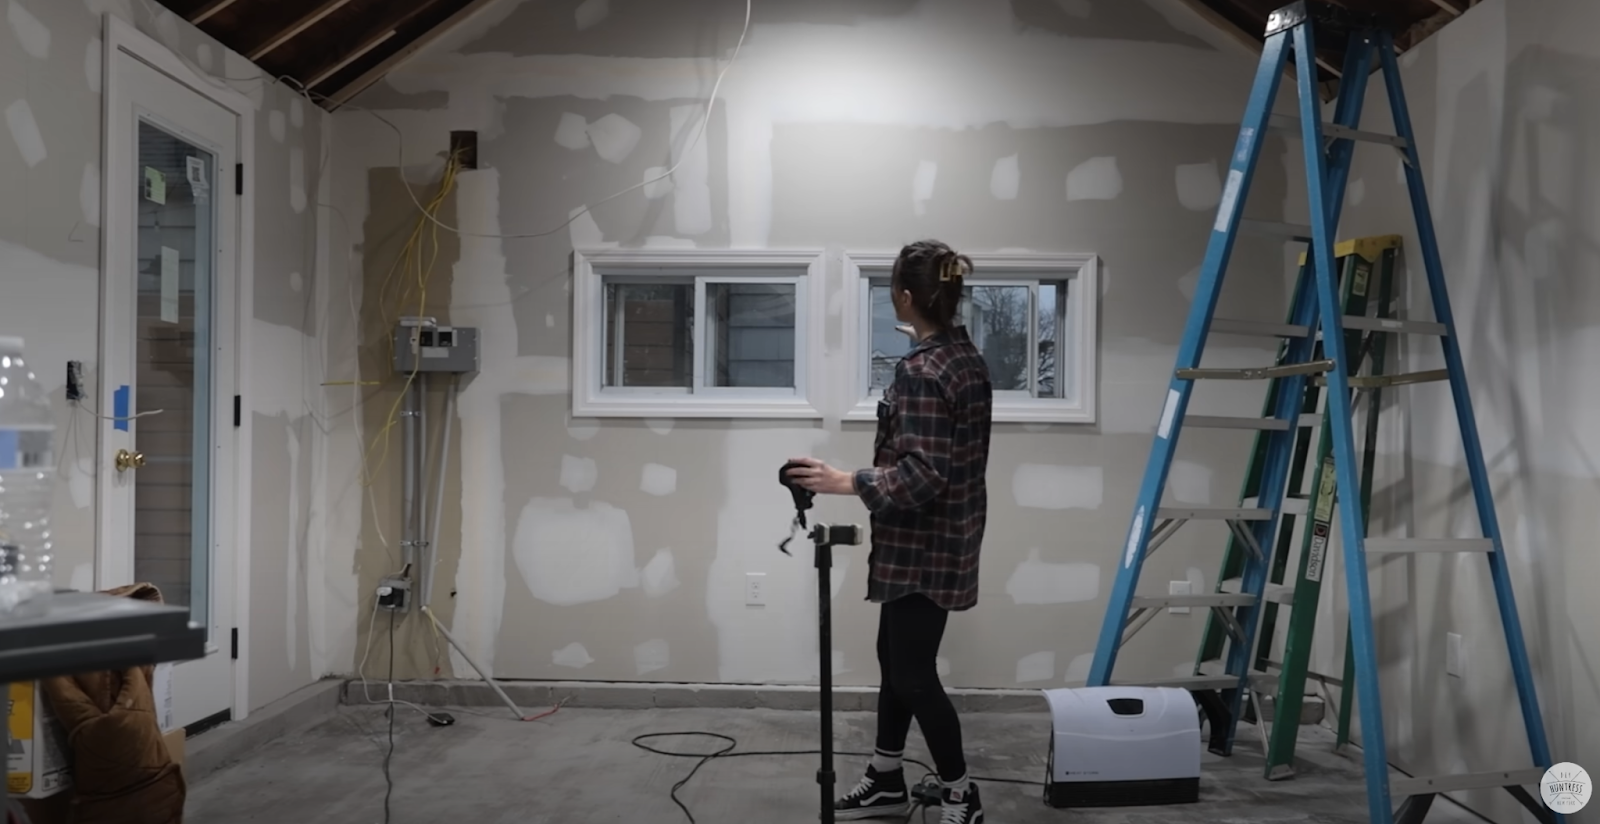
While the floor was drying I had dry wall and insulation installed. There were still a few moisture spots in the floor so I brought in a heater to help dry it out before I applied a seal coat.
5. Seal the Floor
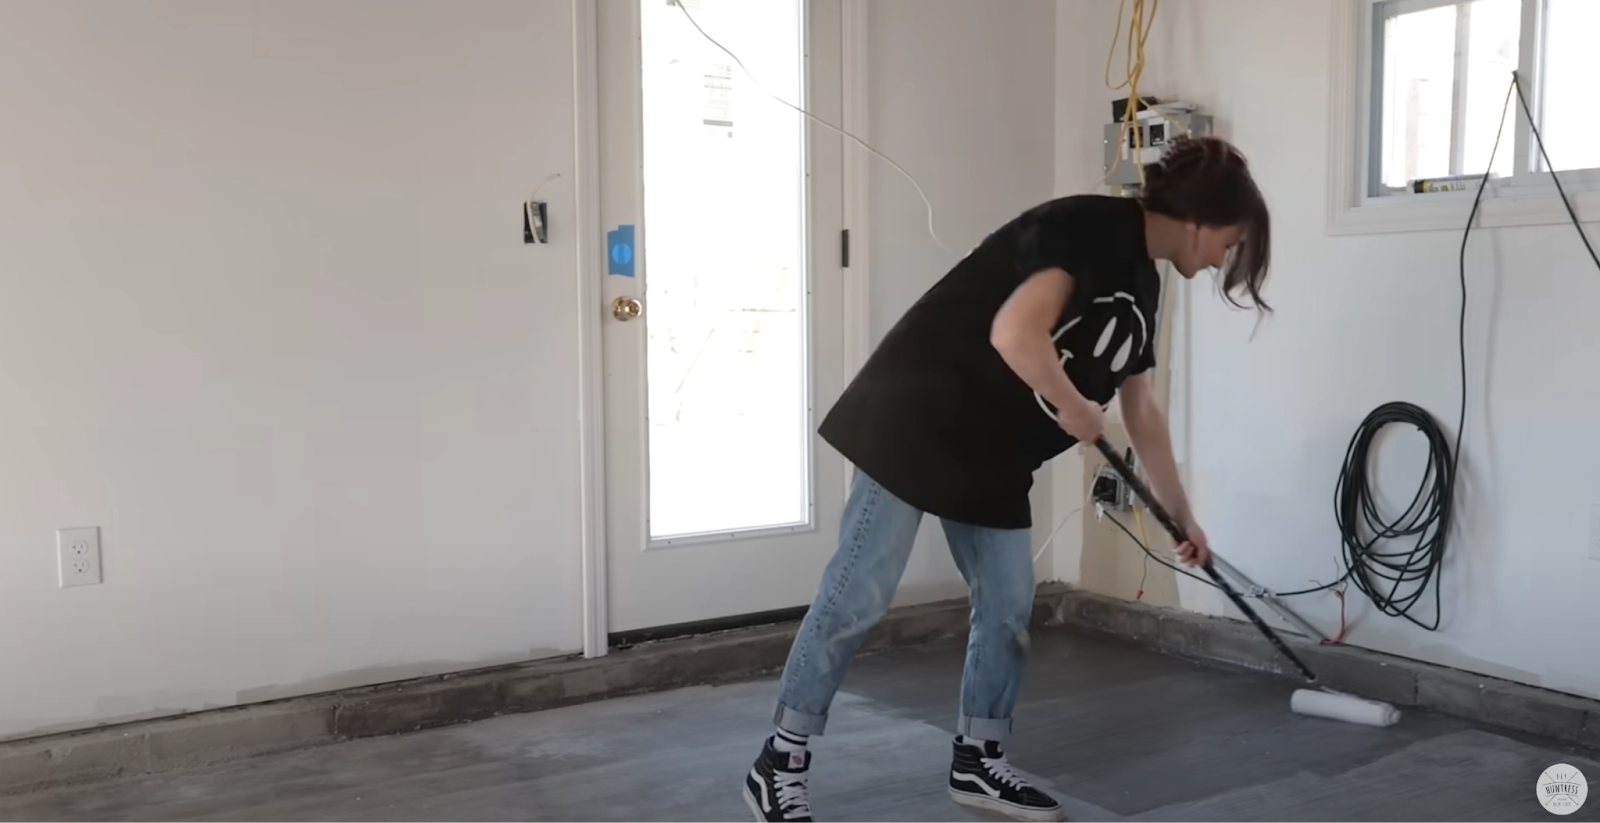
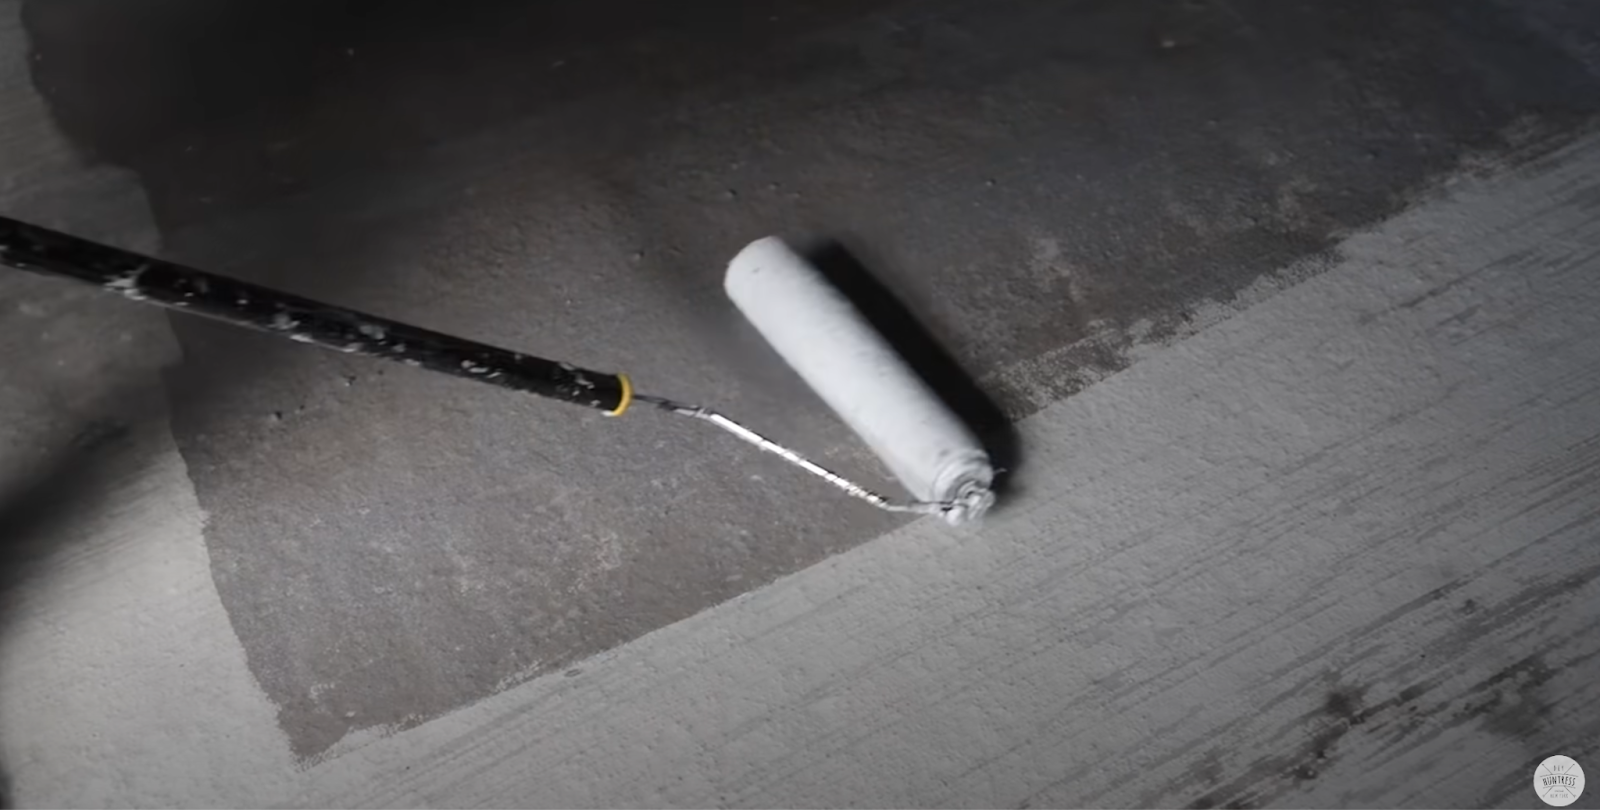
The finishing process was actually really simple. I applied a matte finishing product to seal them. I used a paint roller to apply it, it went on dark and dried the same color as the floor. Super simple.
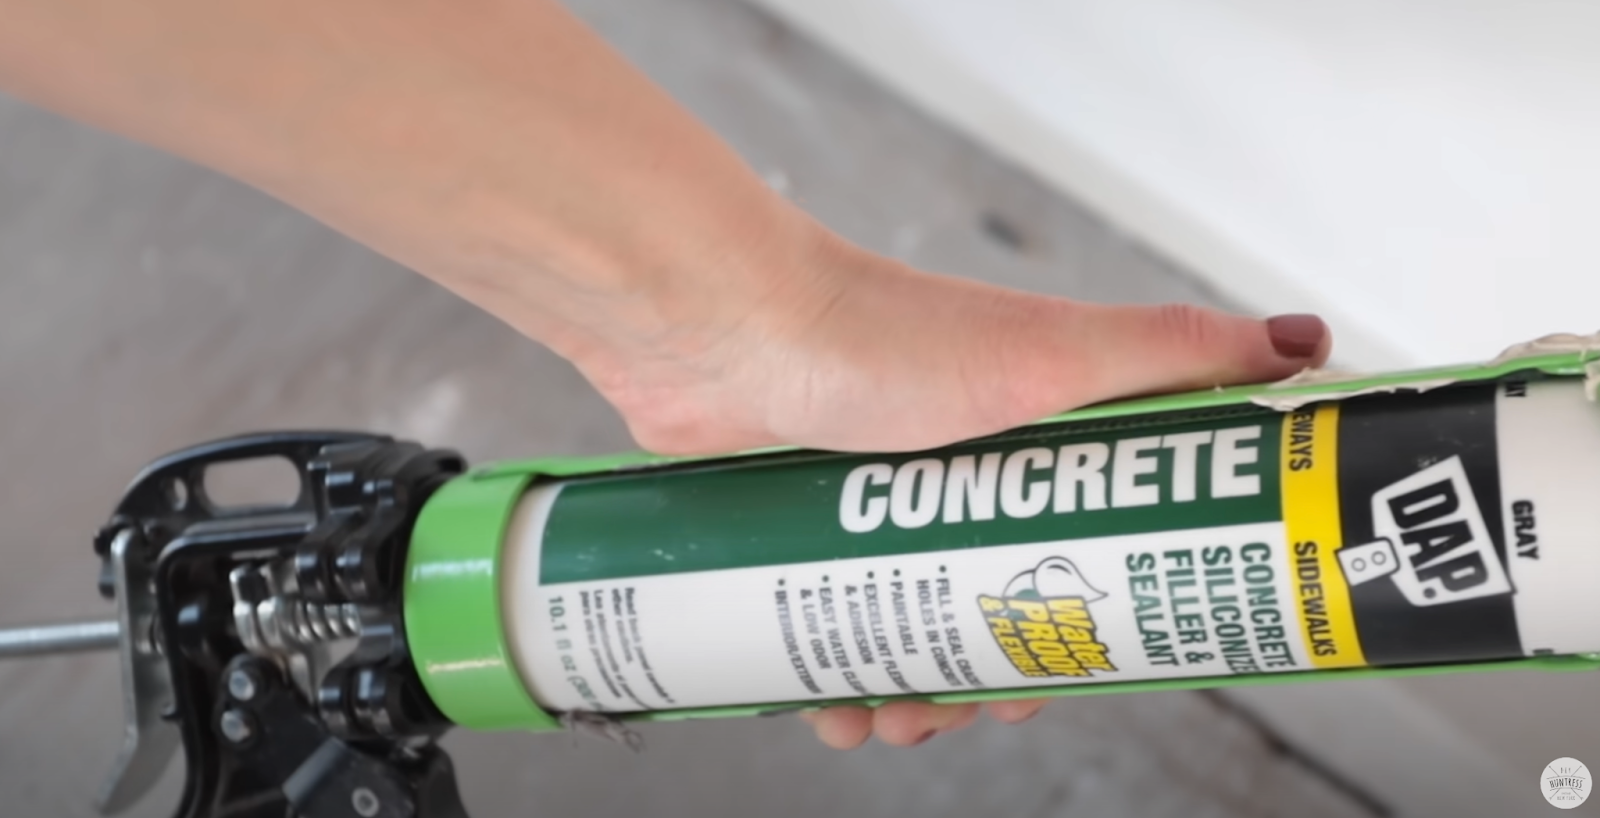
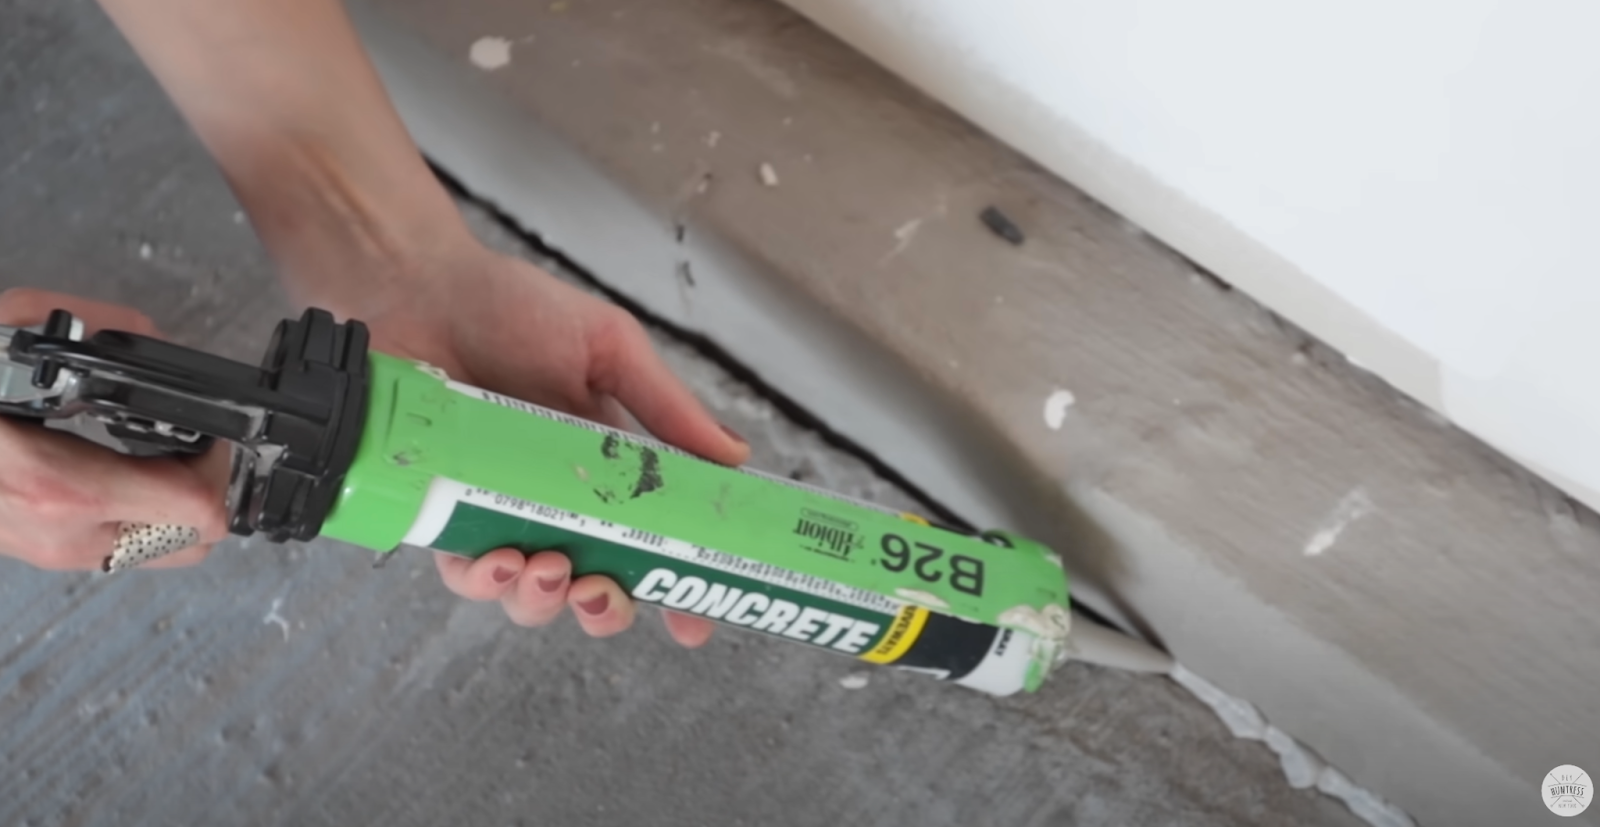
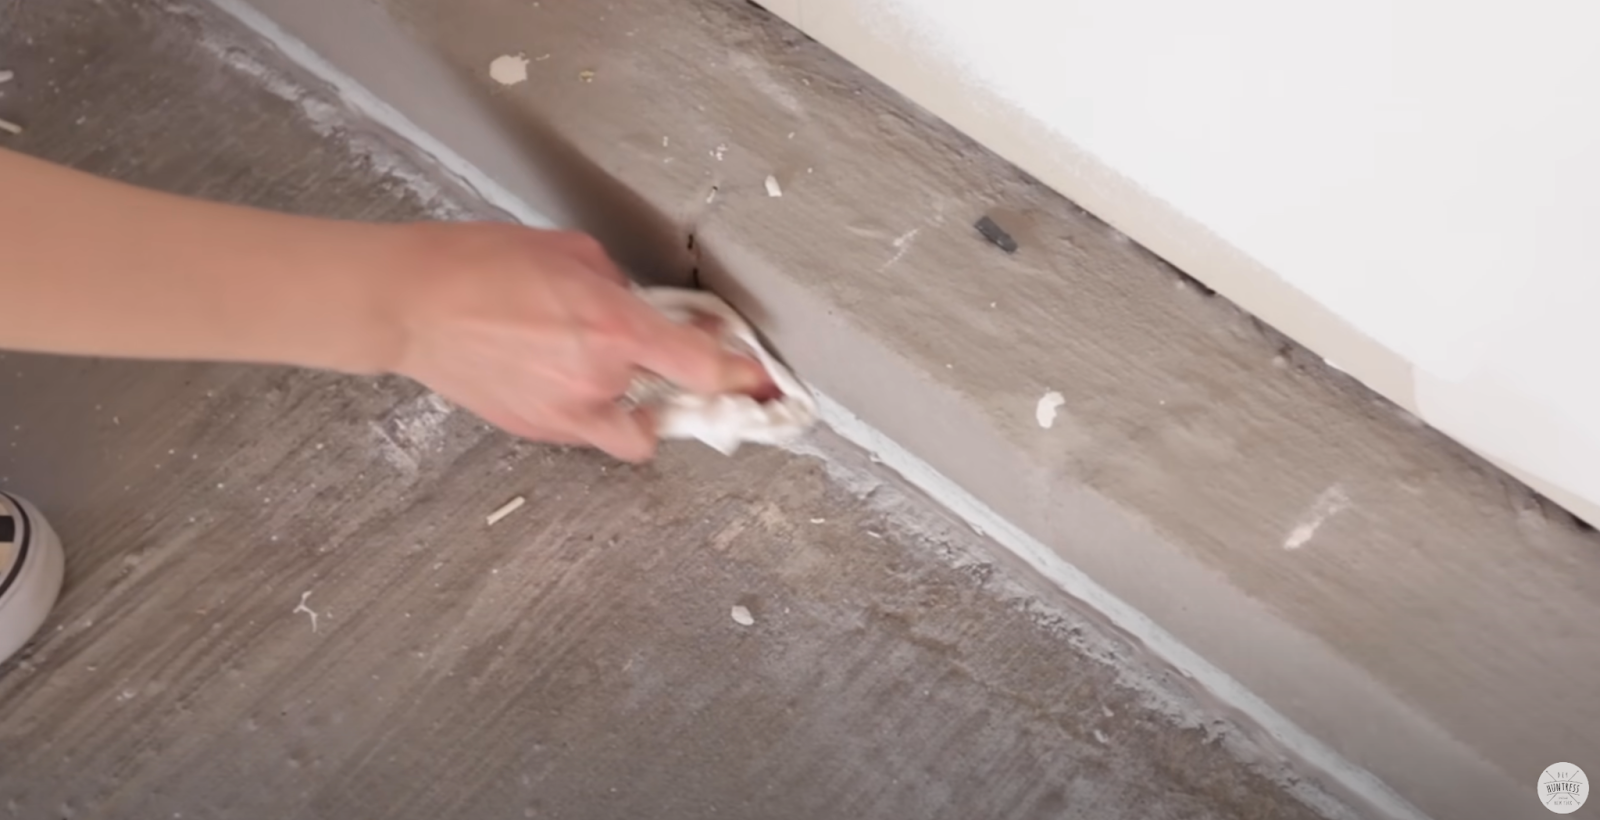
All that was left was taking care of the gaps at the edges of the floor where I have expansion joints. I used Concrete Mortar Sealant and Filler. It’s different from the filler I used for the voids because it has a silicone additive which makes it flexible. Ideal for this space where I need it to be able to move and breathe.
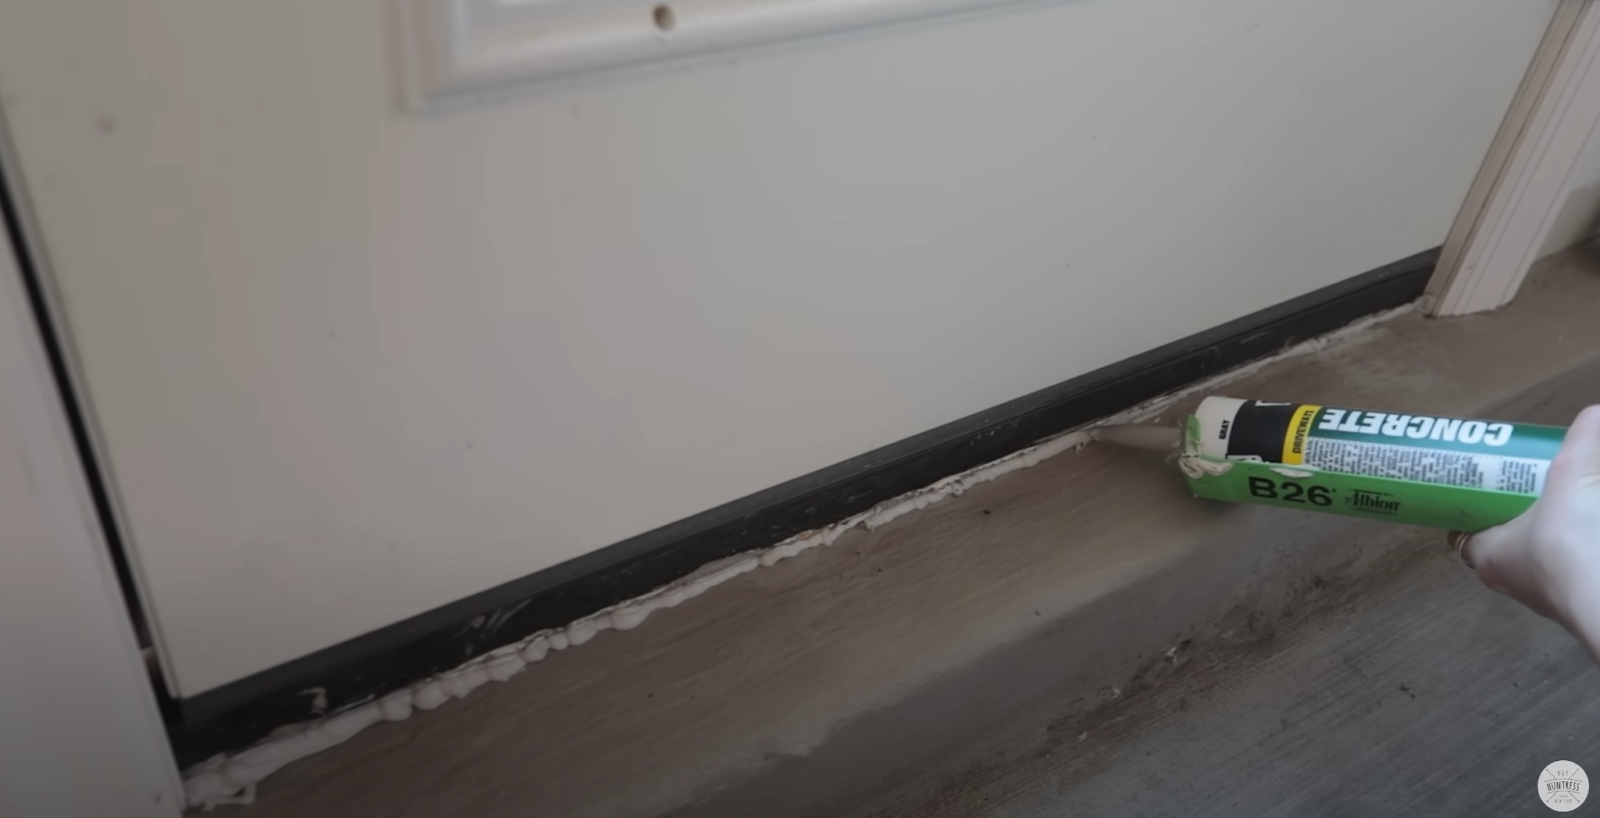
I also applied it beneath my door since it’s a waterproof product.
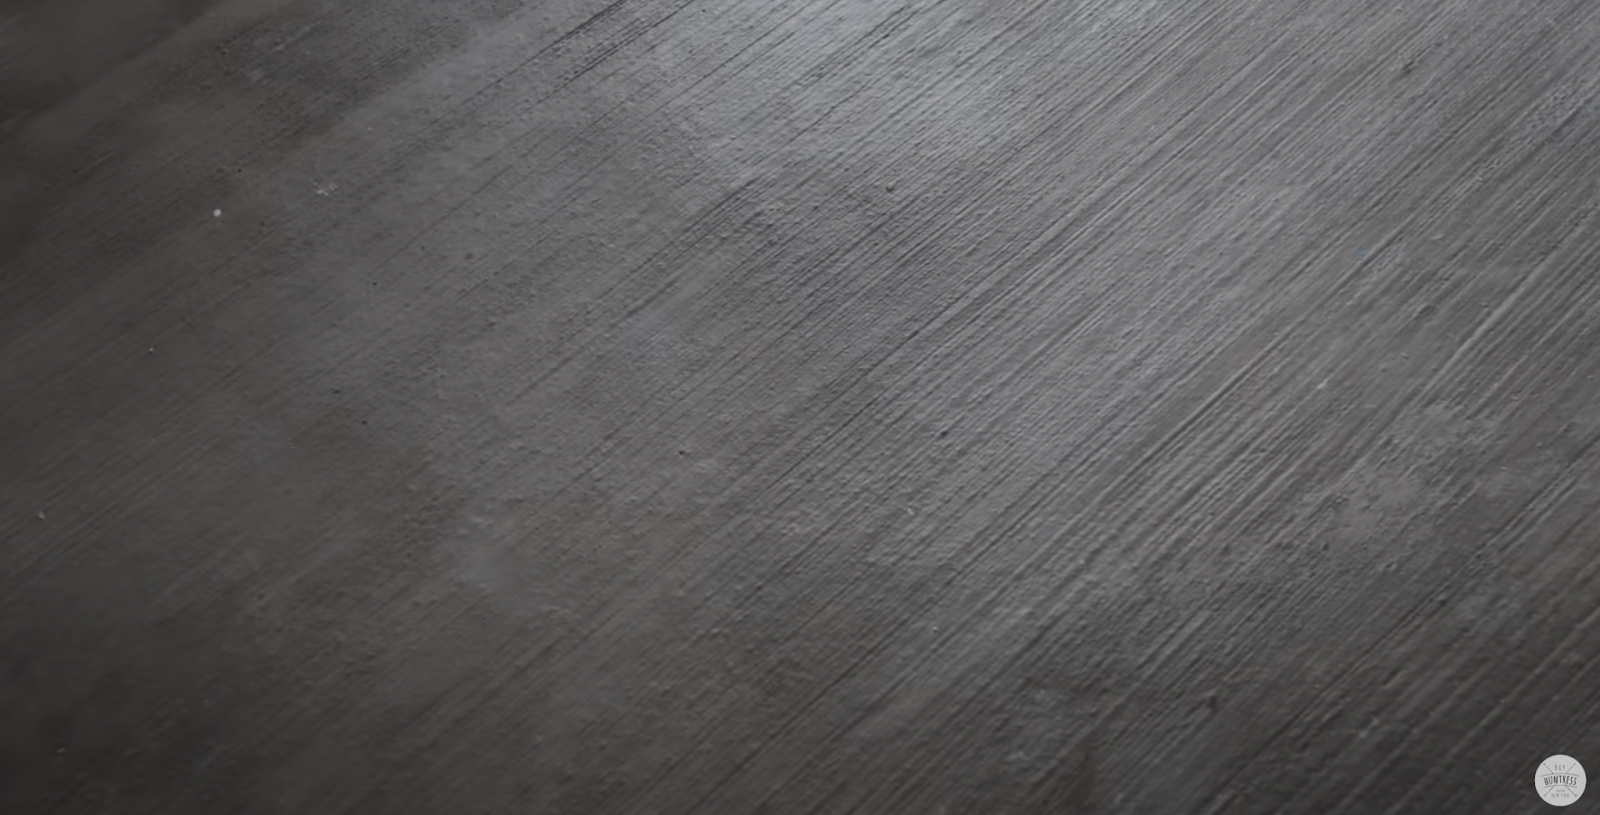
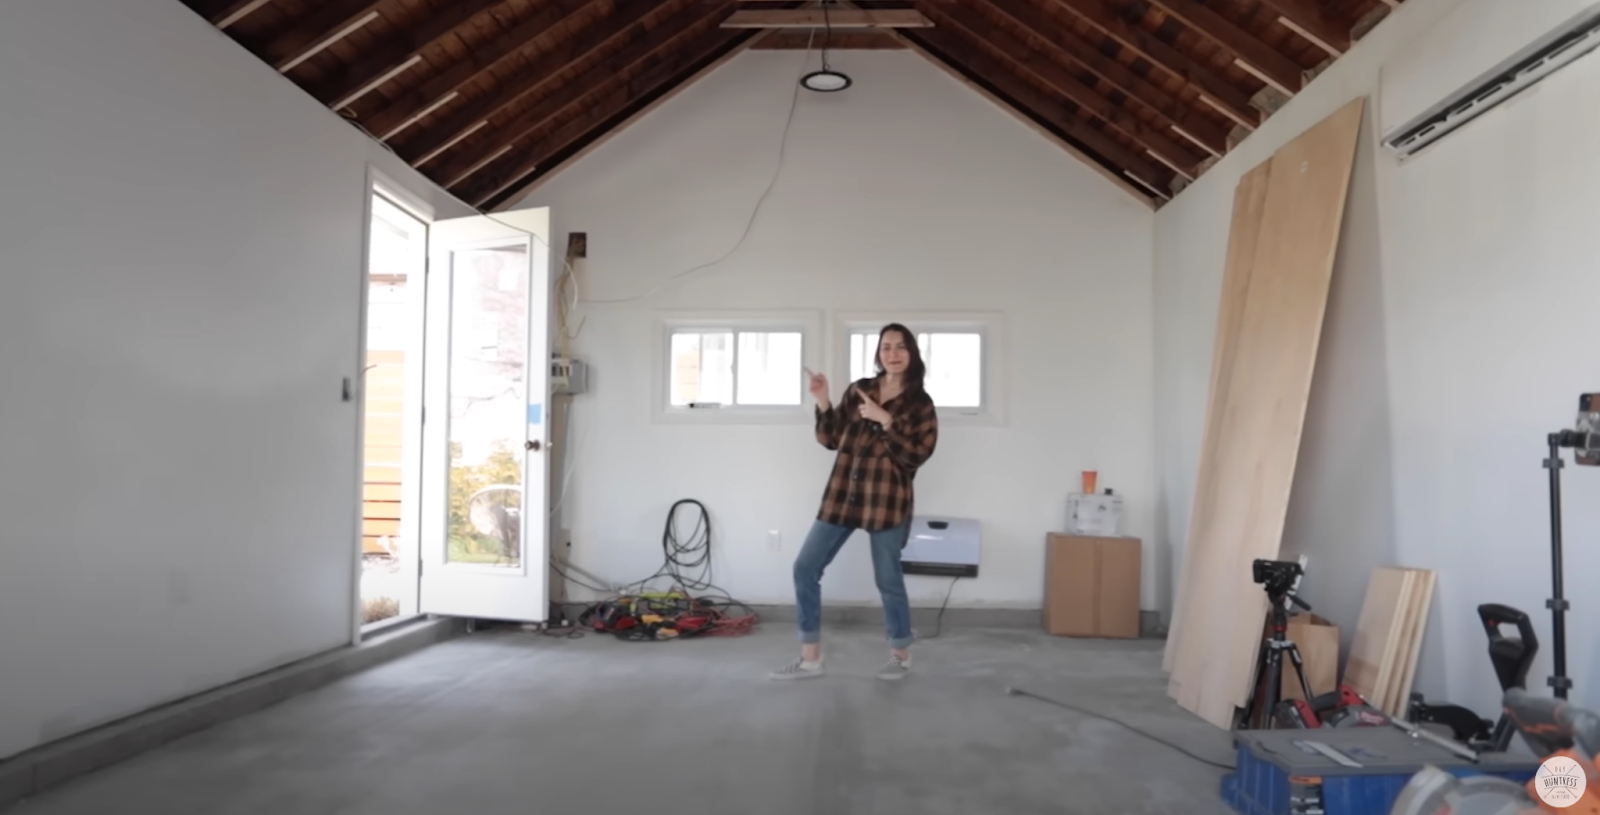
I am so excited for how the floors came out. I mean they’re not perfect but they’re so much better than how they started out and most of the imperfections that I see are getting covered by tools and shop furniture so they won’t be seen anyway. The space really looks like a shop now with the refreshed floor. So with that, this garage shop is ready to go! Be sure to check out all of the other projects I’ve done in my shop both here on the blog and also on my YouTube Channel. Until the next project, friends, Happy DIYing!
Save this for later
I hope you enjoyed this project! If so, make sure to Pin It for later!