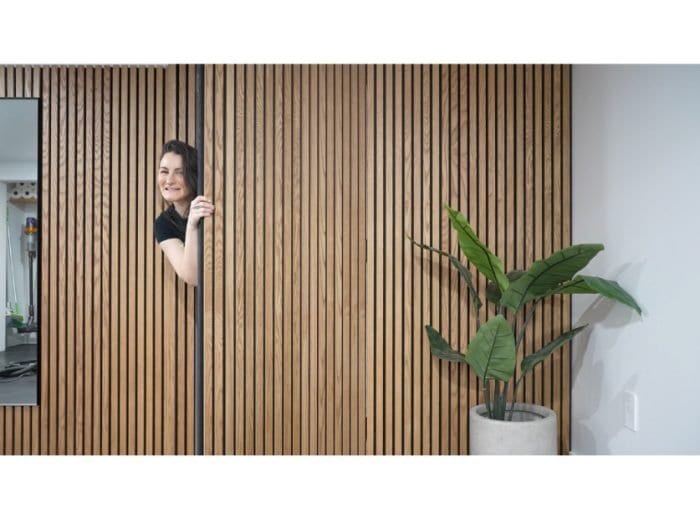
I don’t know about you, but I’ve always thought that secret doors were the coolest and I’ve always wanted one in my house. I just didn’t have a place to put it, or a need for one. That is, until I finished renovating my basement last year and I was left with a random closet door that hid a bunch of my sprinkler valves. This made it a prime candidate for becoming a secret door. It turned out to actually be a pretty simple project, here’s how I did it!
This post contains affiliate links, which helps support more projects on my website! For my full disclosure policy regarding affiliate links, click here!
Want to see this build in action? You can watch my build video here (+ make sure to subscribe to my channel)!
Tools + Materials
Tools
Materials
- DAP HD Max Construction Adhesive
- DAP Alex Plus All Purpose Caulking
- DAP DryDex Dry Time Indicator Spackling Paste
- Slat Wood
- Screws
- Wood Stain
- Mirror
- Magnet
1. Remove Trim
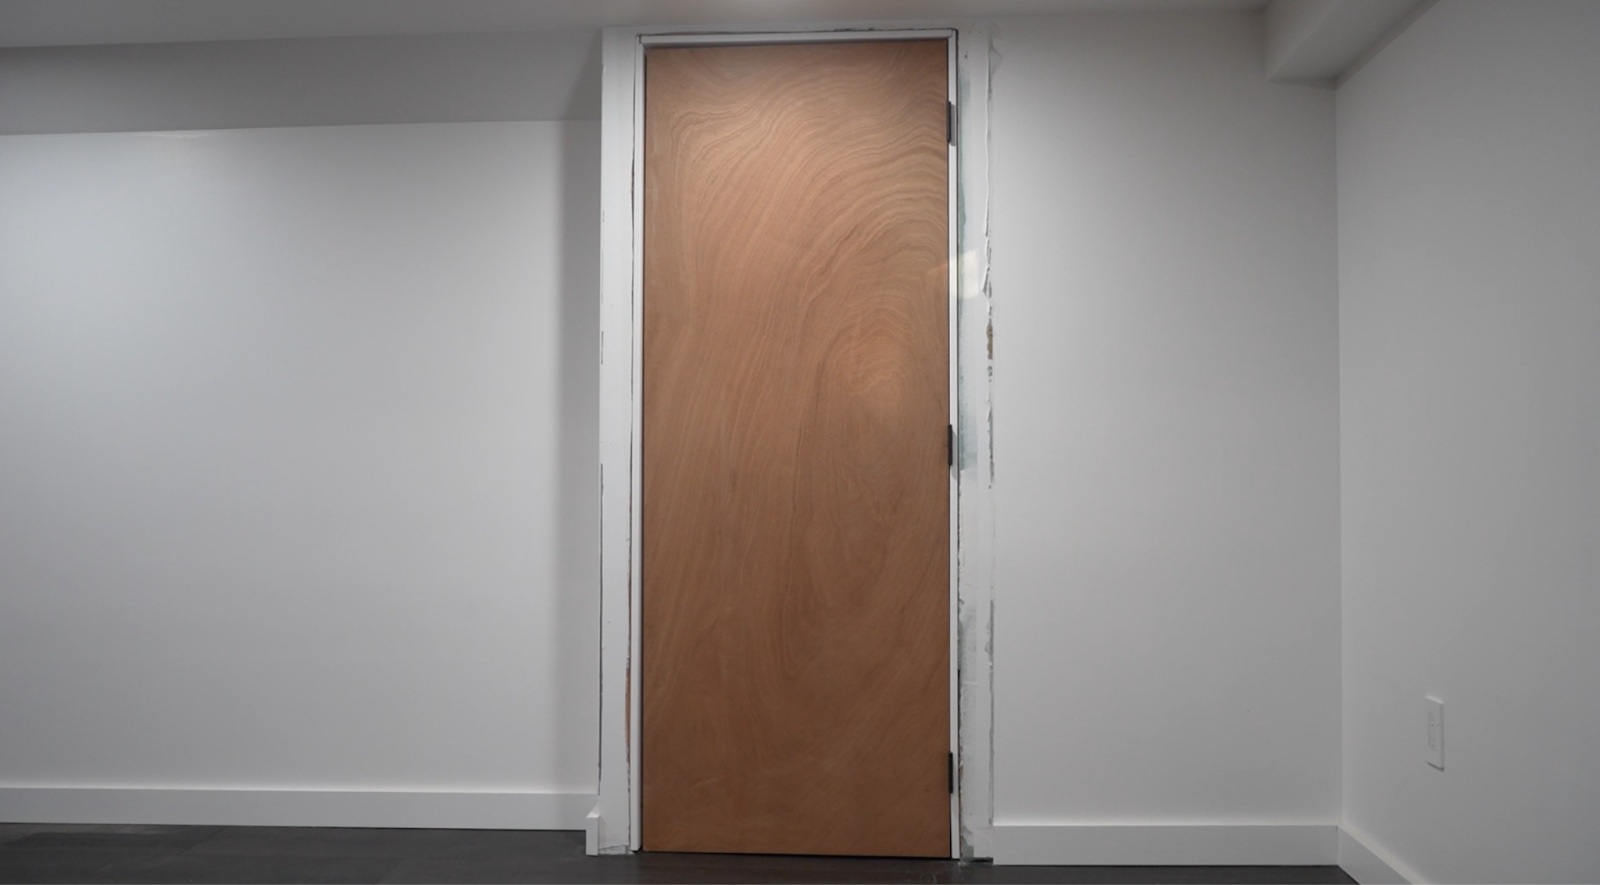
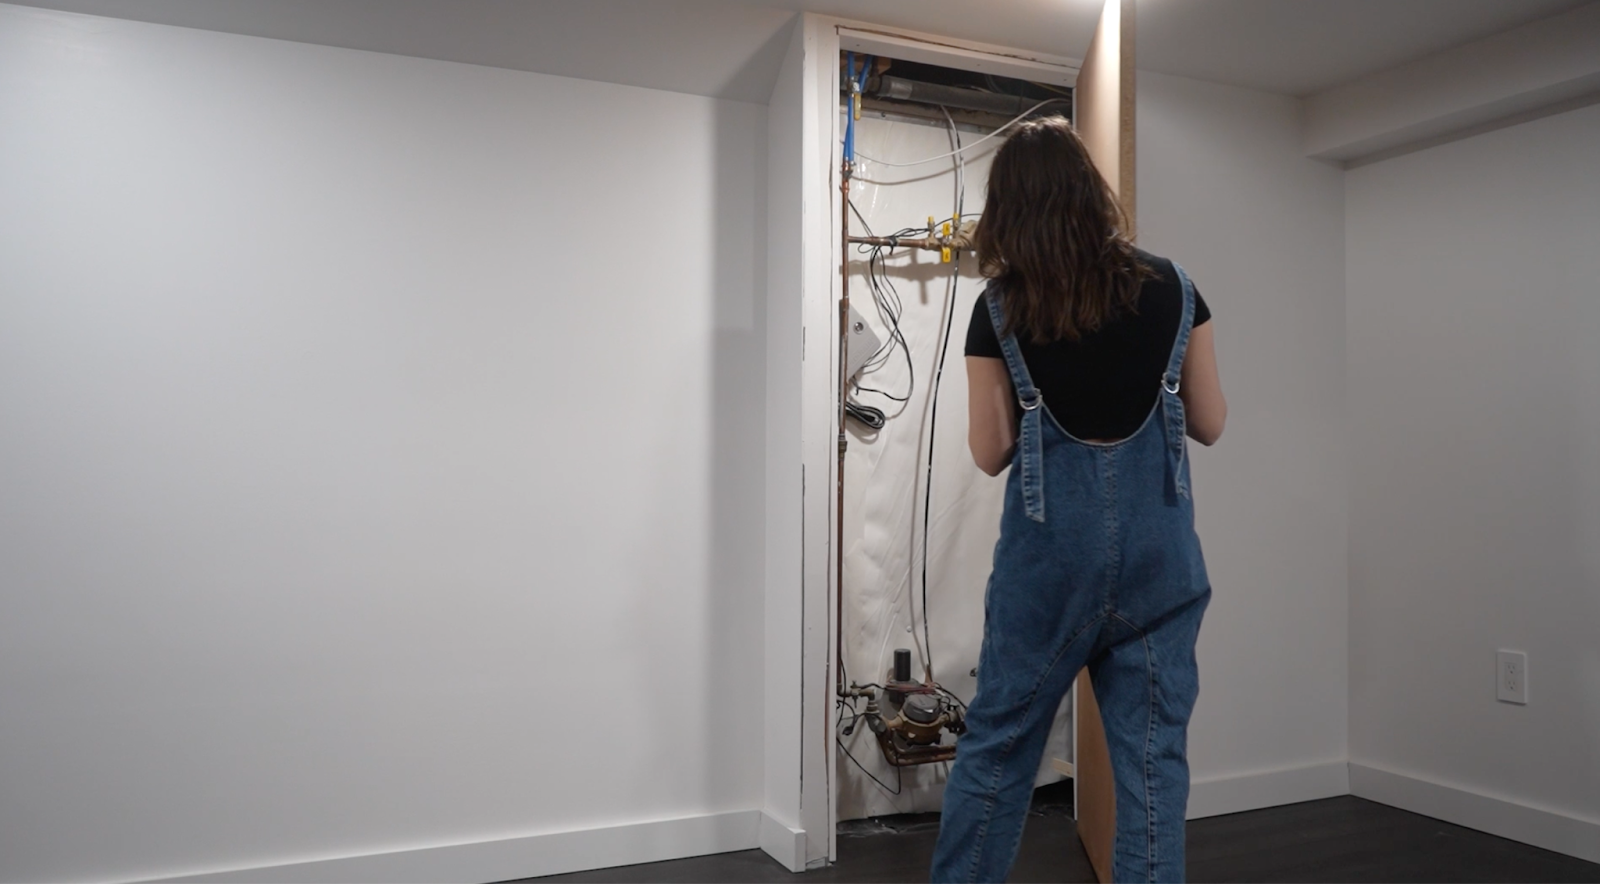
Aforementioned random closet door. It was begging to be a secret door, right?
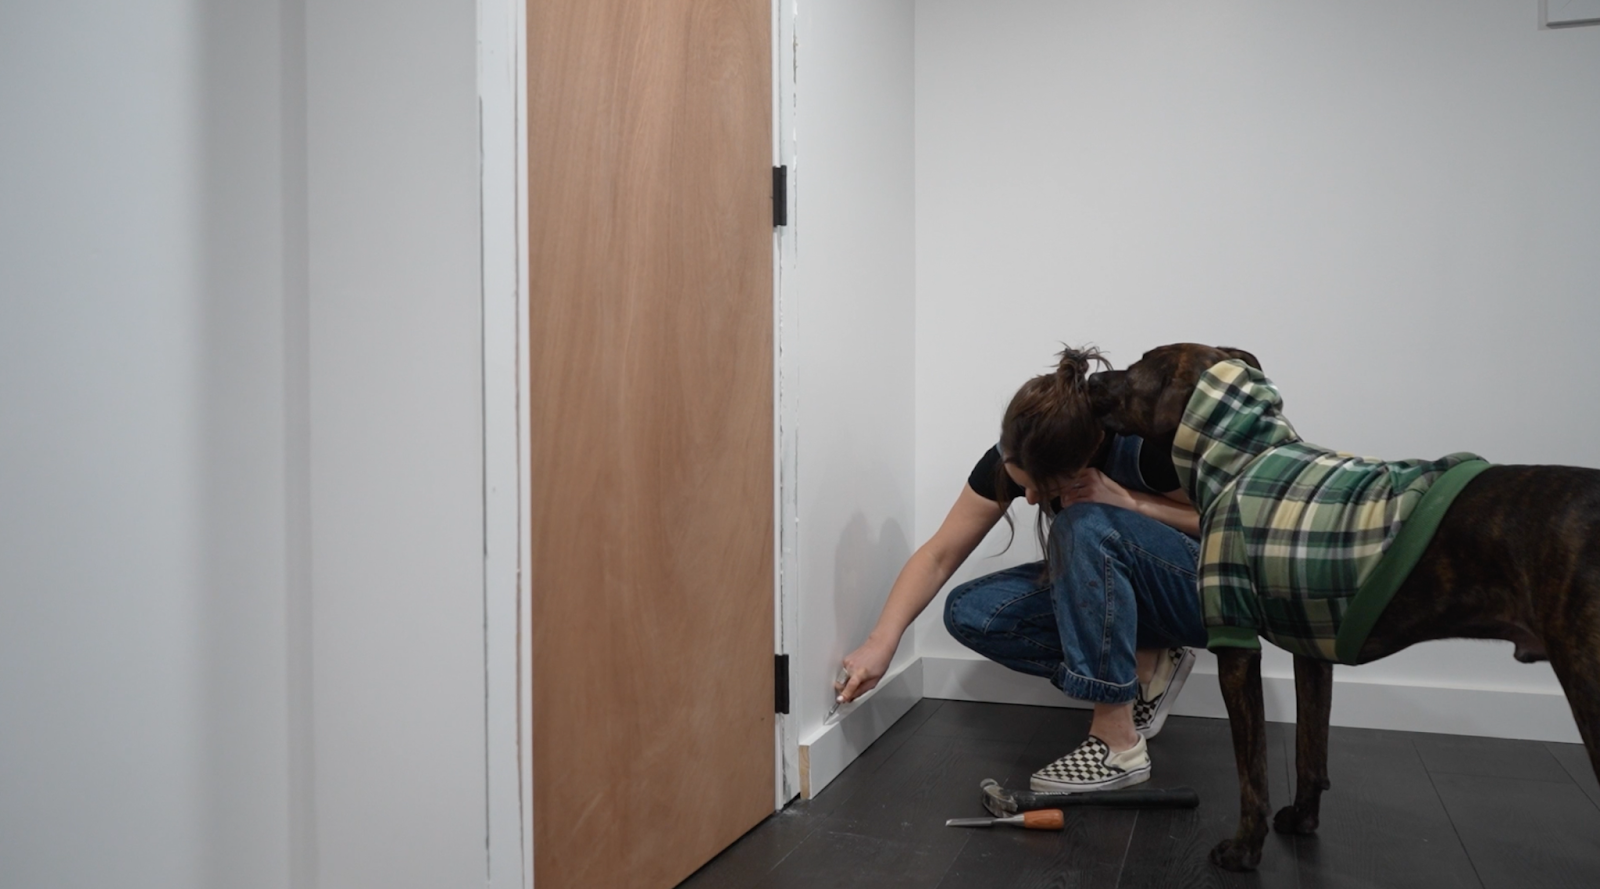
So I started by demoing all of the trim from the wall around the closet.
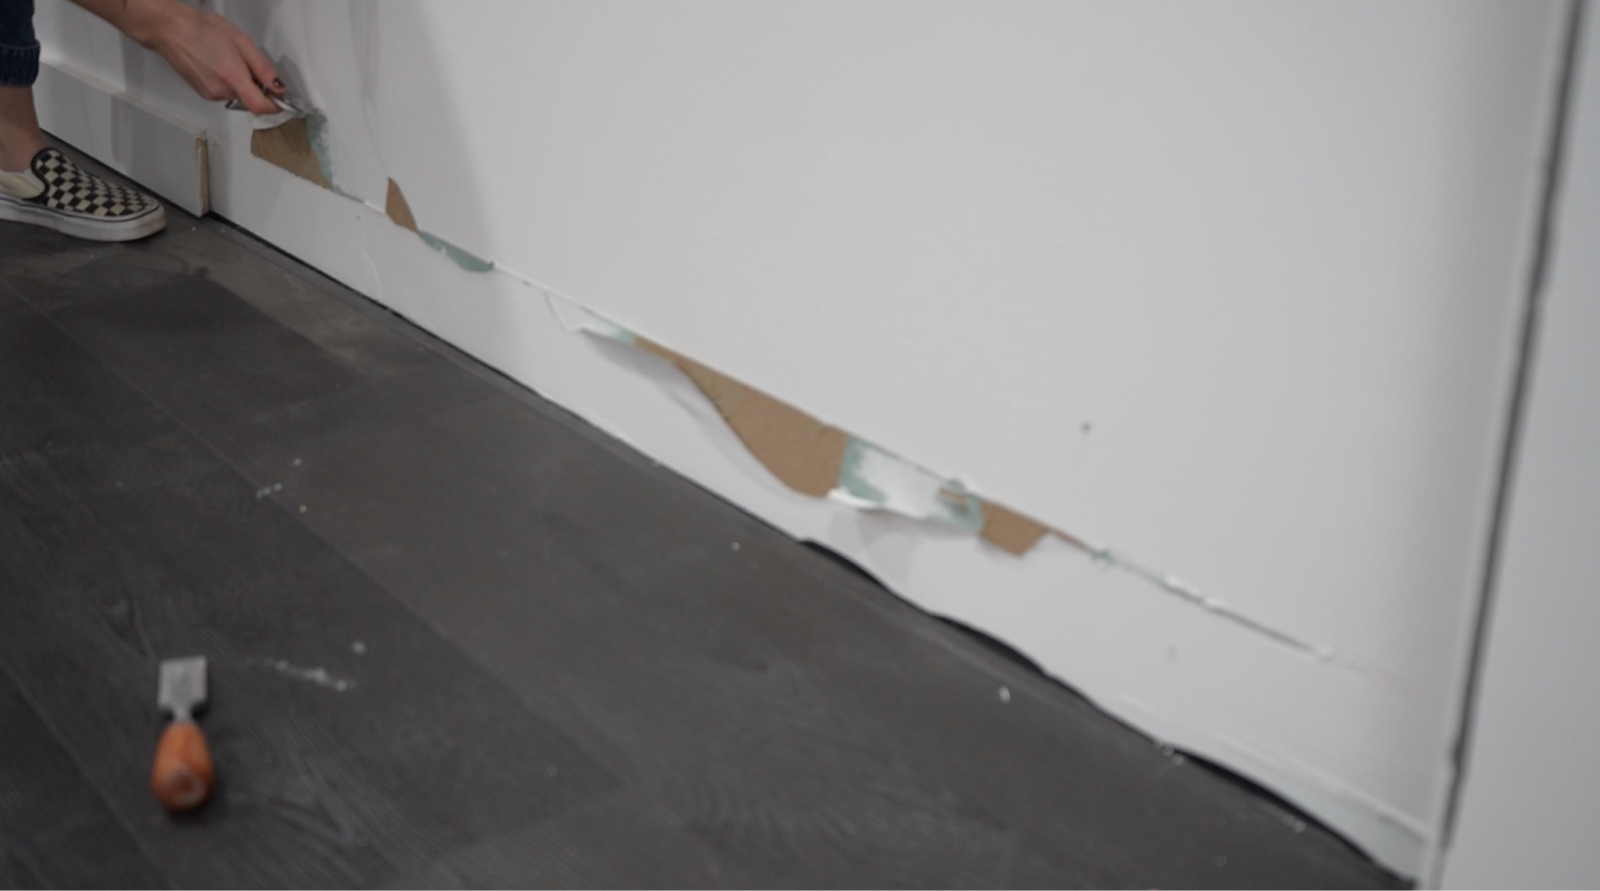
Annoyingly, it didn’t come off as smoothly as I had hoped, but I planned to go back with spackle later to fix it.
2. Covering the Door
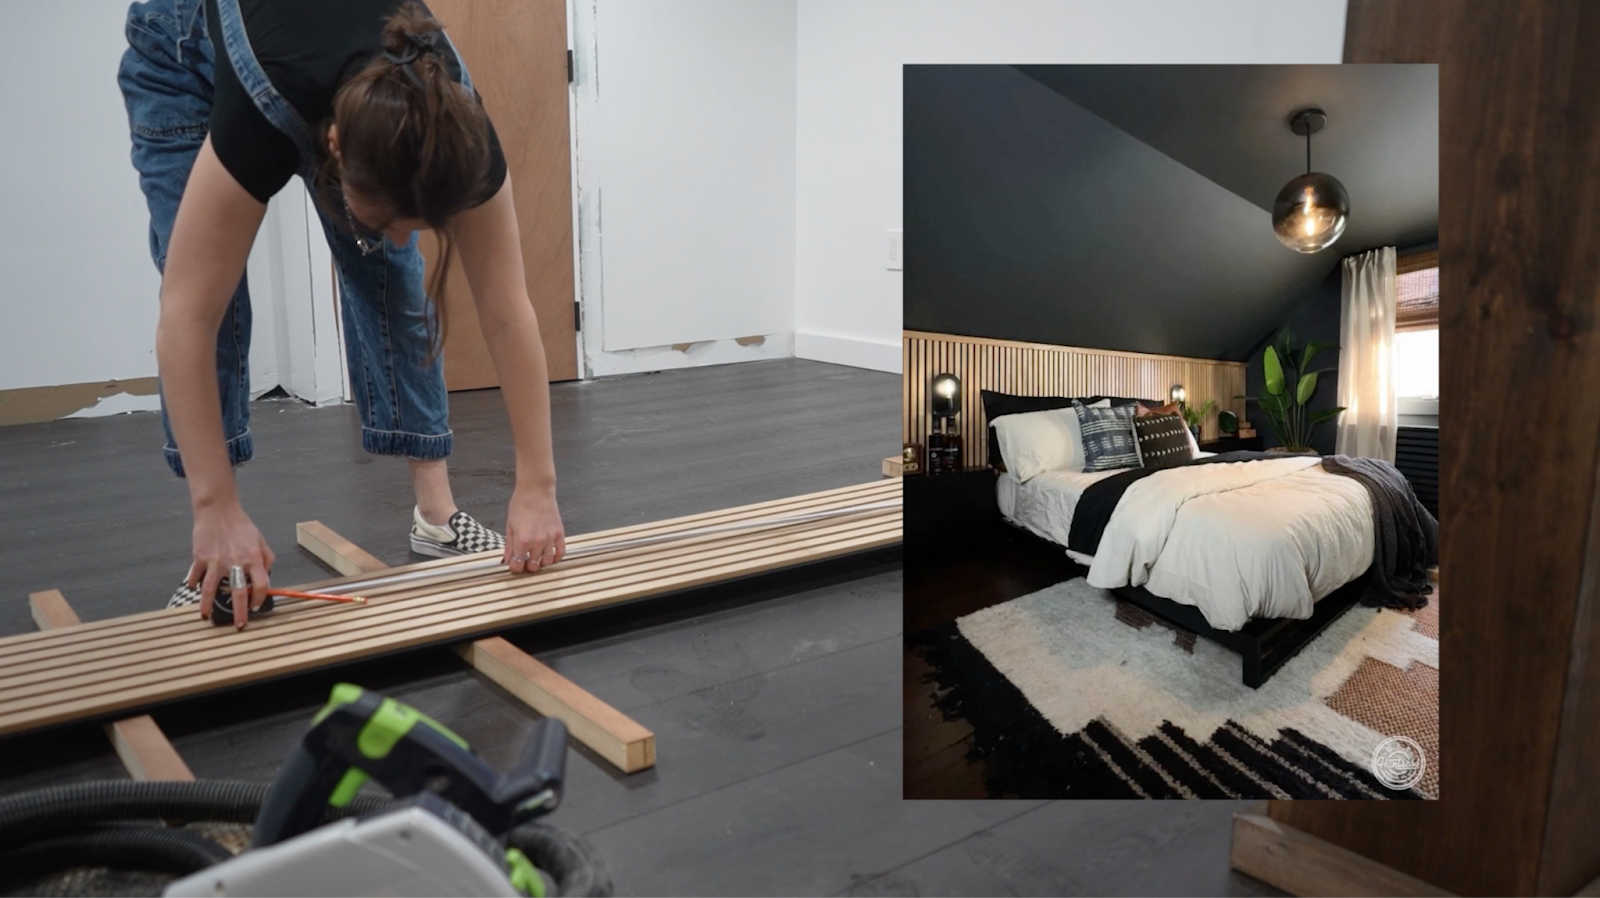
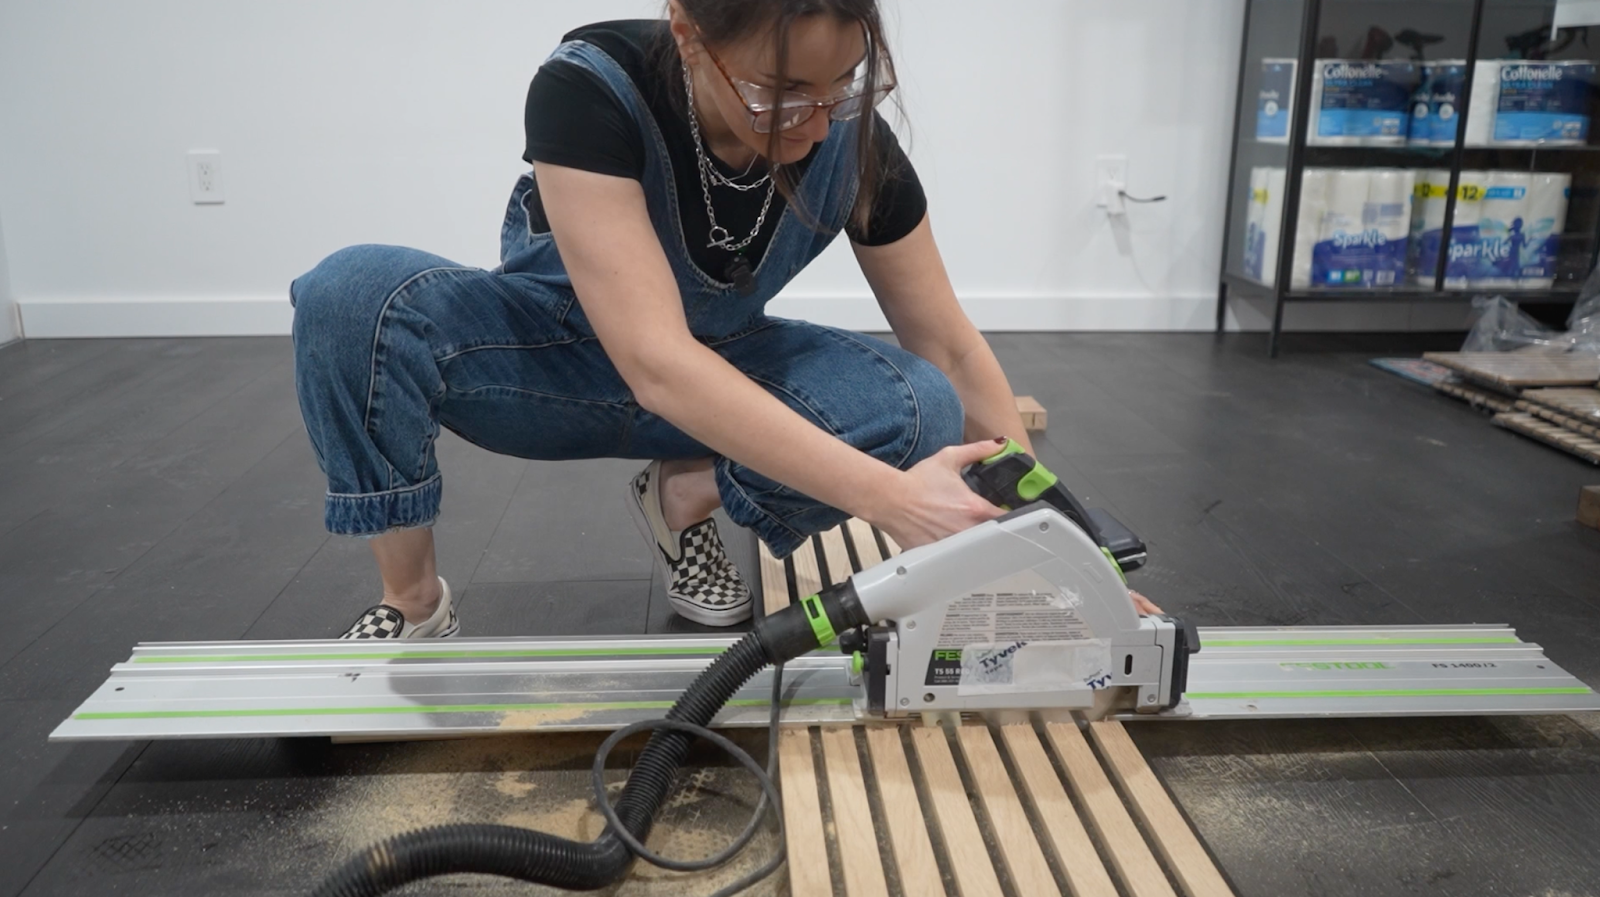
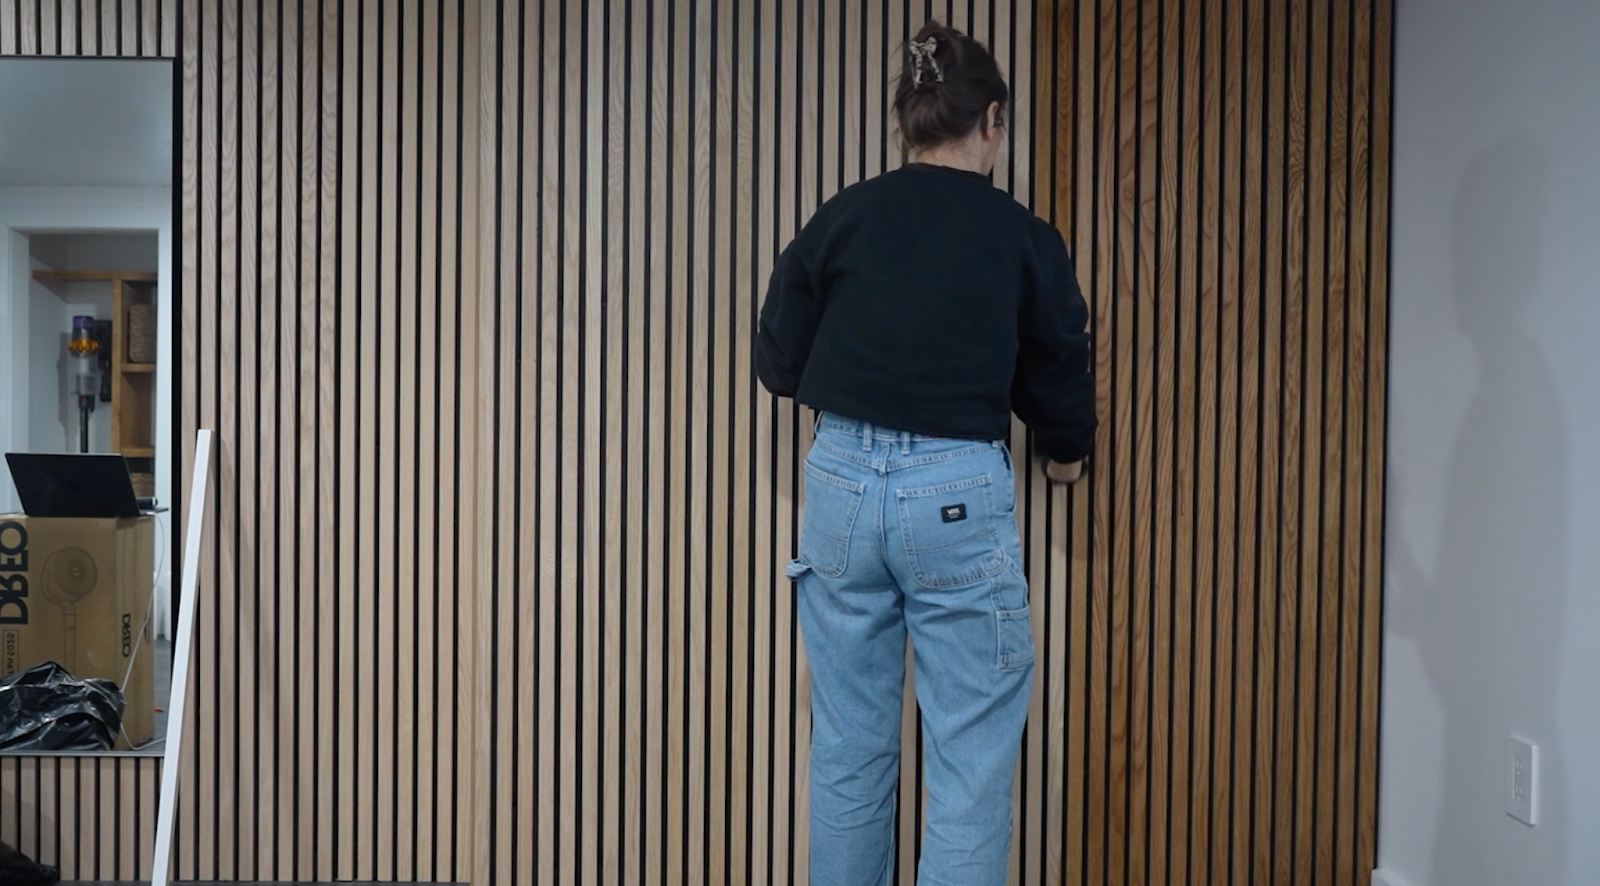
My secret sauce for this project is definitely these vertical wood panels that I also used in my guest room makeover video. Are they cheap? No. But they are so easy to work with, they have felt backing and they cut really well. I literally cut them with my track saw on my basement floor. (yes my dust collection needs to be addressed…)
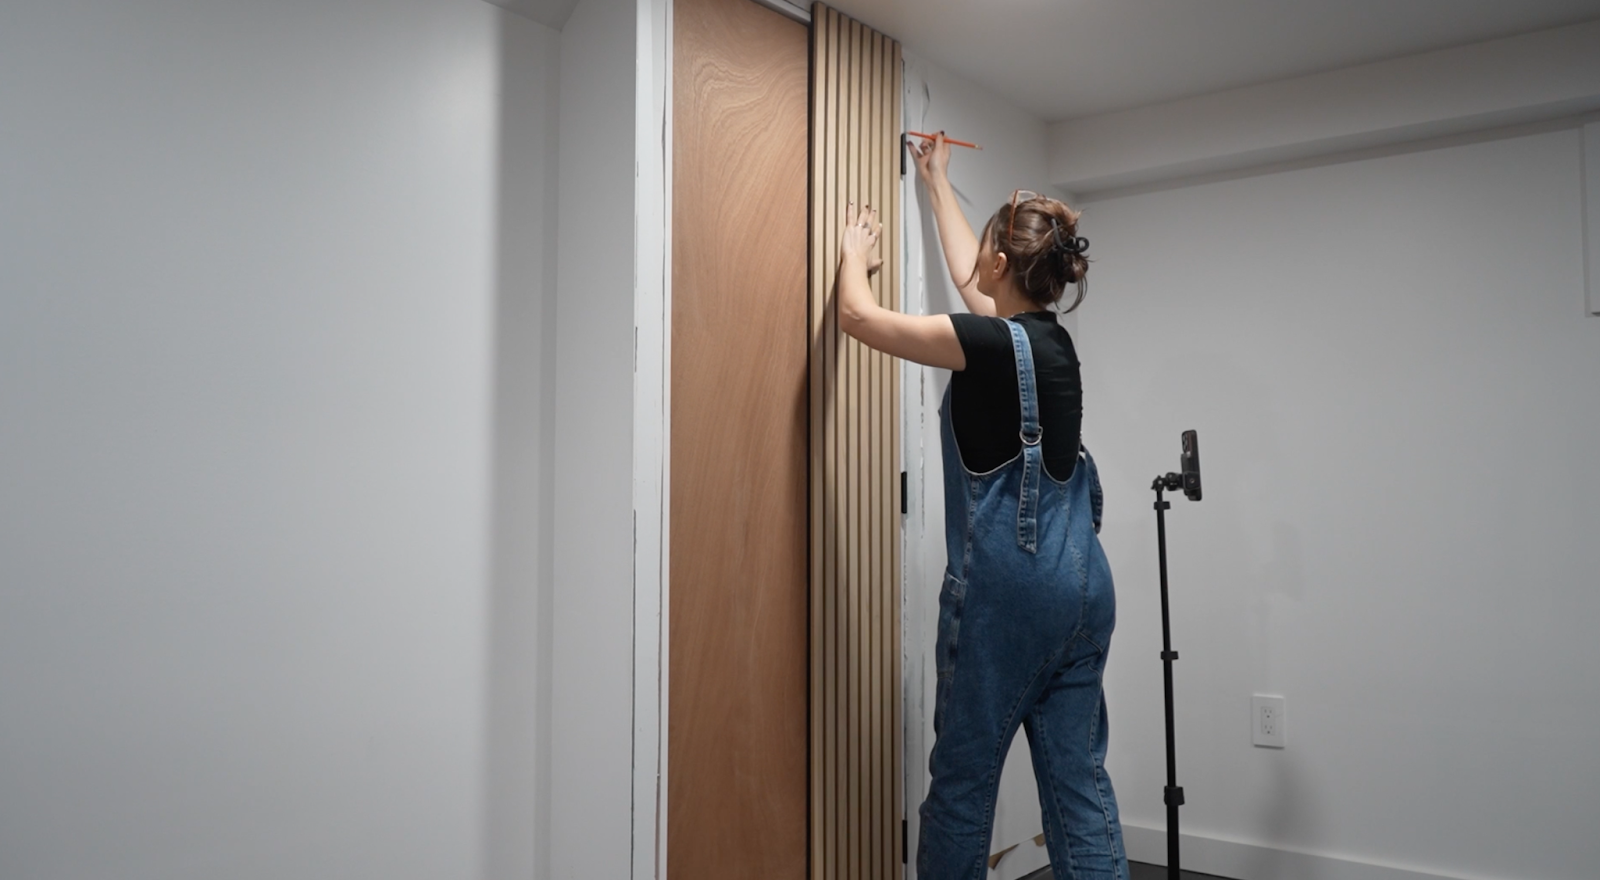

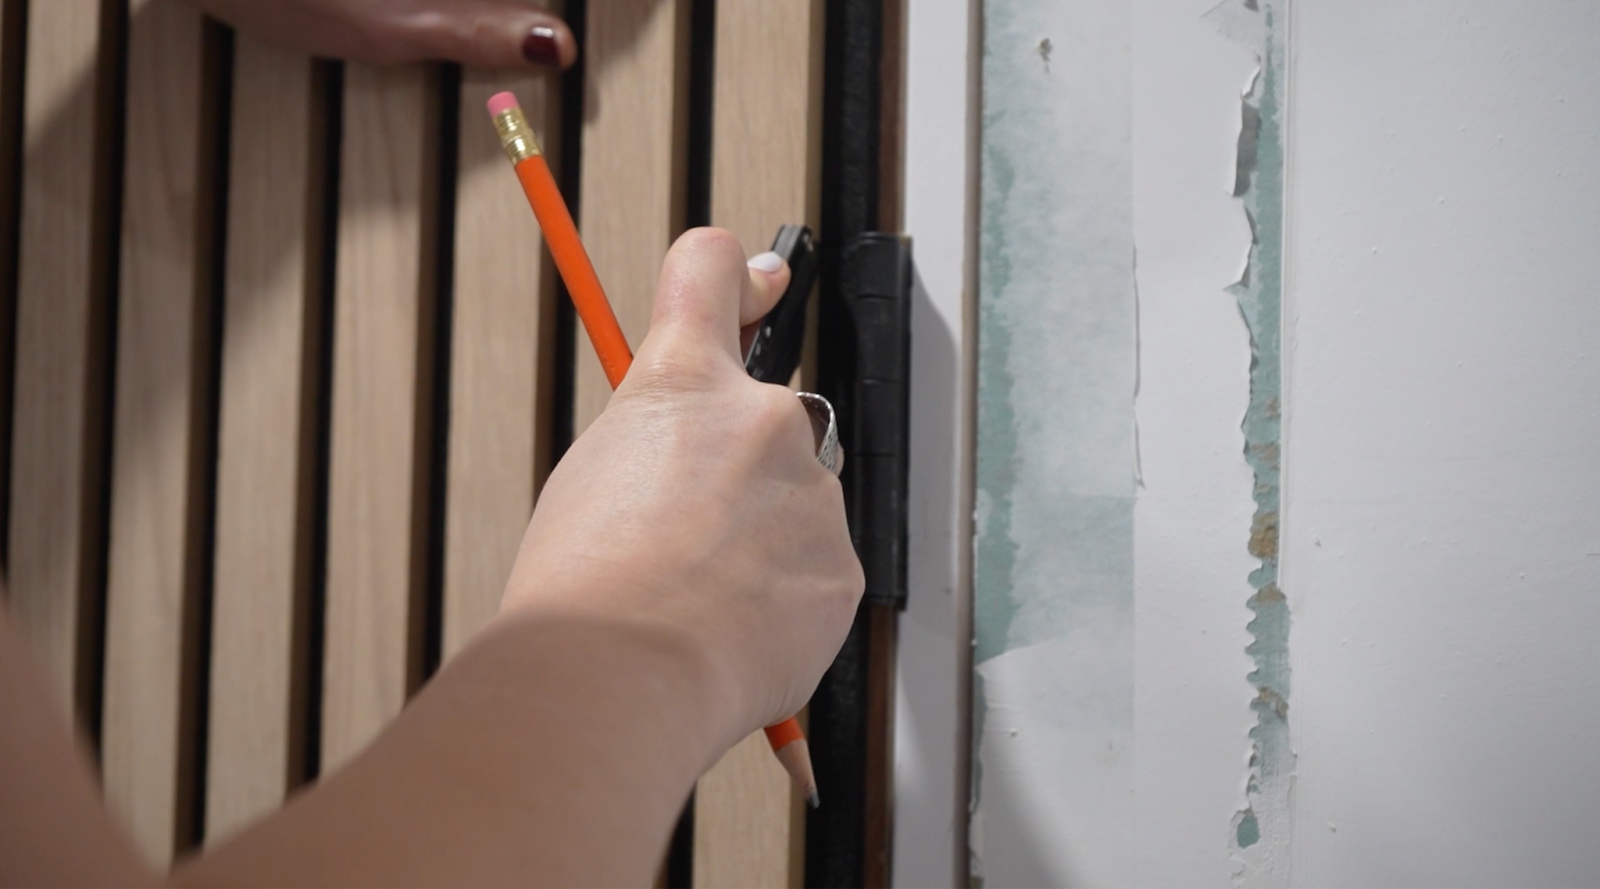

I started by lining the first panel up with the door so when you open it you won’t be able to see the hinge. Then I cut the felt around the hinges with a blade and planned to paint any white that peeked through.
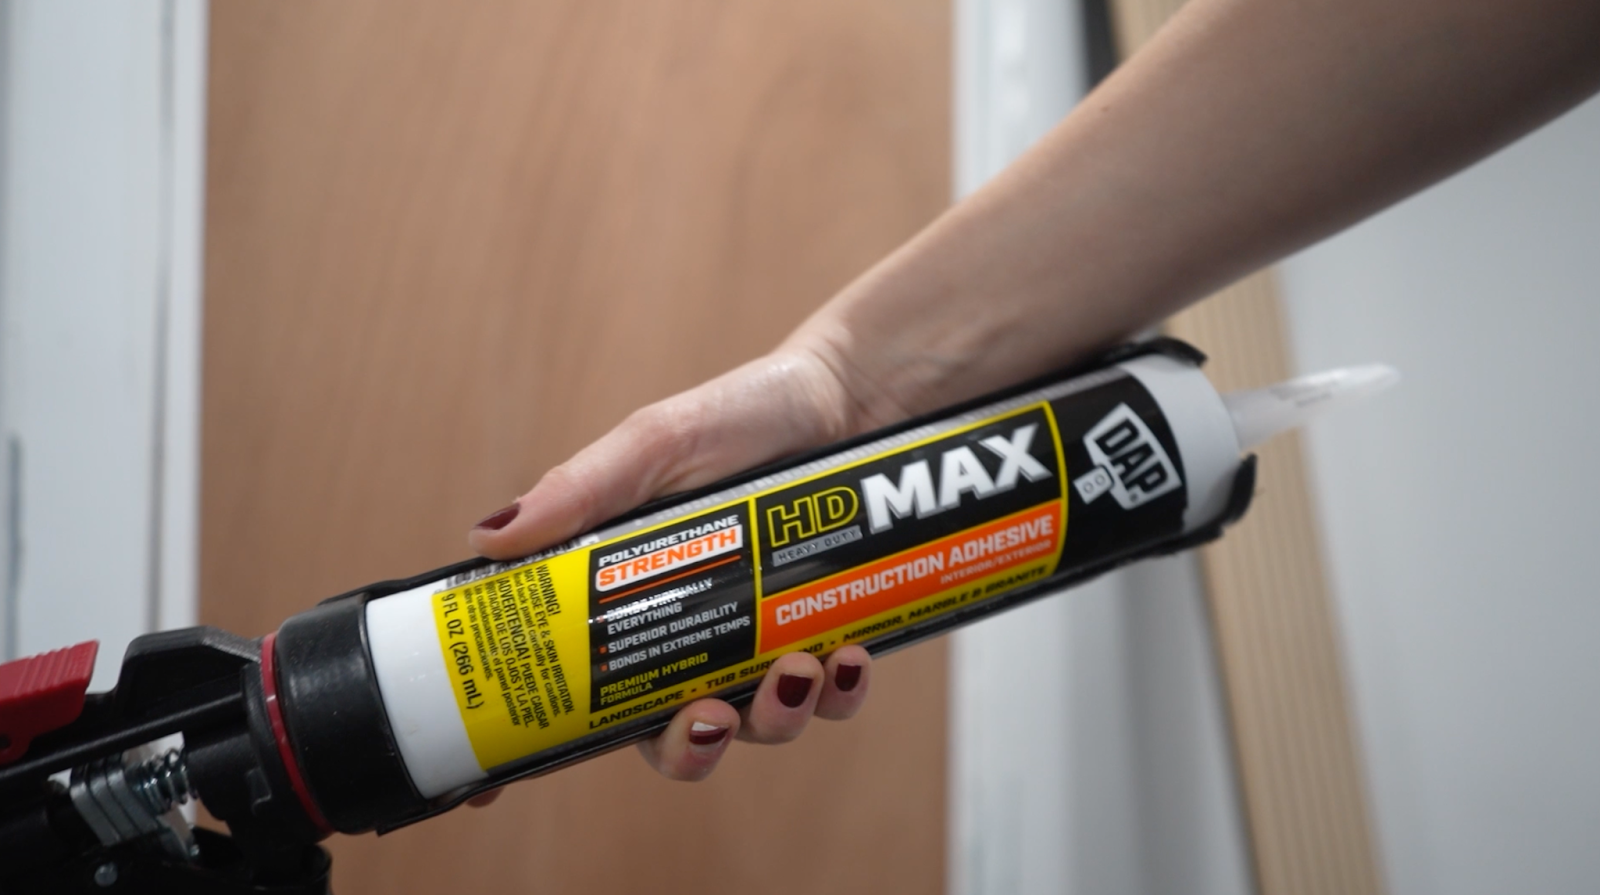
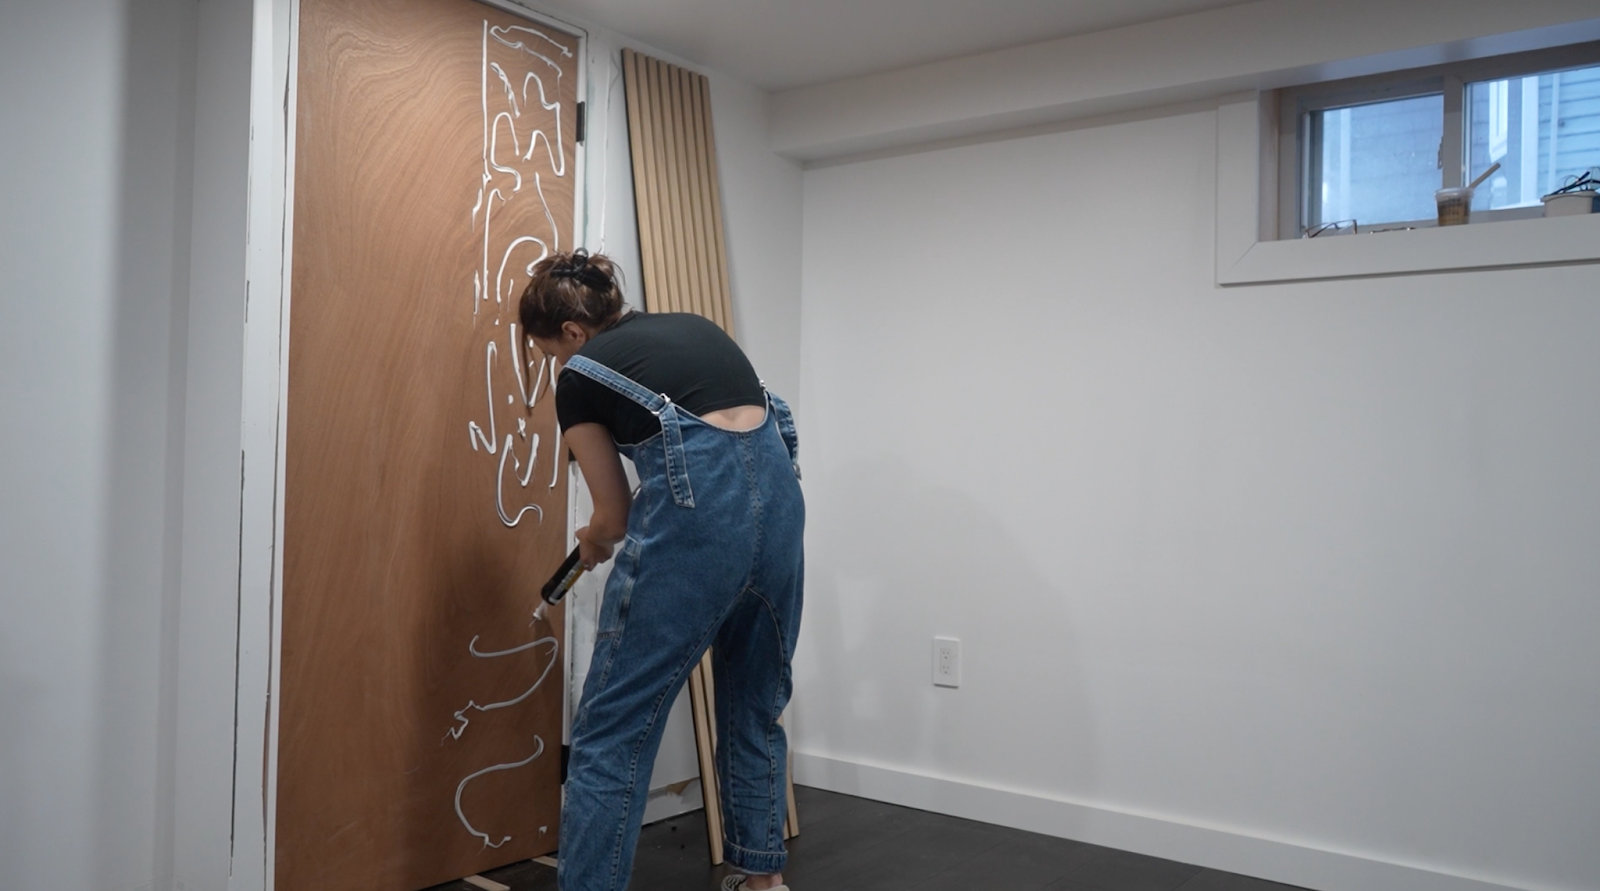
I used construction adhesive to attach the panels to the door. Since the door will be in motion I wanted to make sure the panels weren’t going anywhere.
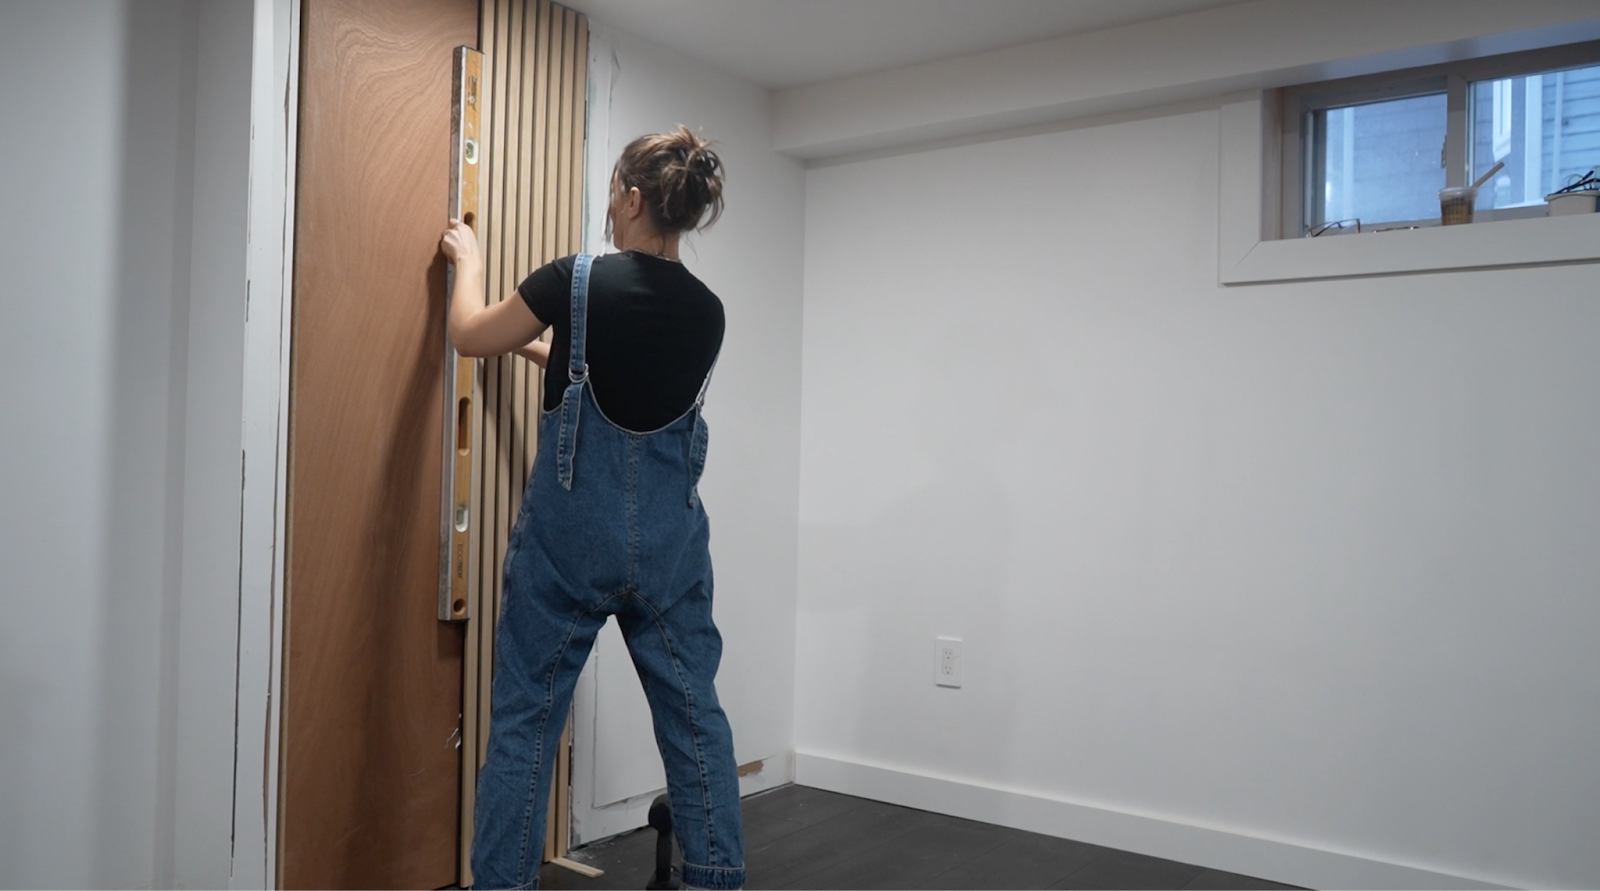
Pro tip: Make sure they’re level!
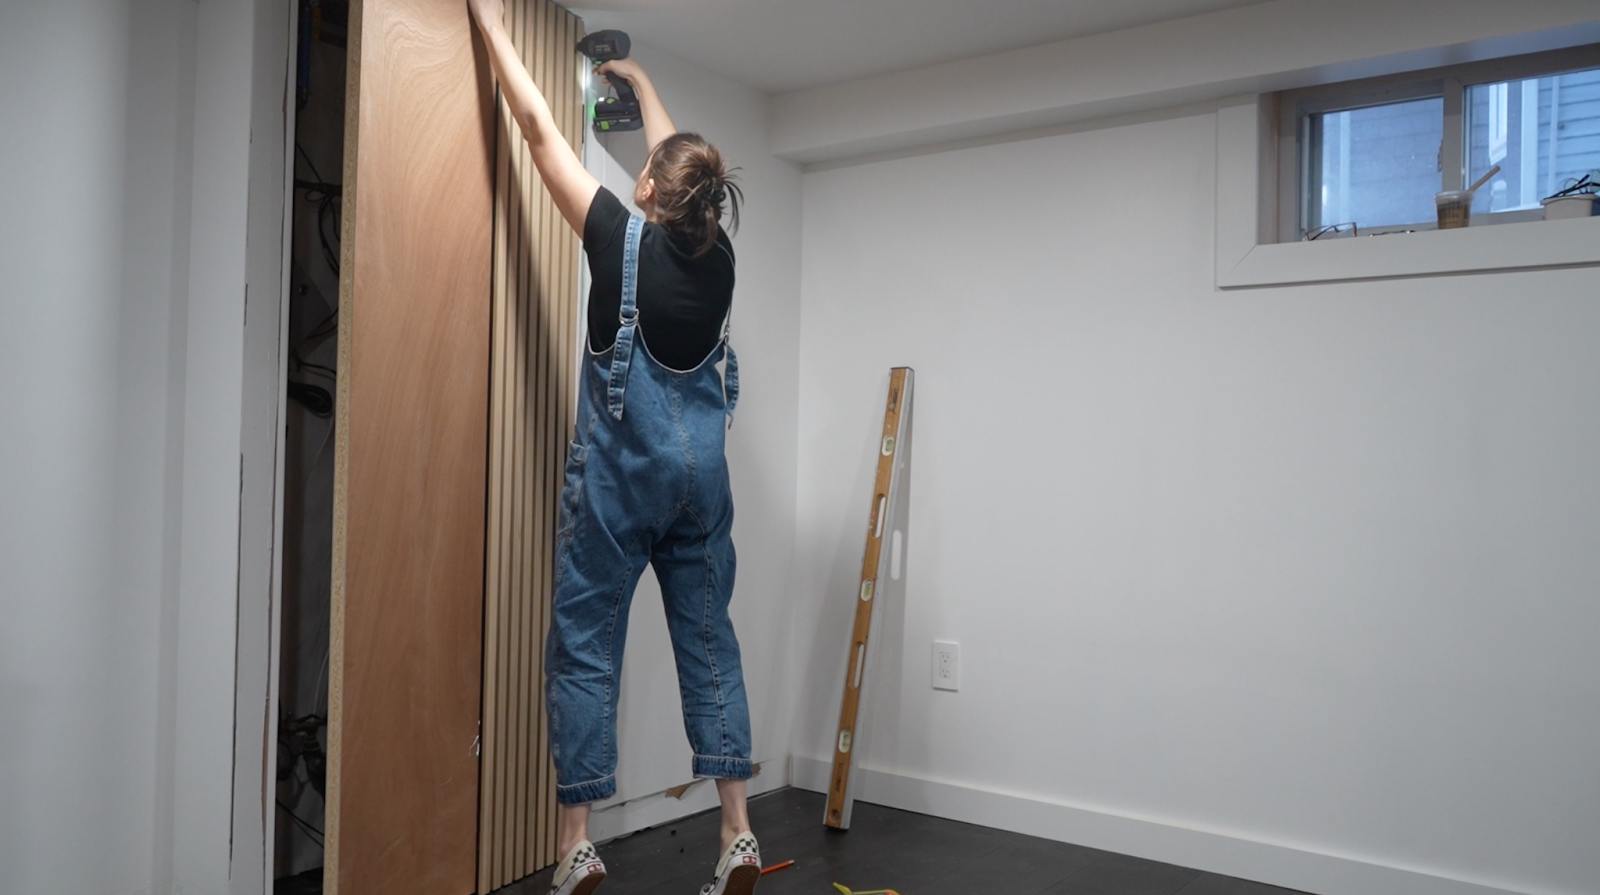
I used black screws to secure the panels through the felt and you literally can’t see them at all.
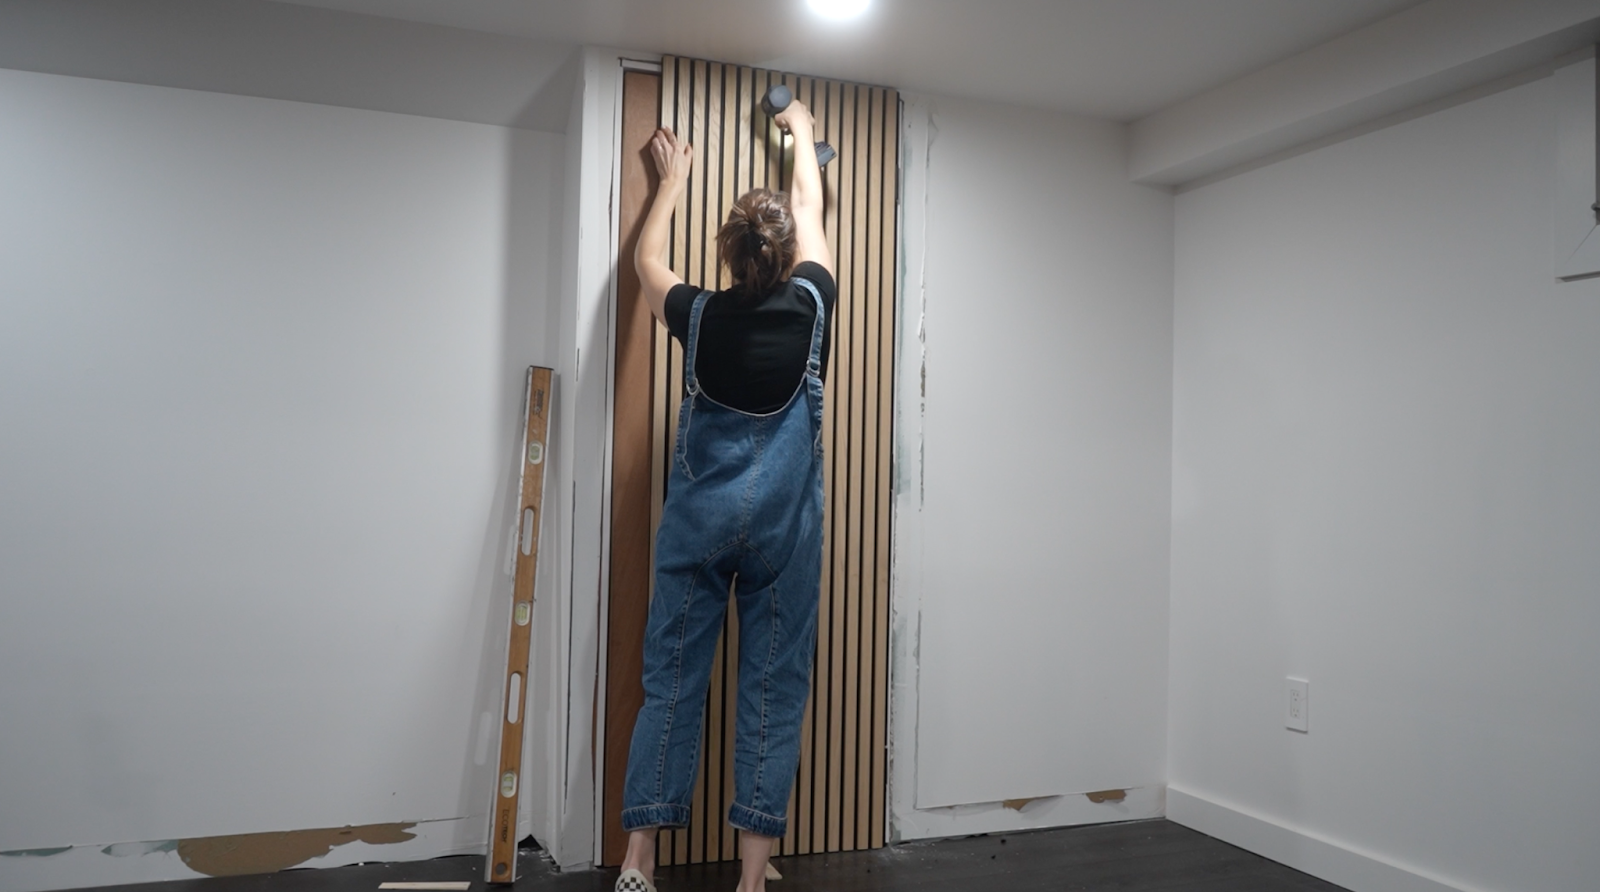
I really took my time with that first panel so that the rest could just fit into it. I placed shims underneath to make sure the door would be able to open without scraping against the floor and I also had the panels go all the way to the ceiling so it truly looked like an accent wall (instead of just going to the top of the door).
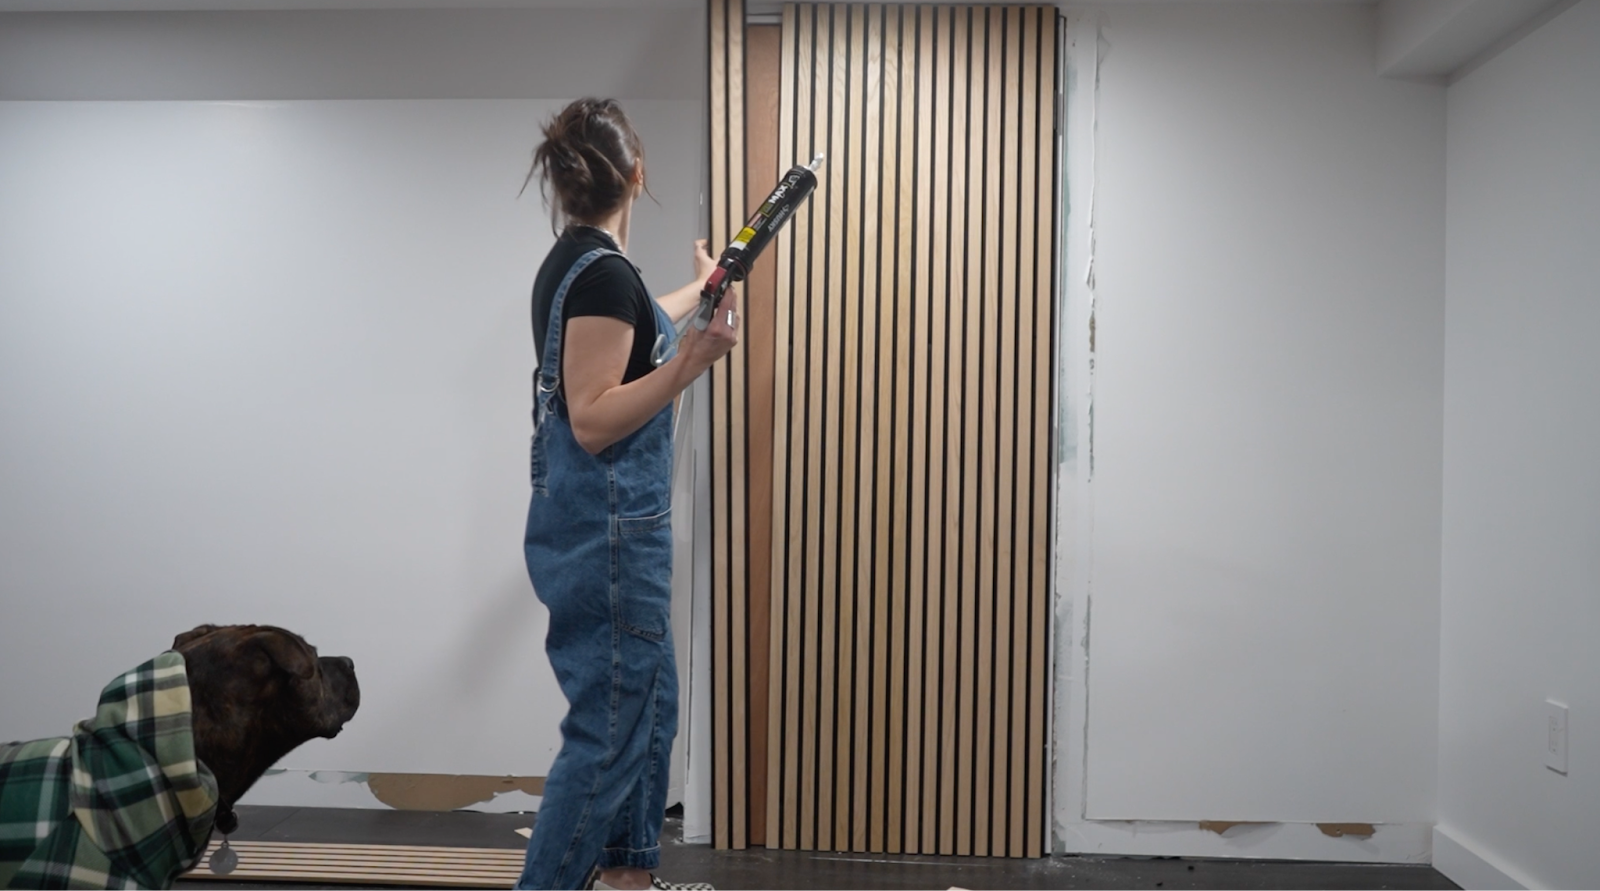
I did want the door to open as it’s own piece so I cut the last panel a little narrower. It totally worked out that the felt piece covered over the opening, so that was convenient.
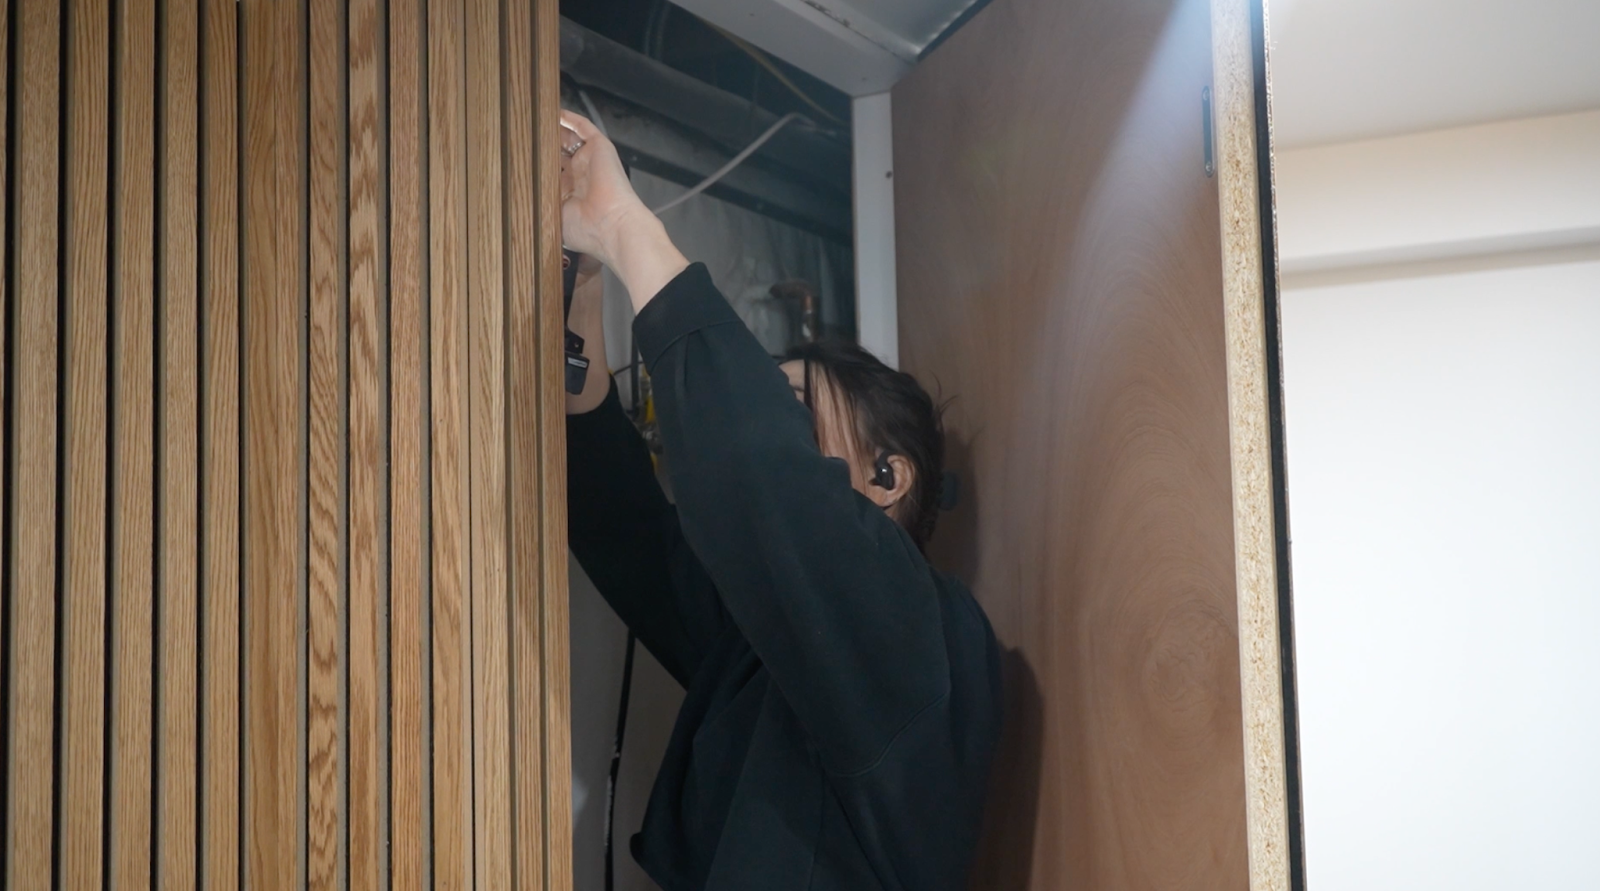
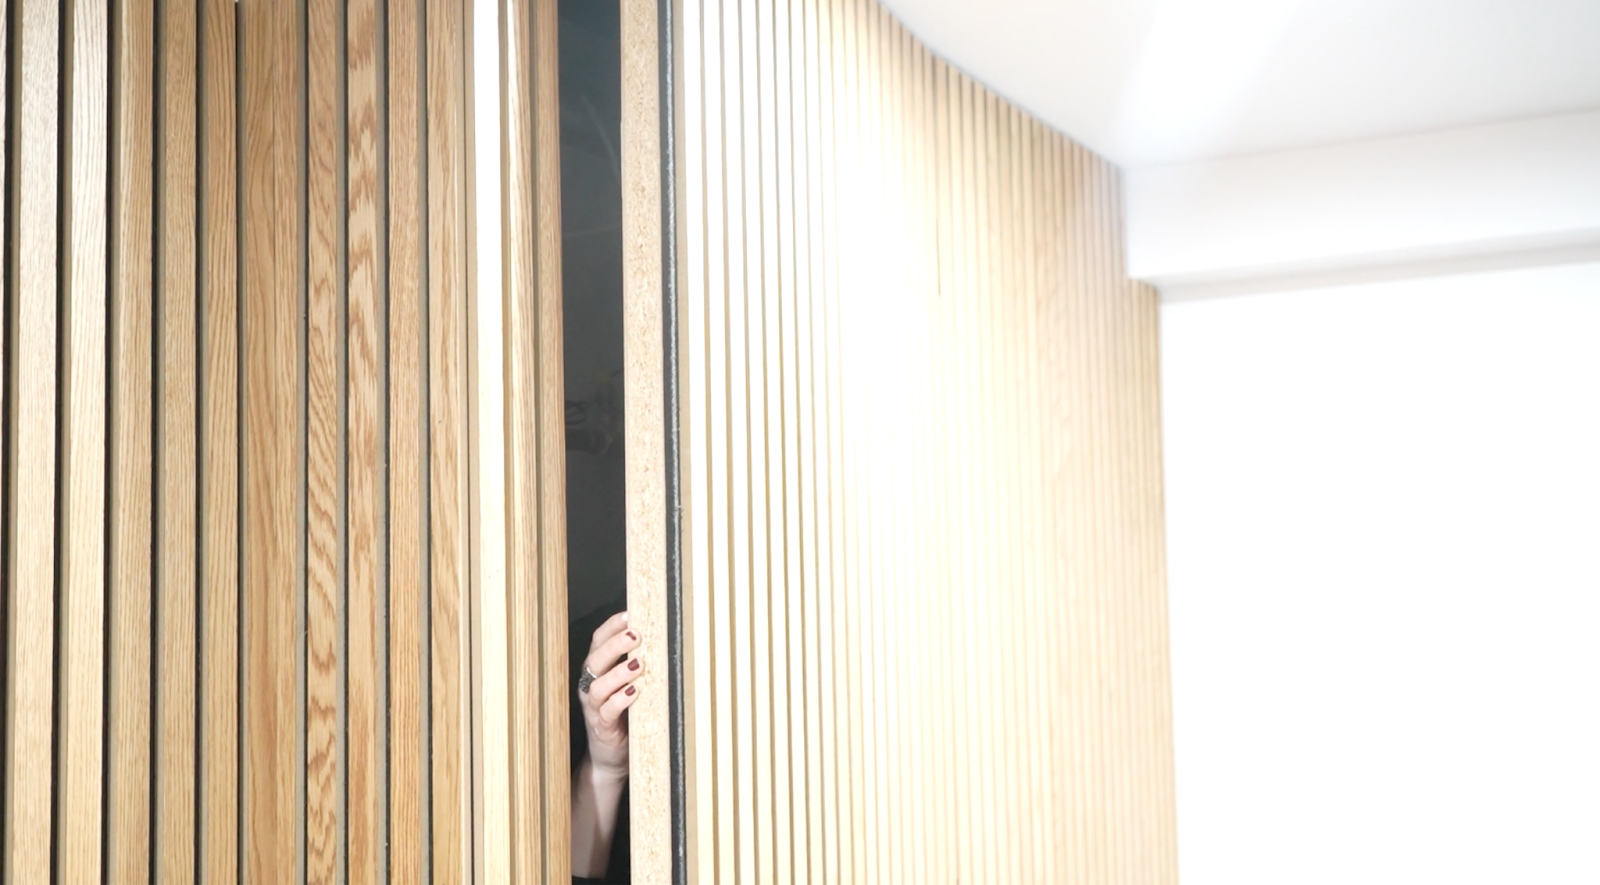
This step I went back to when the rest of the wall was done (that’s why the paneling has finish on it already). But I decided to add a magnet to keep the door more securely shut. I did have to get inside the closet to figure out if the magnet lined up. Then I went back and painted the side of the door black, but I didn’t show that in this video.
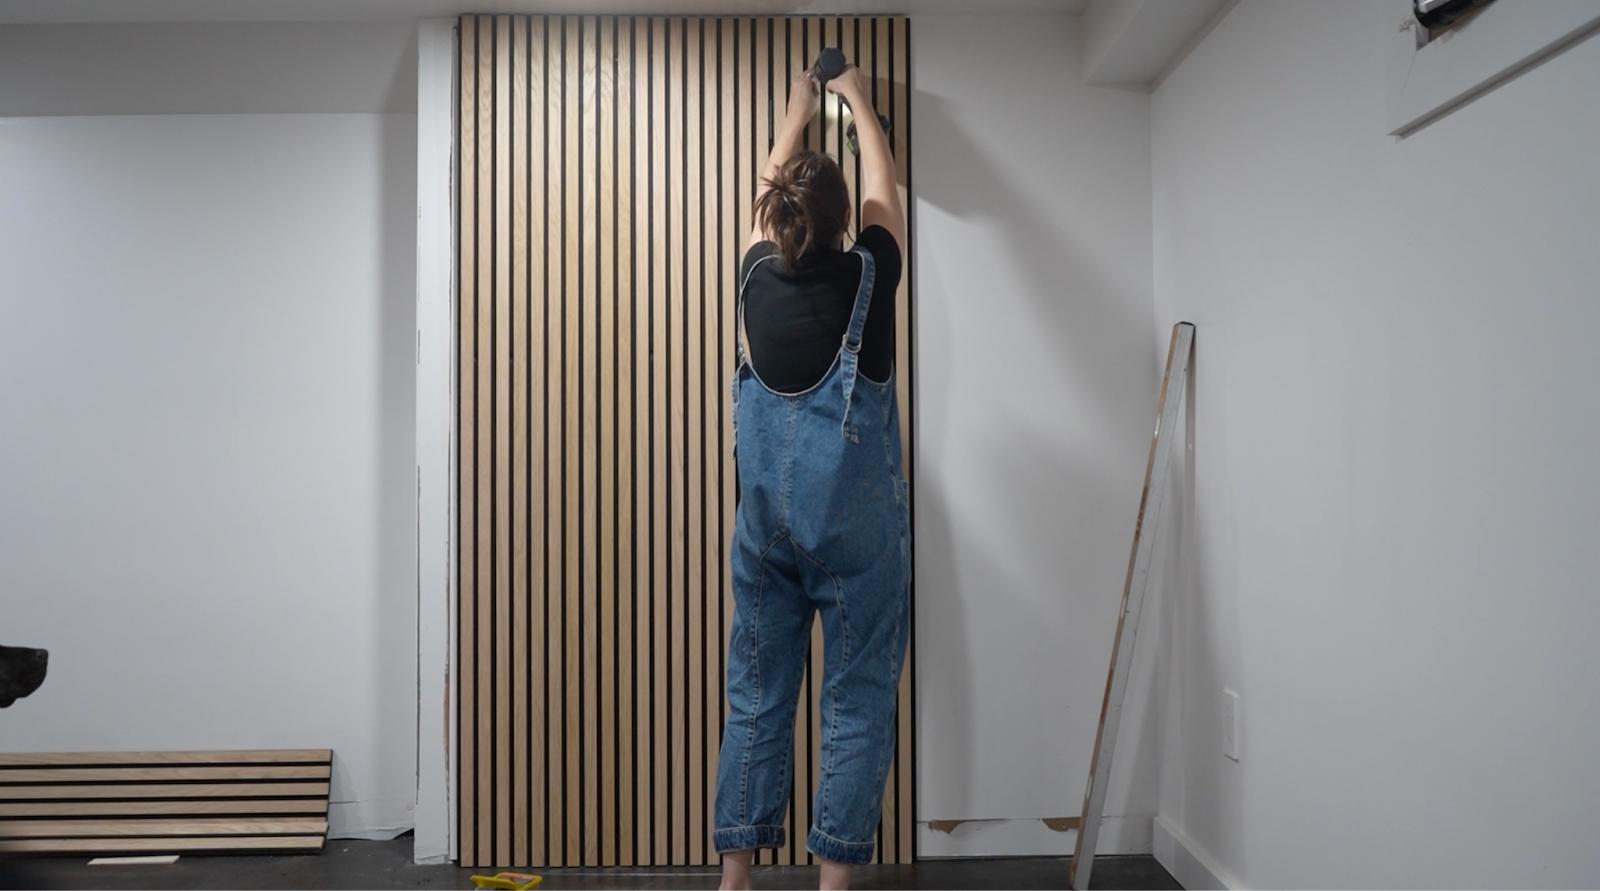
After the doors were done I kept going with hanging the rest of the panels. Full disclosure, I didn’t use construction adhesive on the drywall, only screws. I want to run electrical eventually so I need to be able to access it easily. When I used these panels in my guest room I only used screws and it’s holding up great so I feel good about doing that here too. The door is a different situation because I’m pulling on the actual panel to open it so I needed it to be sturdy.
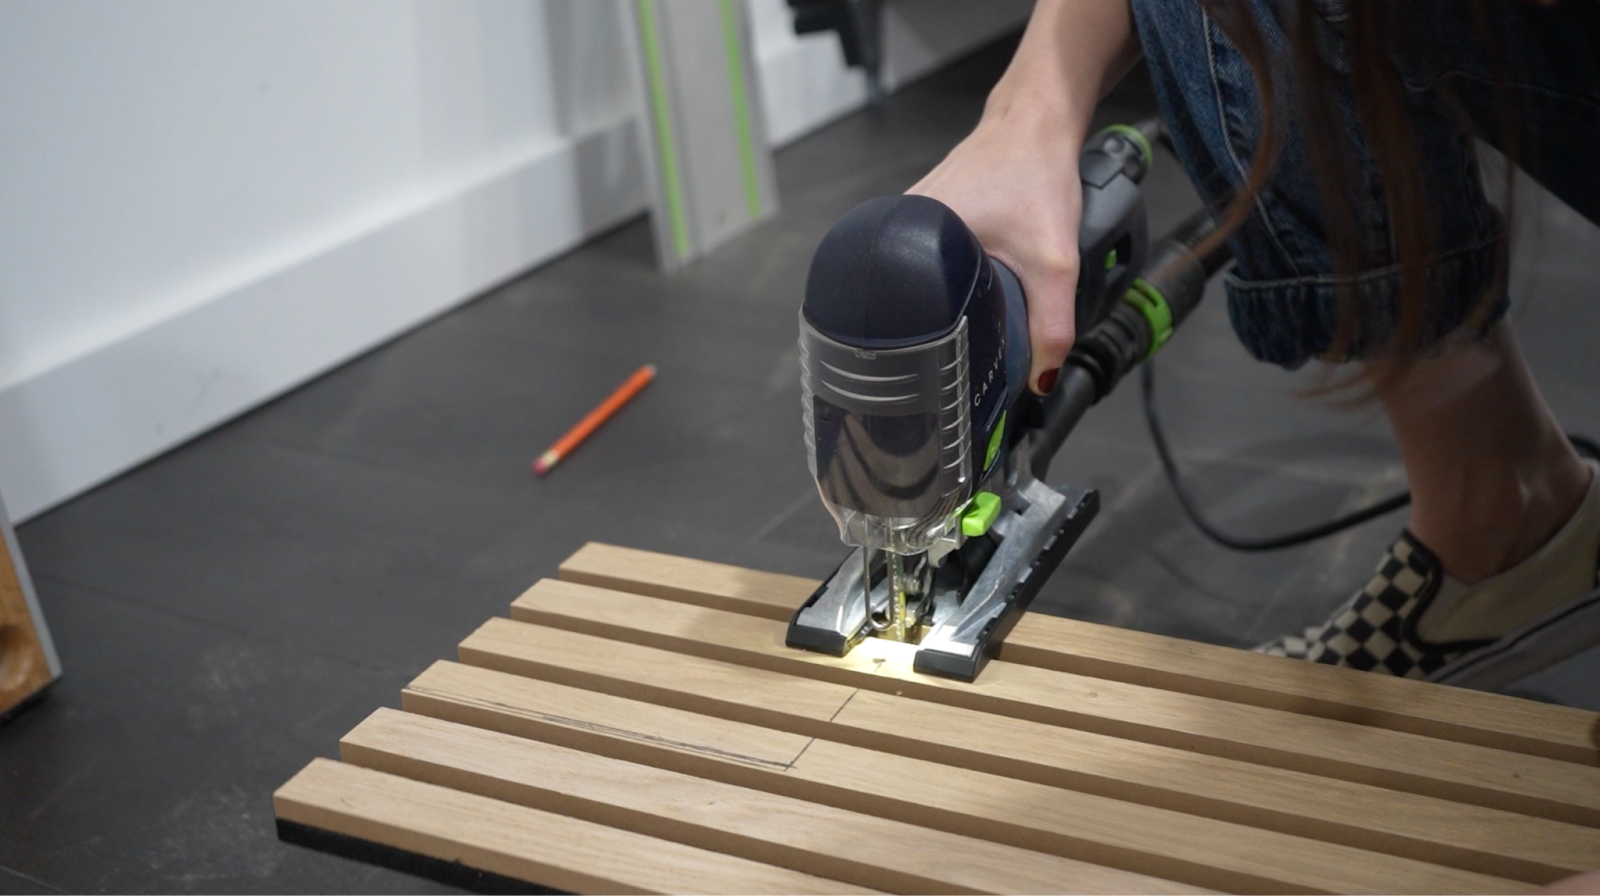
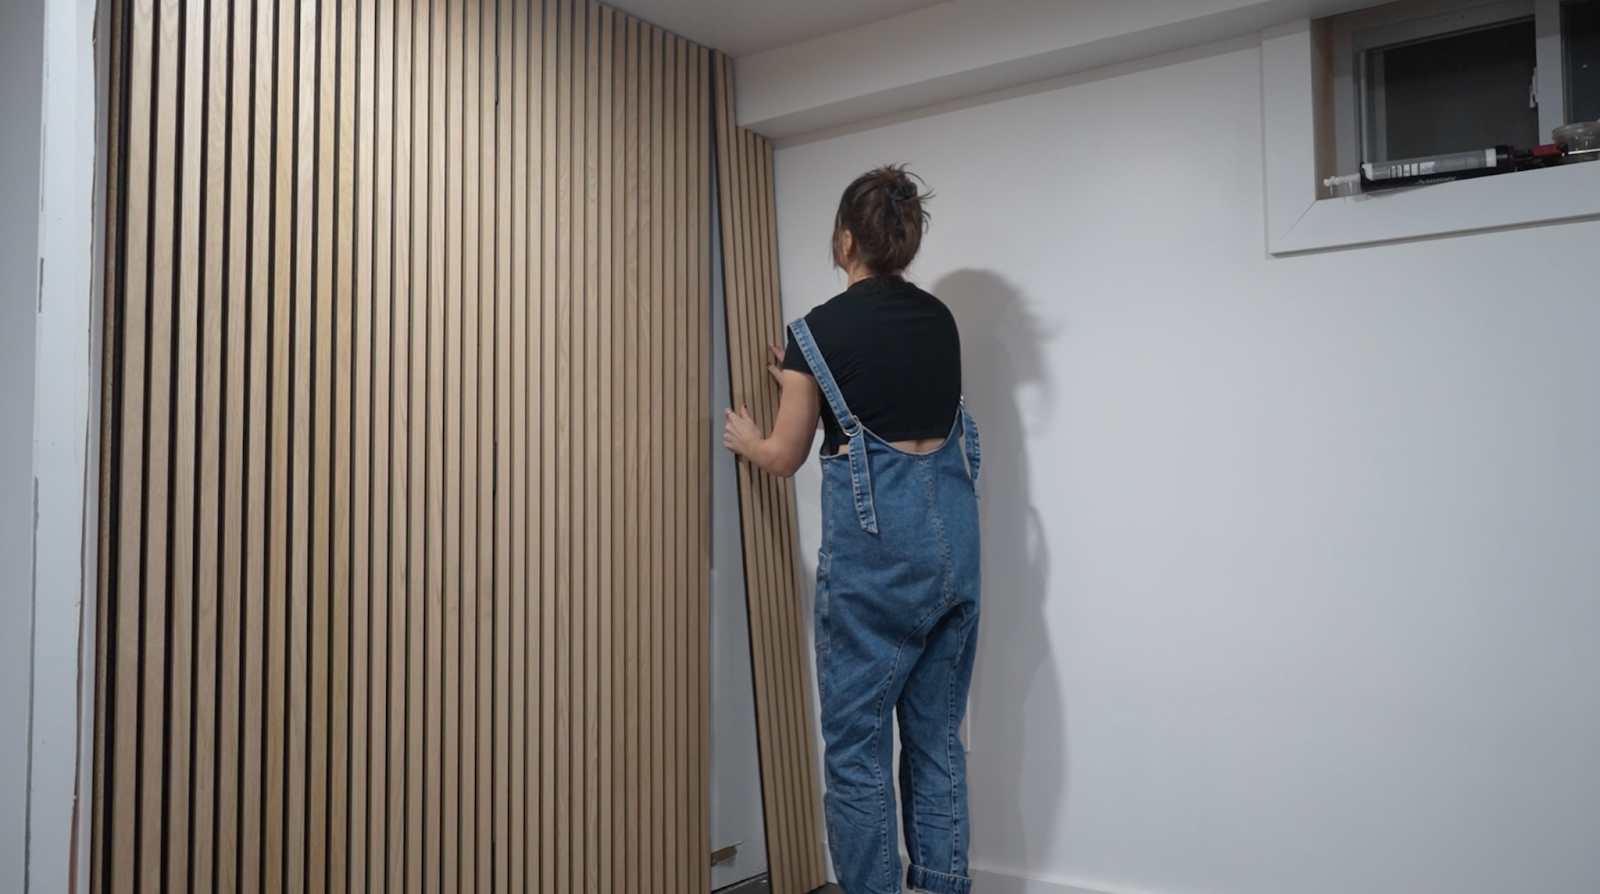
You really can use any saw to cut these, I used a jig saw to cut the corner out to fit it in around the soffit. A hand saw would’ve totally worked too.
3. The Corner and Angled Ceiling
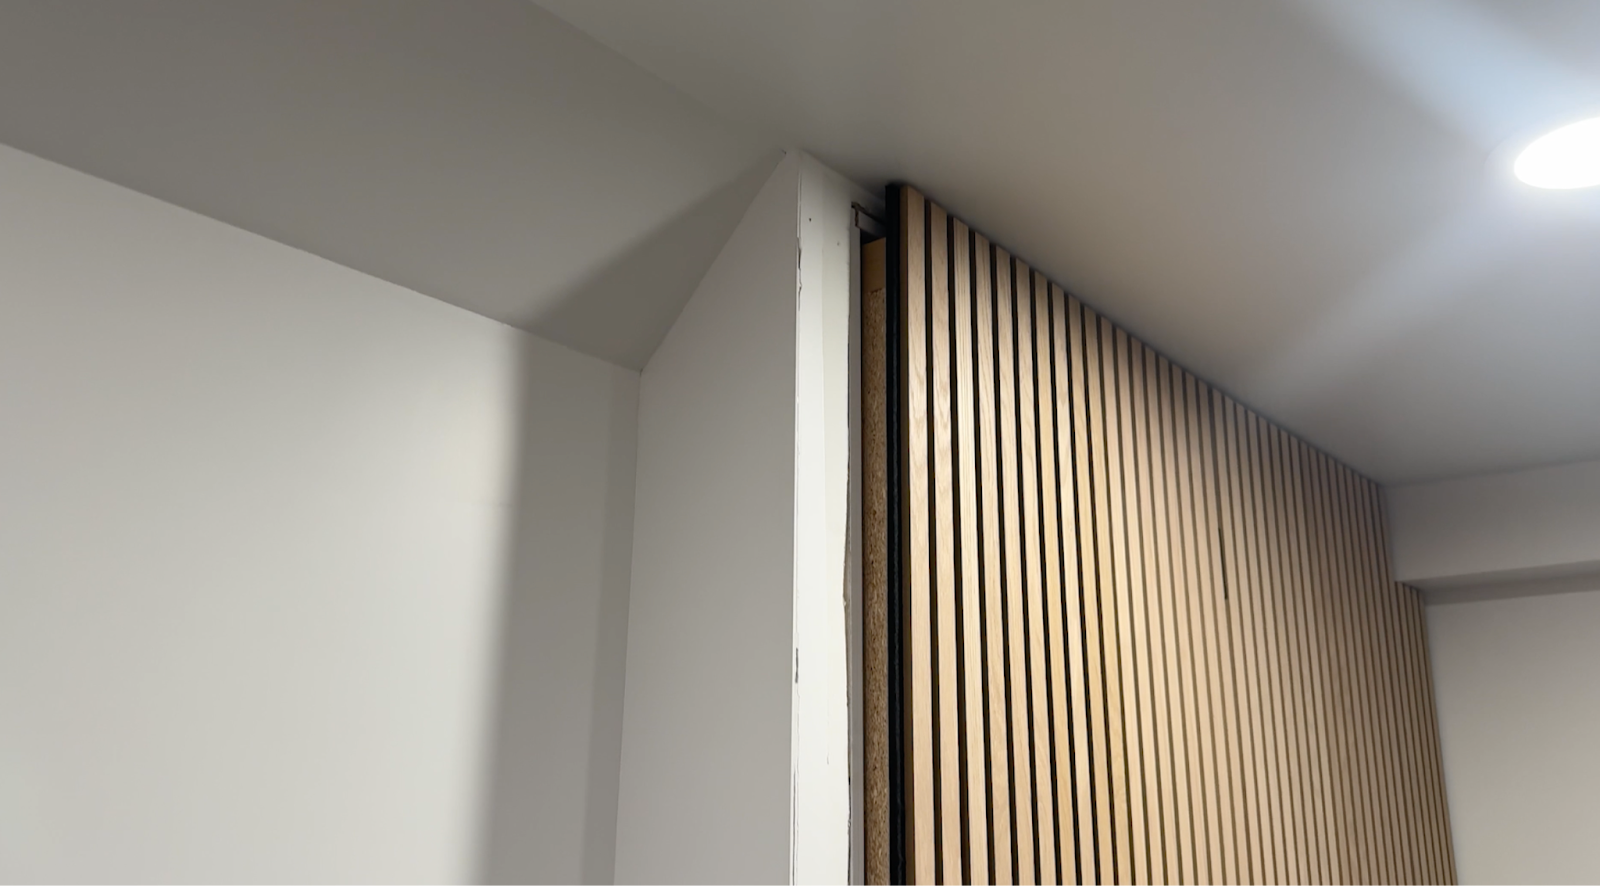
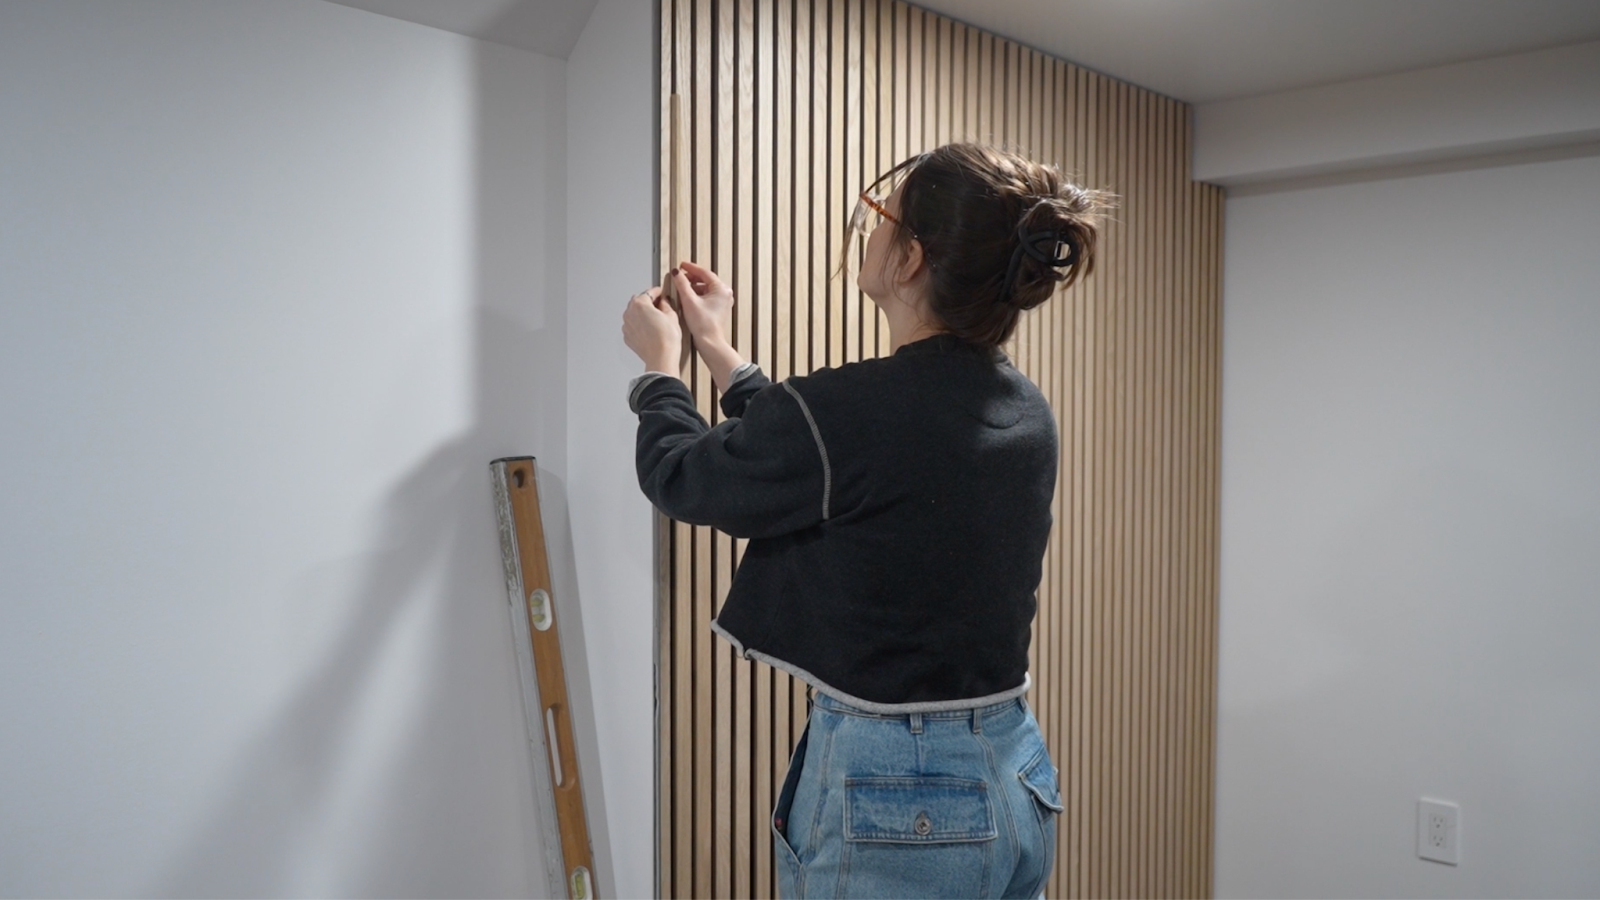

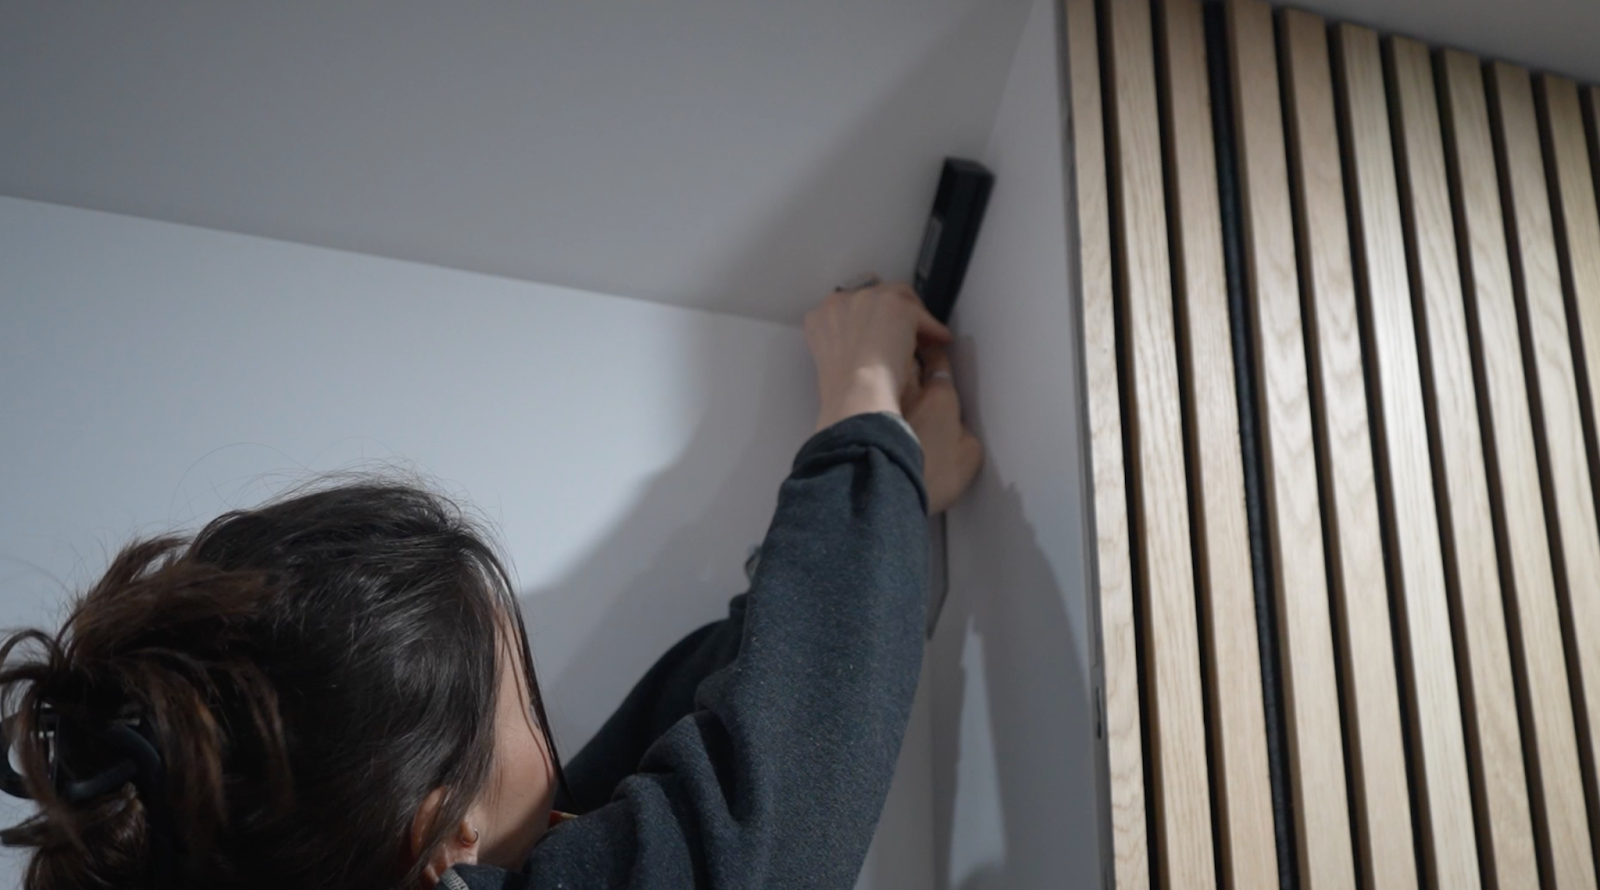
If you have ceilings or walls like mine that aren’t perfectly straight, I highly recommend getting yourself an angle finder.
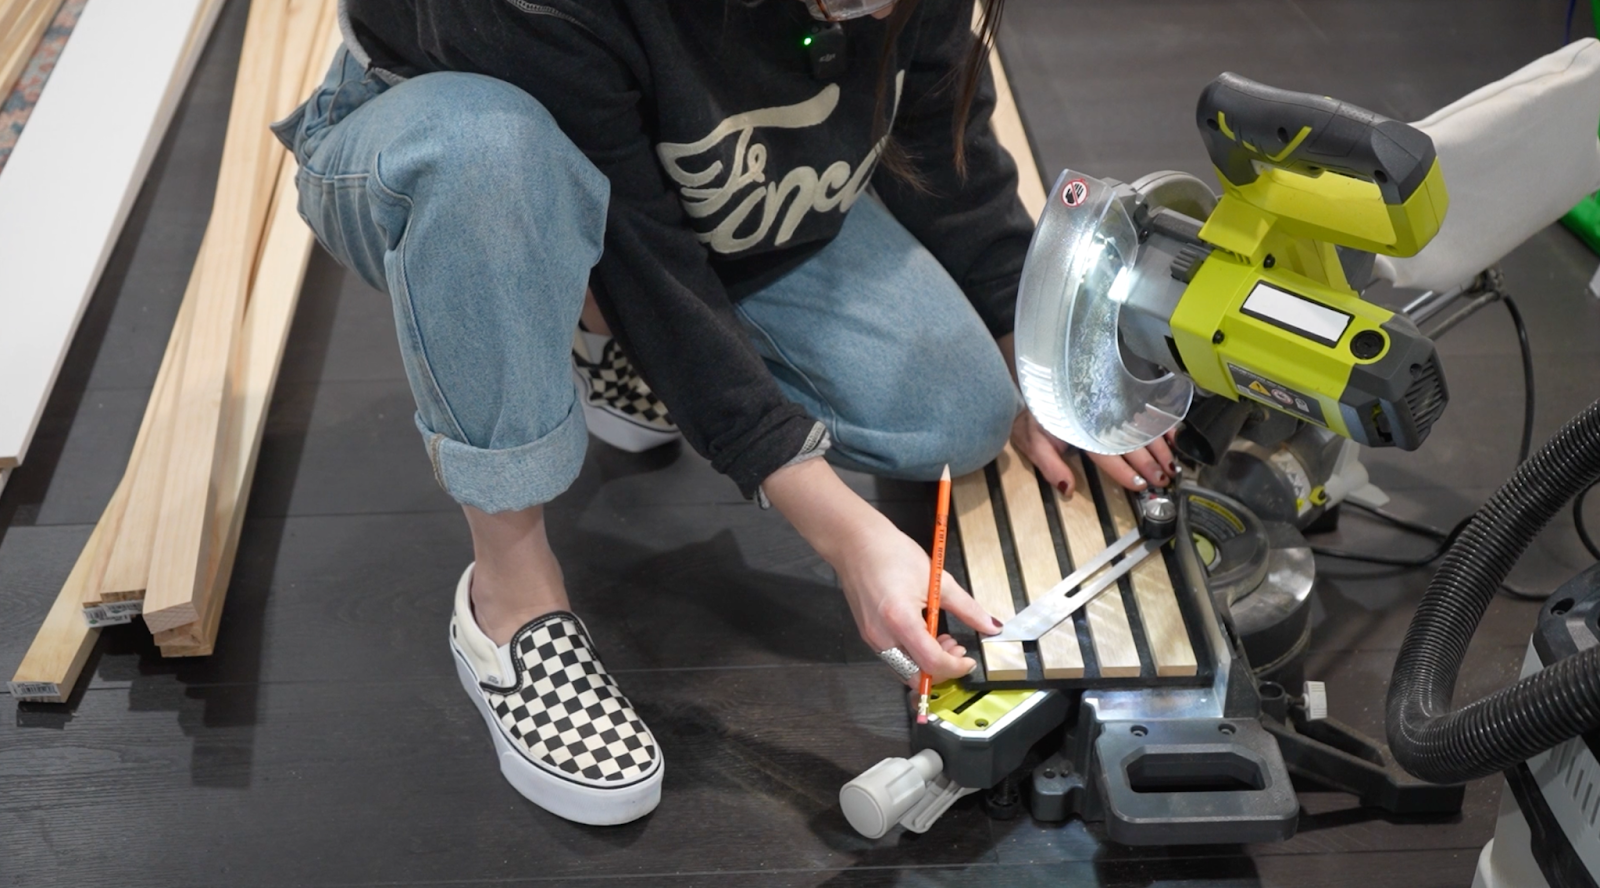
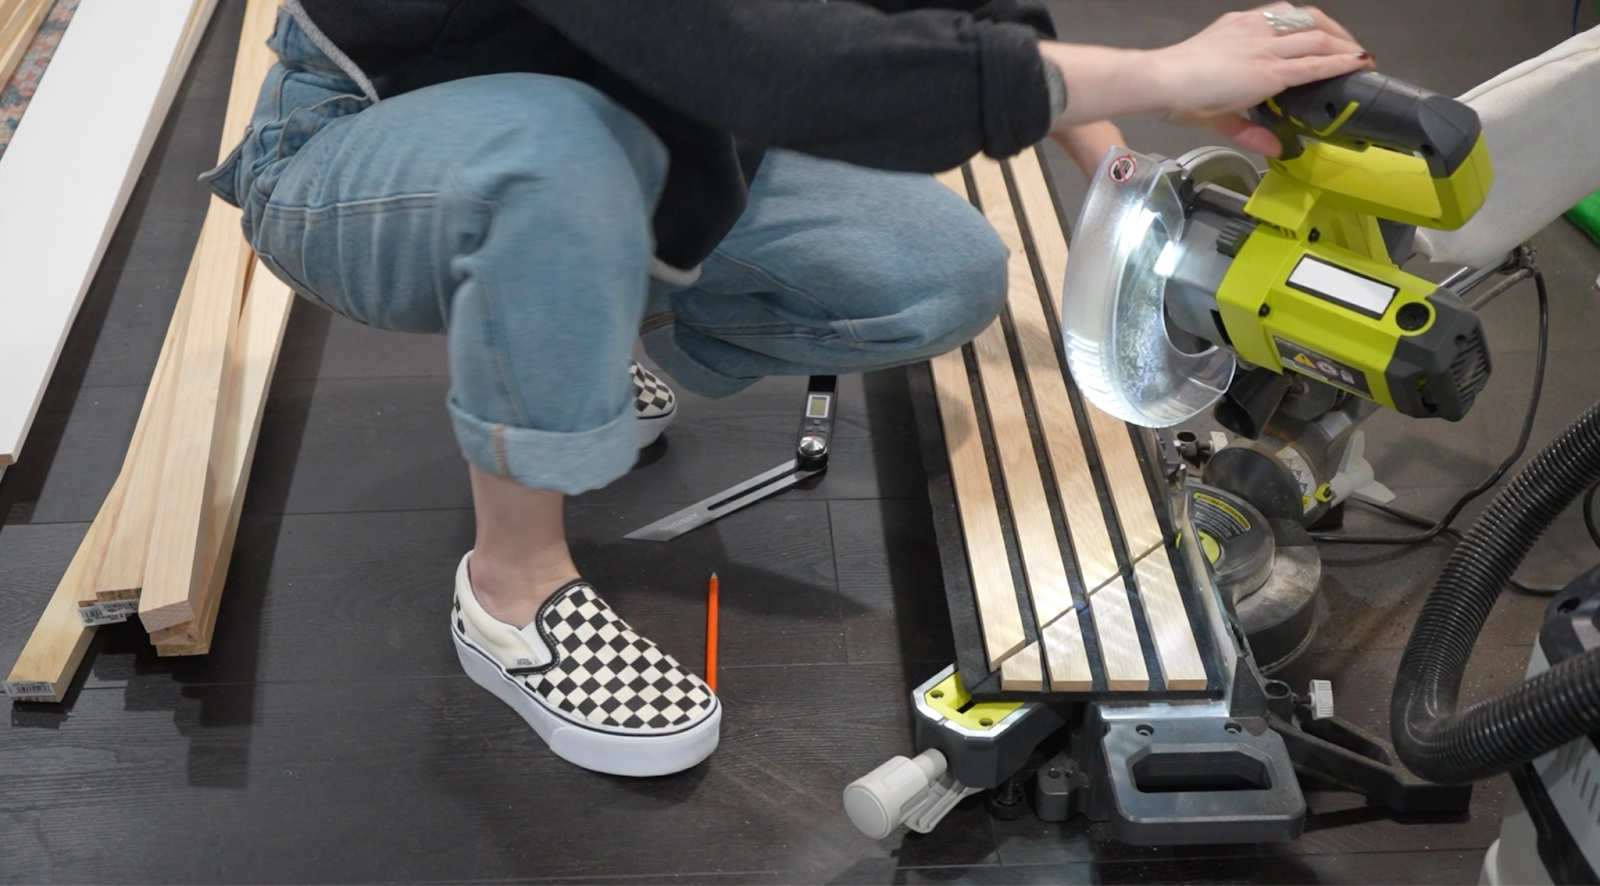
I was able to find the angle I needed to cut the panel to exactly match that ceiling angle. Then I used the miter saw to make that cut.
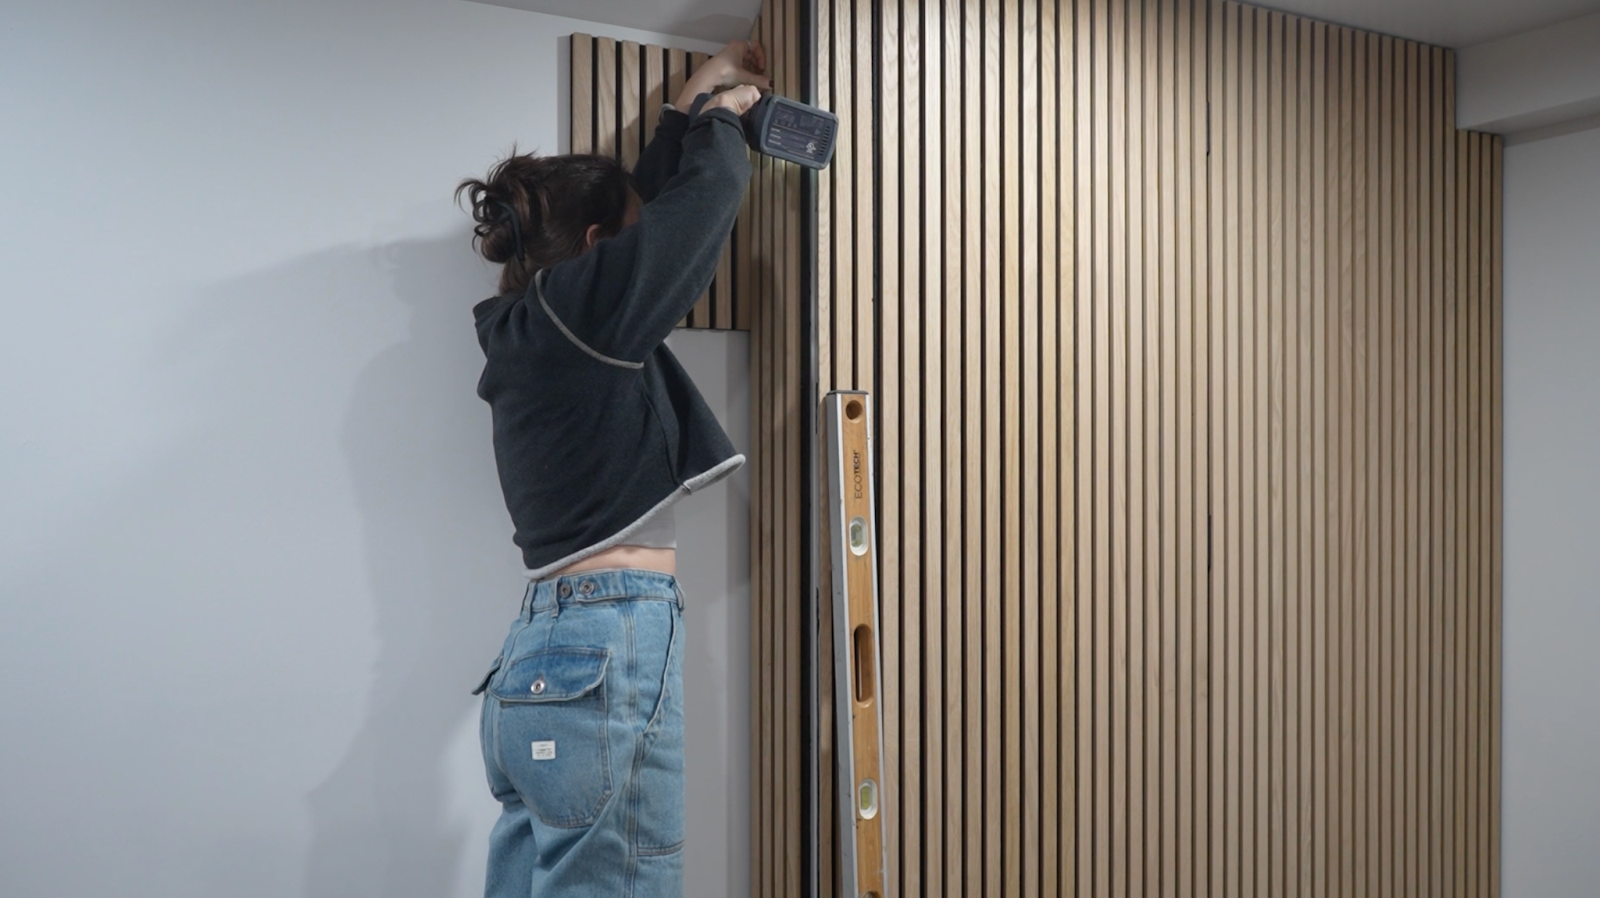
I used a small piece up against the wall as a spacer to make sure I got the fit just right.
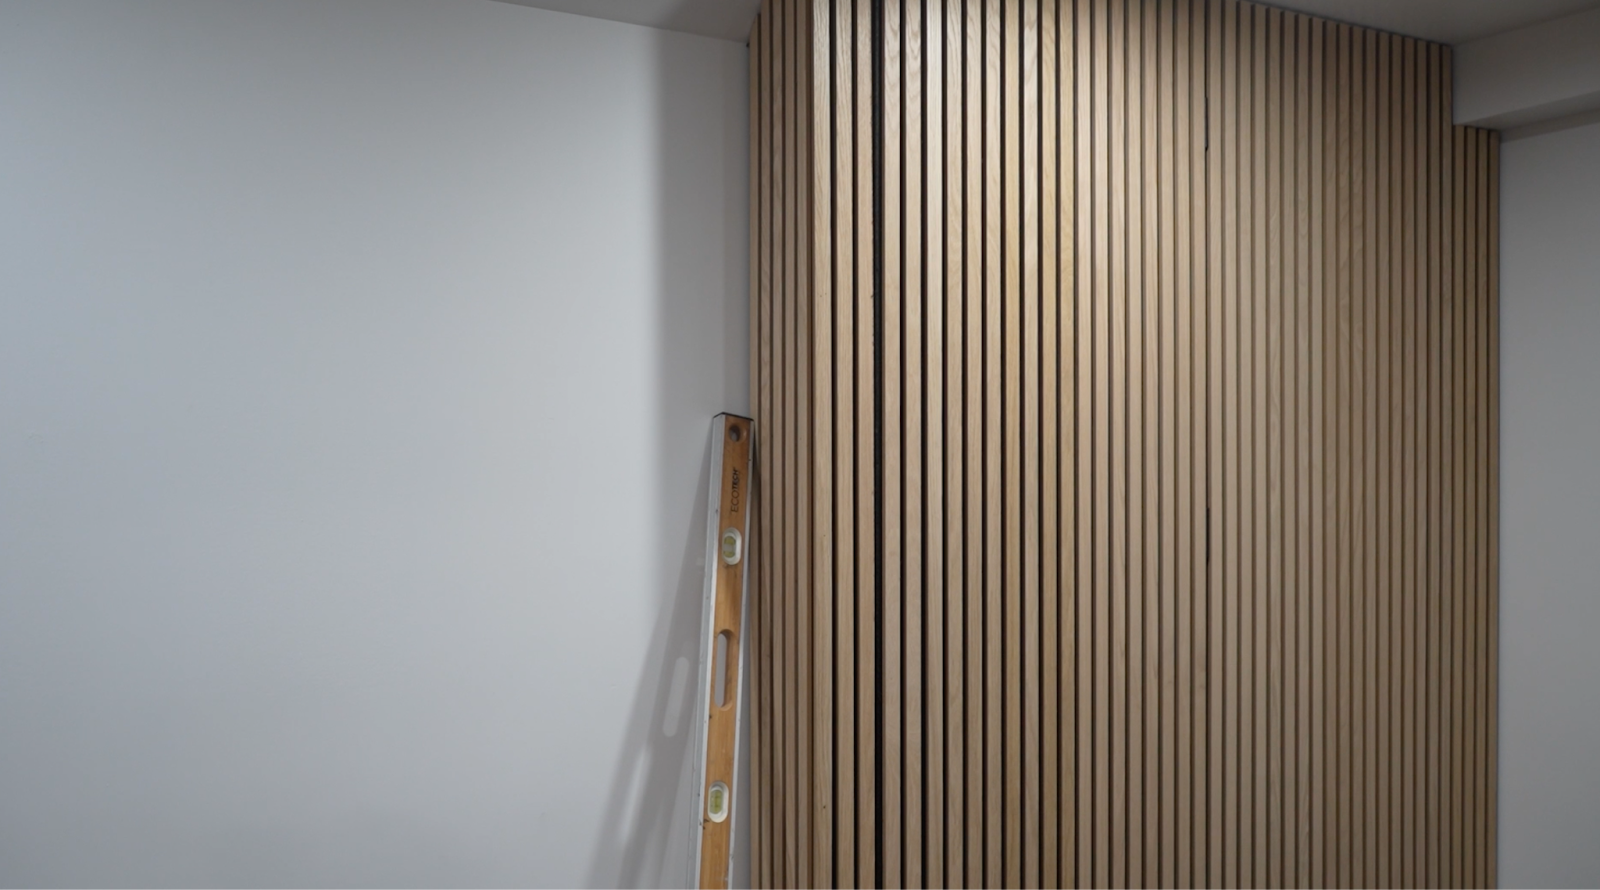
It took a bit of trial and error to get the corner just right but eventually I got it.
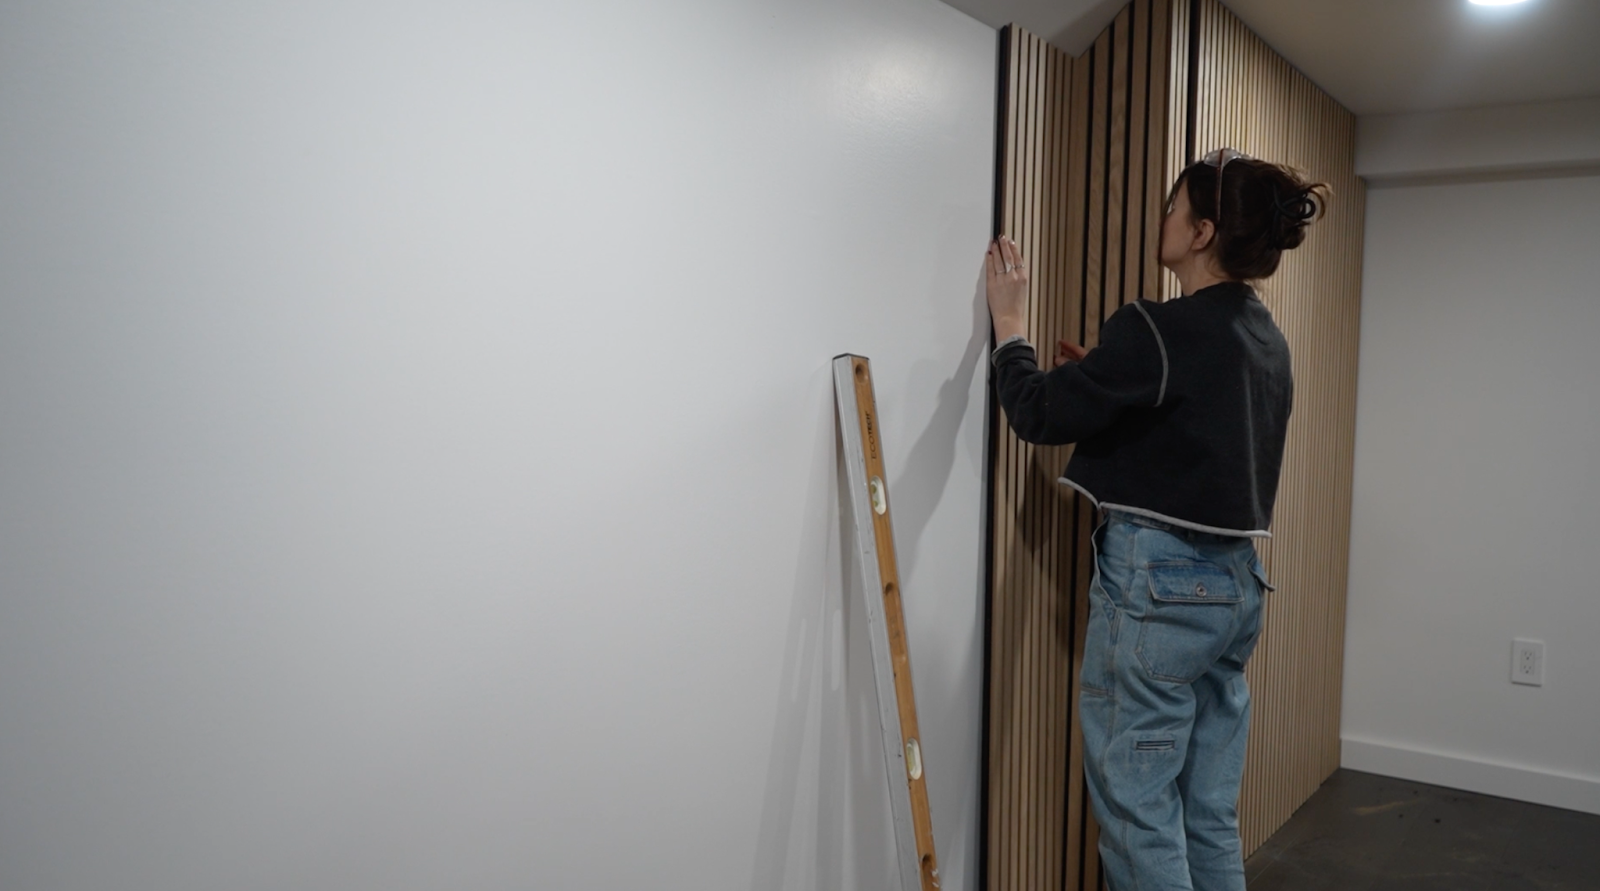
4. Accent Mirror

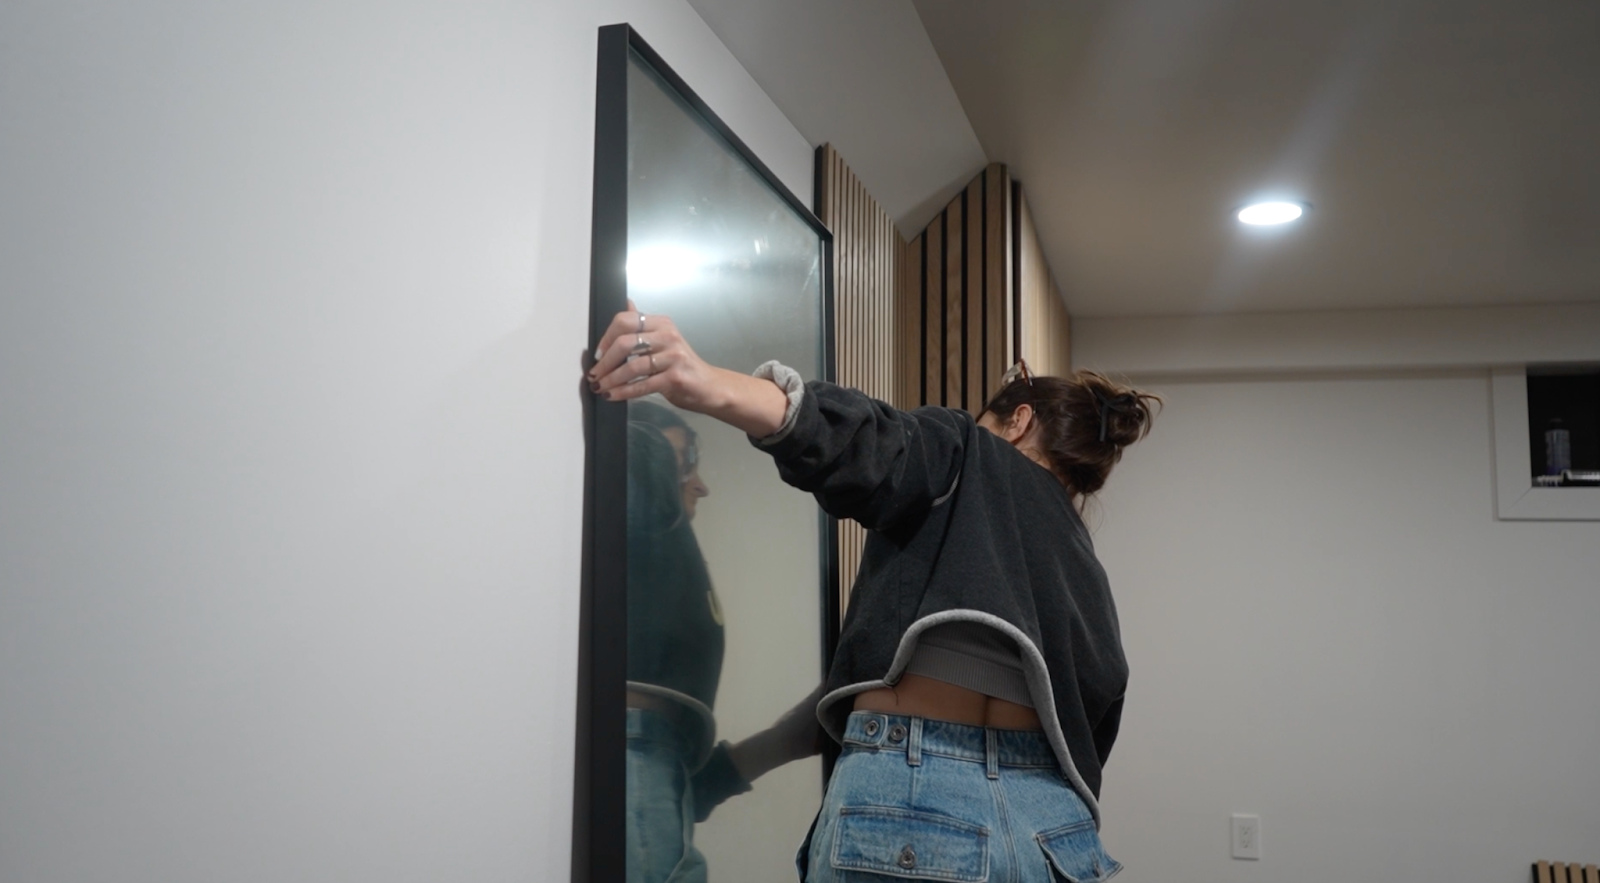
I think the key to a successful hidden door in an accent wall is to have something else on the wall that you build the accent wall around. Just an empty accent wall seems kind of suspicious.
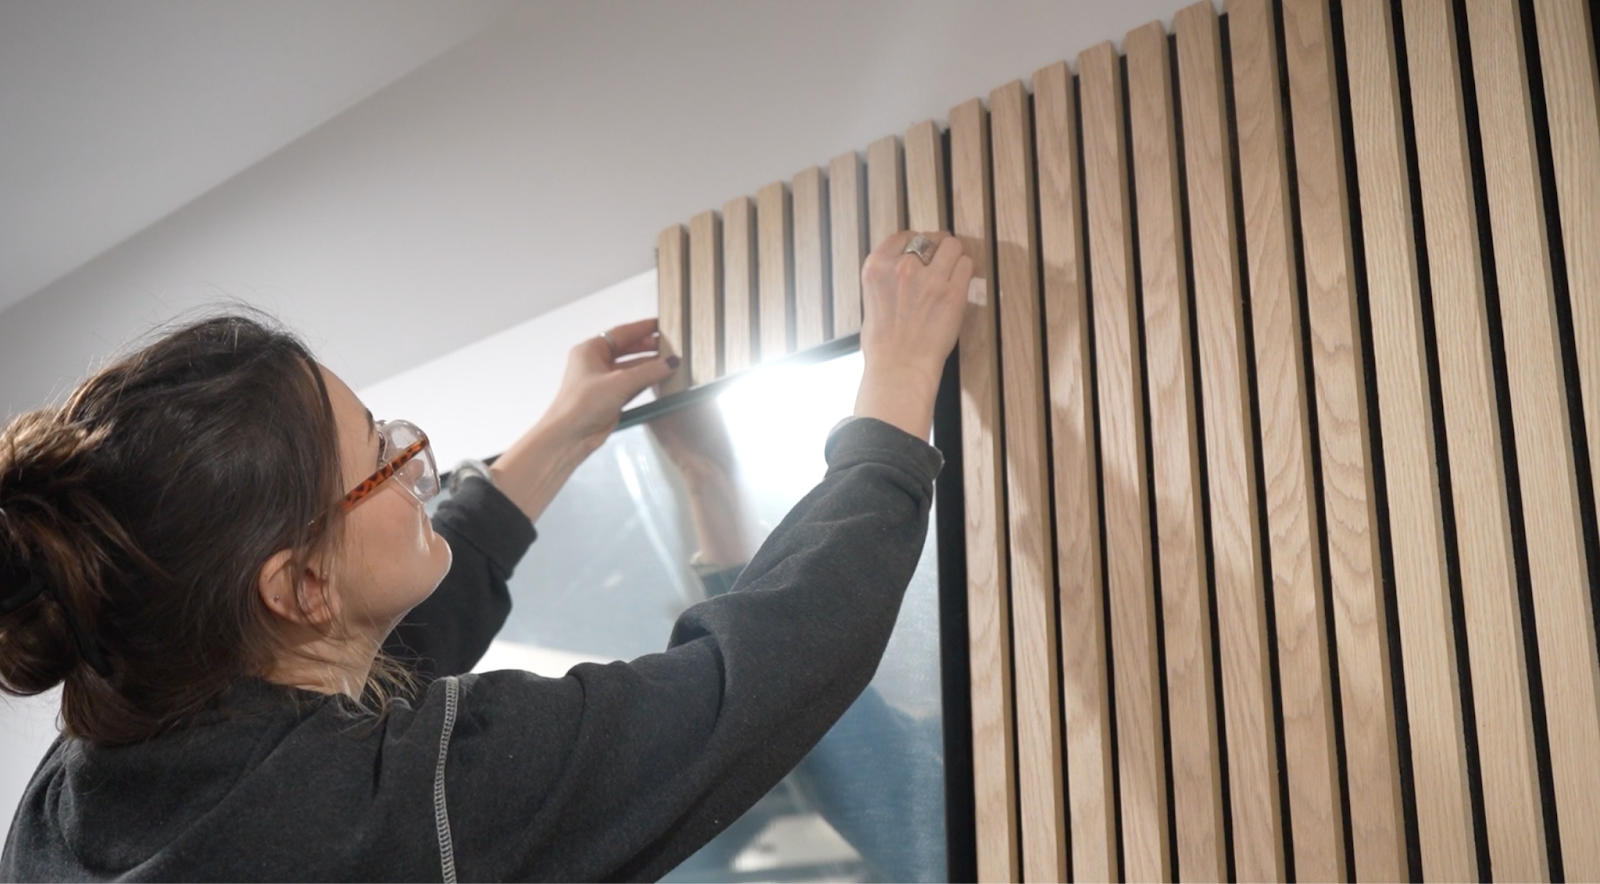
I don’t like wasting material so I used off cuts to build around the mirror to continue the accent wall around it. These are 8 foot panels and these walls are only 6 feet tall so there were plenty of extra pieces to fill it in.
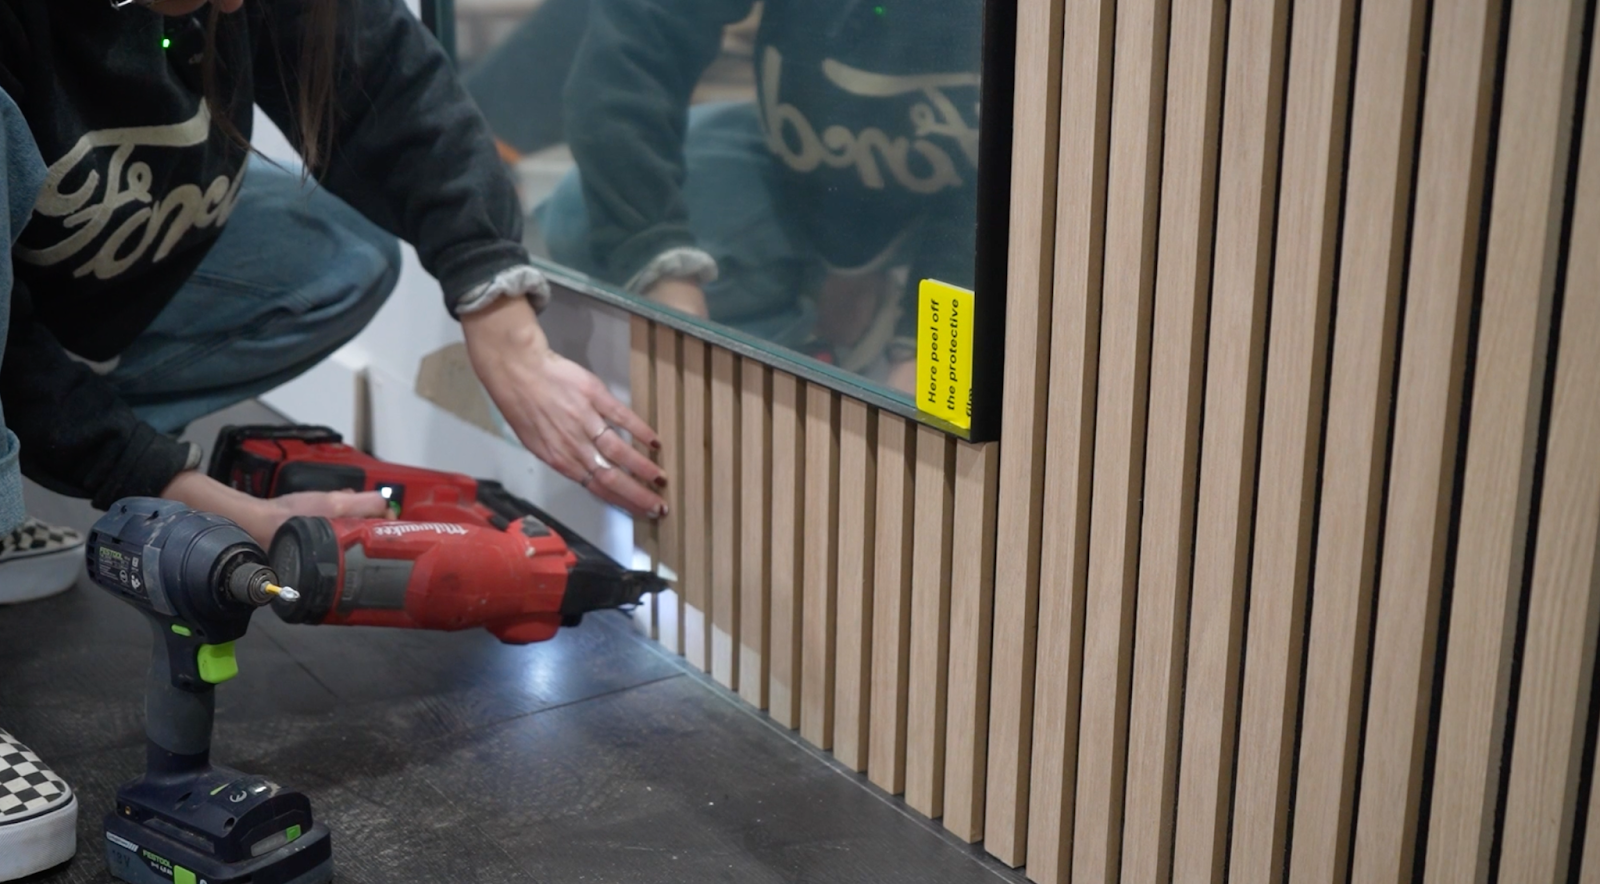
My one complaint with these panels (even though I love them) is that when you cut them too short the wood kind of falls off of the felt. But that was a simple fix with some nails.
5. Finishing Touches
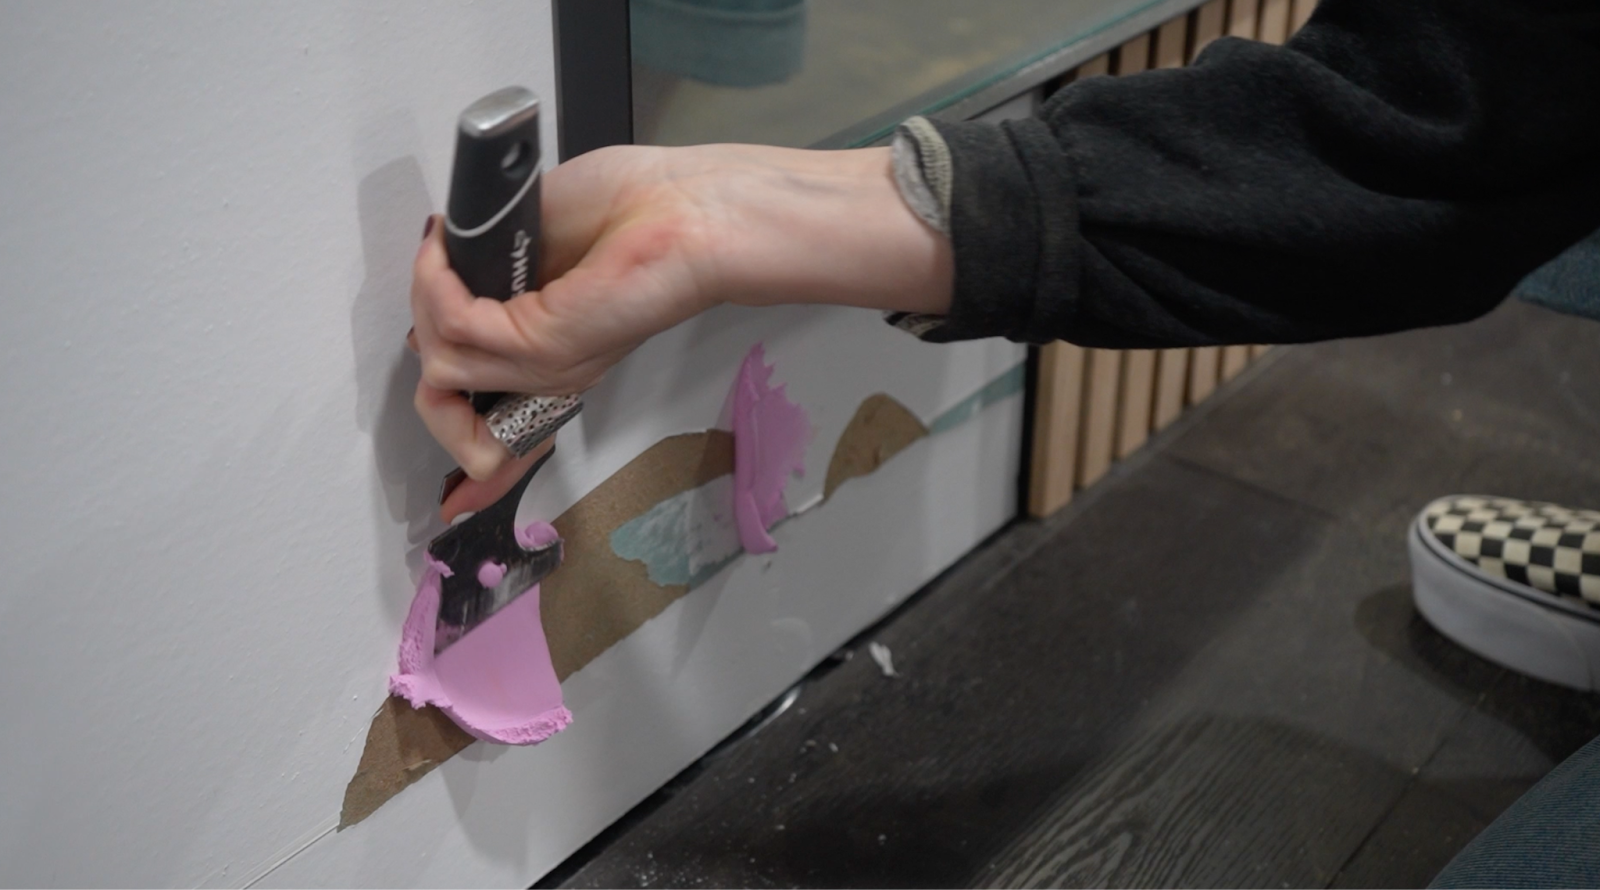
After using all of the panels I had it was time to spackle. I love this spackle because it goes on pink and dries white, so there’s no guessing when it’s ready for sanding.
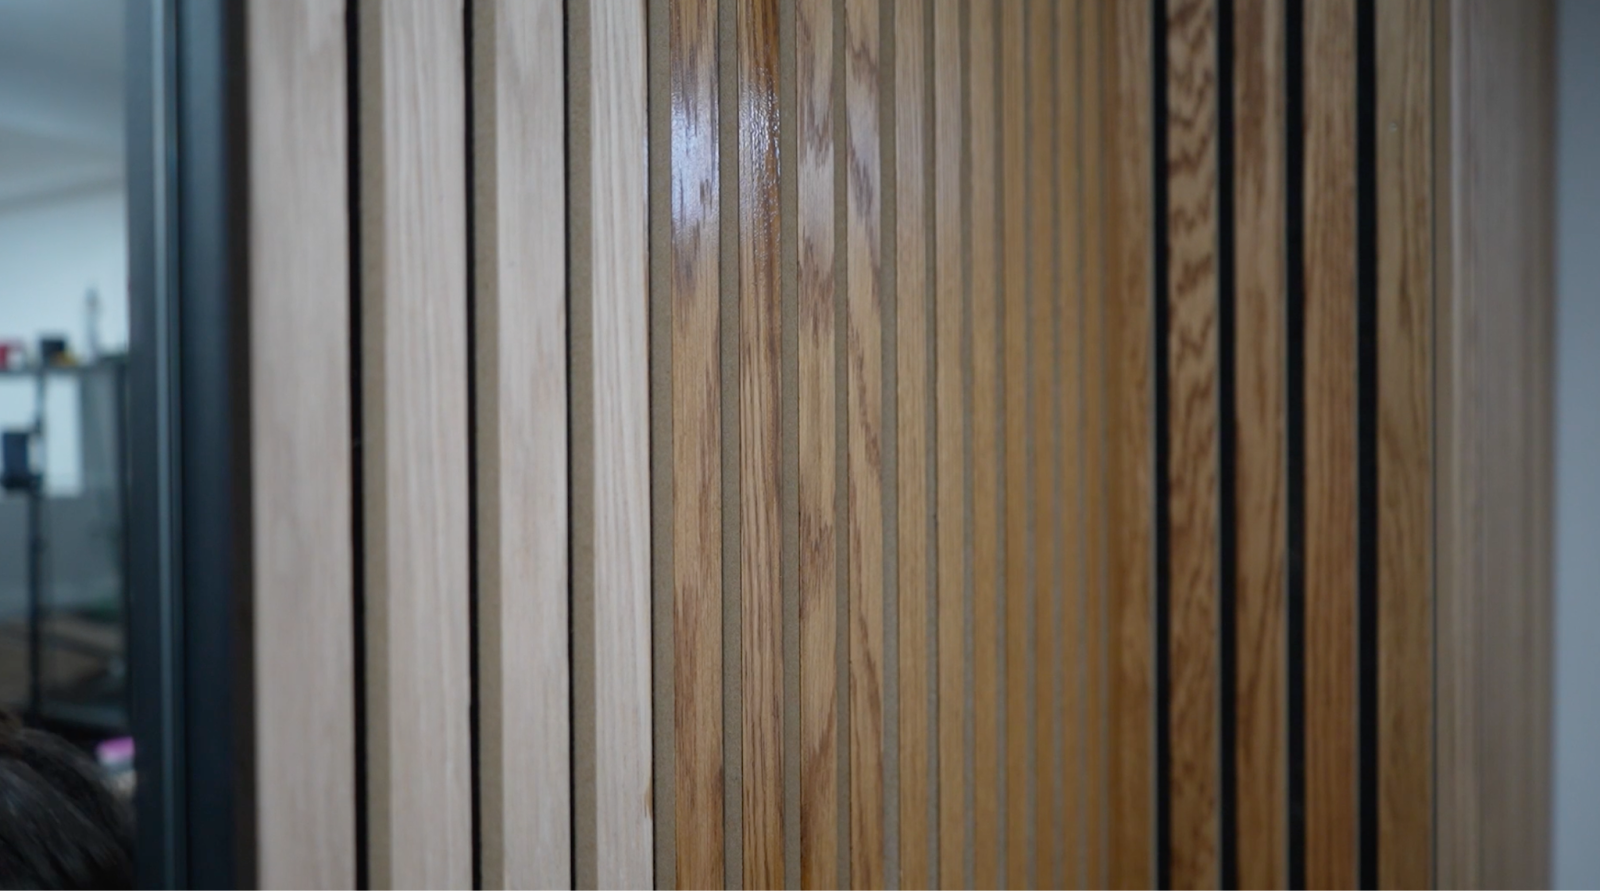
These panels do have the option for coming pre-finished. But the shades were either too light or too dark for what I wanted. So I opted to go for unfinished and then I stained them this golden oak color.
Side note: I know I said these panels are kind of not super budget friendly. You could totally make this accent wall more budget friendly by painting the wall black and then attaching 1 by 2s to the wall, or even using plywood from the home improvement store. But I will say that the felt does help with sound dampening a bit because my basement is a bit echoey.
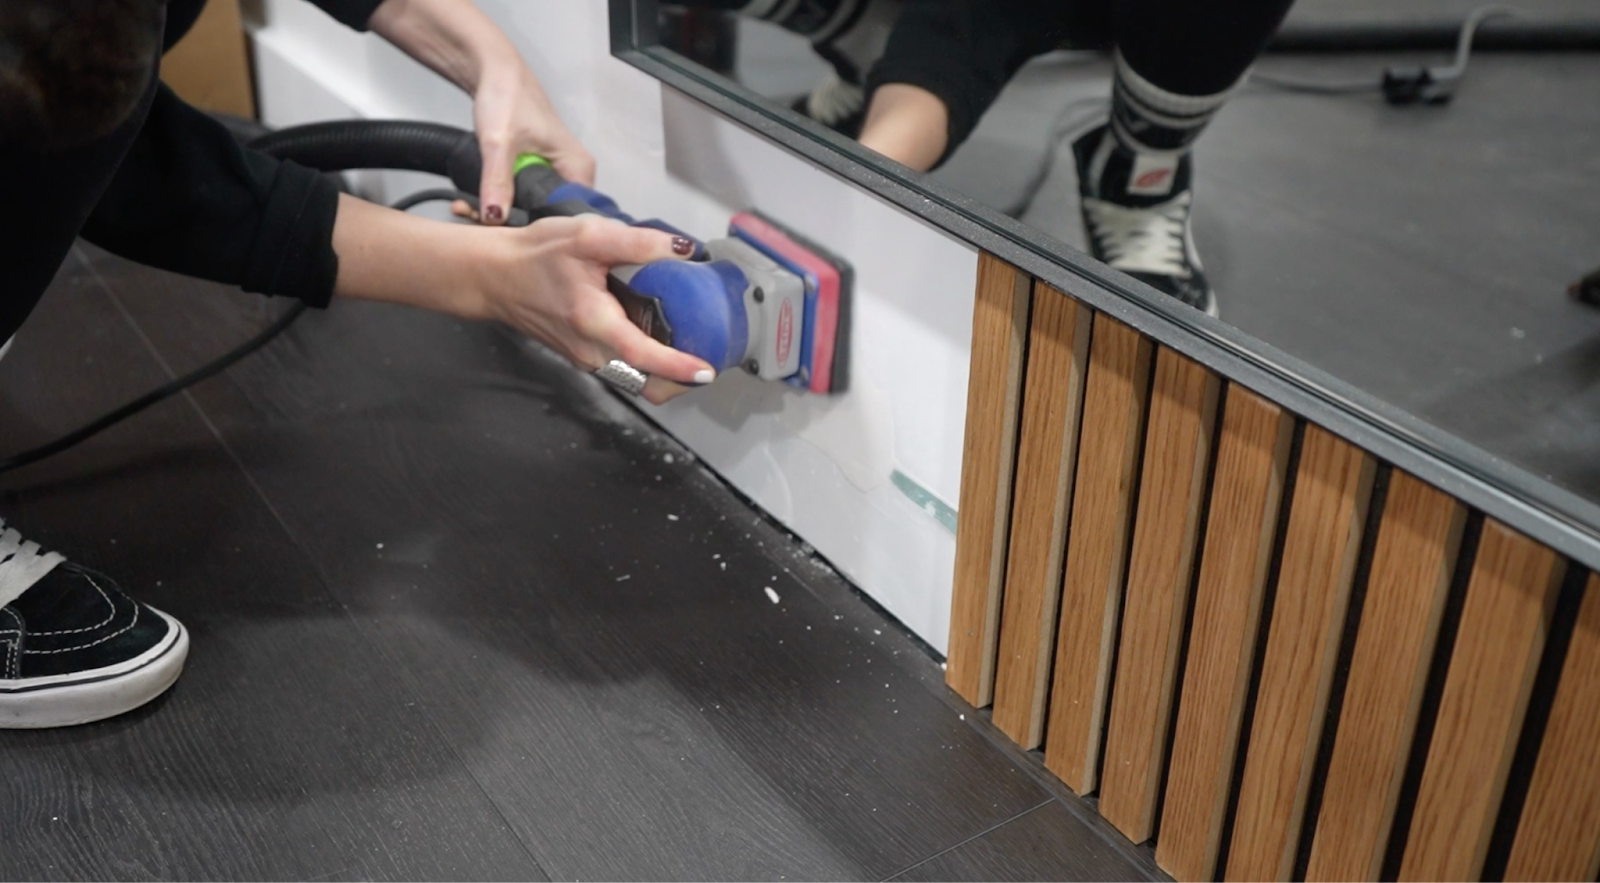
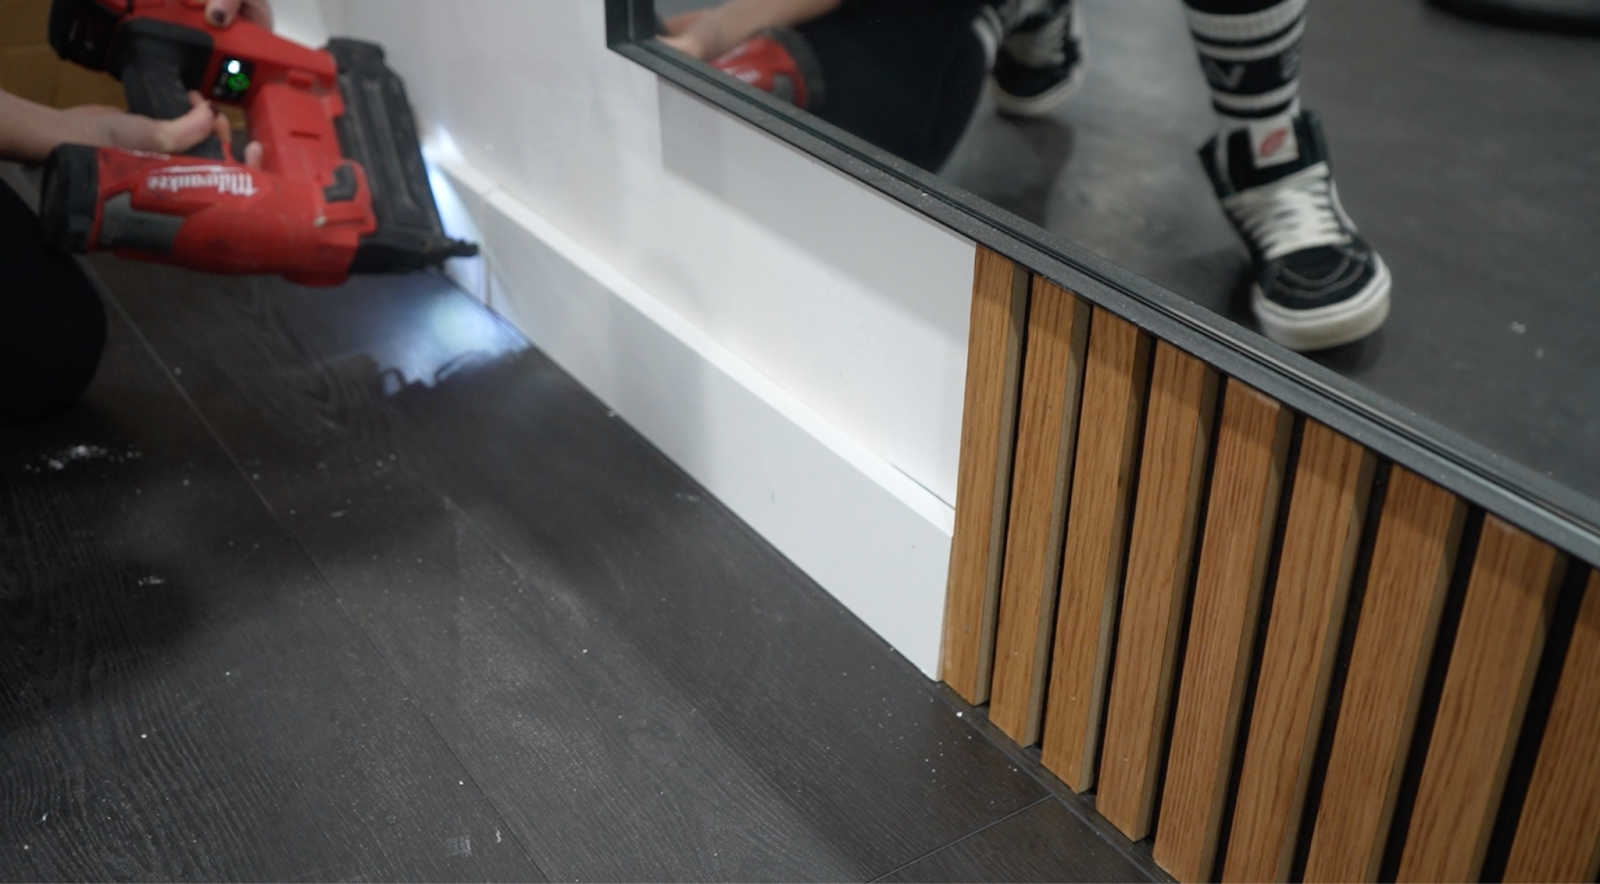
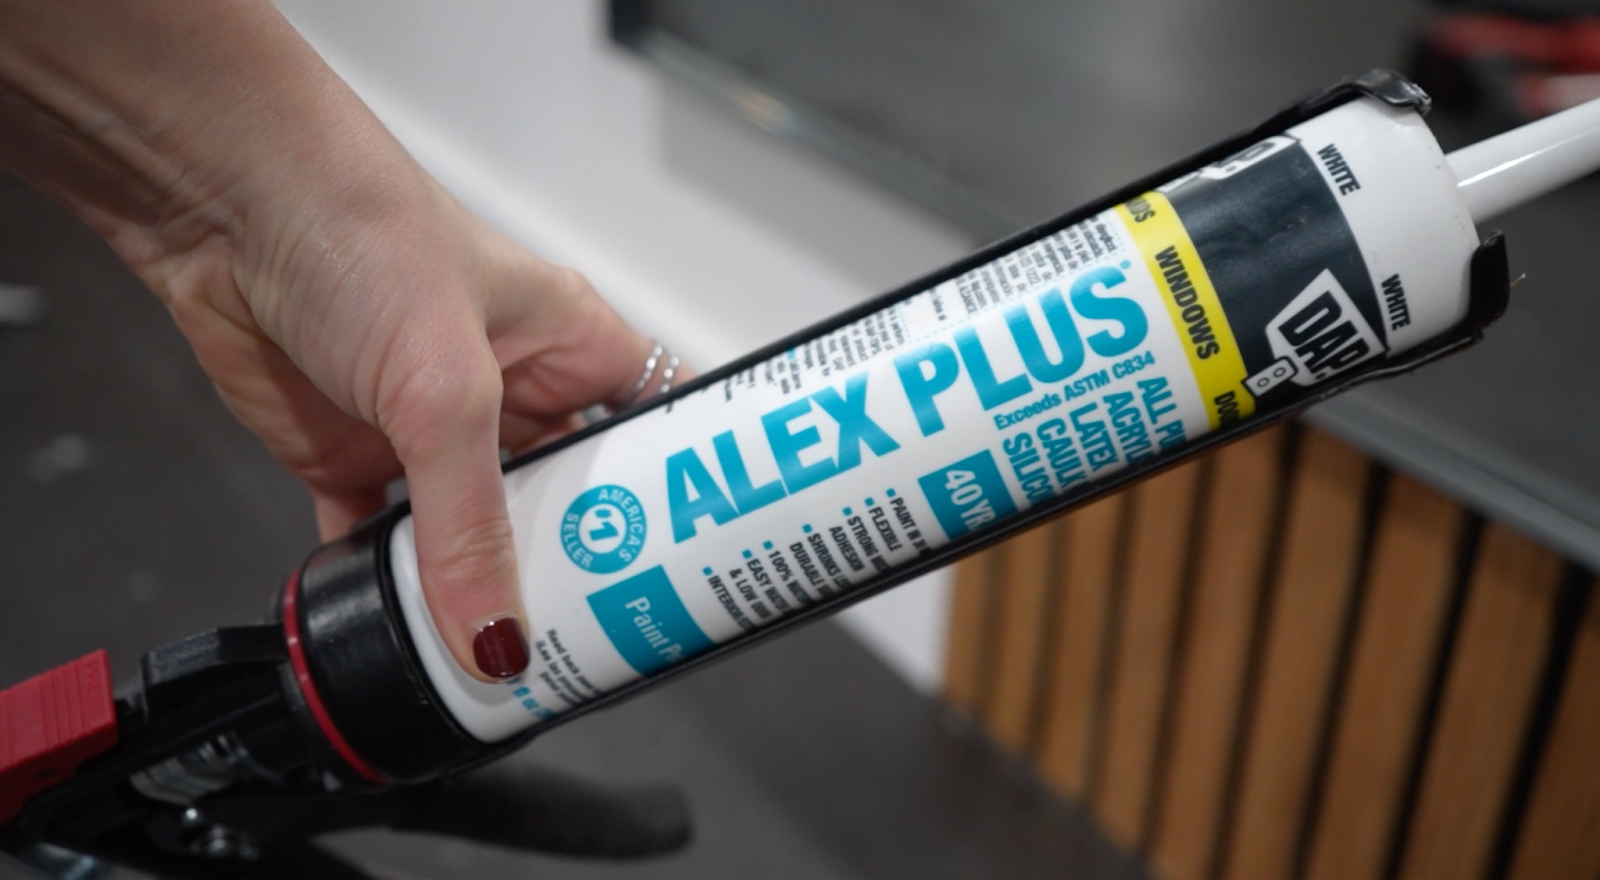
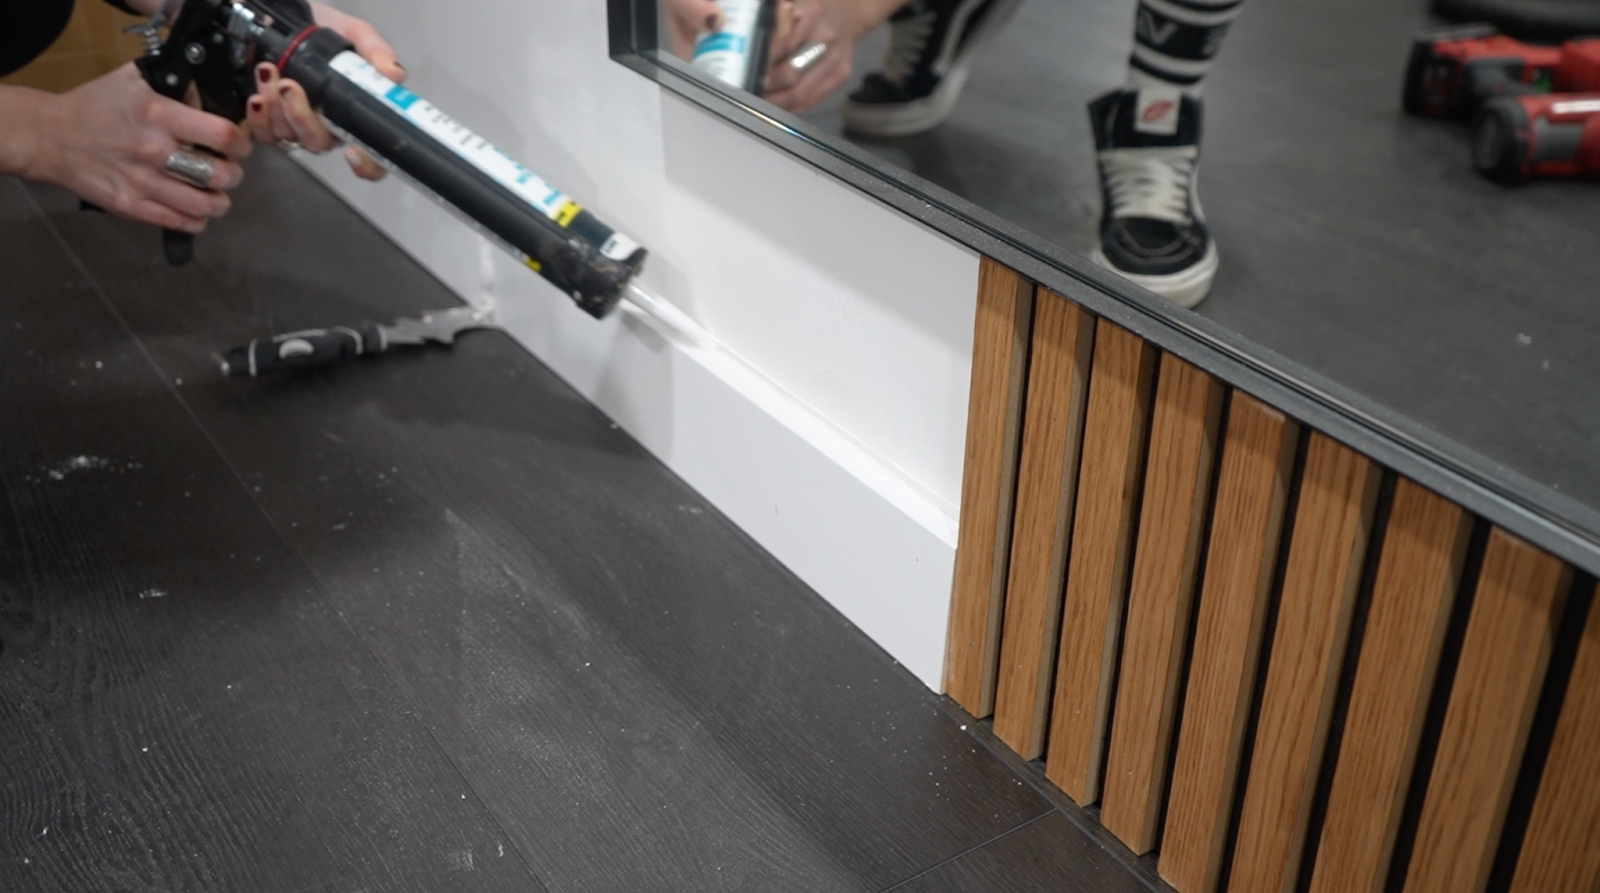
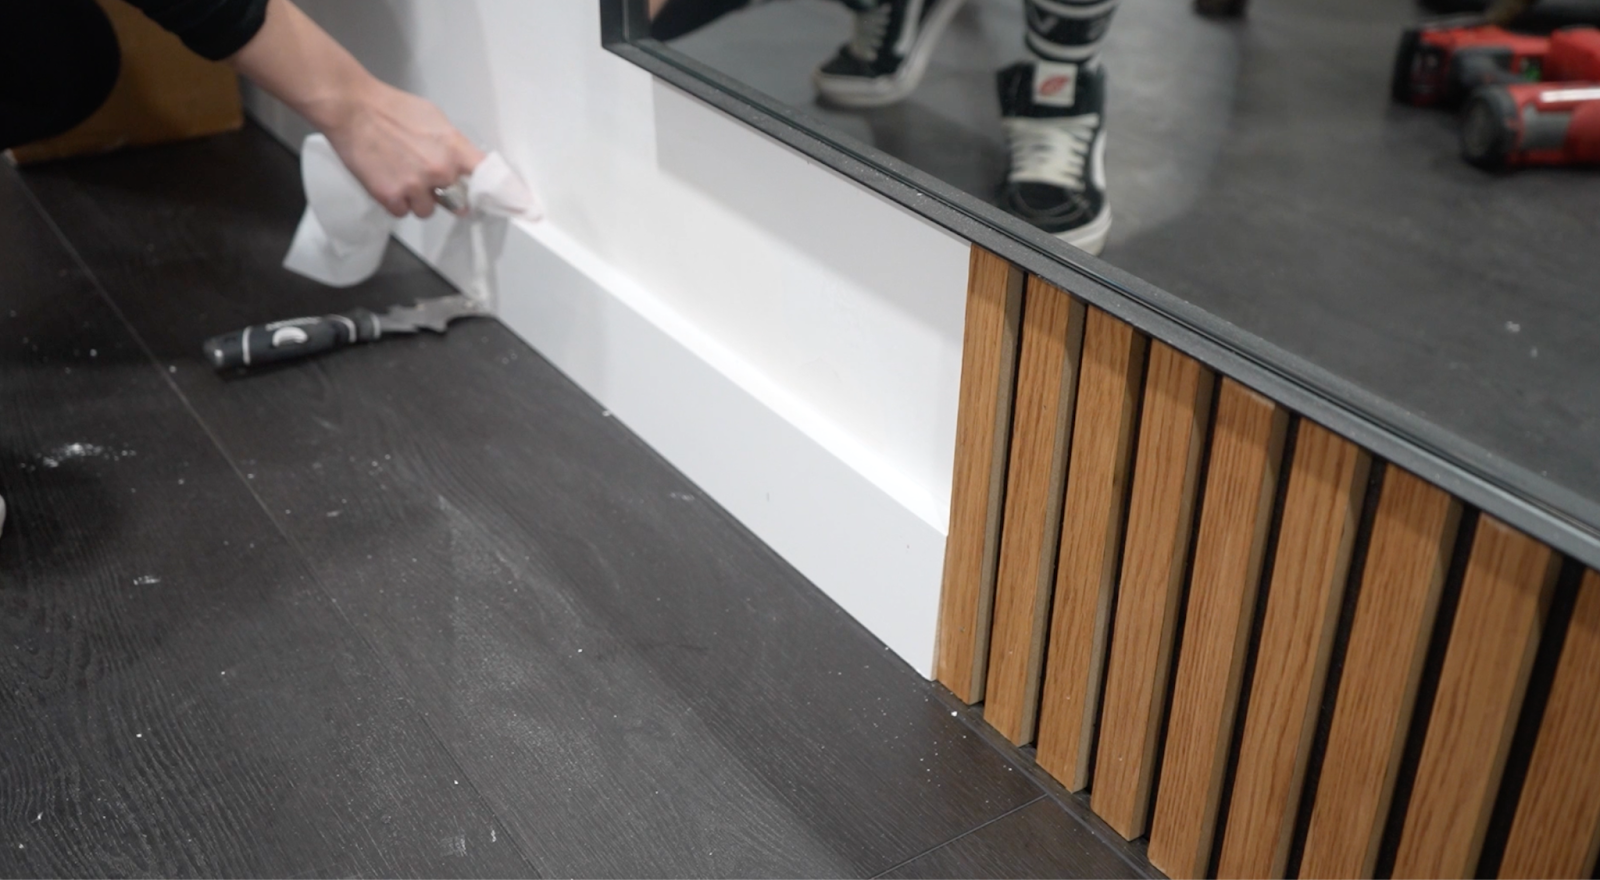
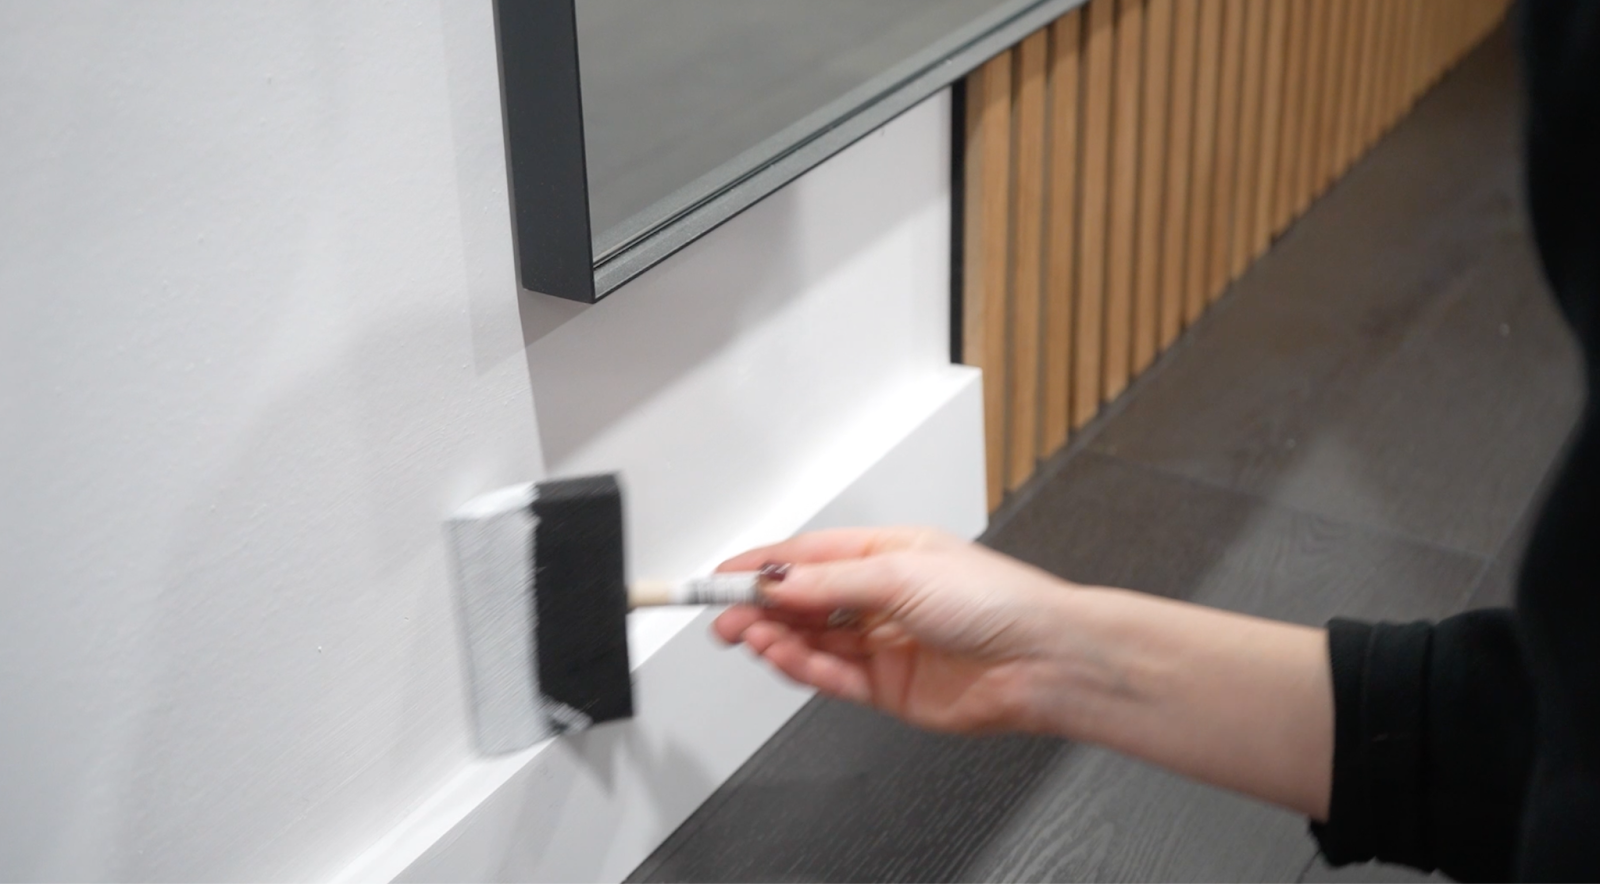
Once that spackle was dry I sanded the wall, applied the missing piece of trim and then caulked the edge of the trim to finish it. The caulking was dry in 30 minutes so I was even able to paint the same day.
The Reveal
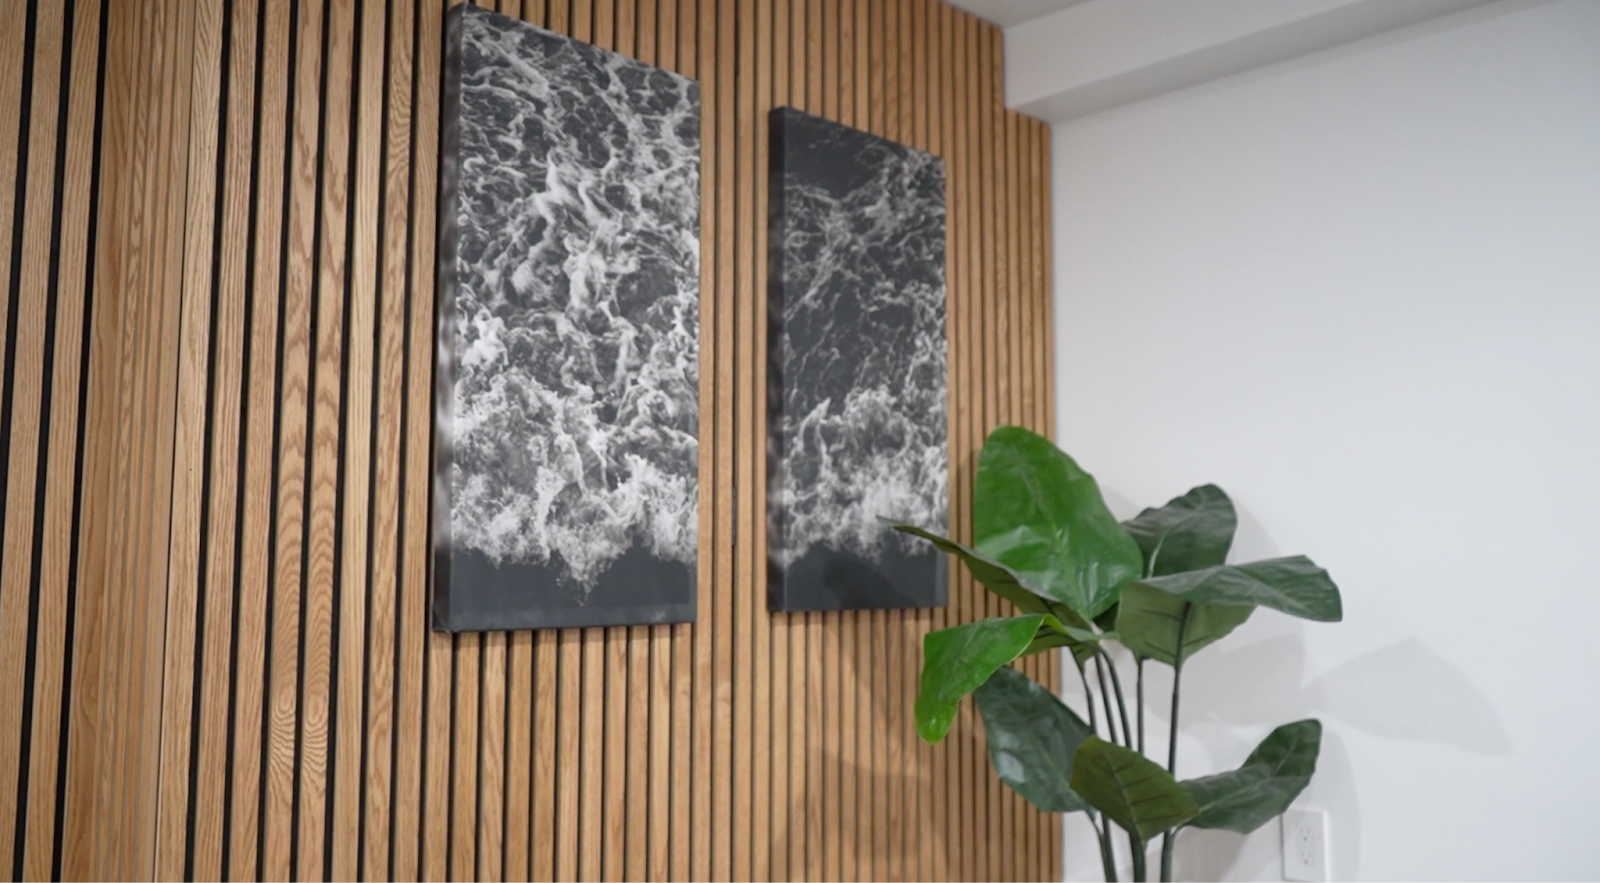
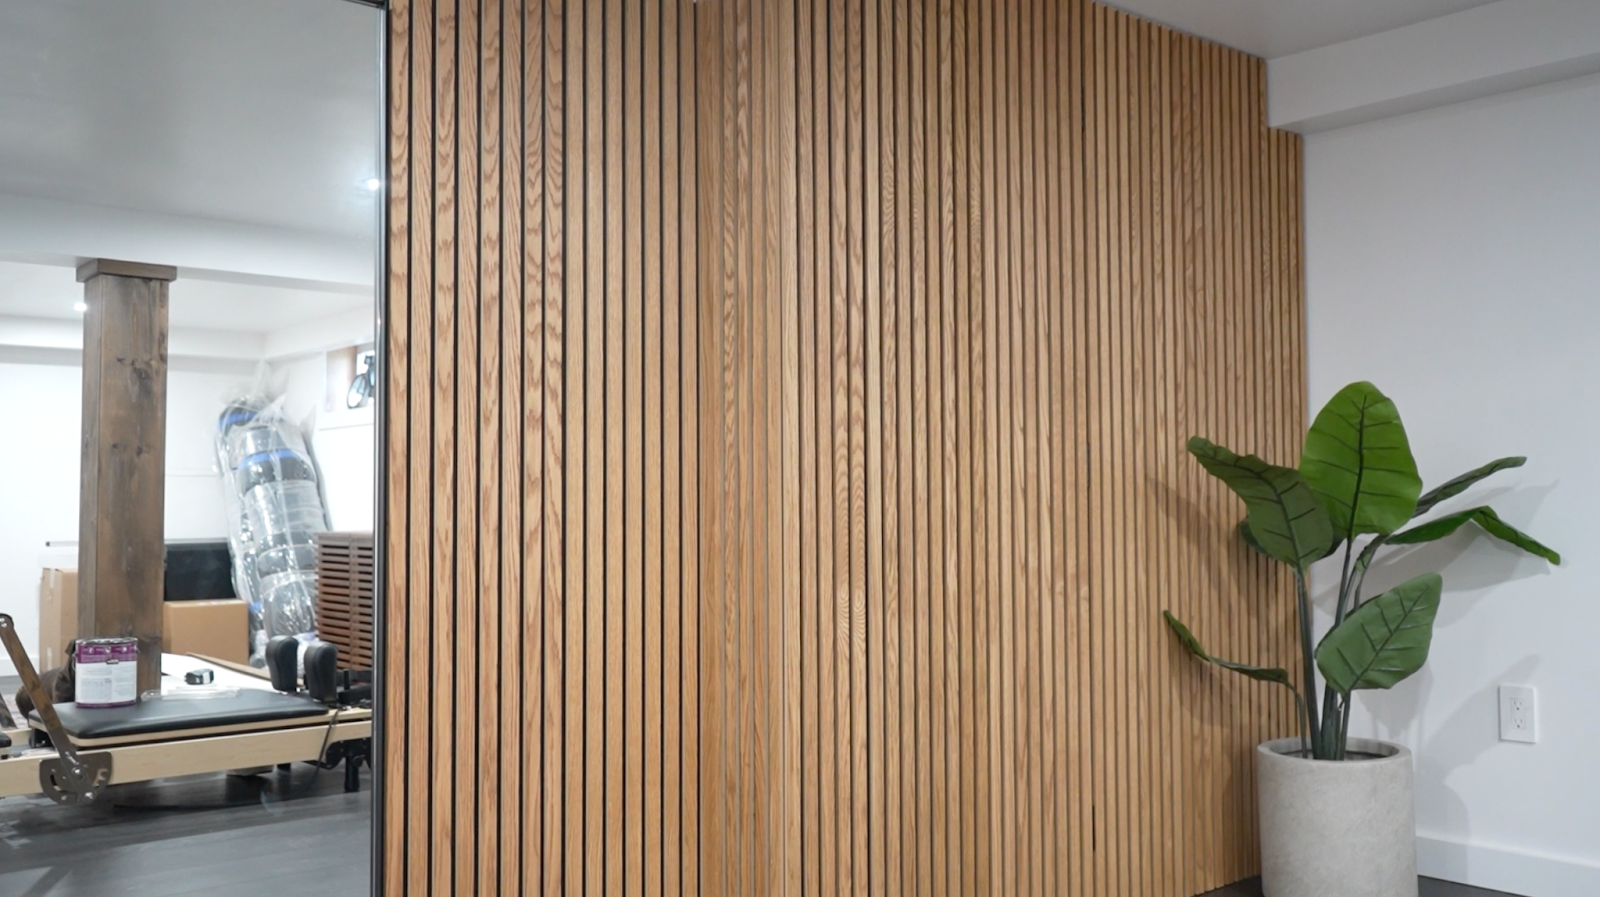
This was a really fun project that stretched my creativity and problem solving skills. Not to mention I finally have a hidden door in my house! The space is not finished yet but I can’t wait to show you what it will look like when it’s a fully functioning home gym. Really I can’t wait to share all of the projects I have planned for 2025 with you, so stay tuned, and until then happy DIYing friends!
Save this for later
I hope you enjoyed this project! If so, make sure to Pin It for later!


O My God Sam, i can’t believe you make this secret door by your own, it look soo stylish and aesthetic ya, I also want to make this secret door in my home, thanks for the share.