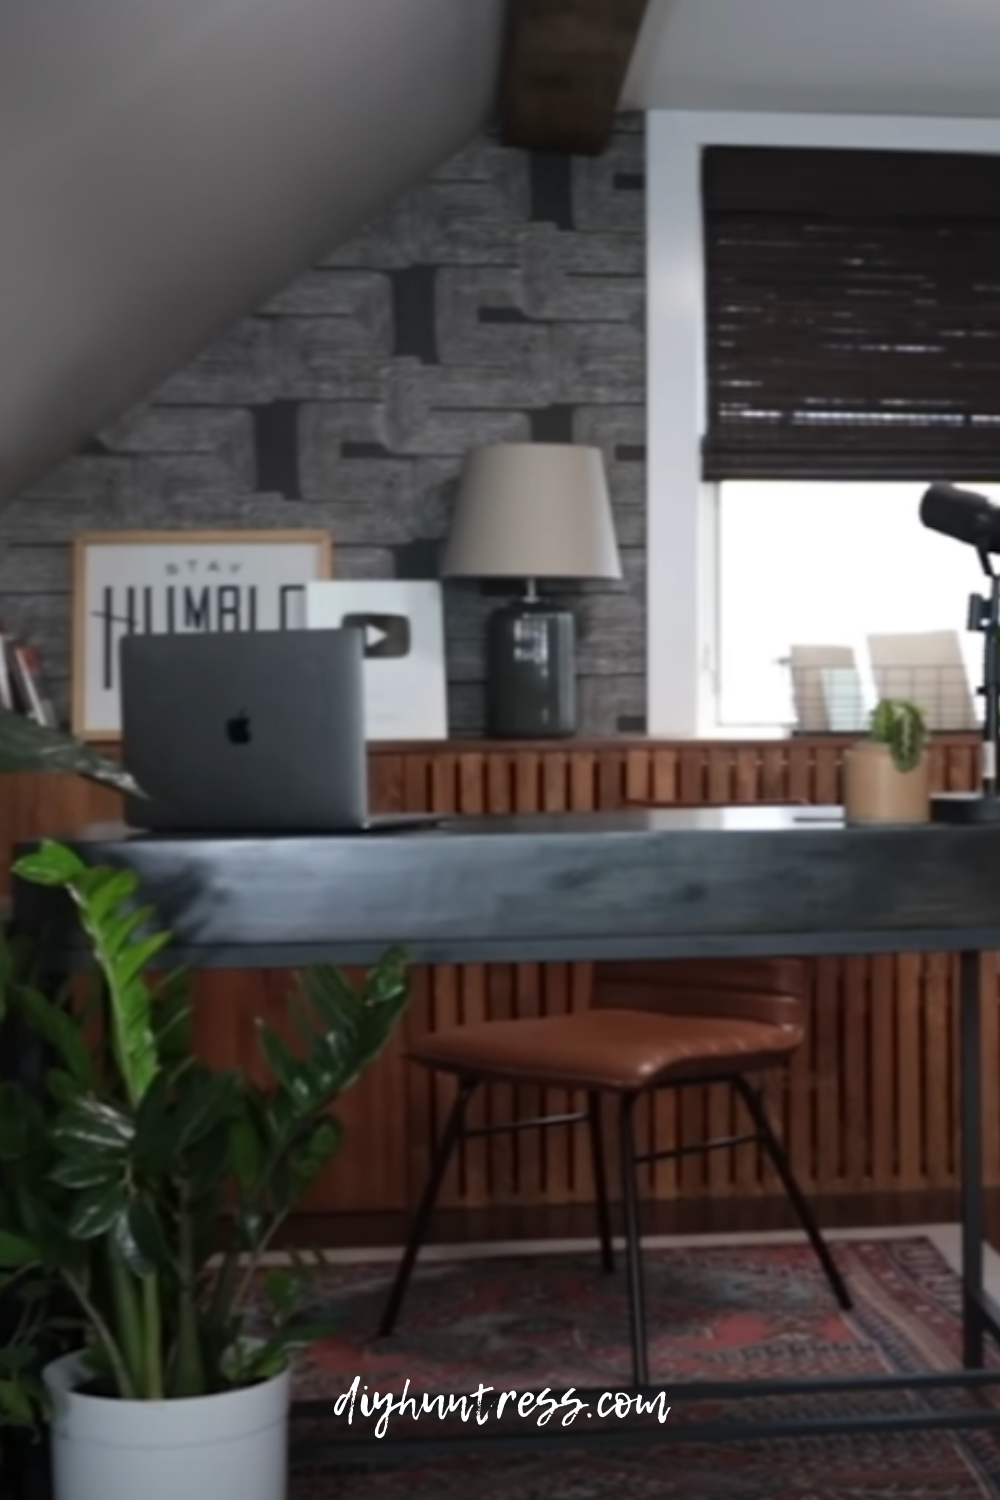
In my last blog post I started the makeover for my attic home office by taking down a half wall, putting in new flooring, painting the walls and upgrading the lighting to smart lighting. But there was still so much to do. My friend Charlotte from @atcharlotteshouse came to help me finish this project and another awesome friend swooped in at the last moment too. In this part of the project we added a wallpaper accent wall, paneled a secret wall and added beams to the ceiling. Keep reading to see how we turned this attic into my dream home office!
This post contains affiliate links, which helps support more projects on my website! For my full disclosure policy regarding affiliate links, click here!
Want to see this build in action? You can watch my build video here (+ make sure to subscribe to my channel)!
Tools + Materials
Tools
Lighting
Home Improvement
Decor
1. Wallpaper
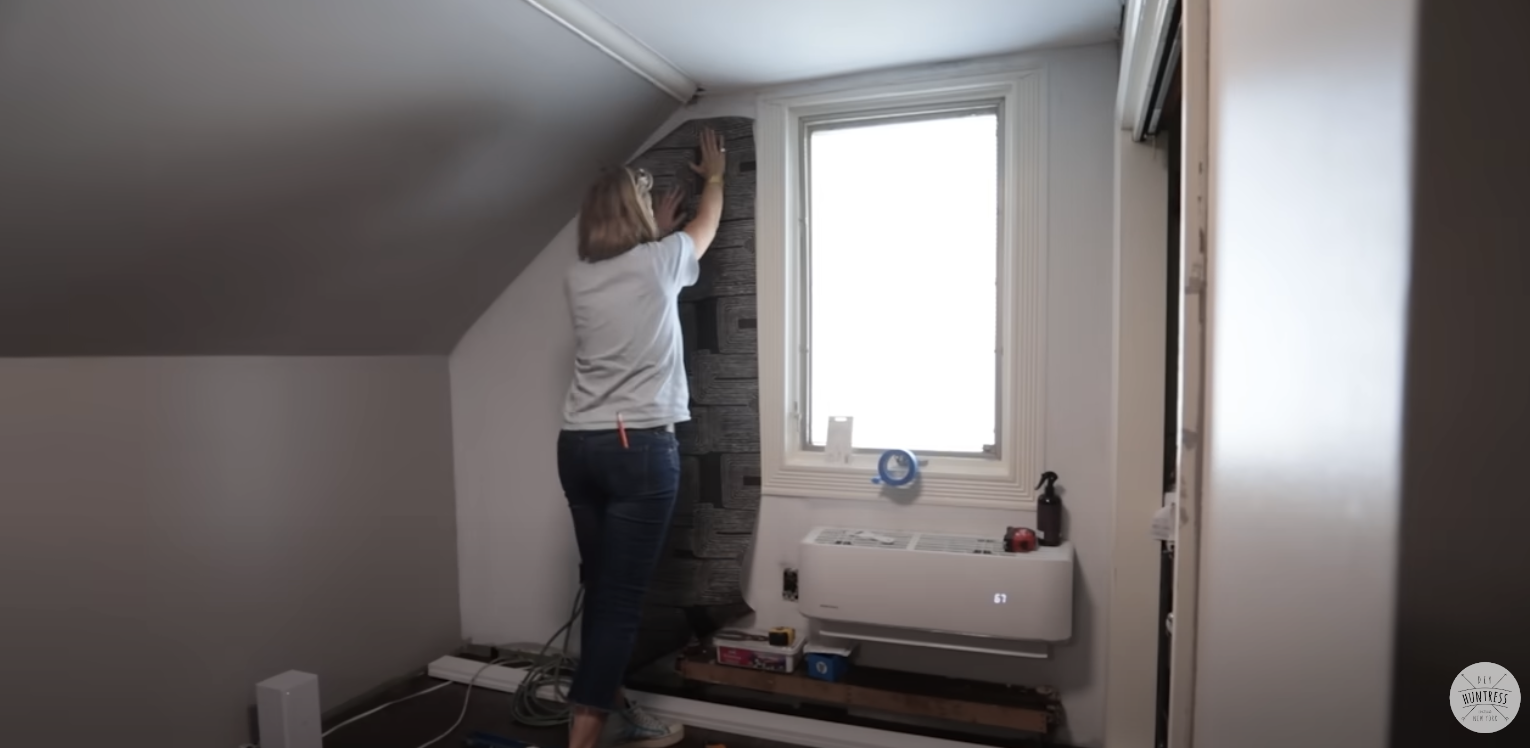
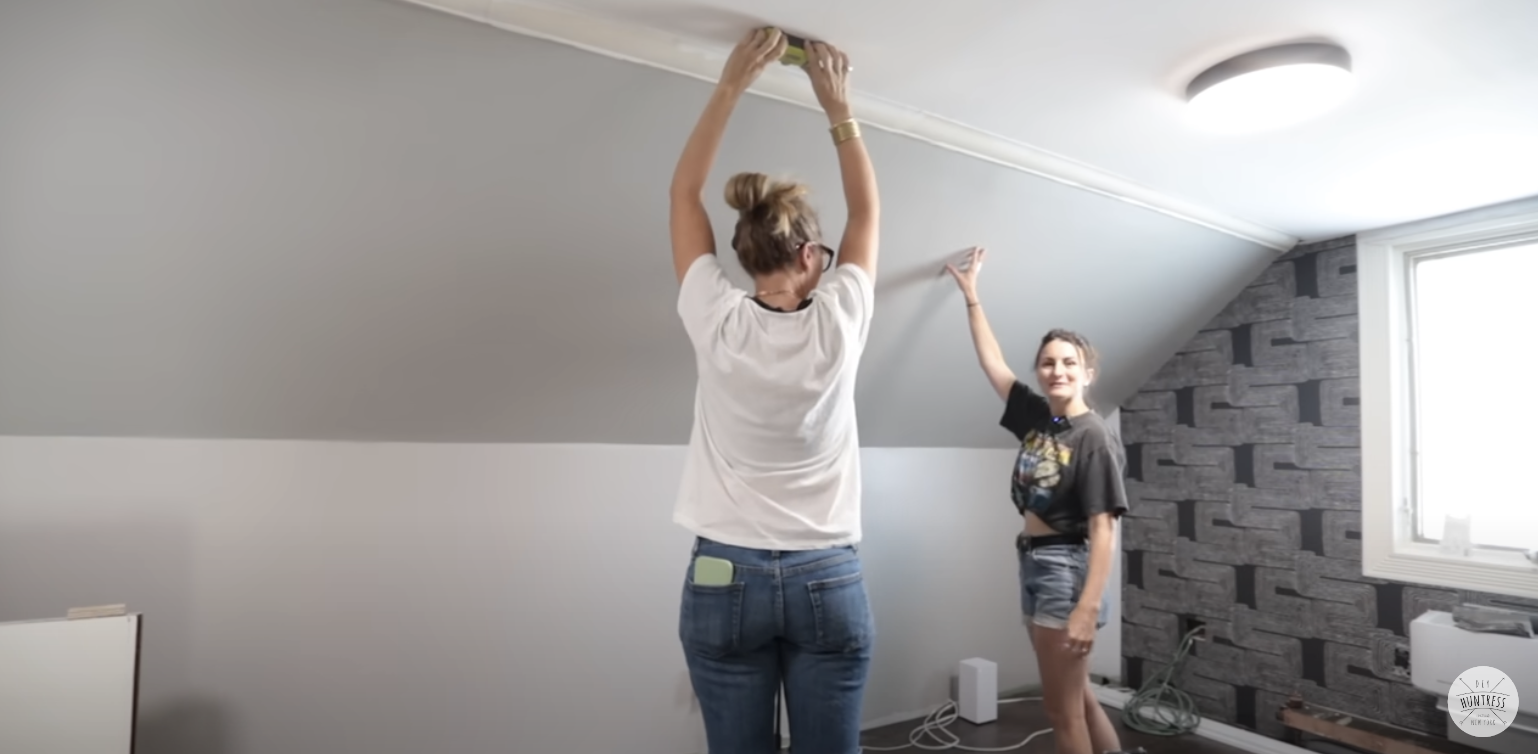
I really love how it turned out. I had never hung wallpaper before so I’m really grateful that Charlotte came and was able to help me get that up on this wall.
2. Ceiling Beams
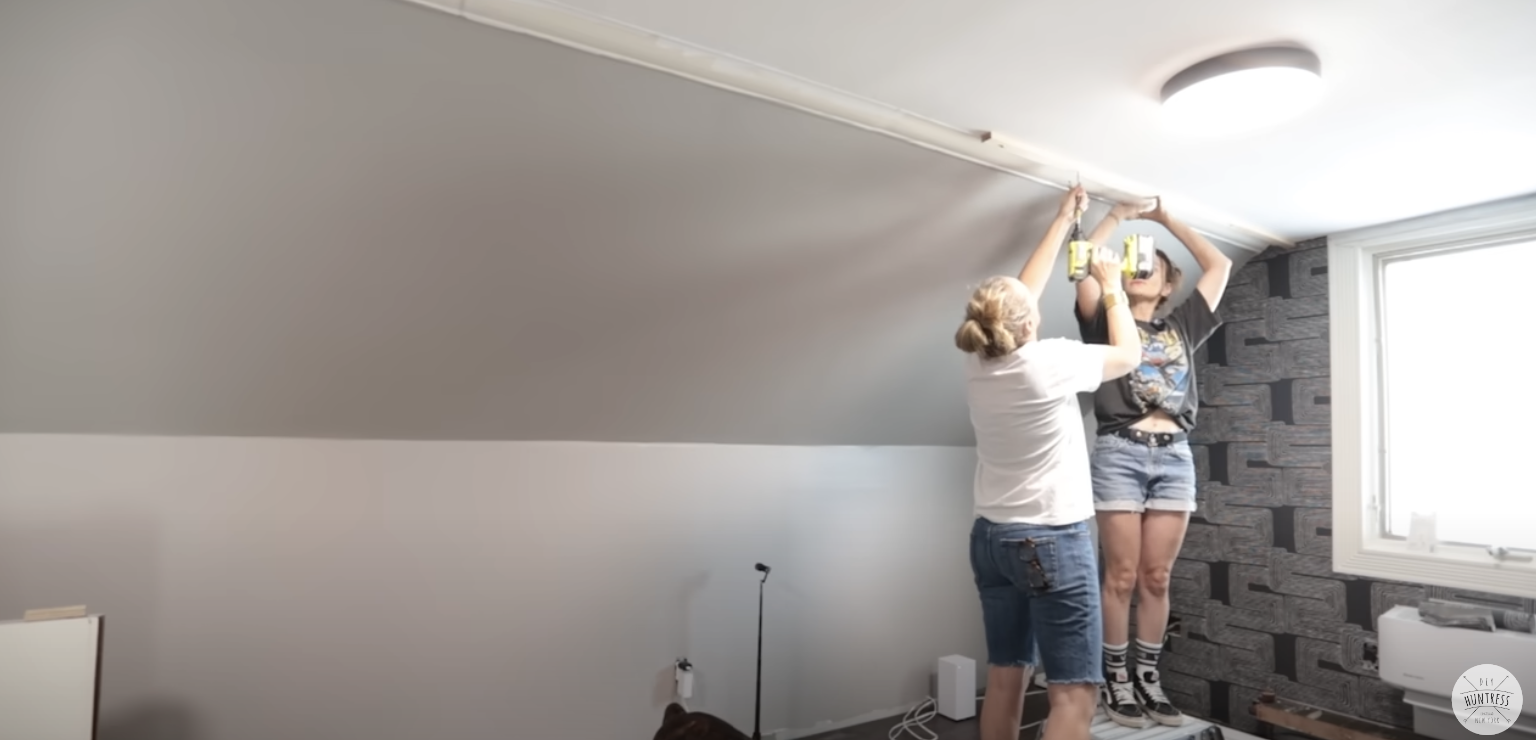
In a very abbreviated version of how we installed these beams we started by attaching braces to the ceiling.
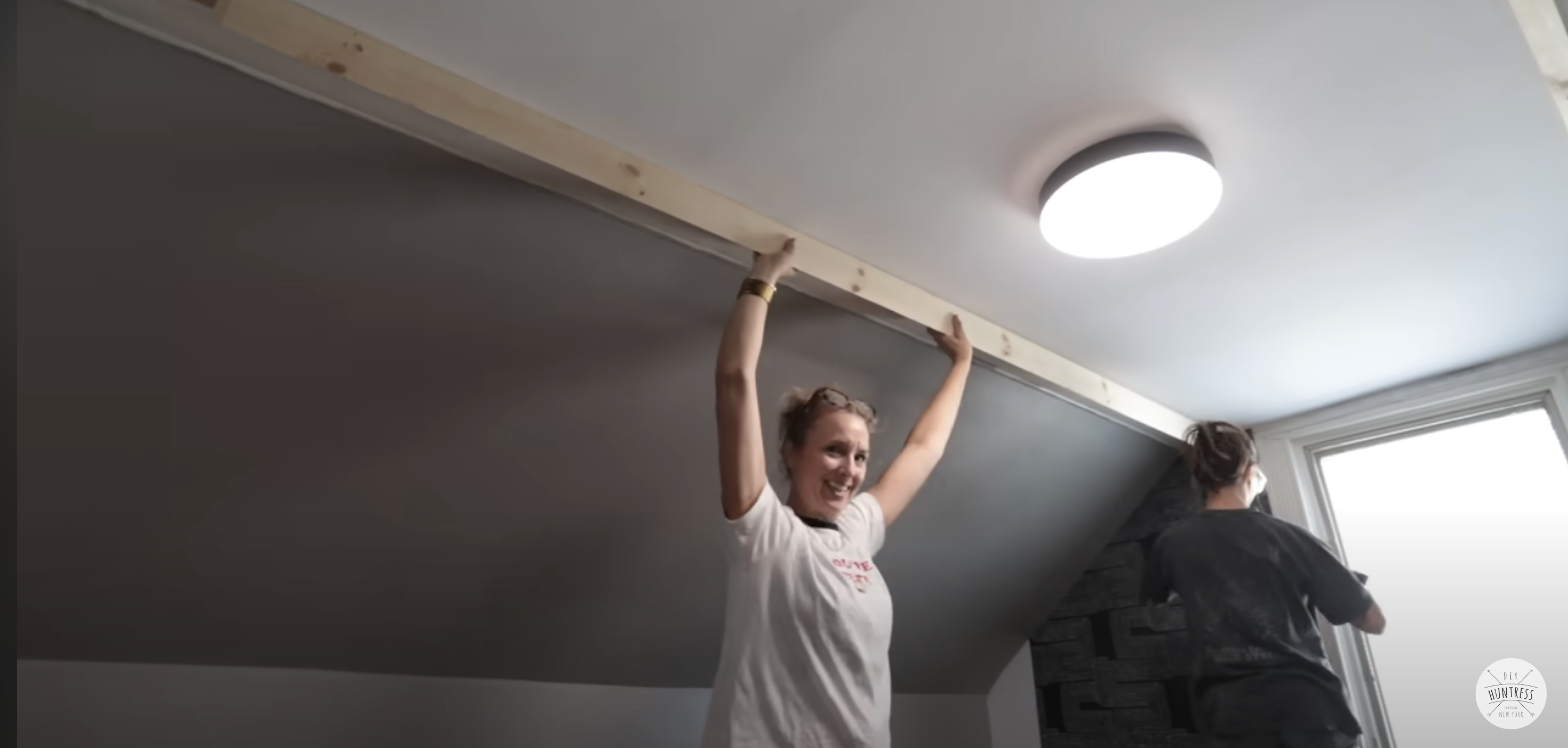
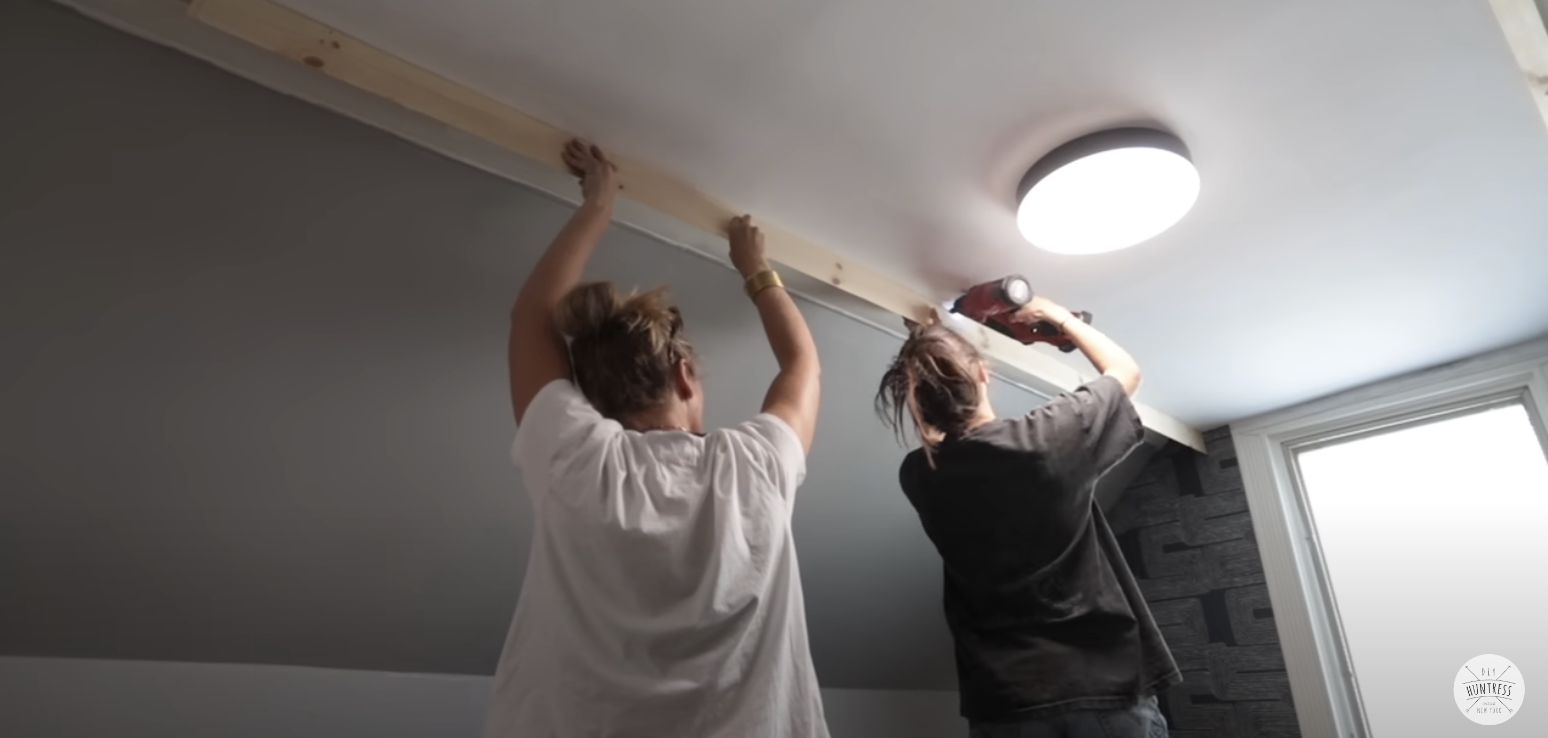
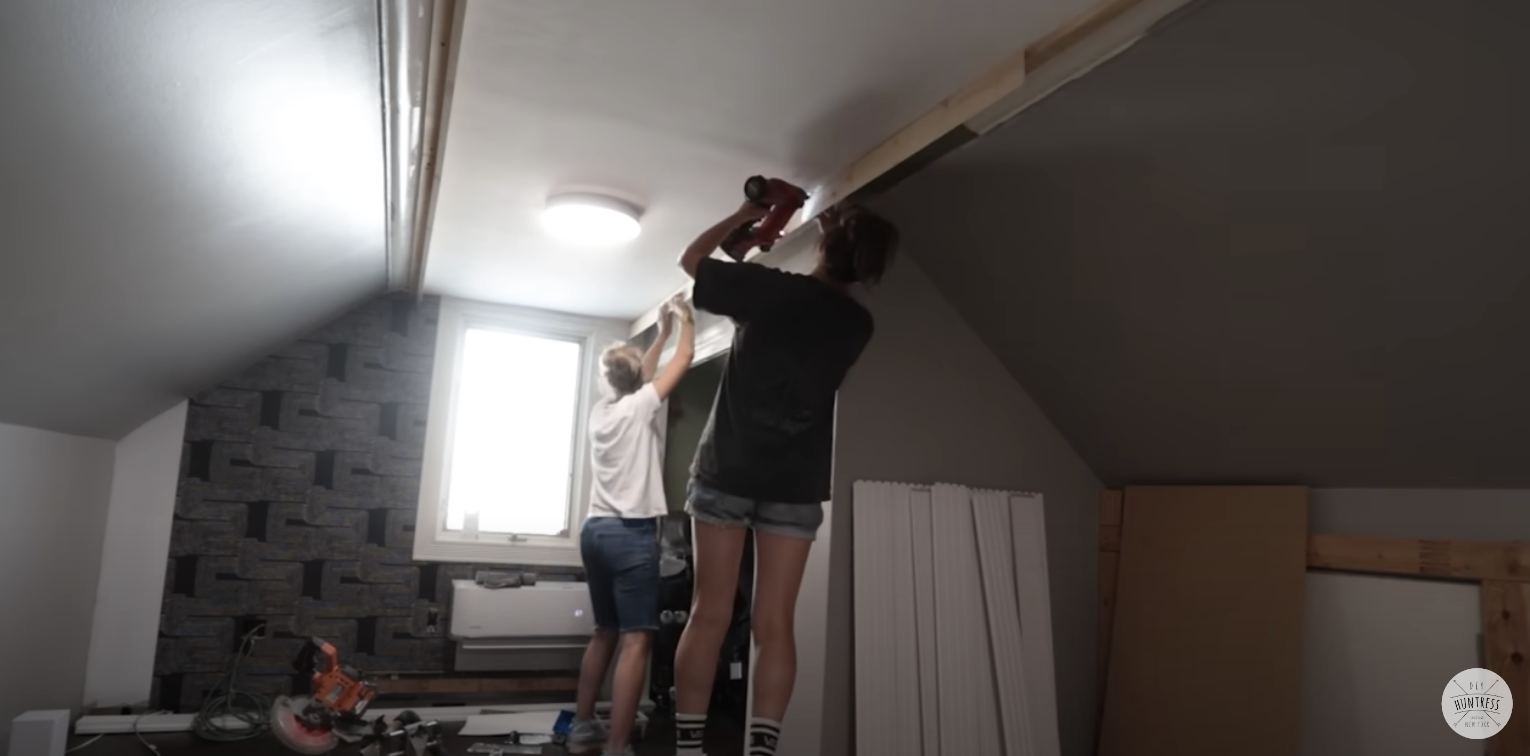
Then we attached sides to those braces.
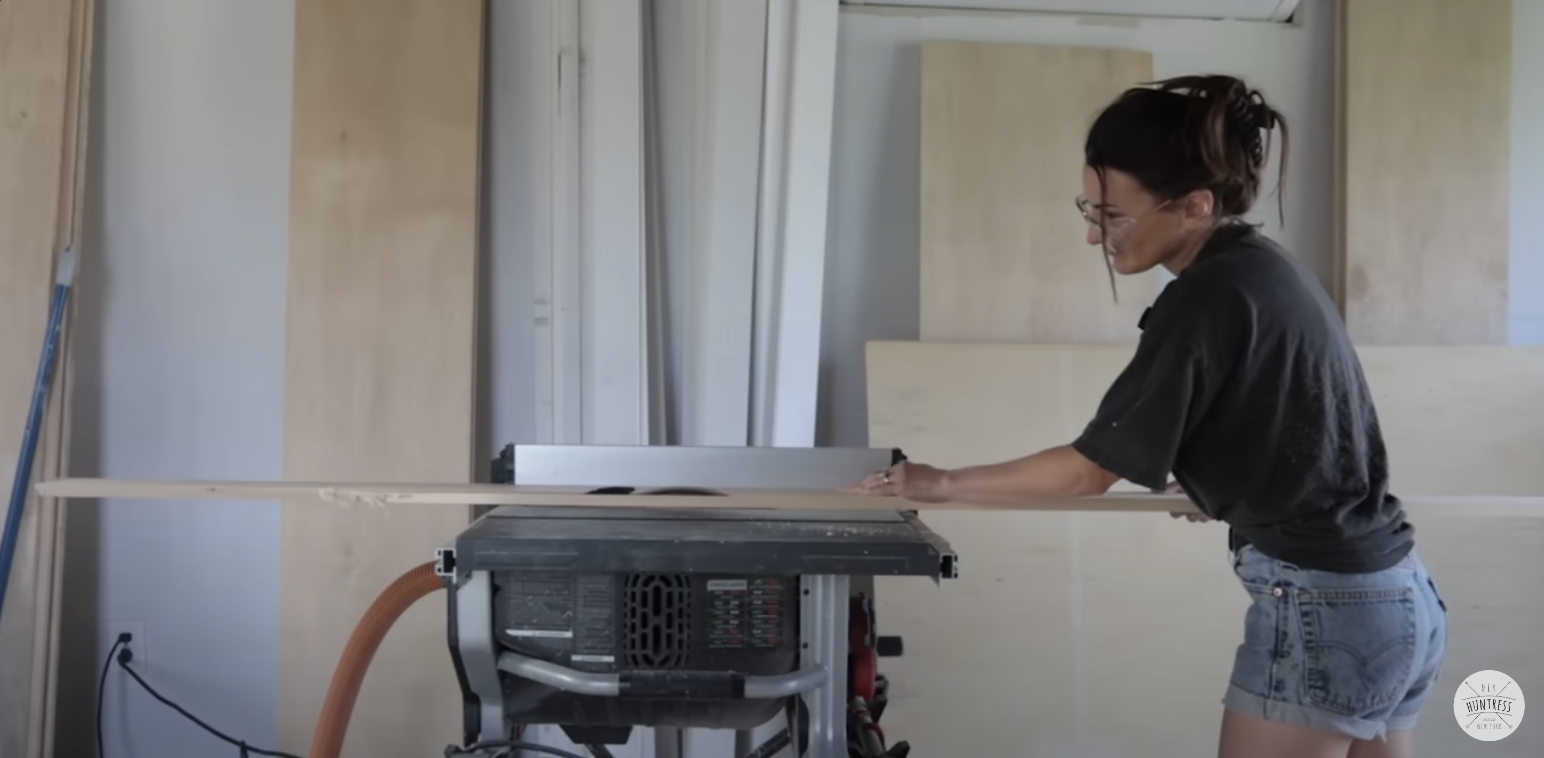
Next I headed to the table saw to cut the pieces for the bottoms of the beams.
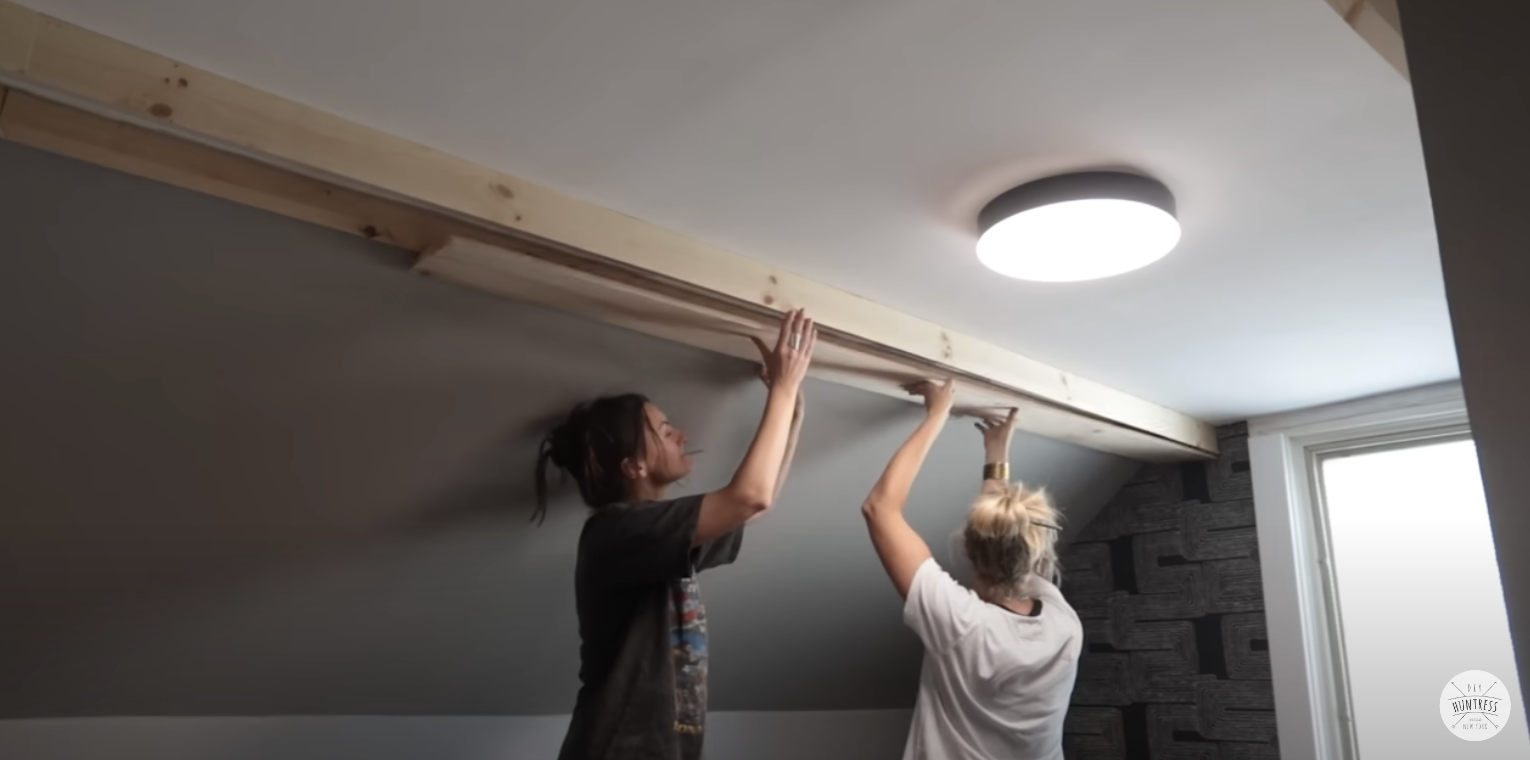
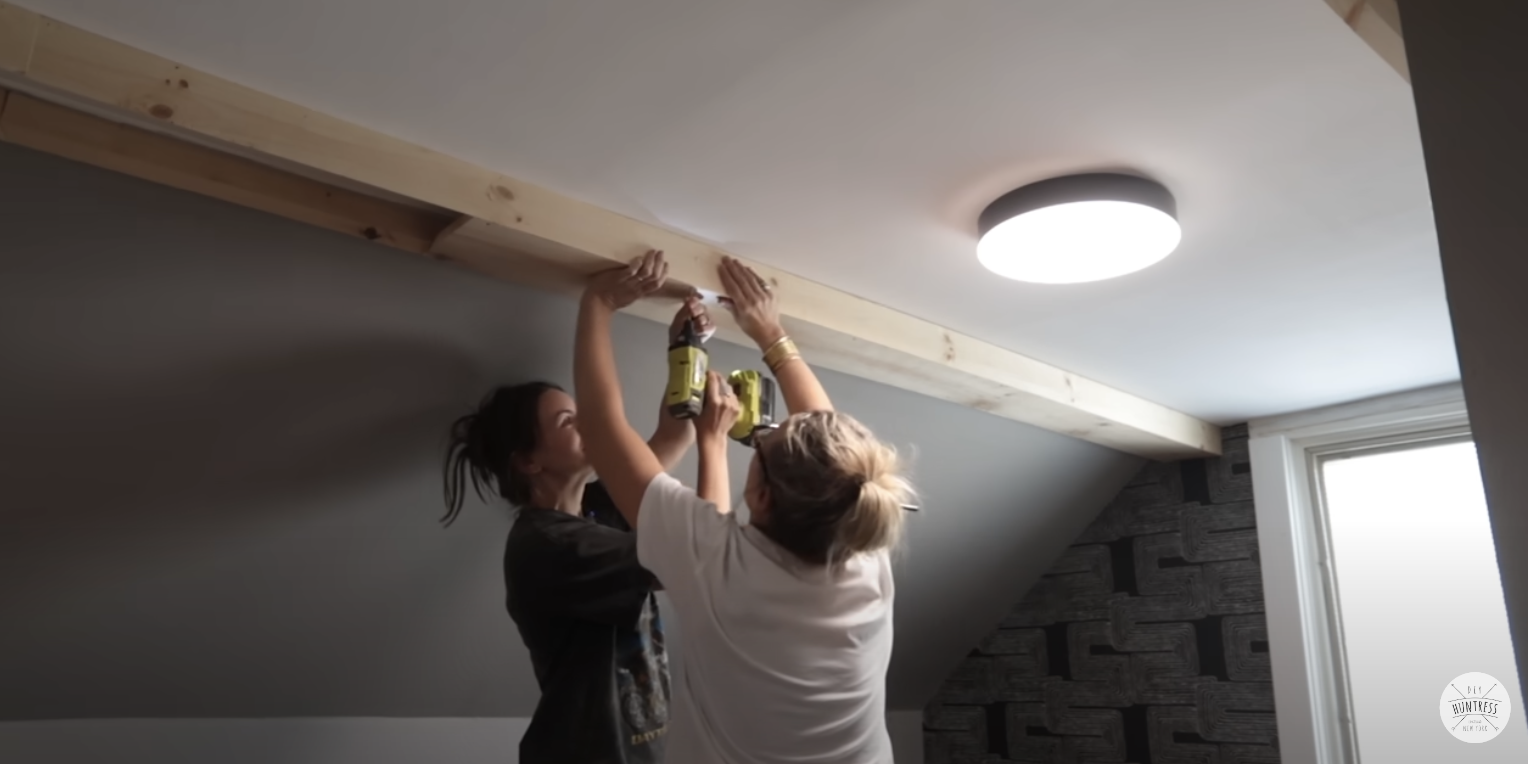
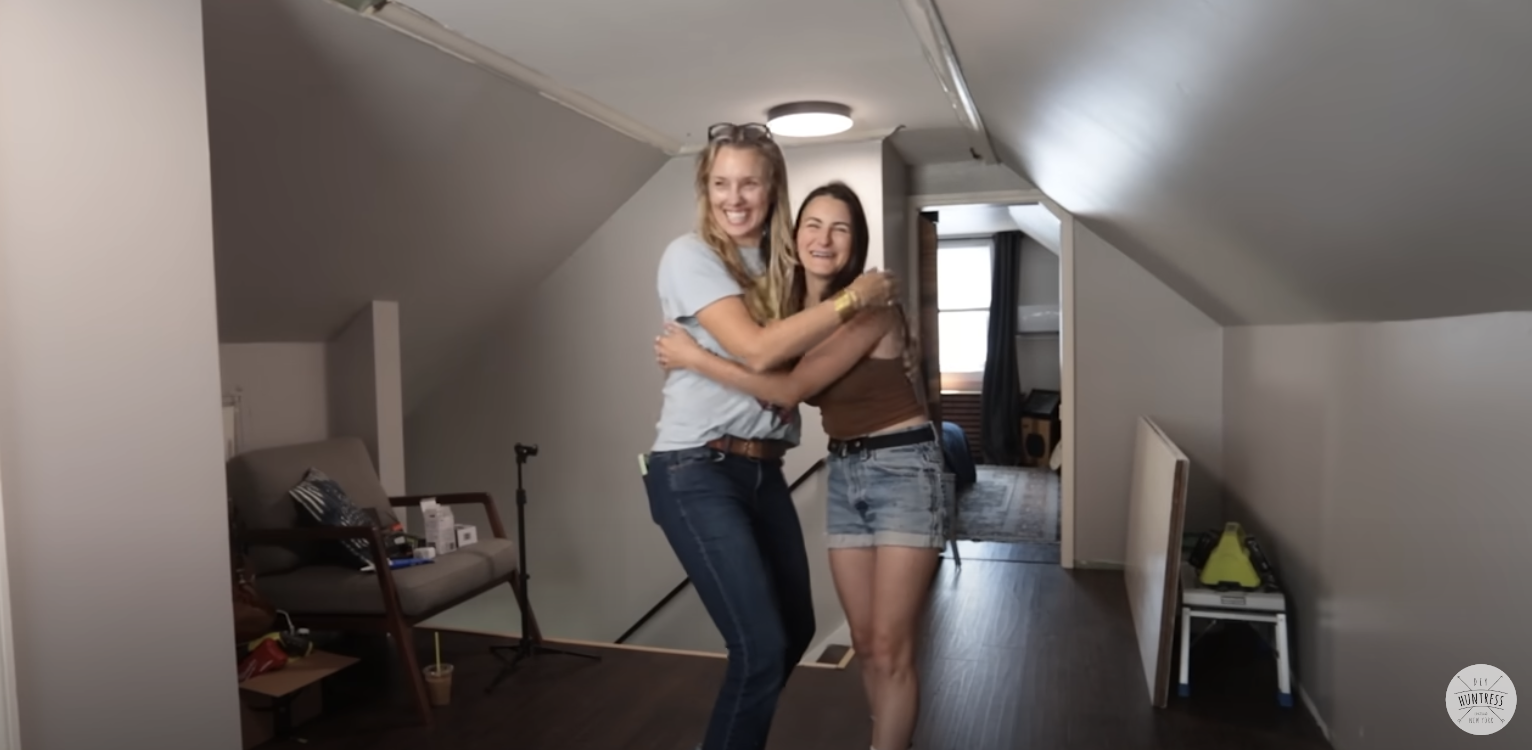
And Charlotte and I worked together to install them. It was so helpful to have her here to help with this.
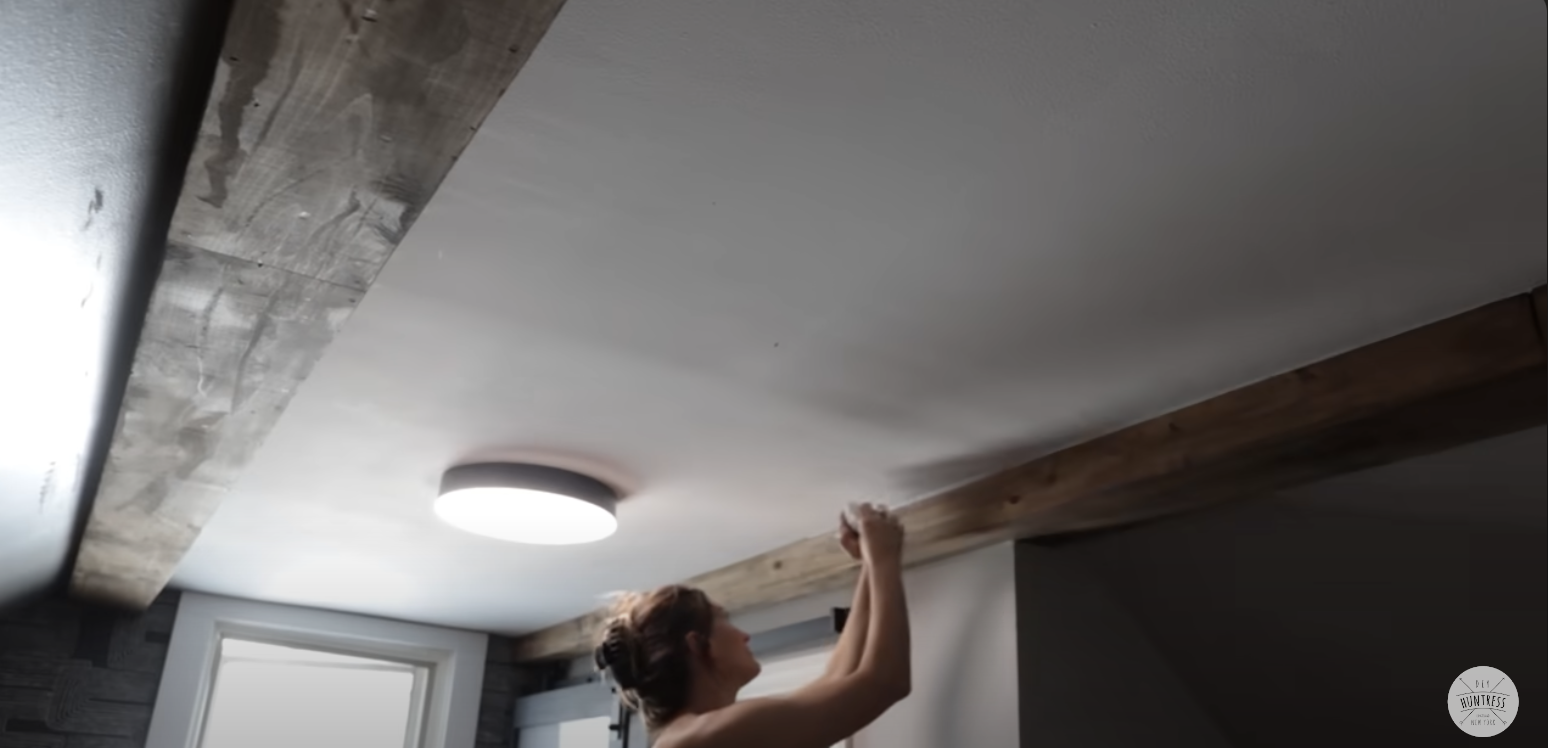
They got some stain and some other work to make them look like real beams on the ceiling.
3. Fake Wall for the Secret Attic Door
I have this small door to access the attic in this space but I don’t really need to have access to it all of the time so I’m building a fake wall in front of it to get the look that I want for this space.
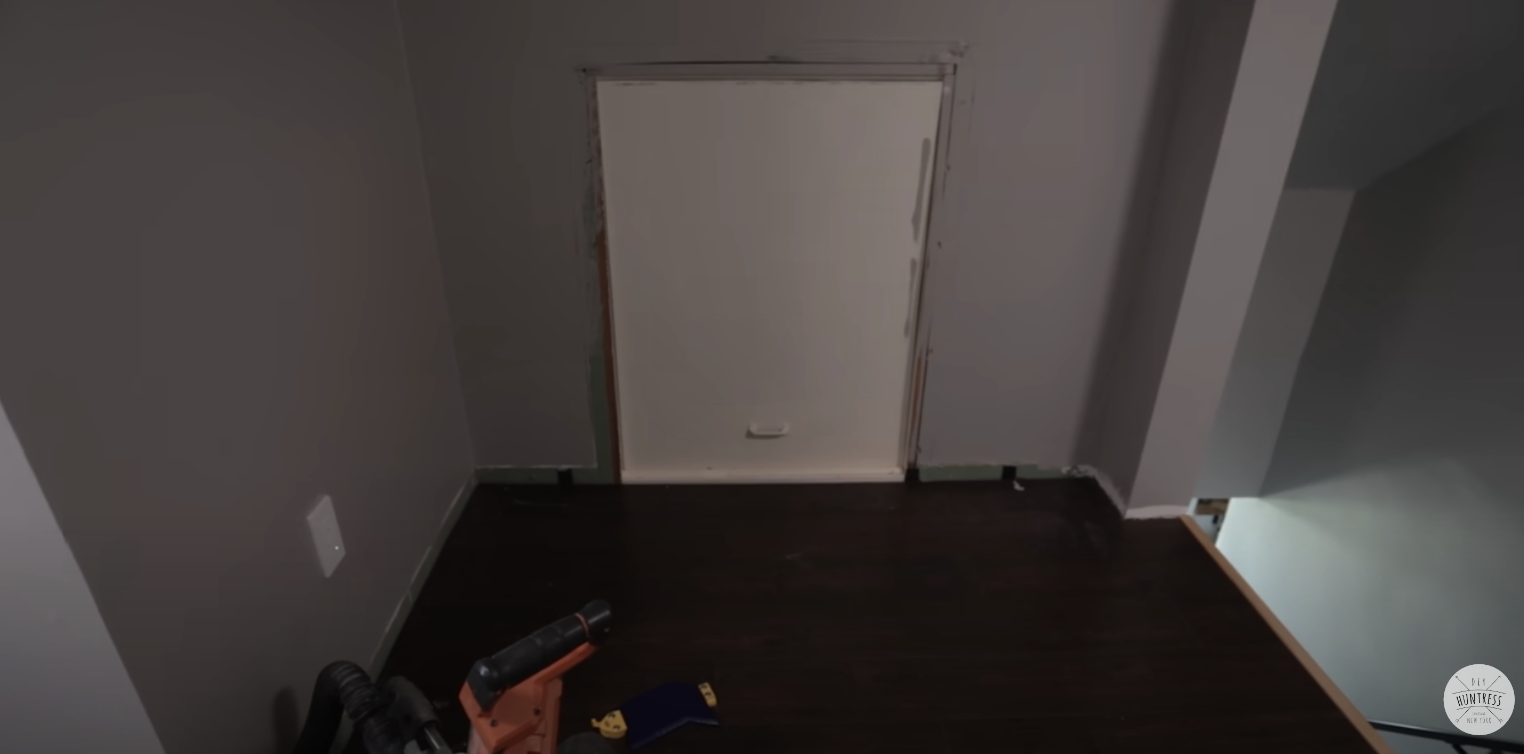
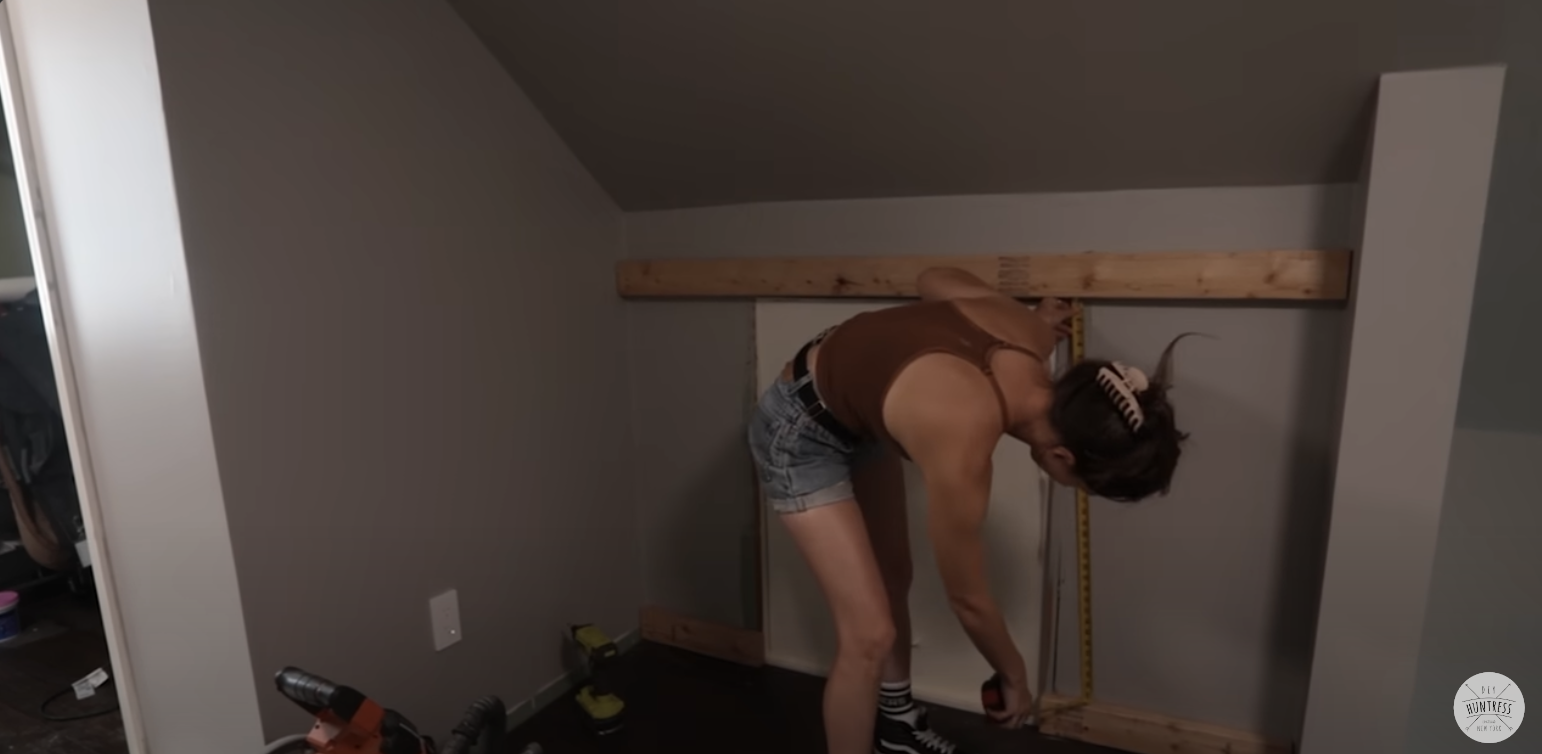
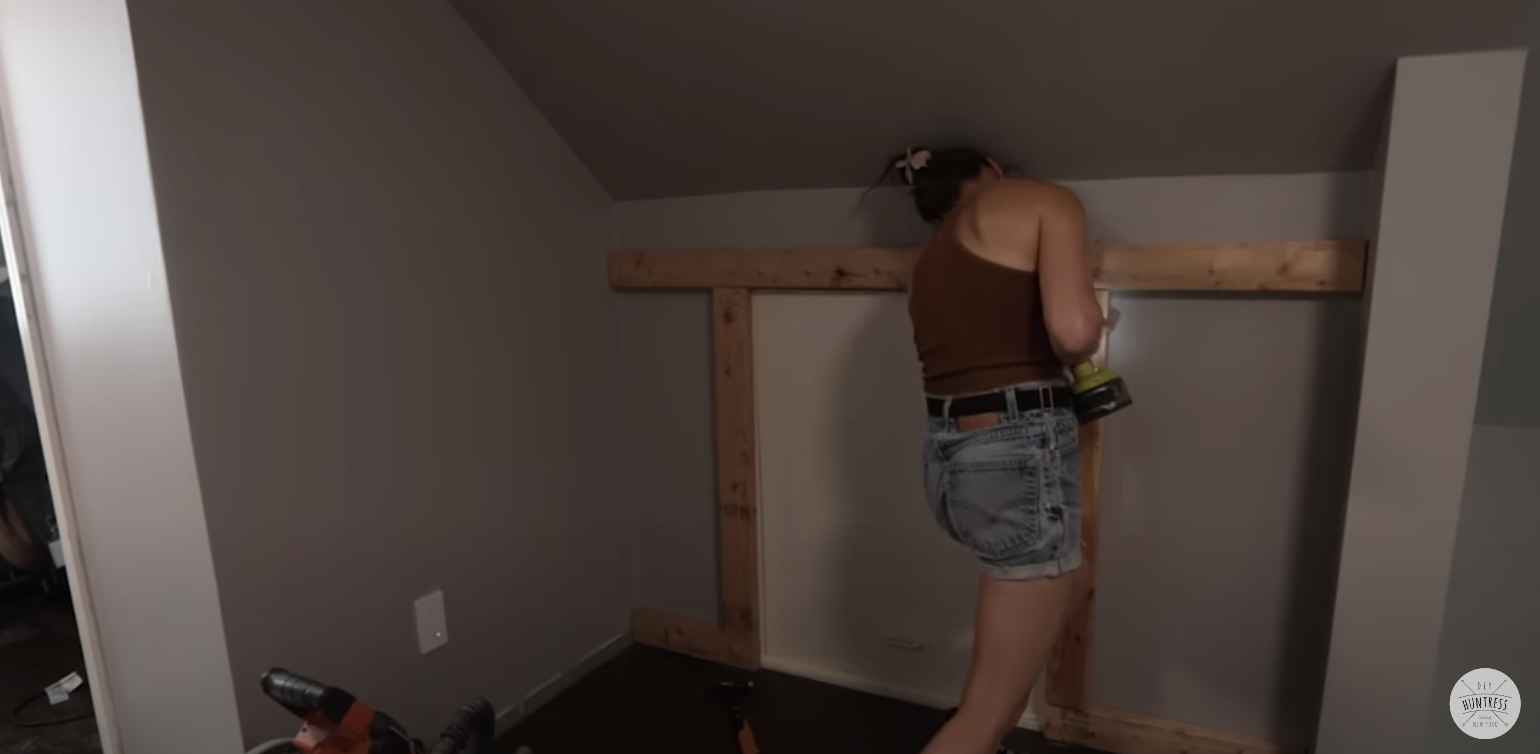
First step with this fake wall is to build it out a bit with some 2x4s.
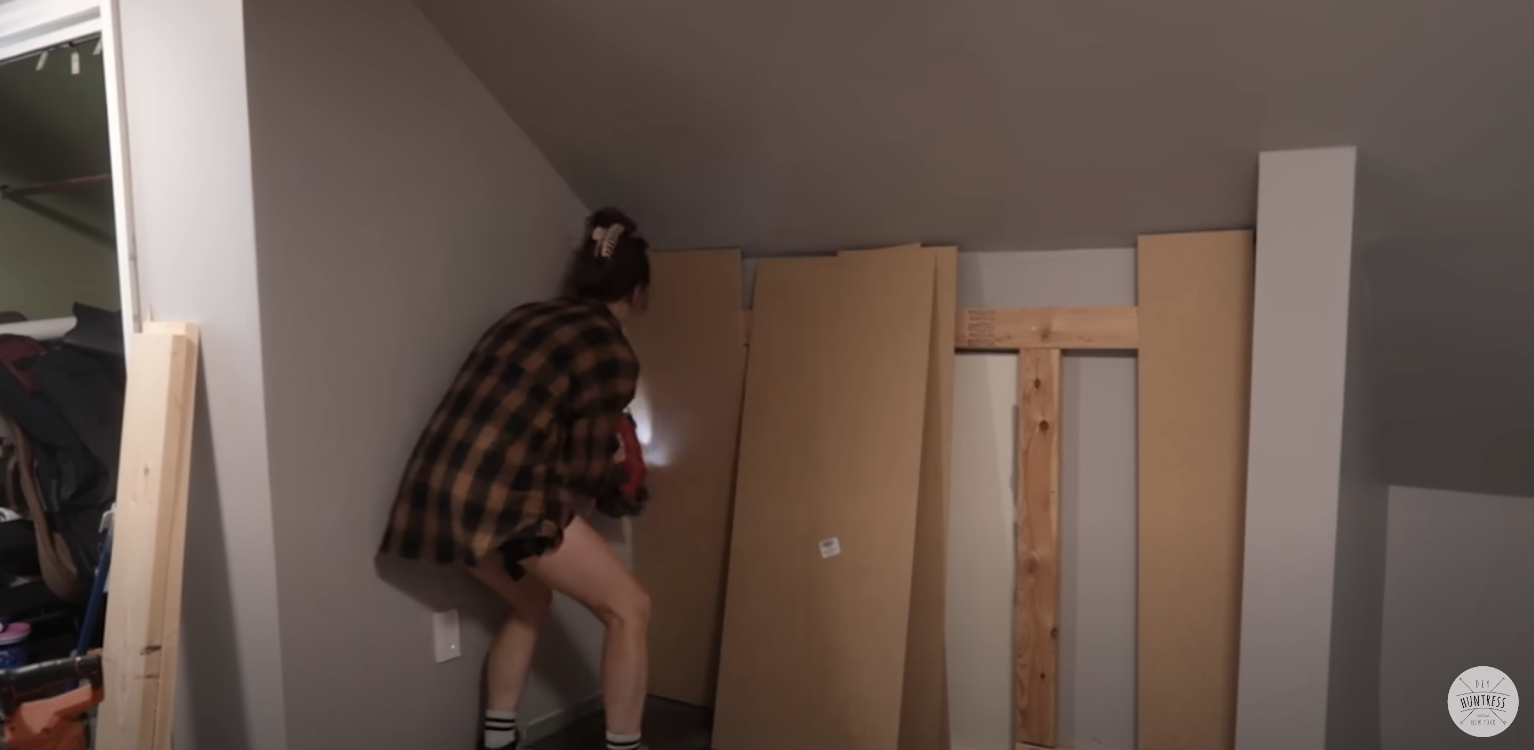
Then I added some paneling.
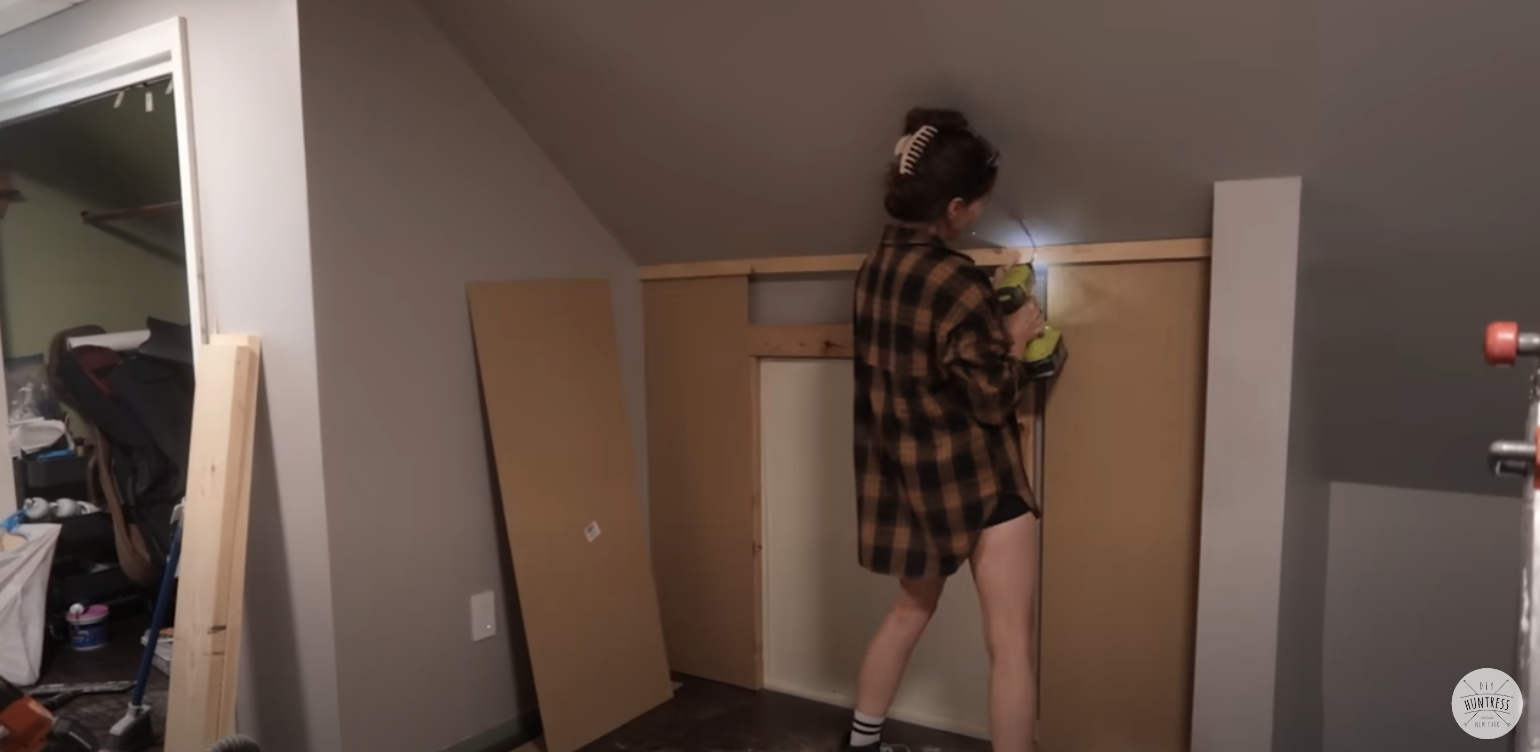
I cut and installed this piece to custom fit the contour of the angled ceiling. Yes that is a 46 degree angle…
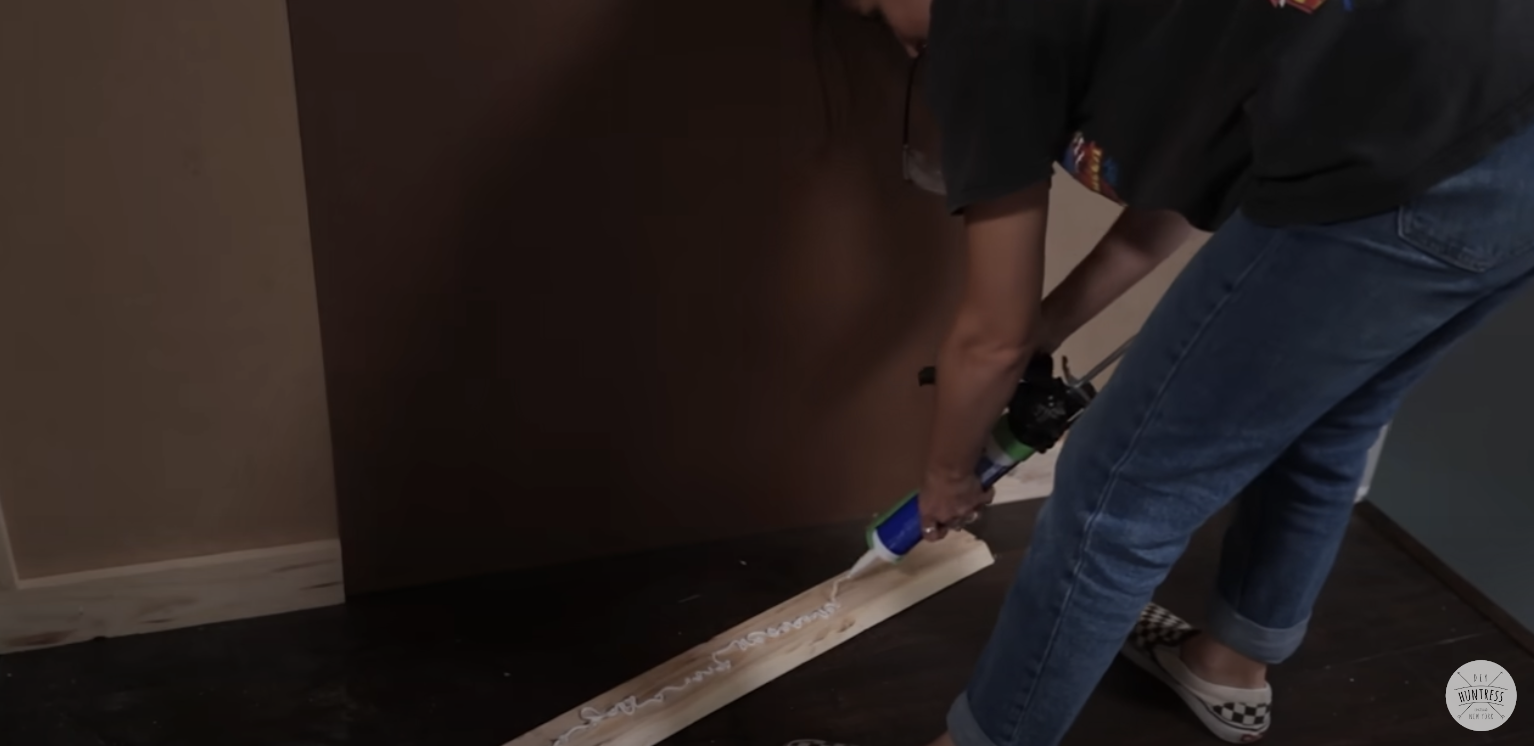
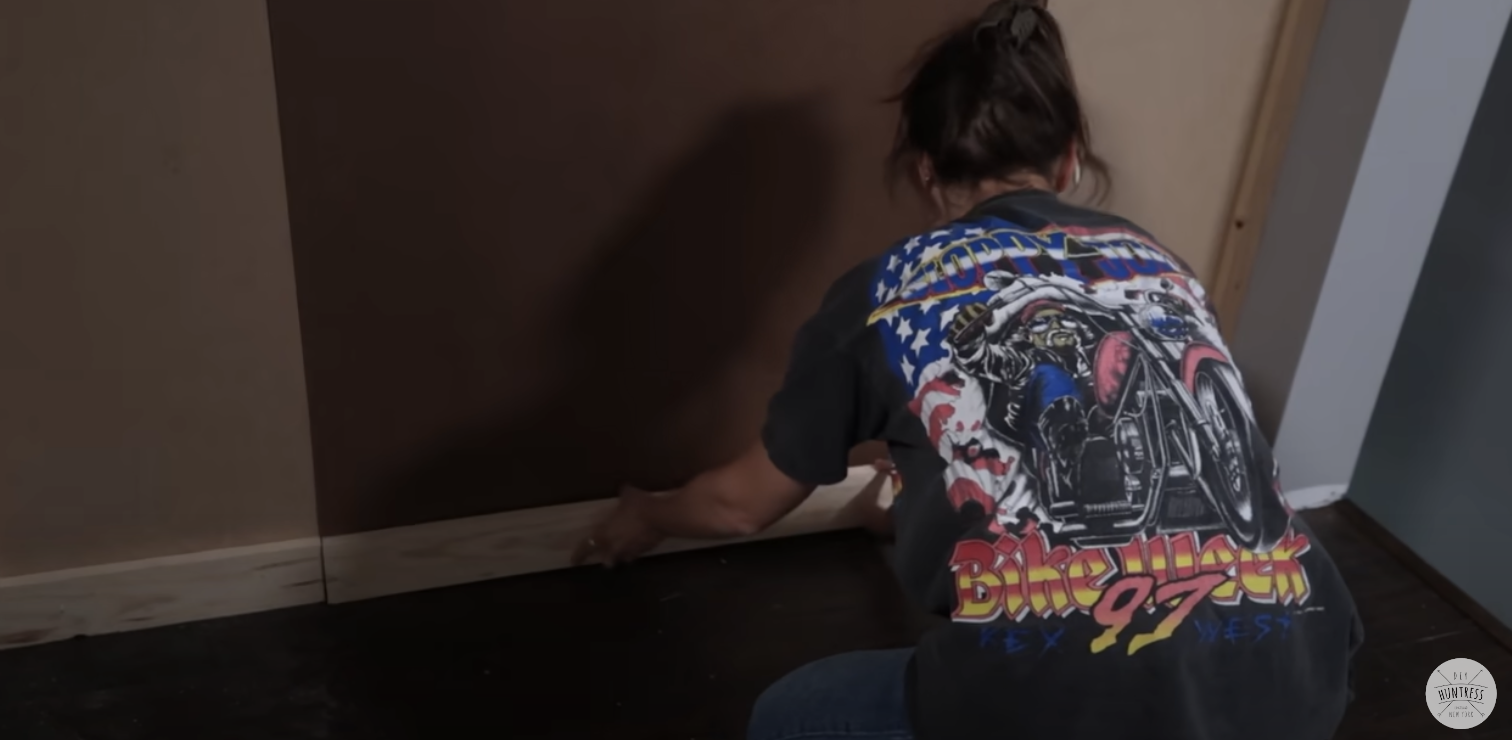
I caulked and added molding to the bottom. This will get screws from the back before I finish installing it.
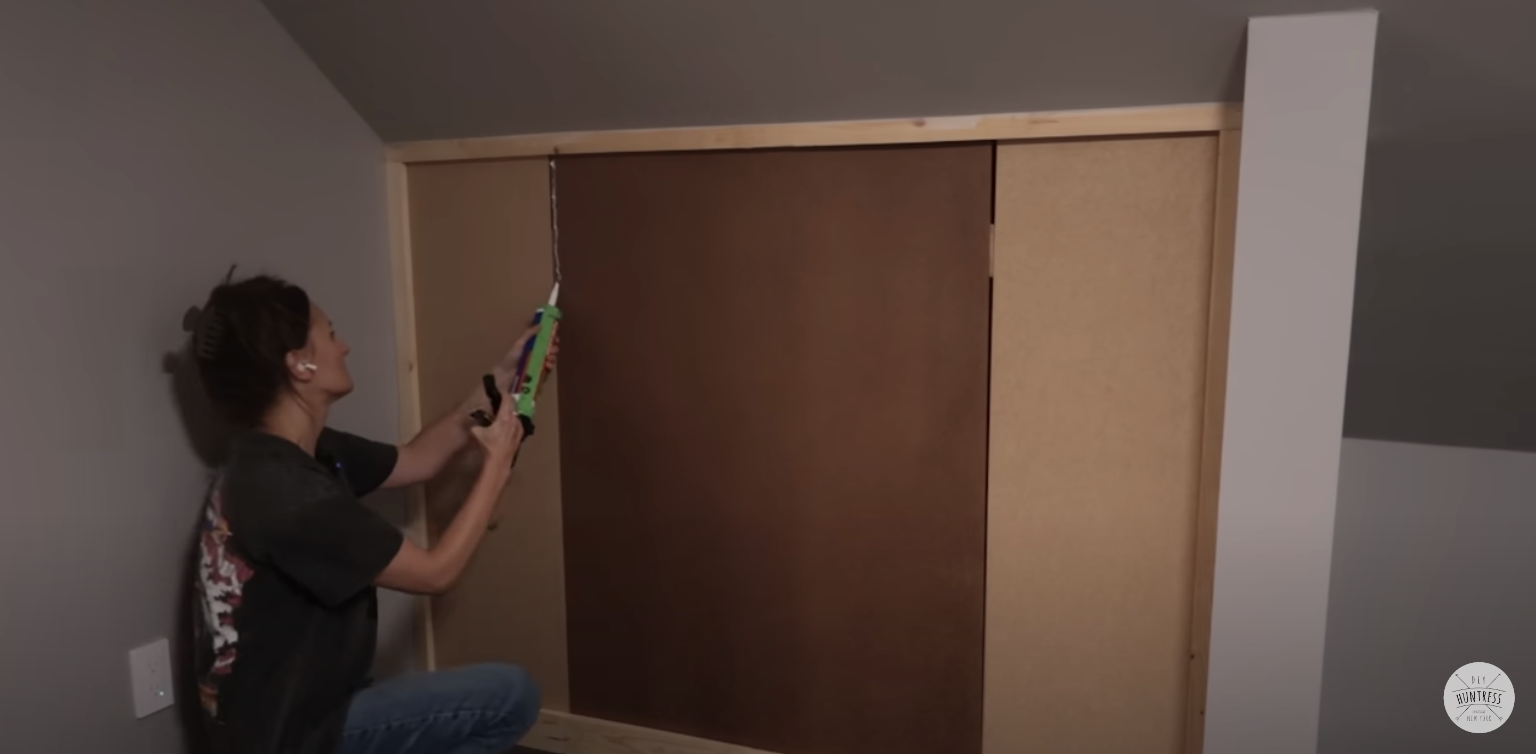
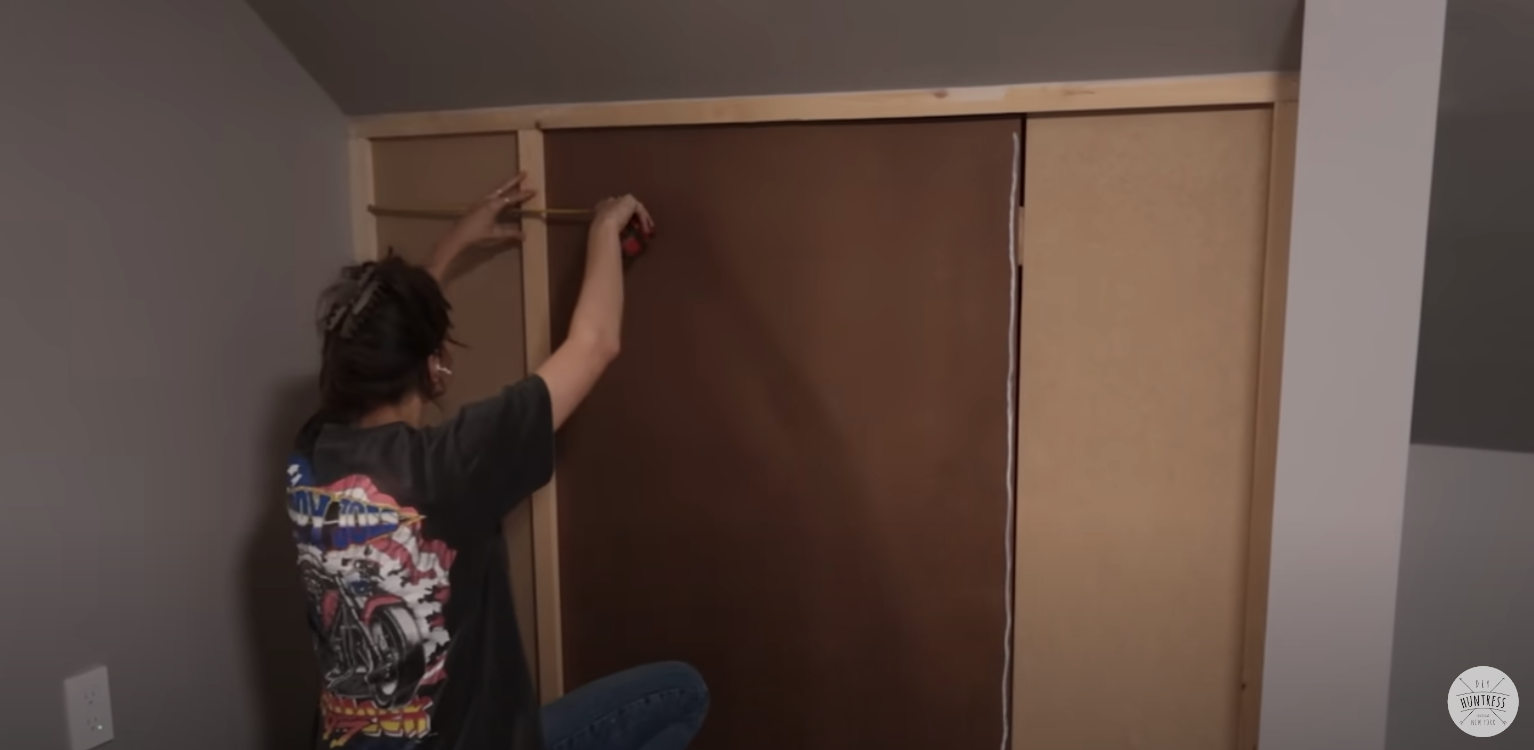
Next I added glue for the two side pieces and measured out where they would go.
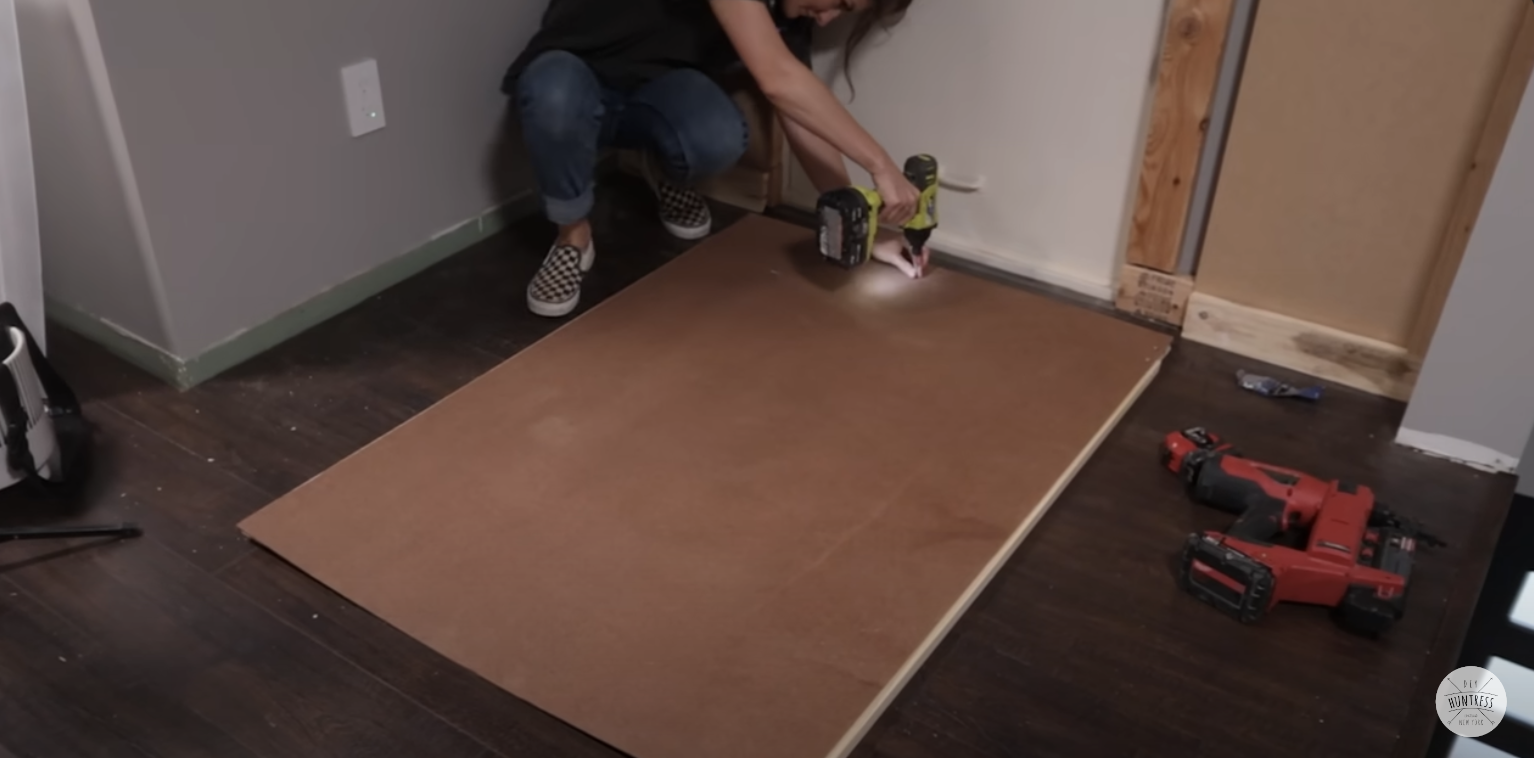
Then I flipped the whole thing over and screwed it in.
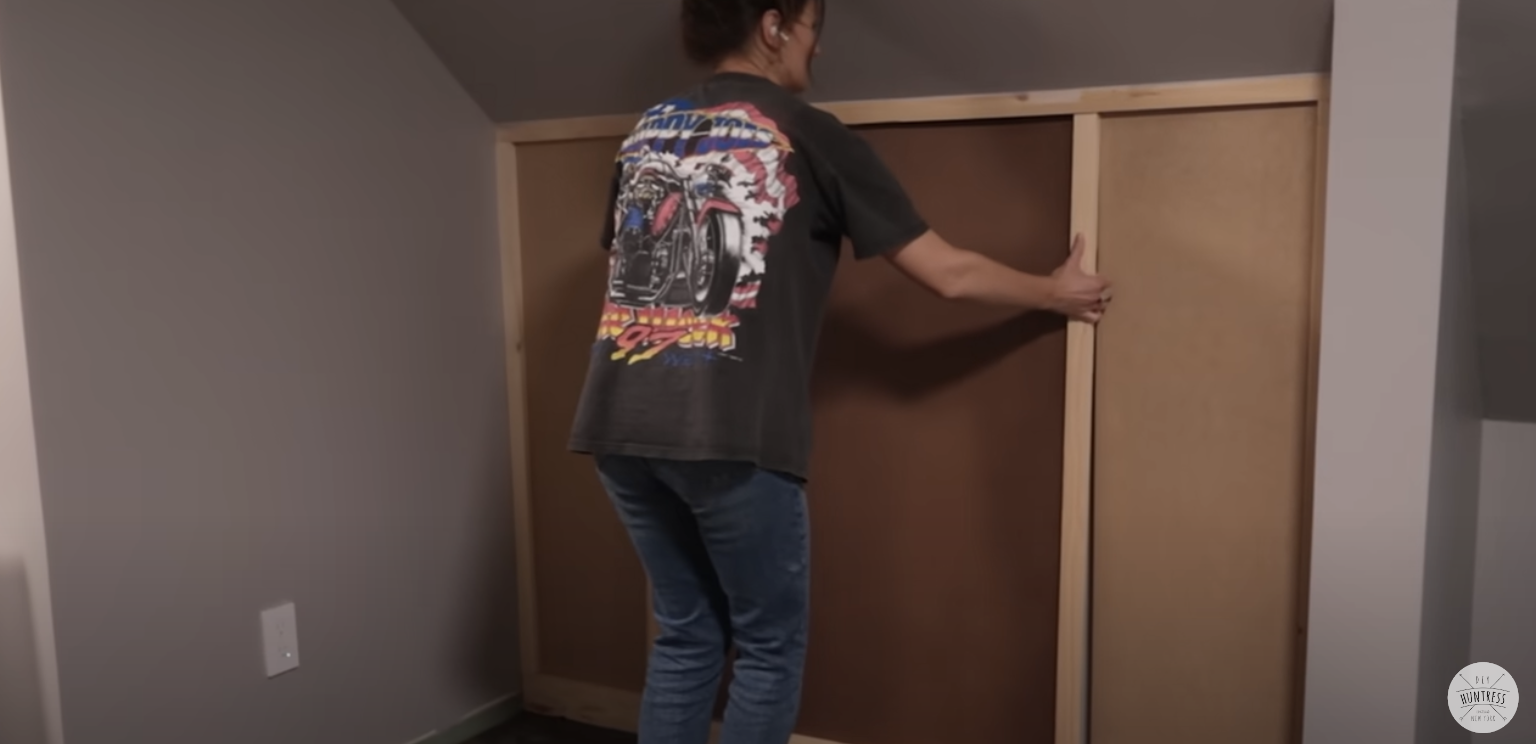
Once I was finished building it I set it into the other panels. I was so excited that it worked to cover the door and look like a wall, but was also be removable for when I do need to get into the attic.
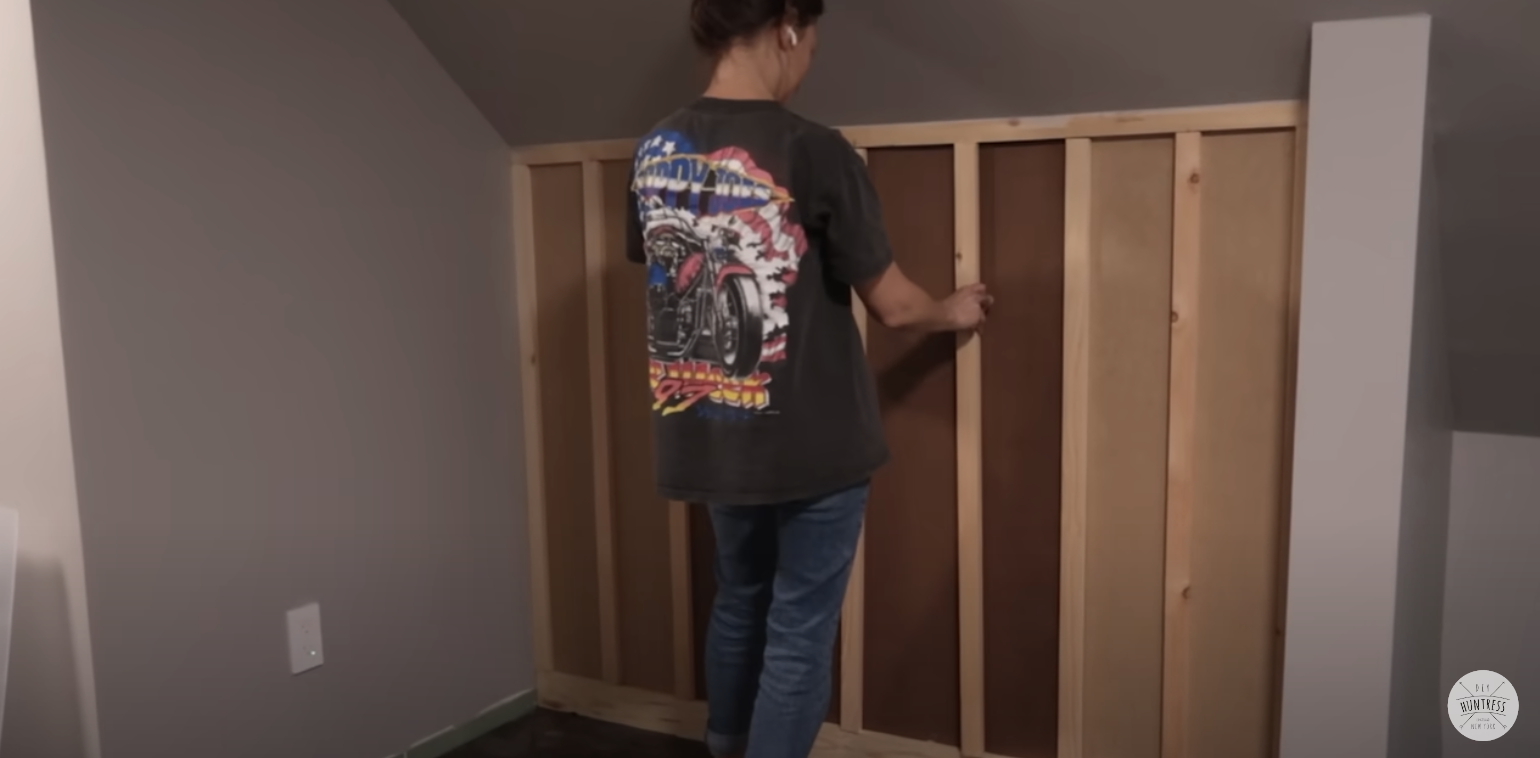
The rest of the trim pieces went up to give this faux wall the look I wanted.
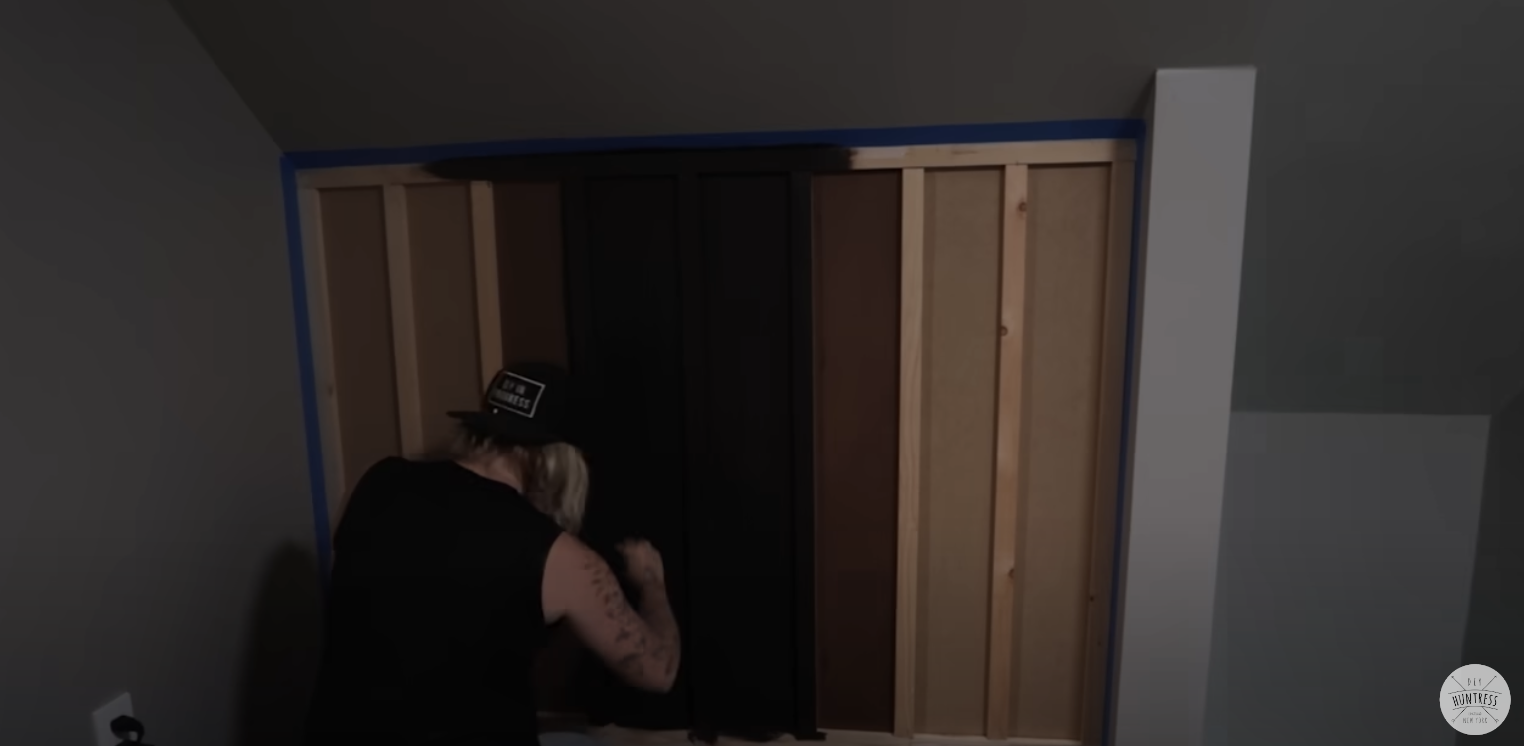
And it also got a coat of paint. (spoiler alert, this happened later in the project and someone awesome helped me with it…keep reading to find out who it was.)
4. Sliding Barn Door
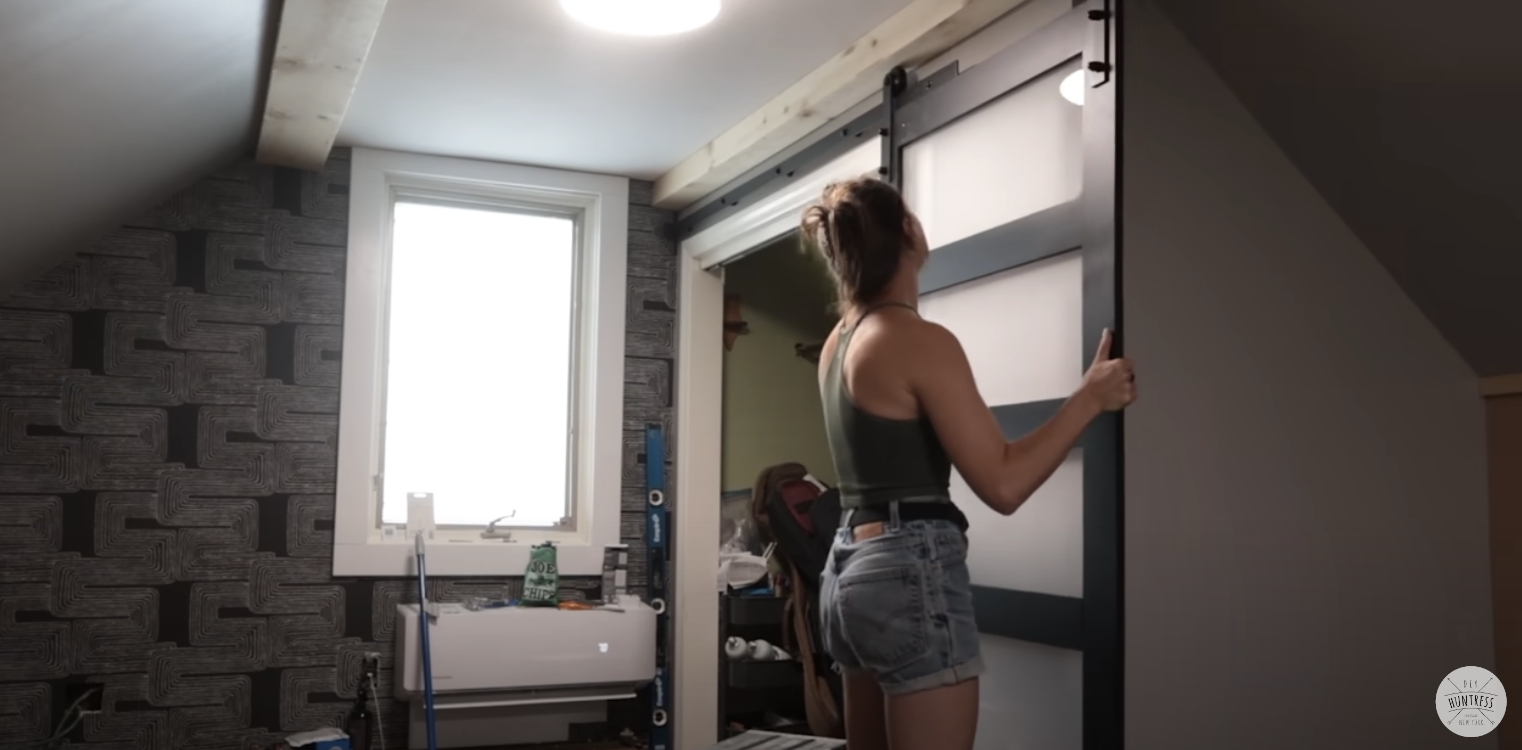
I made custom sliding barn doors for this closet using pre-prime boards and acrylic that I frosted. But you can find a full tutorial in this blog post and in this video.
5. Smart Home Upgrades
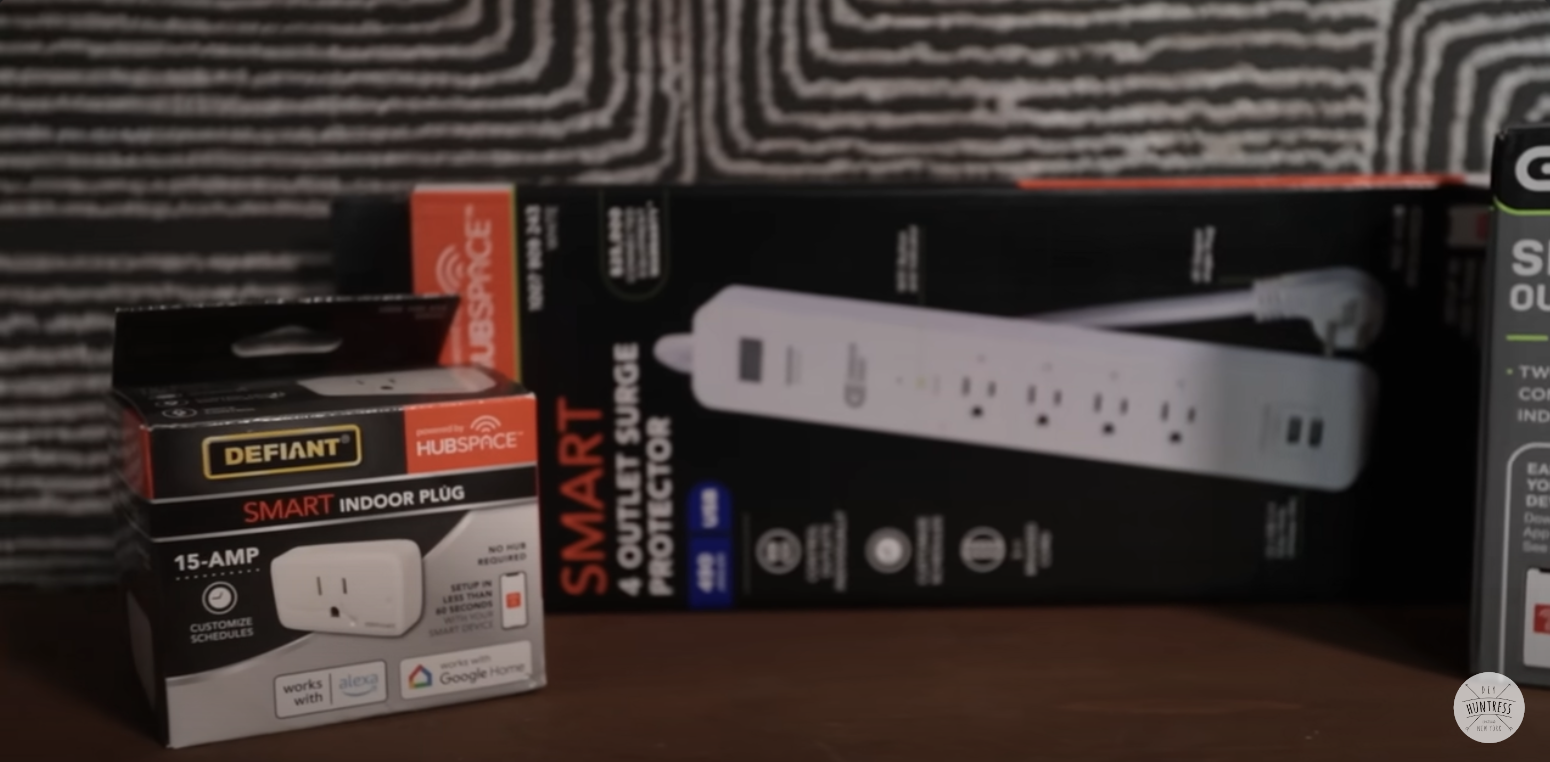
I would have liked to upgrade all of the electrical in this space but my electrician was not available for a while. So instead I opted for these smart plugs and smart surge protectors to make the lighting in this space more customizable without having to undergo extensive electrical updates.
6. Ikea Hack & Radiator Enclosure
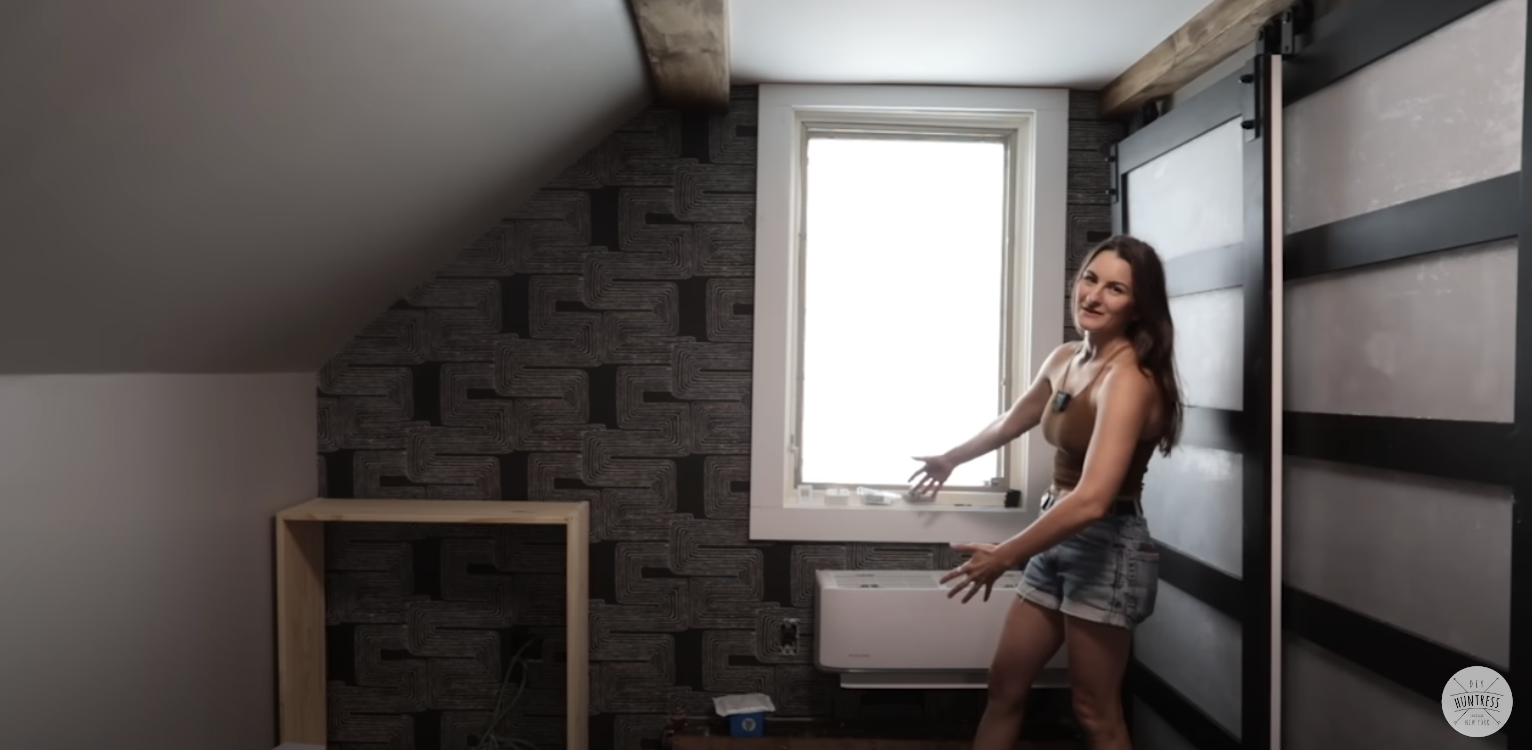
This back wall needed some special help, I wanted some storage but also needed to make an enclosure for my radiator.
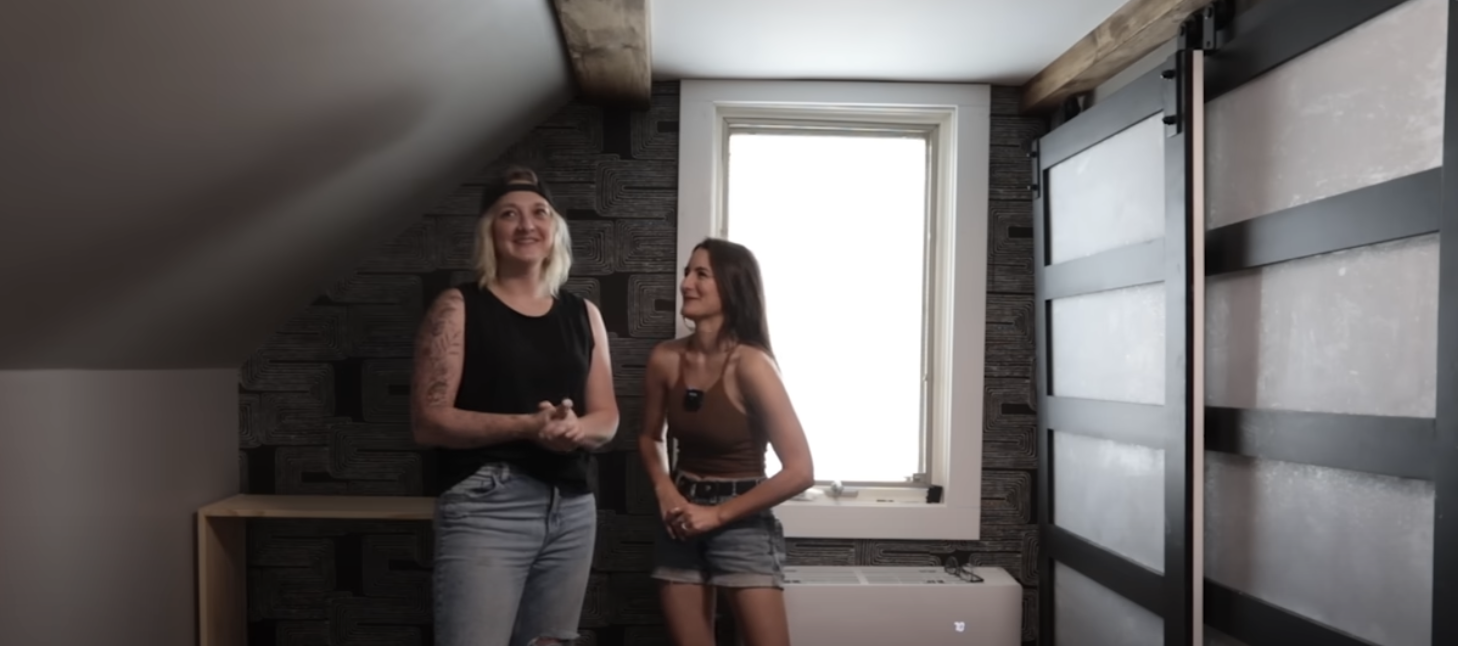
I decided to bring in some reinforcements, so @diydanie came to help me get this project completed.
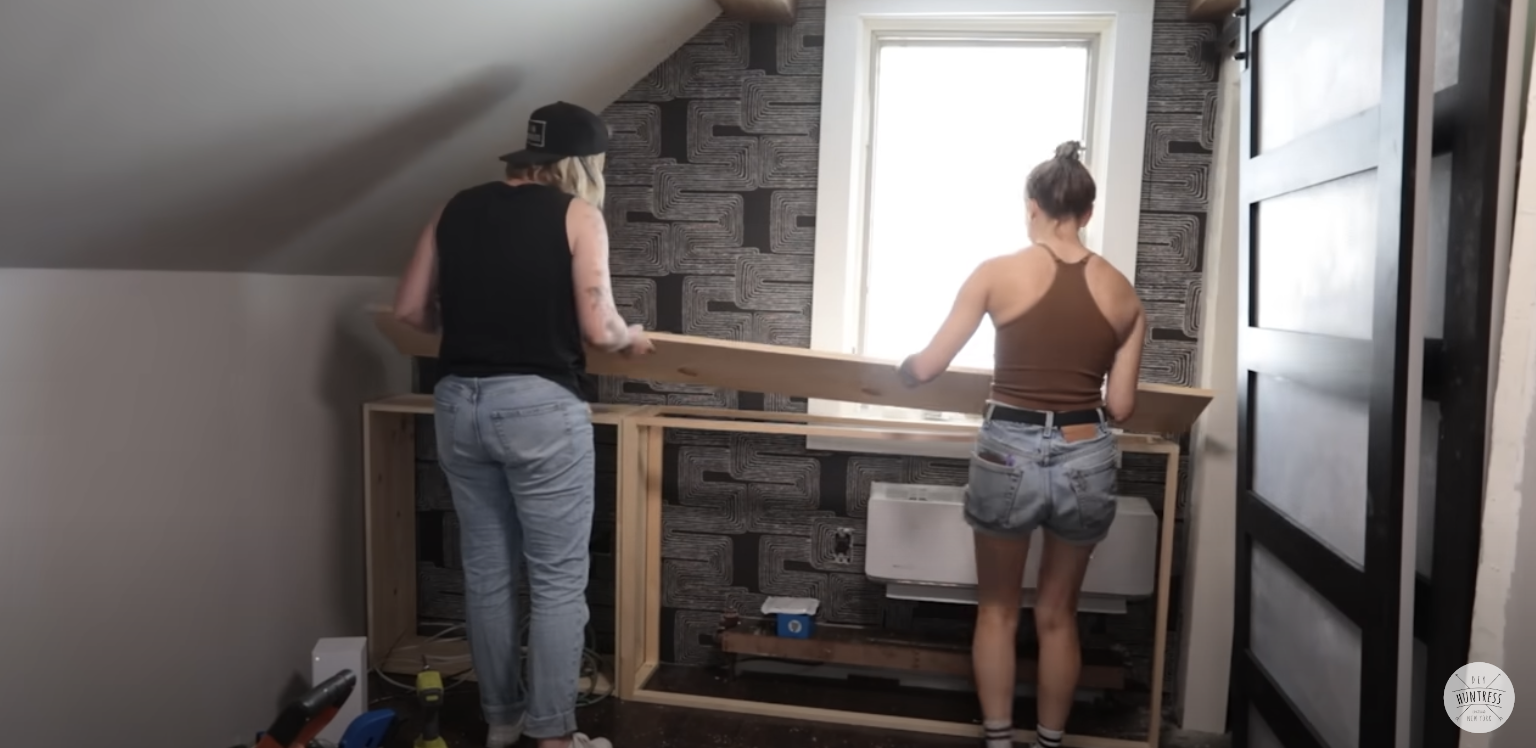
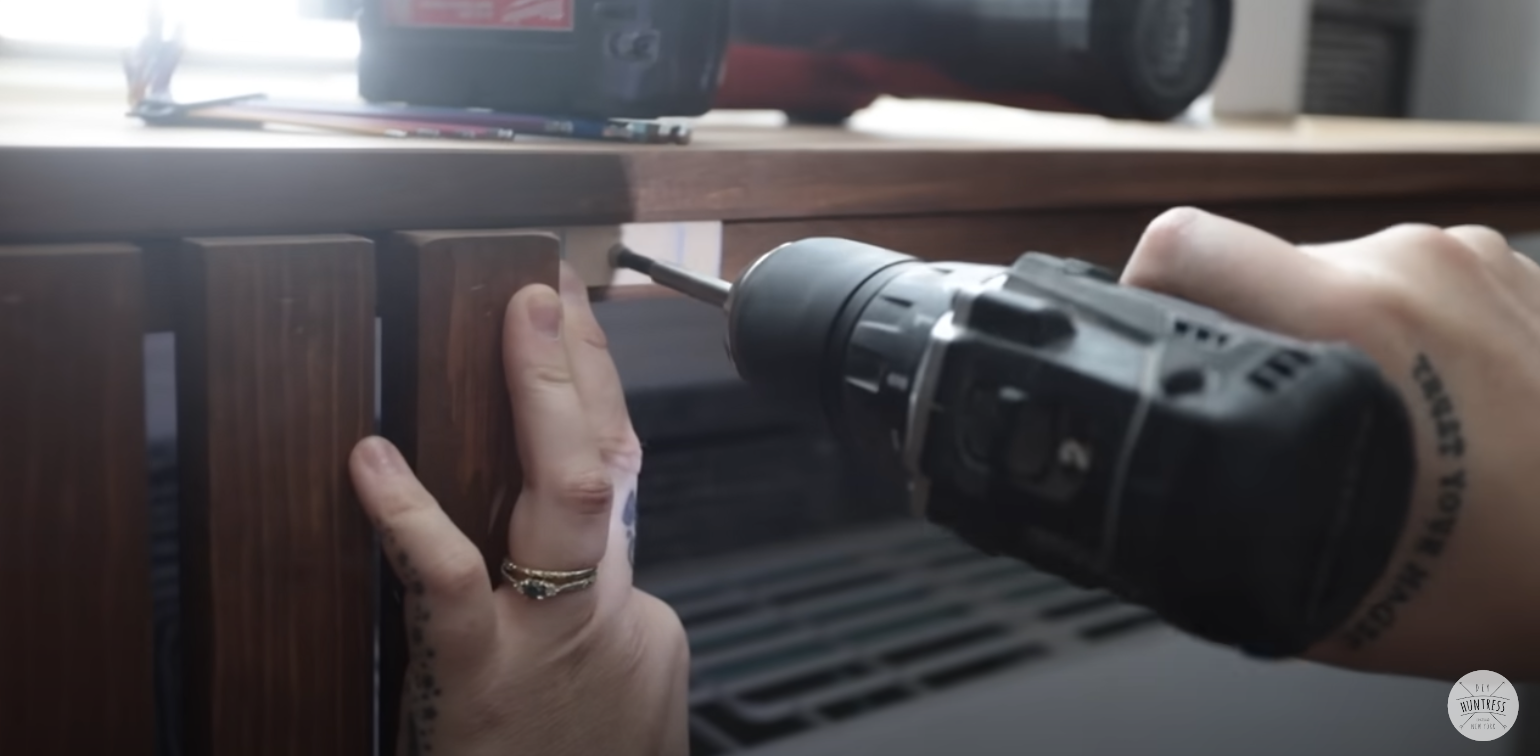
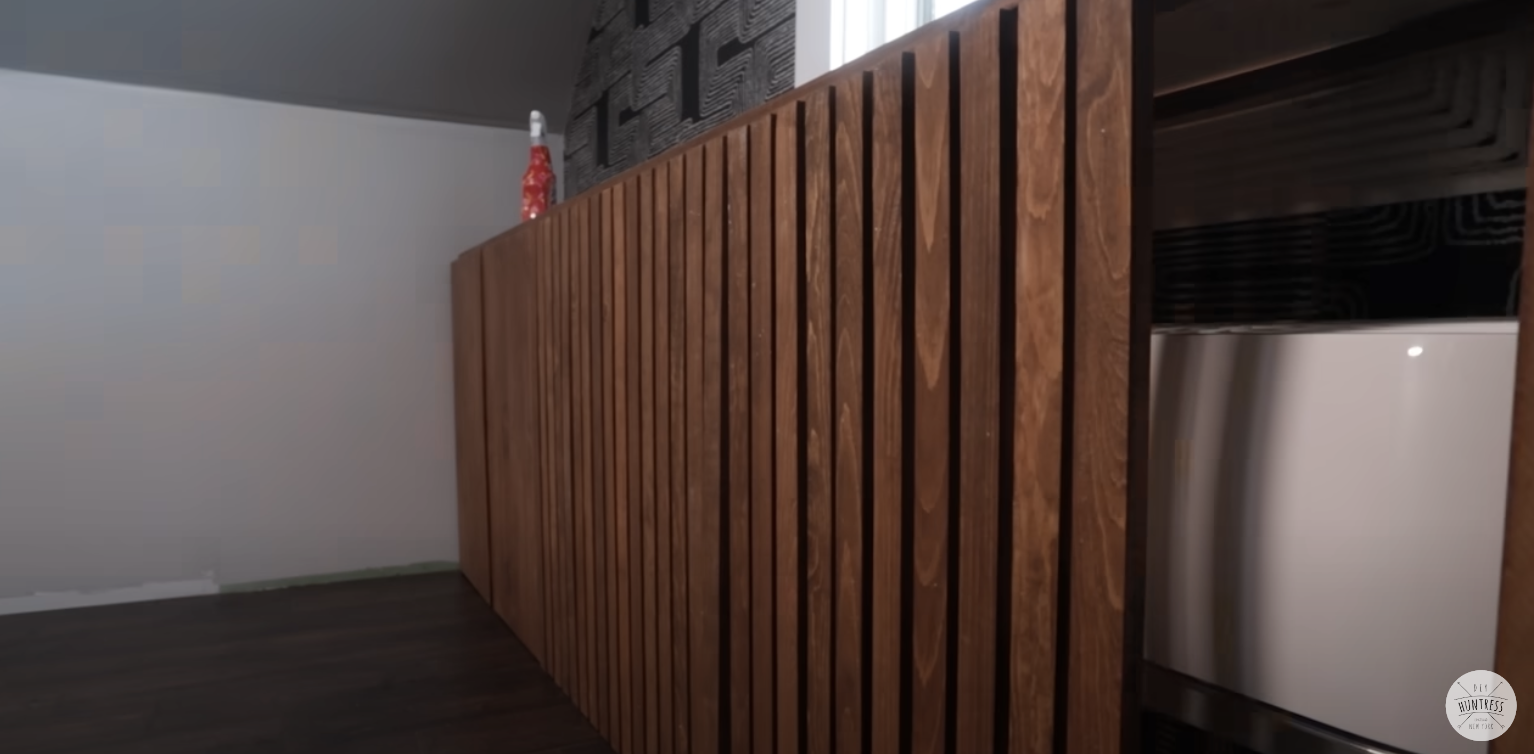
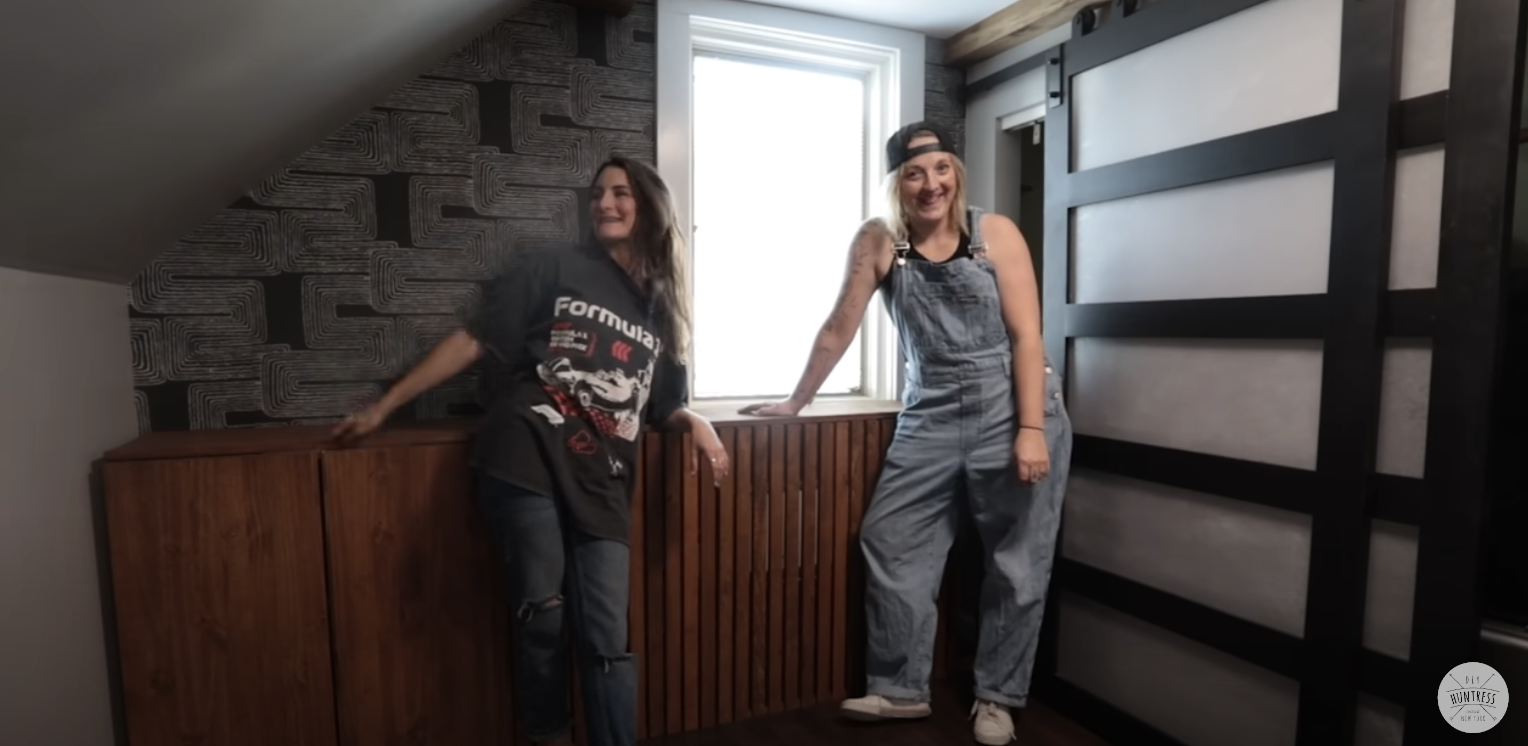
Here are some highlights from this part of the project. I can’t thank Danie enough for helping me get this done. I was feeling very overwhelmed and she hopped on a plane and came to help me finish. If you want to see a full tutorial on how we did this cabinet and removable radiator cover check out this blog post and this video.
7. Finishing Touches
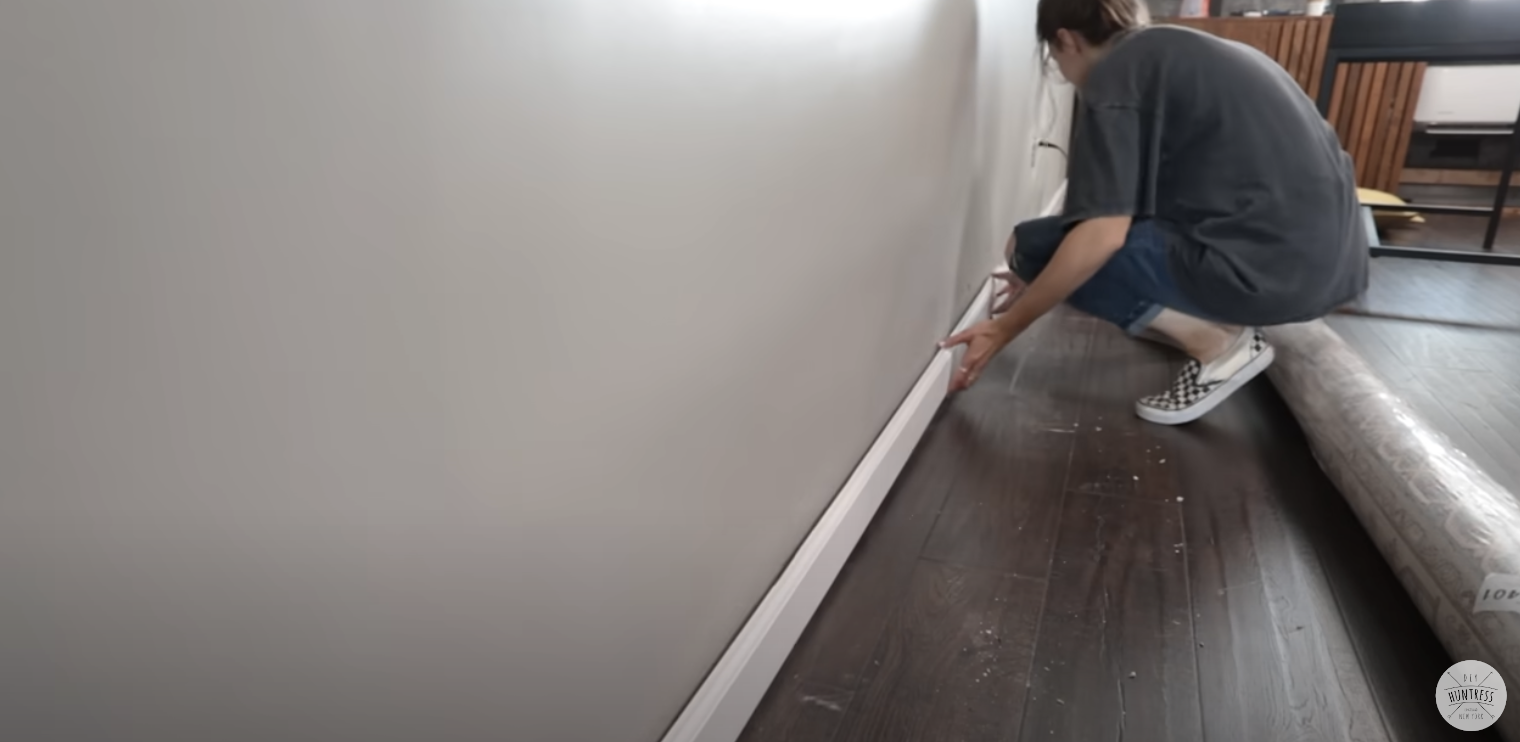
Finishing touches included trim work along the floor.
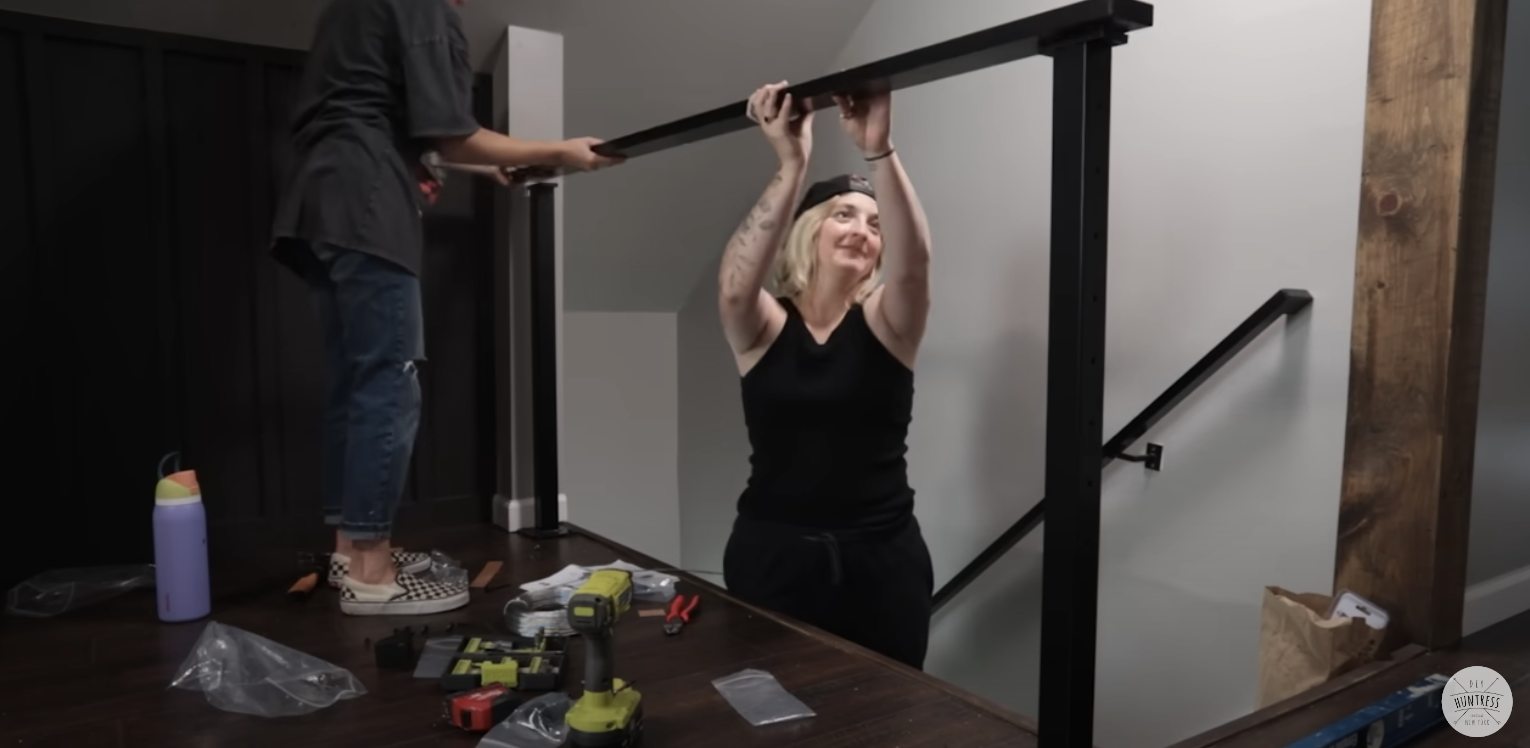
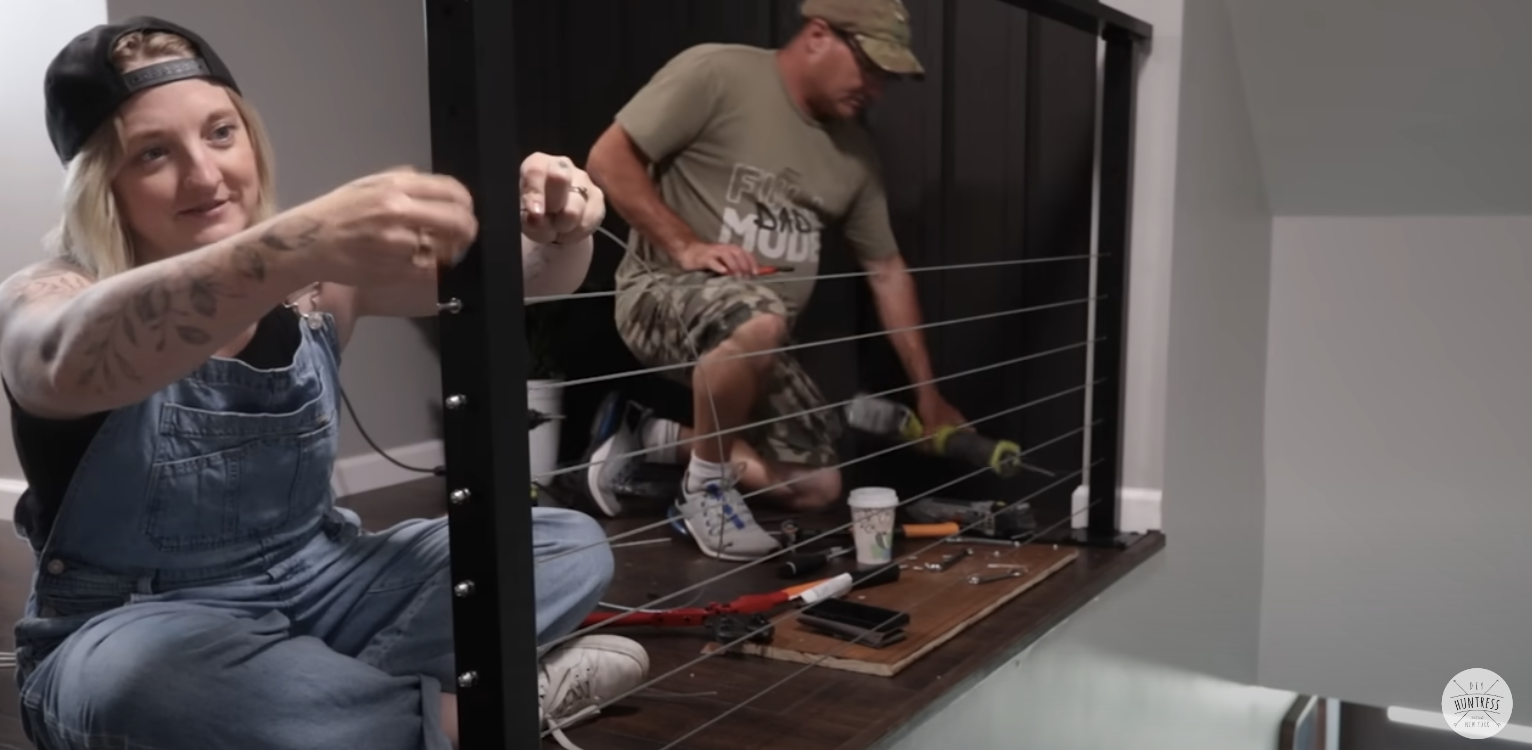
And this railing that I had been dreaming of! My dad even decided to get in on the action and help finish this office!
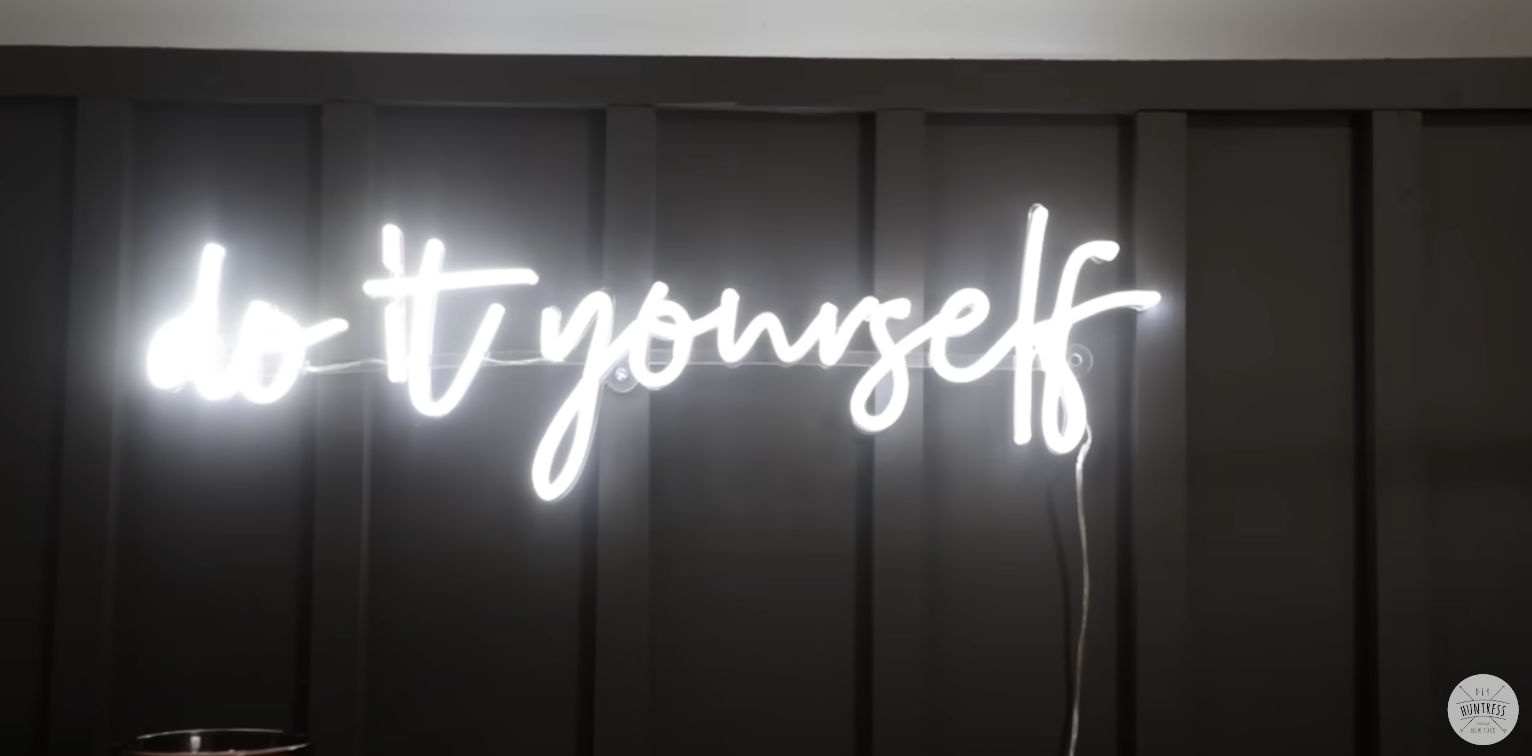
I added all of my electronics to my smart plugs and put all of my smart bulbs into my lamps.
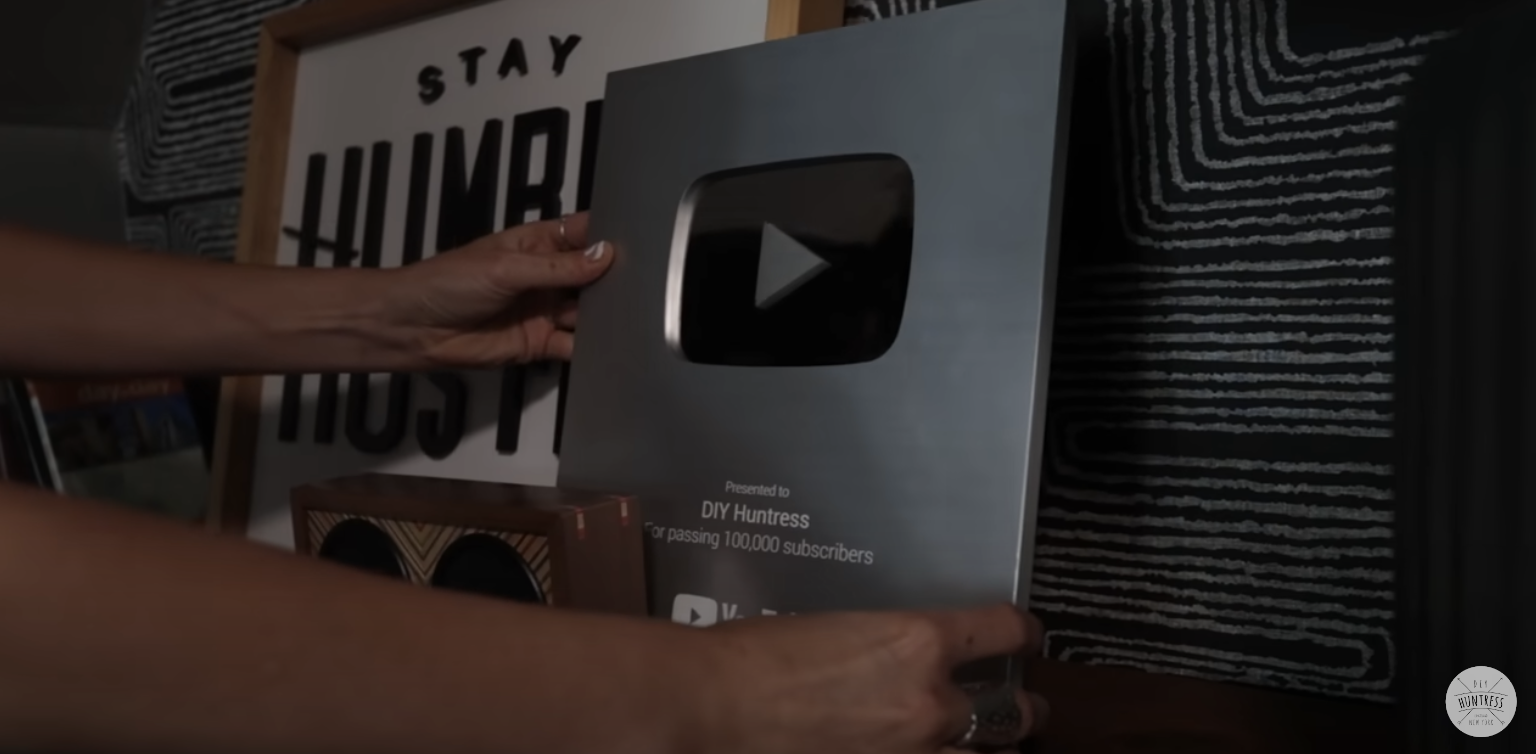
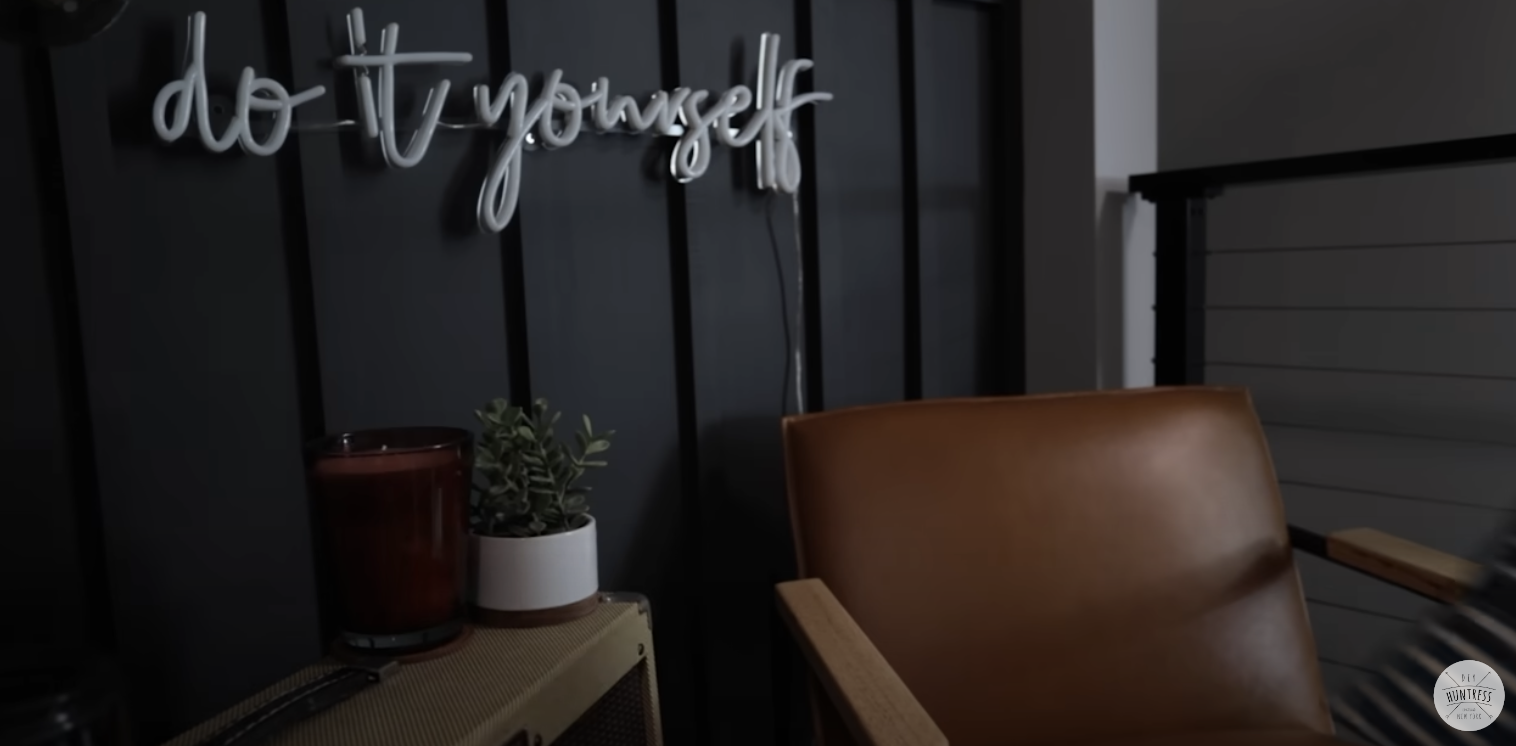
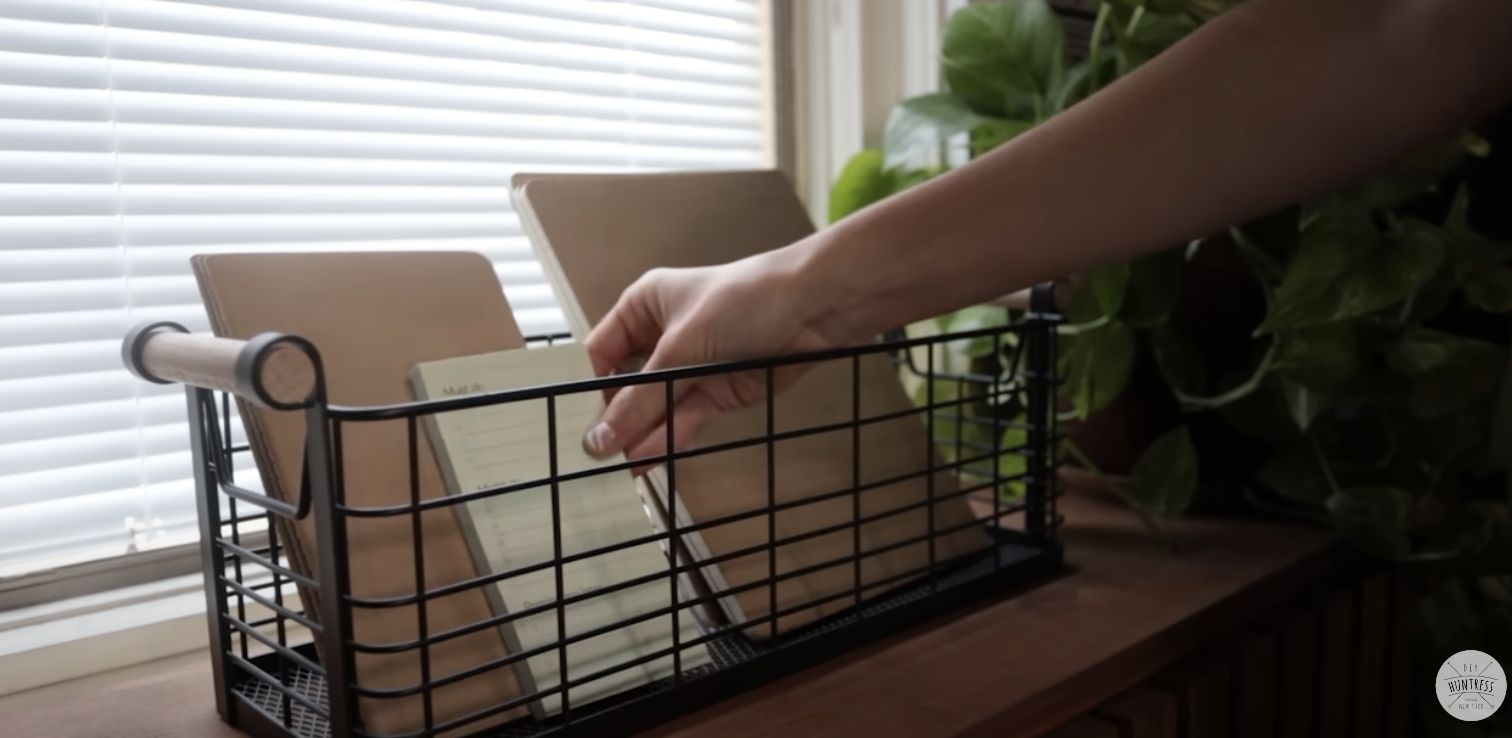
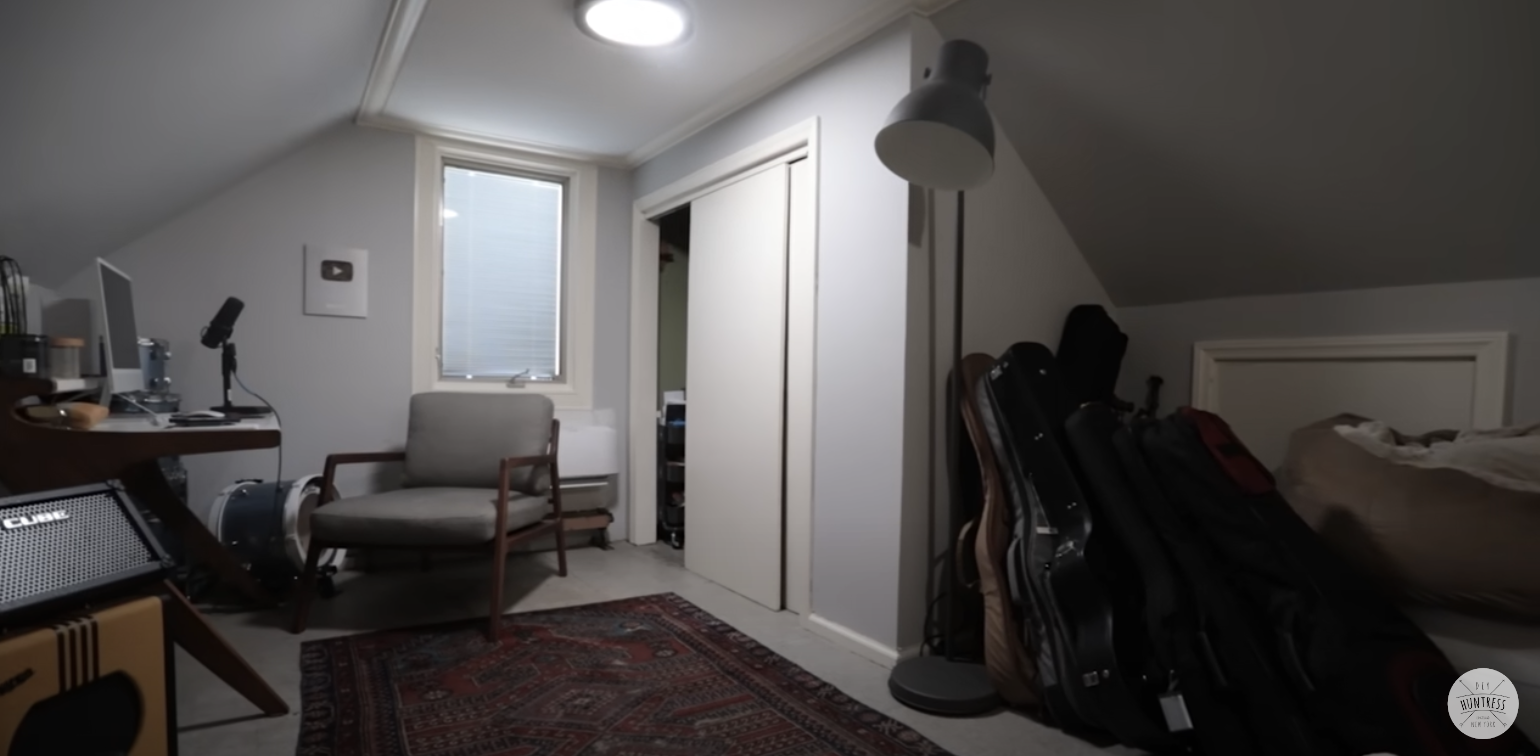
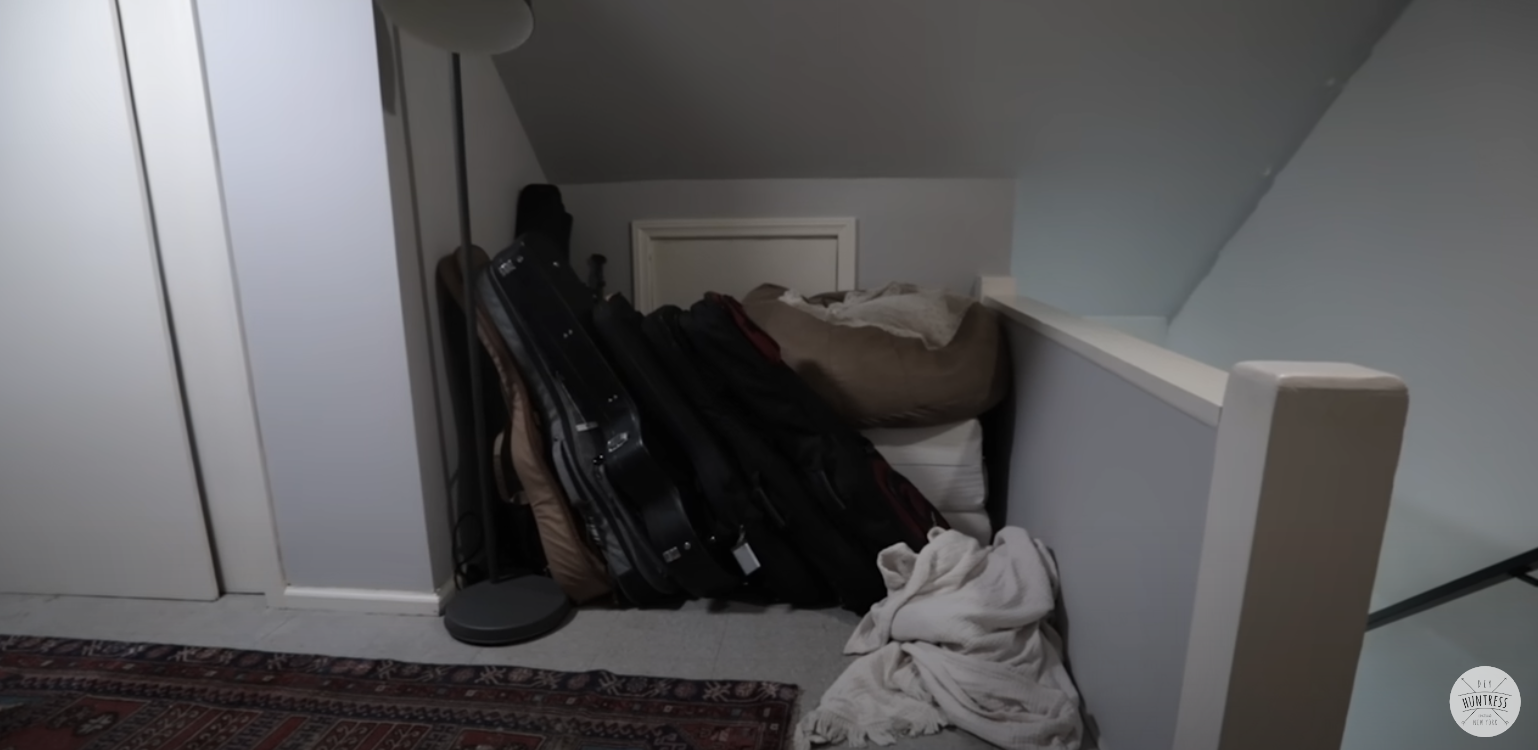
Let’s not forget how we got started in this attic space…
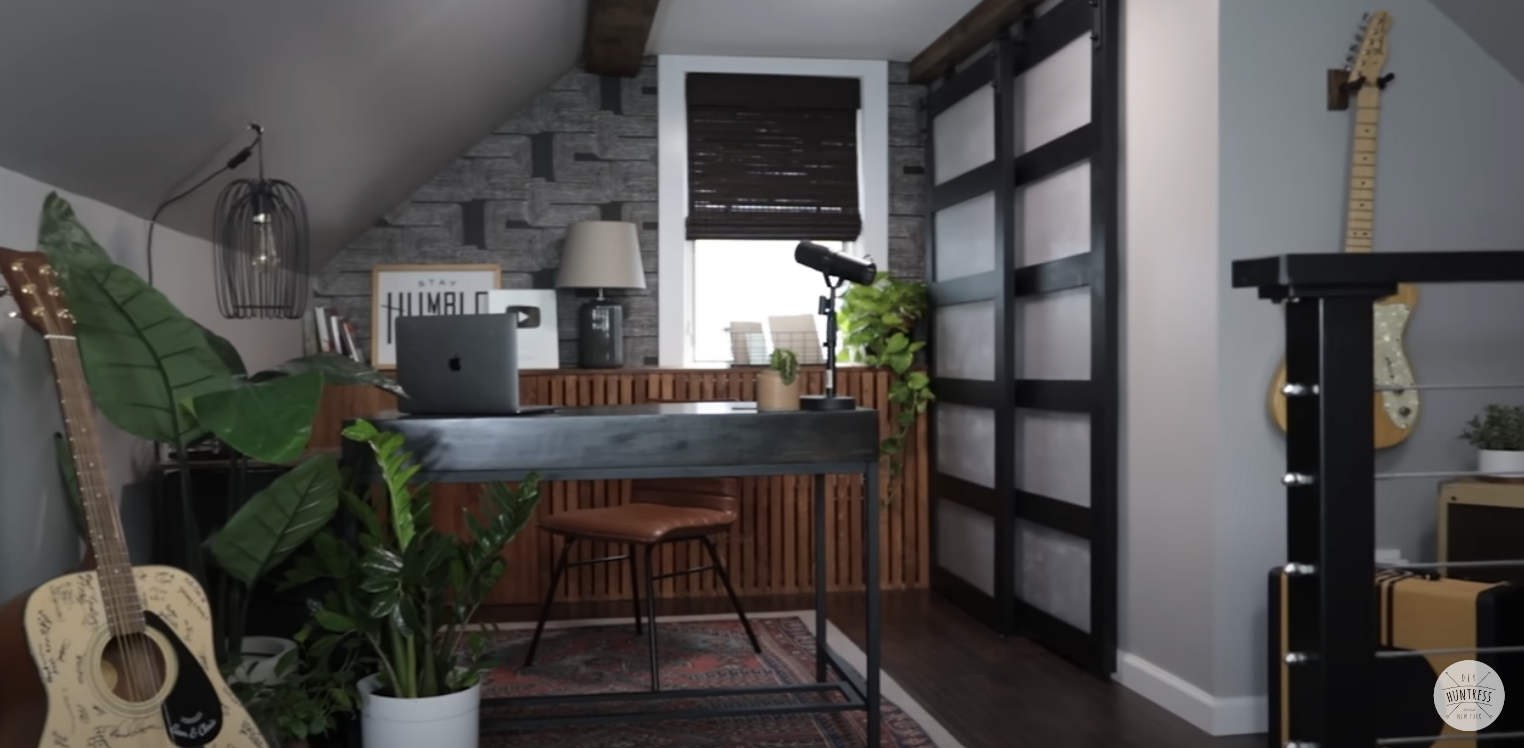
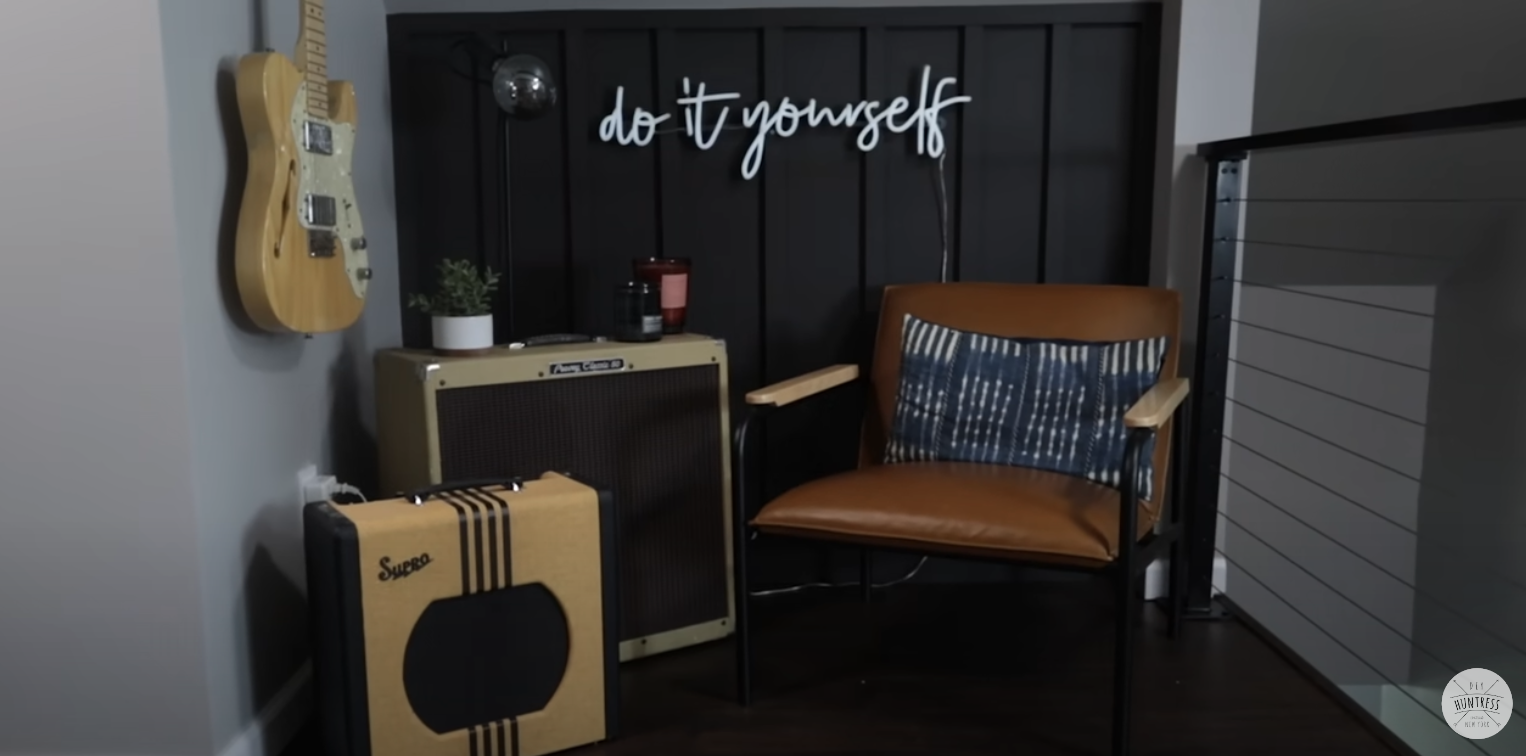
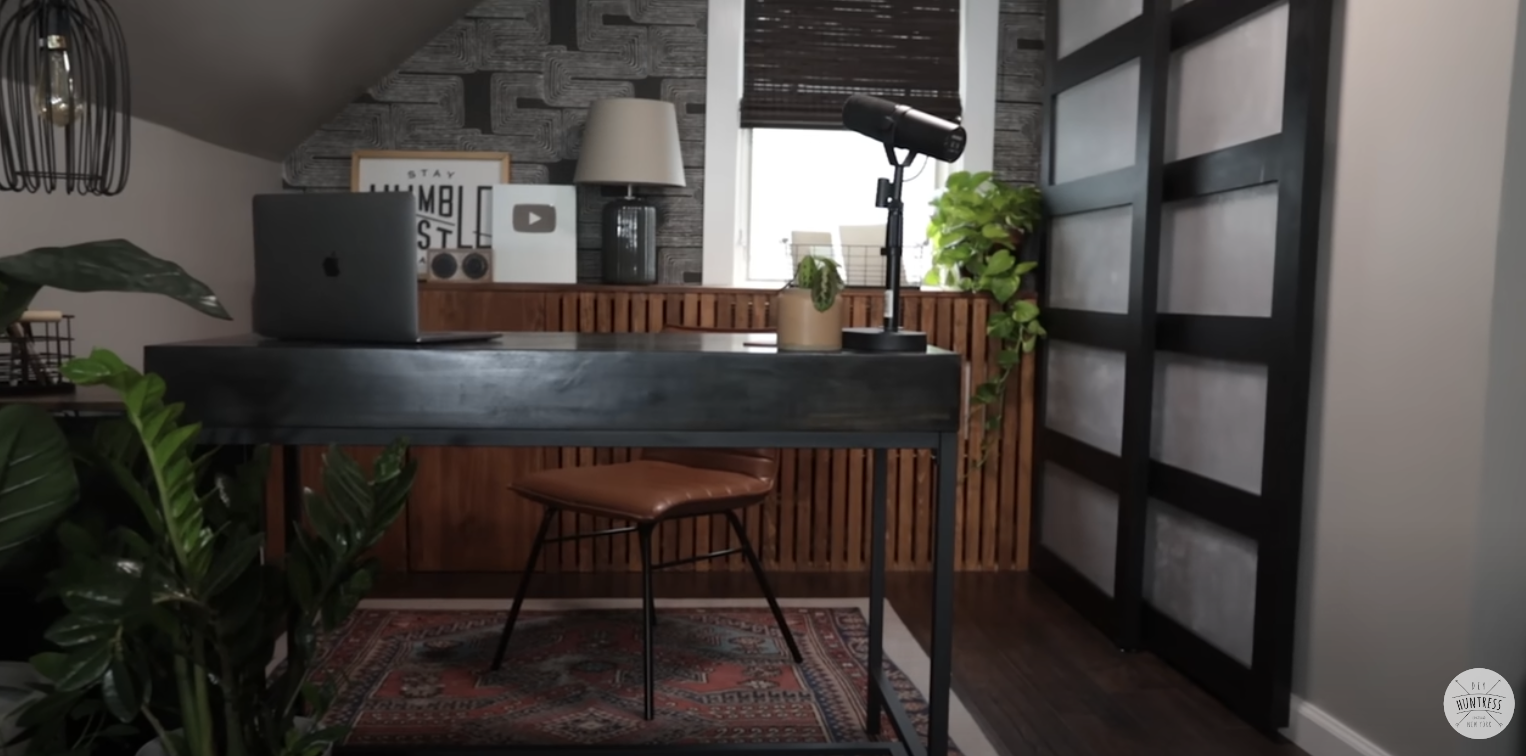
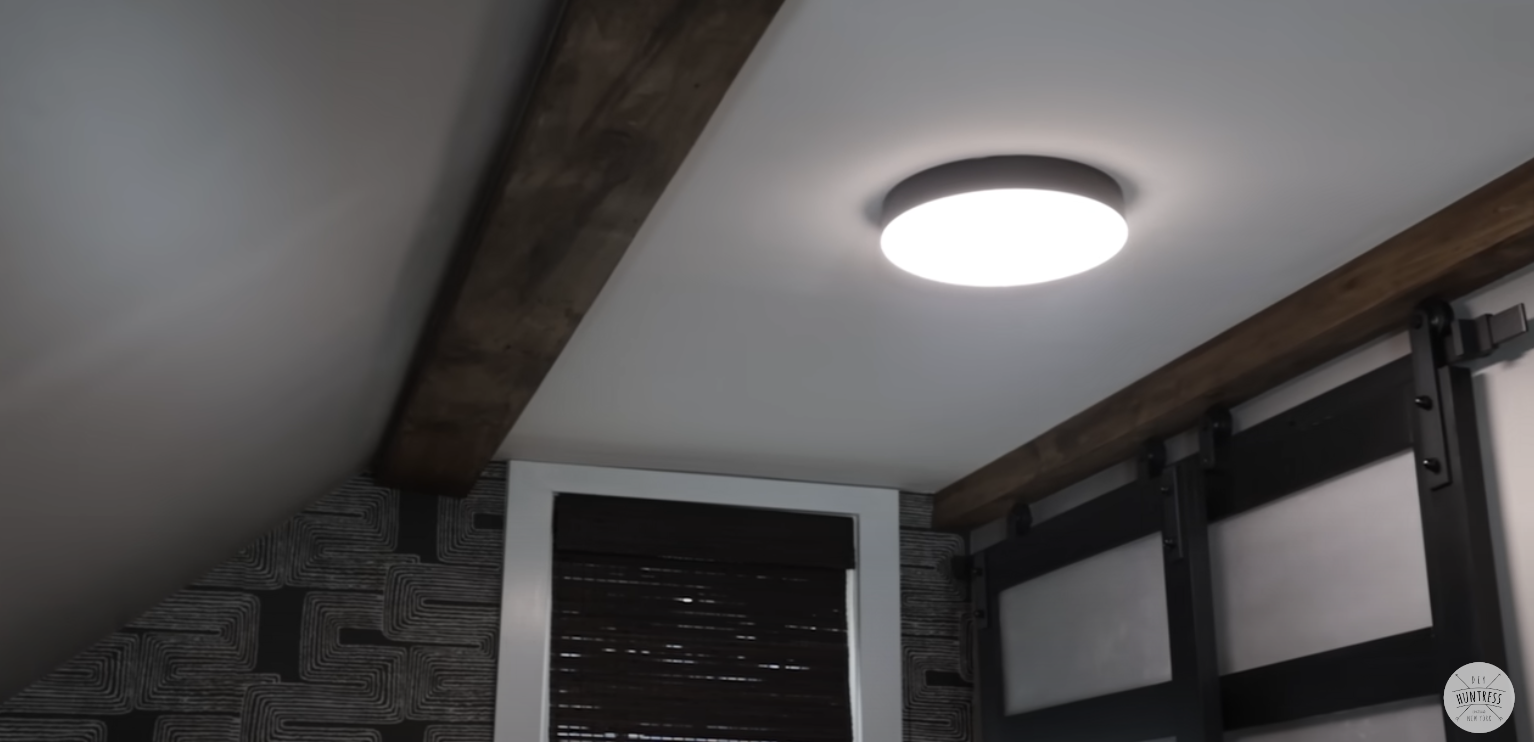
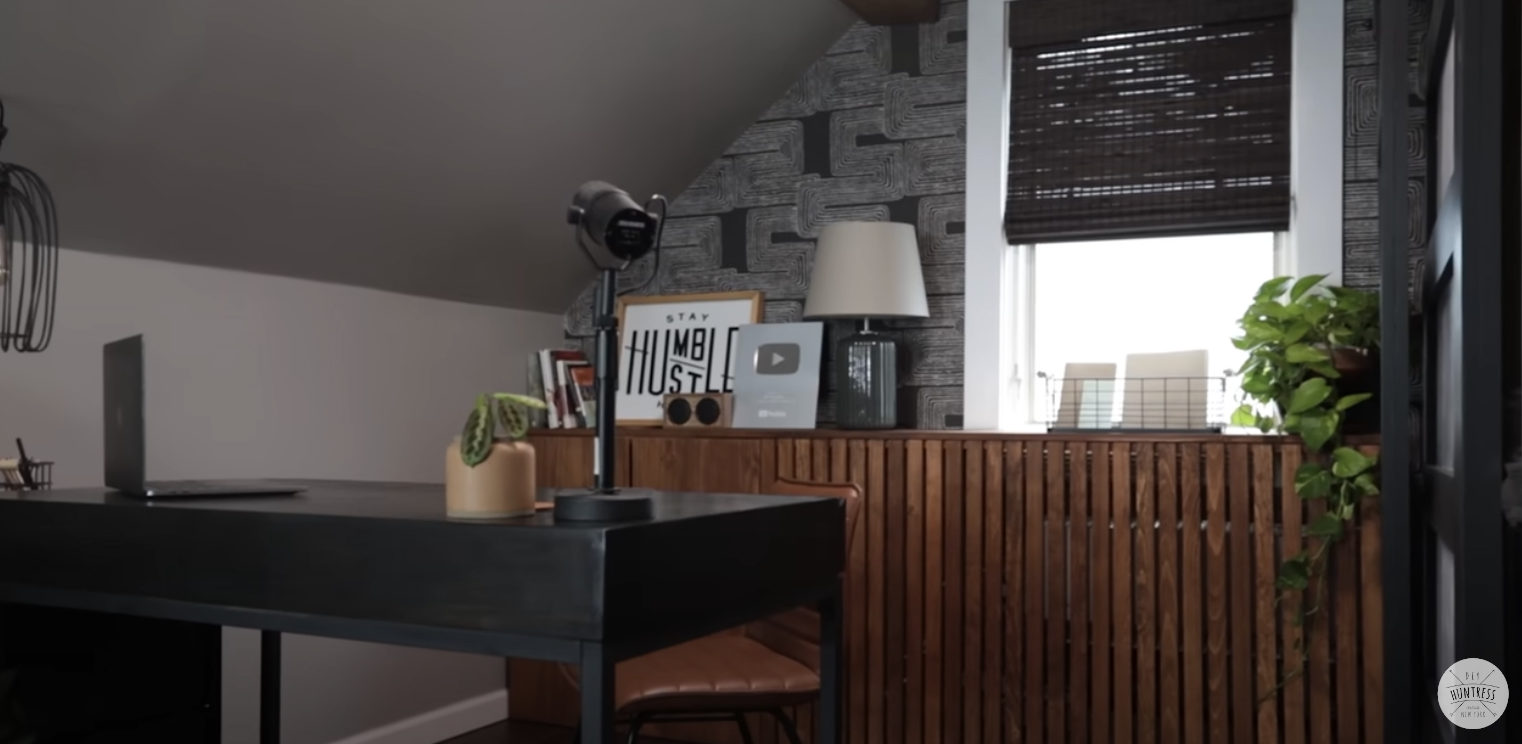

Fair to say it’s come a long way. And did you see my background??
I can’t thank my friends Charlotte and Danie enough for helping me complete this space. I have always dreamed of having a smart office where I could be inspired to do my work and now I have it! This space feels so good, there’s no other way to describe it and I’m so lucky that it’s mine. Make sure to check out the more detailed blog posts and videos from the projects within this multipart home office project and stay tuned for more! But until then, happy DIYing friends.
Save this for later
I hope you enjoyed this project! If so, make sure to Pin It for later!